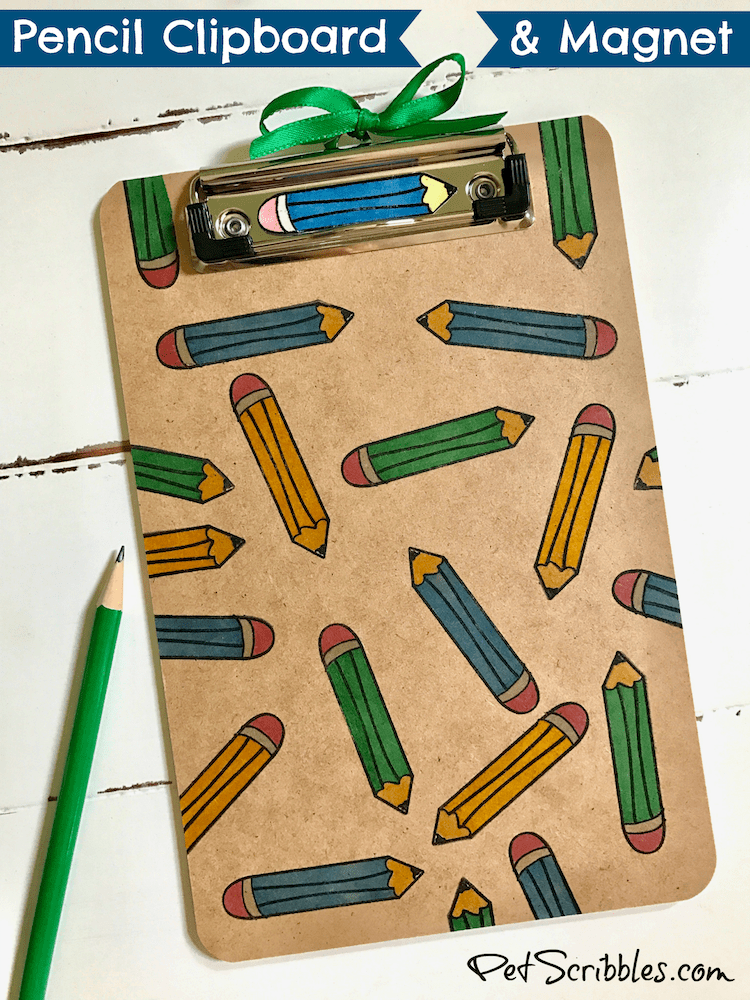
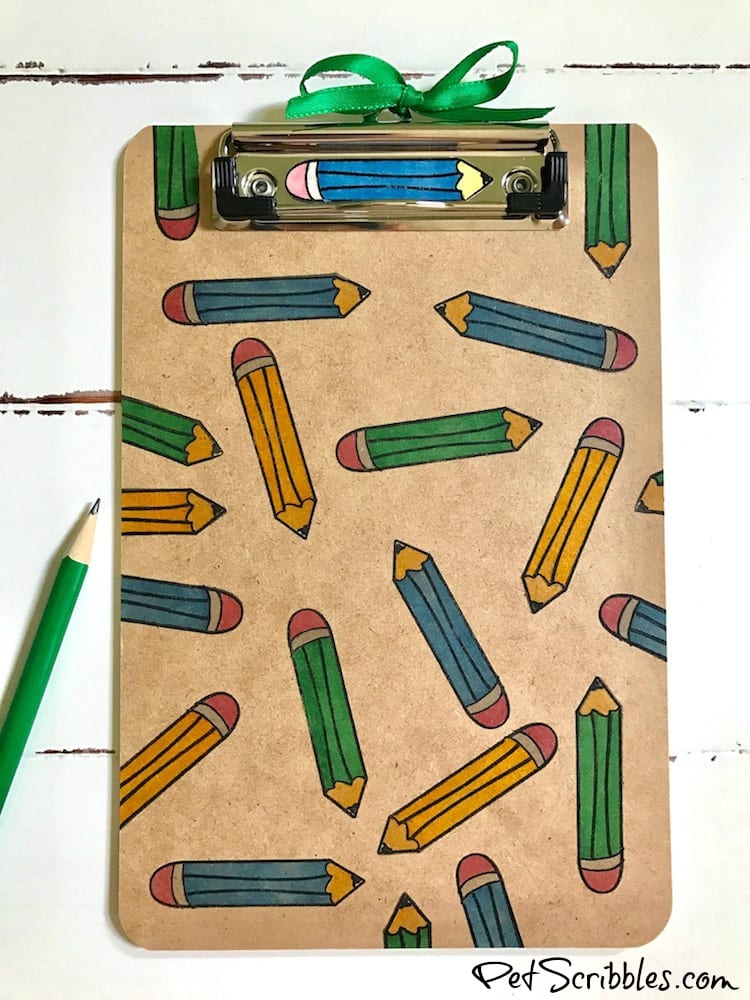
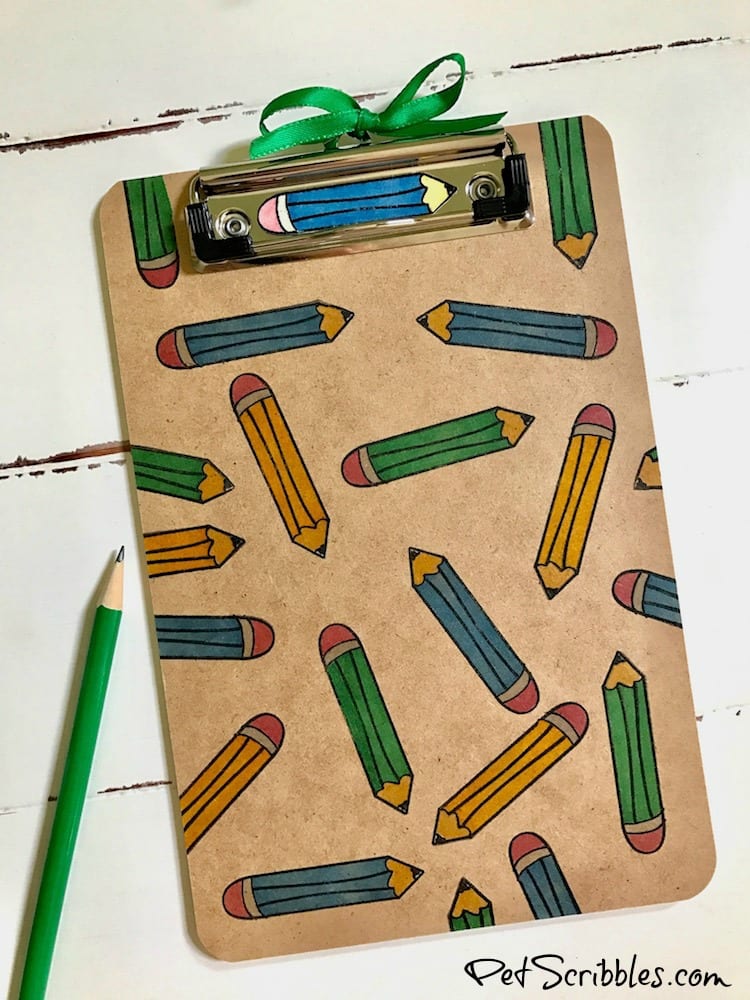
You can make this useful teacher gift: stamped pencil clipboard and magnet! It’s easy to create when you use a simple pencil stamp. This is a fun gift — actually two gifts in one — that teachers will love to use!
As I mentioned last week, I’m on the Simply Stamps Design Team, so I’ll be sharing fun stamping projects and tutorials here twice a month.
The stamps I use are handmade here in the USA by Simply Stamps — two qualities I love about them!
It’s back-to-school time and no doubt you need to make — or help your kids make — a gift for their teachers.
And if you need to put together a few gifts, this stamped pencil clipboard and magnet set is perfect!
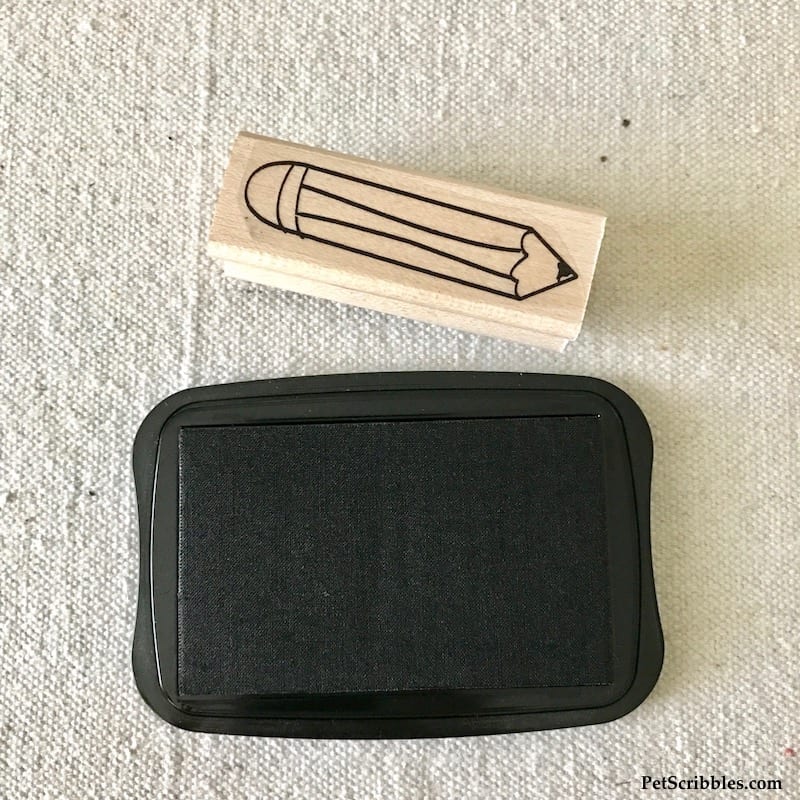
For this project, I used the Pencil Craft Stamp from Simply Stamps.
This stamp comes in multiple sizes — as do most of the handmade stamps that Simply Stamps offers.
The sizes you can choose from for the pencil stamp are:
- Medium: .75″ x 2.375″
- Large: 1″ x 2.5″
- X-Large: 1.5″ x 3″
I chose the medium size.
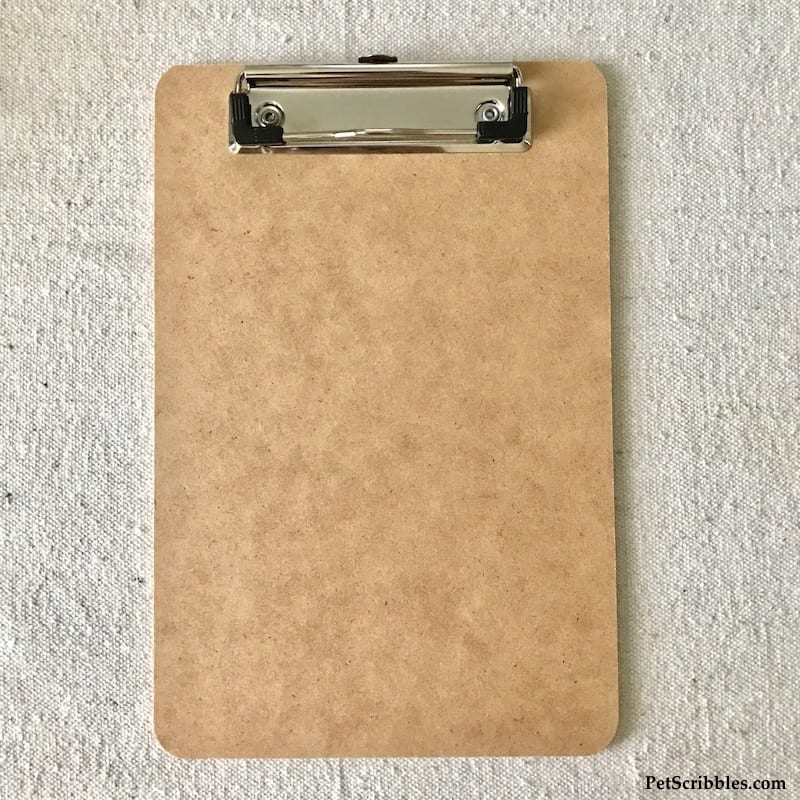
The other item you need is a basic wood clipboard.
These can be found at most dollar stores for — your guessed it — a dollar!
FTC Disclaimer: I’ve received products/compensation as part of the Simply Stamps Design Team. This Stamped Pencil Clipboard and Magnet gift idea, however, is 100% my own project! Some of the links in this post are affiliate links. I explain more here.
Let’s get started!
Useful Teacher Gift: Stamped Pencil Clipboard and Magnet
Supplies for Stamped Pencil Clipboard:
- Pencil Craft Stamp — Simply Stamps
- Basic wood clipboard — dollar store
- Black permanent ink pad
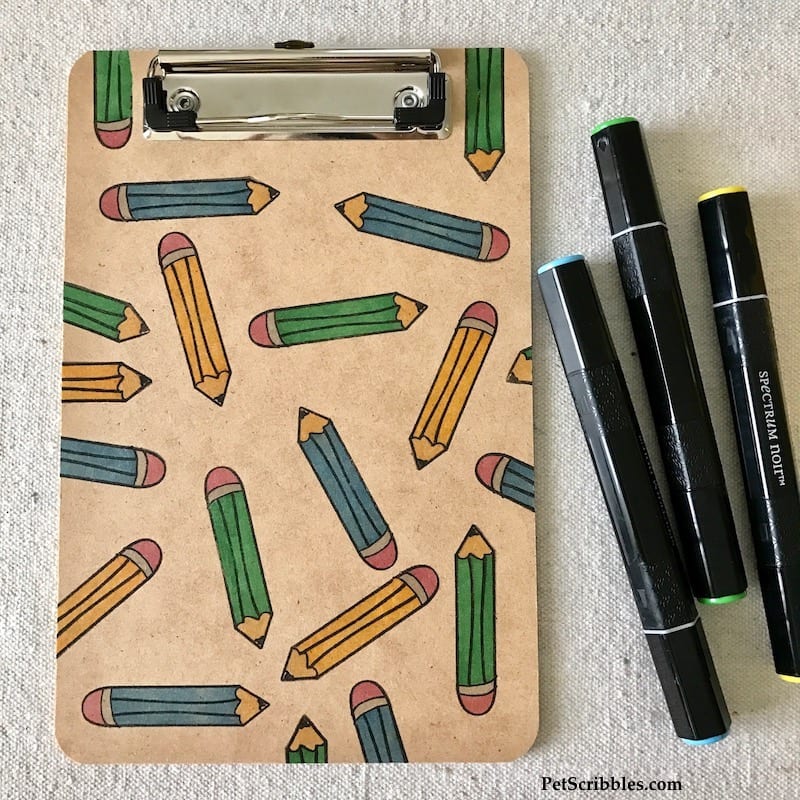
- Spectrum Noir Alcohol Markers
- Paper towels
- Matching ribbon scrap
Supplies for Stamped Pencil Magnet:
- Pencil Craft Stamp — Simply Stamps
- Manila hang tag
- Xyron Creative Station Lite
- Xyron Laminate/Magnet Refill Cartridge, 5″
- Scissors
Tutorial:
Step One: Wipe the clipboard with a damp paper towel to remove any dust. Let dry.
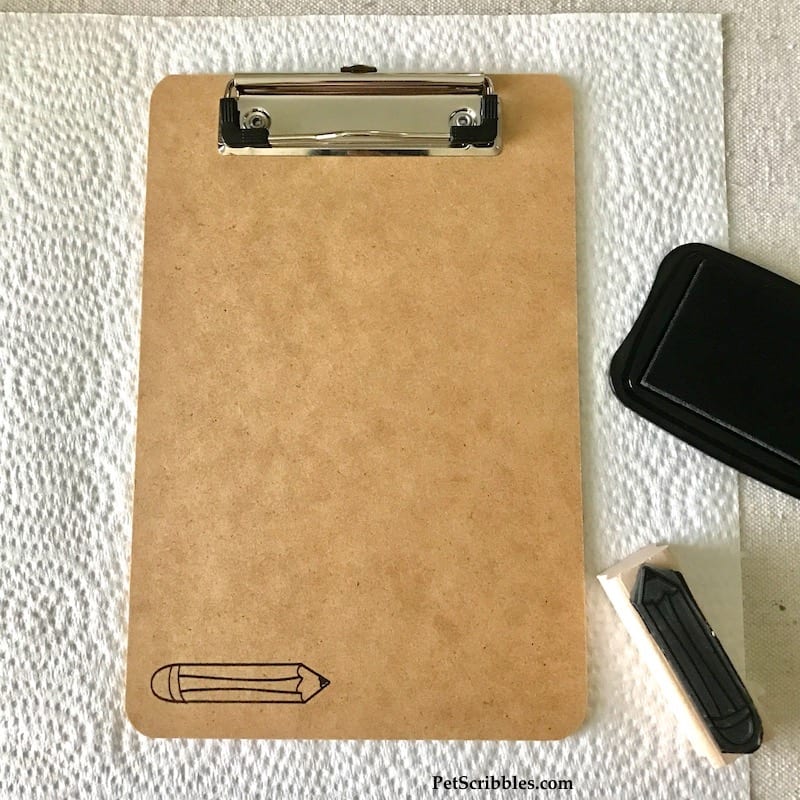
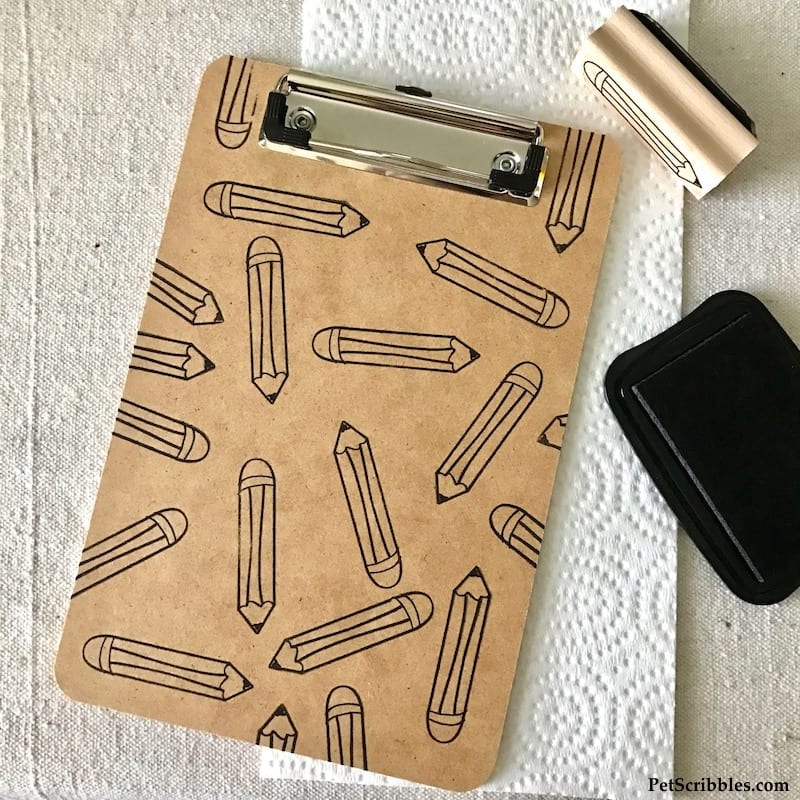
Step Two: Stamp your first pencil design in one of the bottom corners of the clipboard.
This will be your starting point.
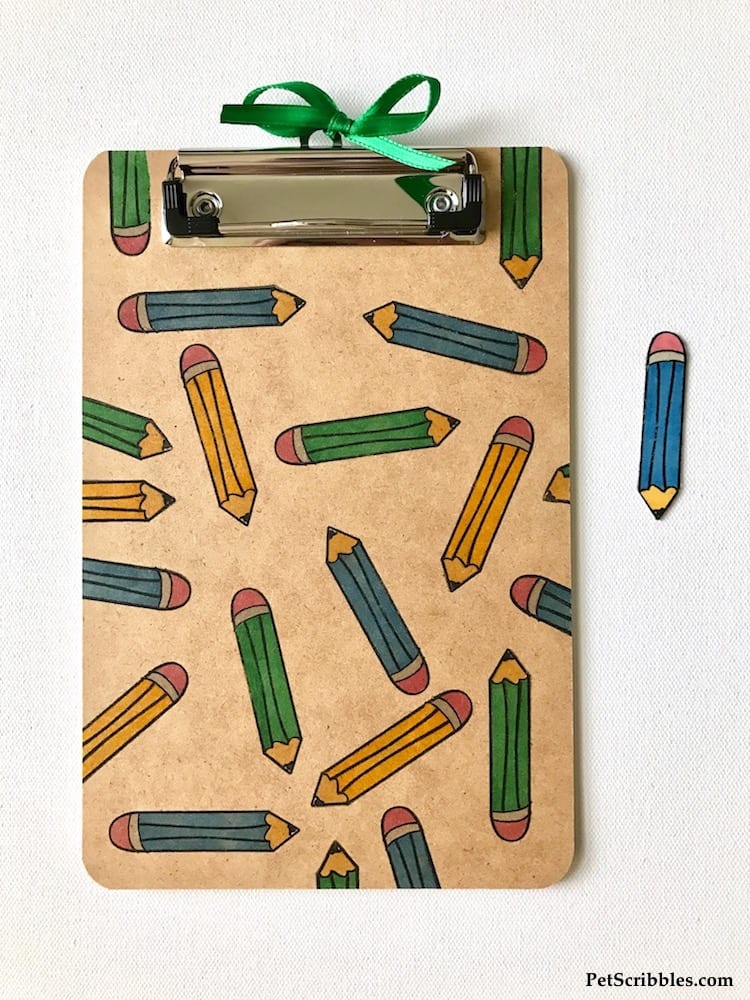
Step Three: Continue stamping the pencil image in a random arrangement all over the clipboard.
- Remember to position the pencil in different directions.
- Remember to stamp “partial” pencil images onto the edges of the clipboard.
I let the stamped images dry overnight. I’m not sure if this was completely necessary, but that’s what I did.
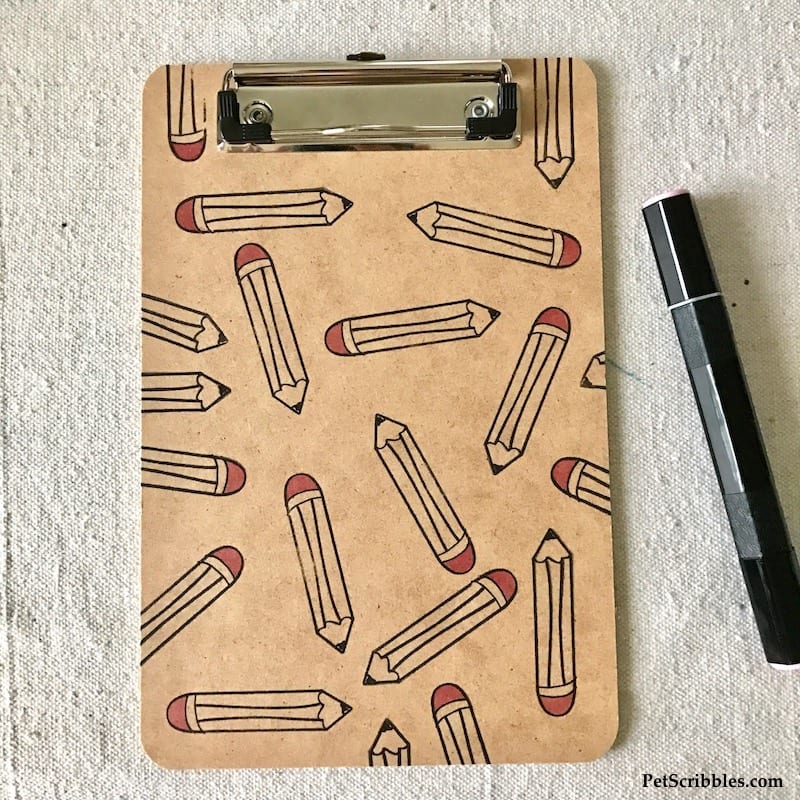
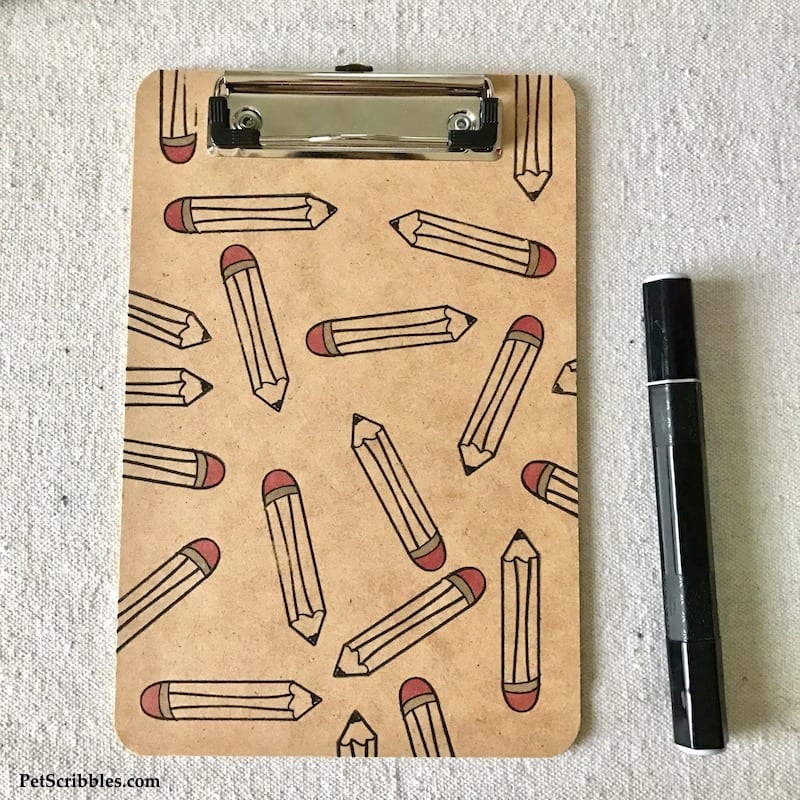
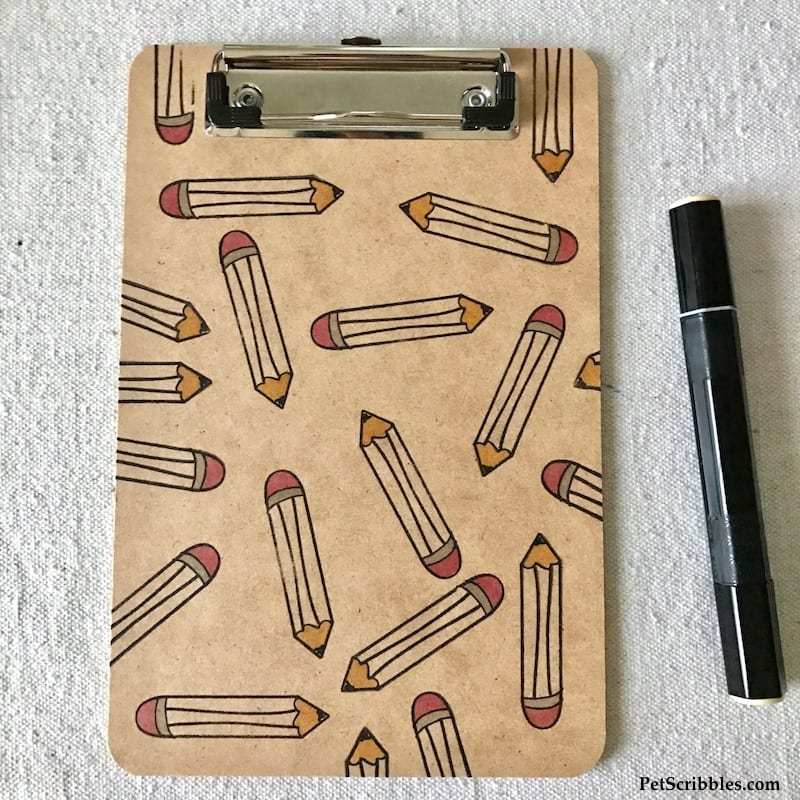
Step Four: Color in your stamped pencil images with markers.
I played with these colors (and others) on scrap paper first, to see which colors I liked the best.
First, color in all of the erasers on the pencils . . .
Next, color in the metal areas just below the erasers . . .
I considered using a silver metallic marker for this part, but after trying it on scrap paper, didn’t like the way the metallic ink became the most prominent part of the overall design. (It just jumped off the page full of pencils before you even realized they were pencils!)
Finally, color in the wood part that surrounds the pencil point . . .
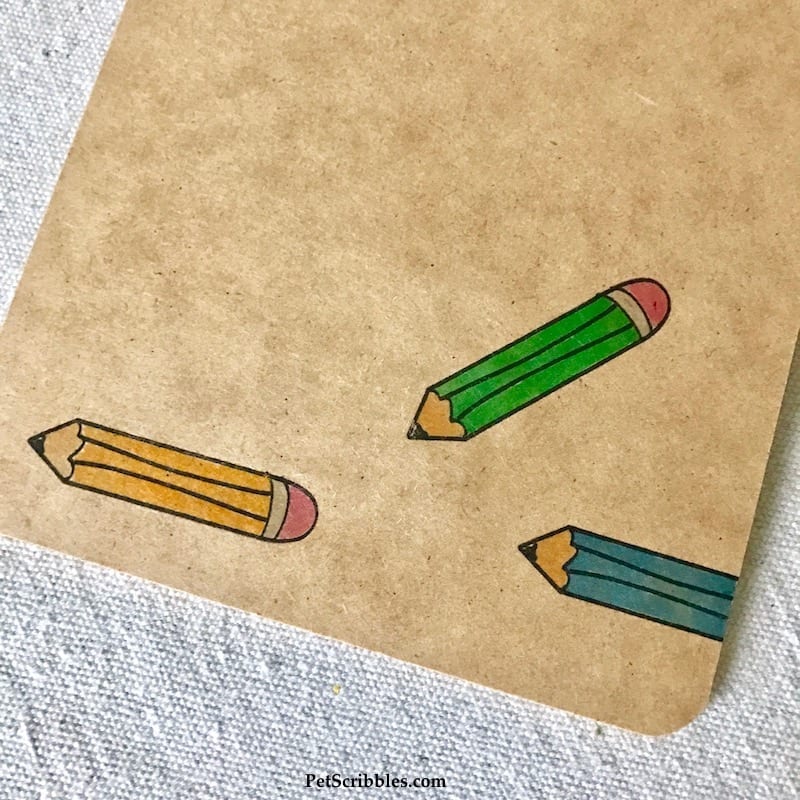
Although I practiced on scrap paper, I could already tell that the colors look much different with the clipboard as the background instead of white paper.
So before I colored in the pencils themselves, I stamped three pencil images onto the back of the clipboard to test the colors. (You could also purchase a second clipboard to use to practice your stamping.)
I love how the bright colors took on a more muted look!
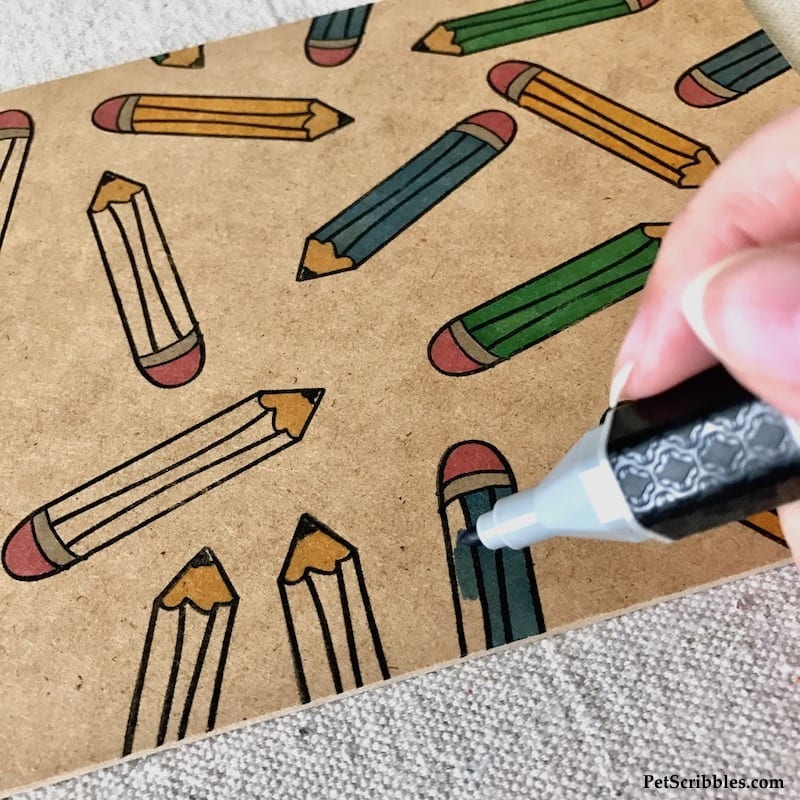
To color in the pencils, begin at the same bottom corner from Step Two.
Alternate the three colors (yellow, blue, green), but don’t stress about it if you end up with two blue pencils next to each other.
(Remember: crafting is fun!)
Let everything dry.
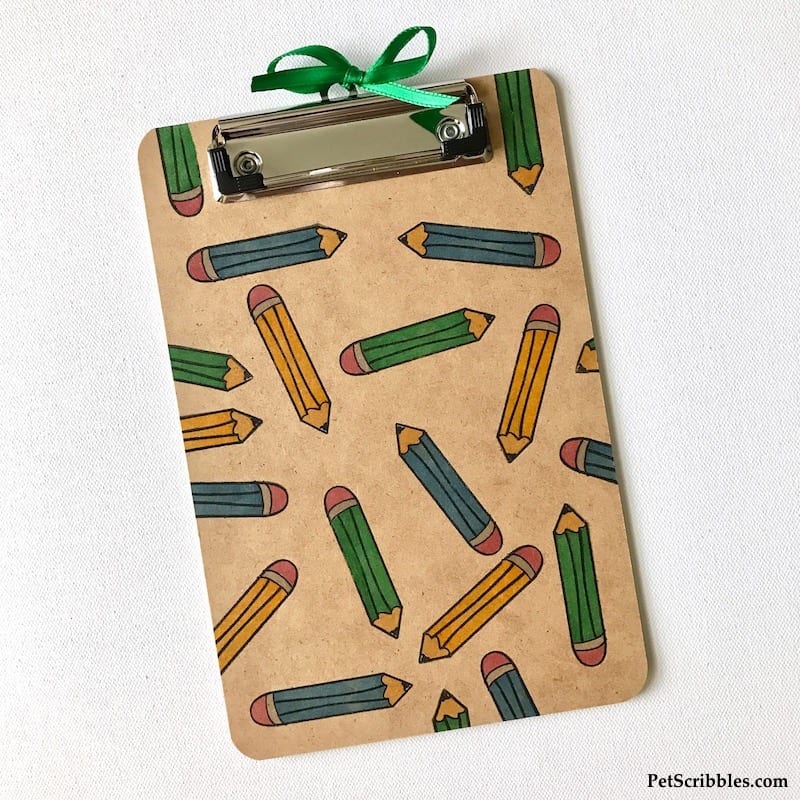
Step Five: Add a matching ribbon to the clipboard and tie into a bow.
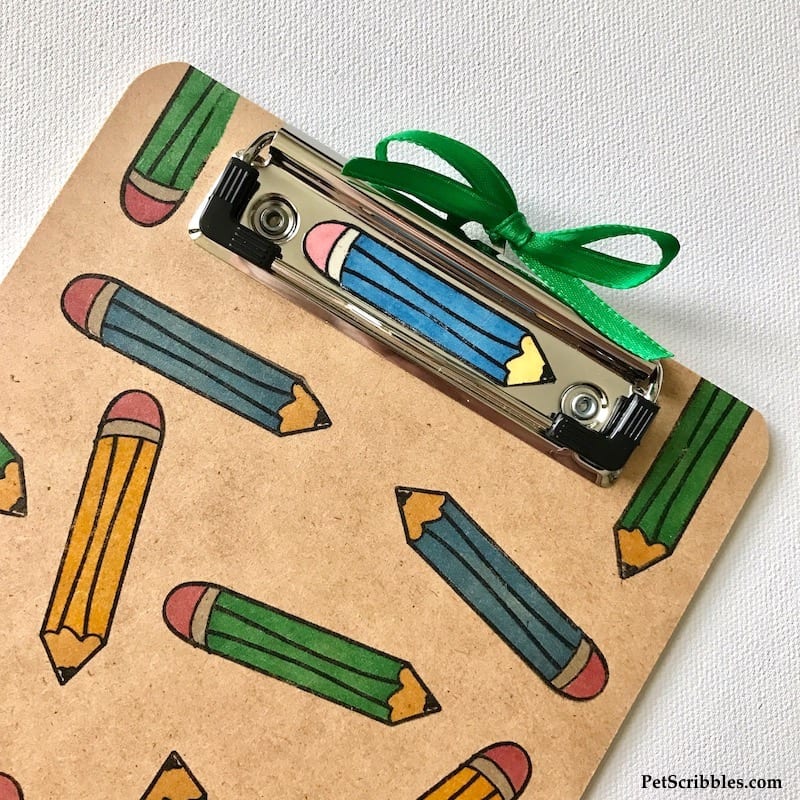
It still felt like something was missing. I wanted to have a pencil image right in the middle of that metal hinge at the top of the clipboard. (see above)
So I decided to make a pencil magnet and stick it there!
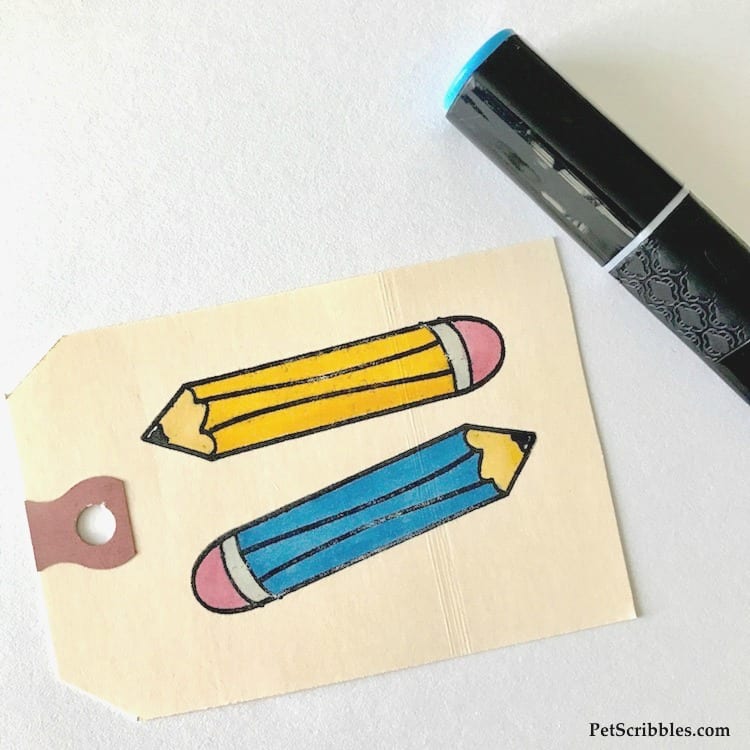
Step Six: Stamp a pencil image onto a manila hang tag. Let dry.
Step Seven: Color in the pencil image(s). Let dry.
Step Eight: Cut out the pencil image and run it through the Xyron Creative Station Lite using a laminate/magnet cartridge.
I have a step-by-step tutorial on how to make magnets from paper, so please click here to see the complete “how-to” instructions.
Once your magnet is cut out, you’re all set to add it to your clipboard.
I love how it looks! It adds just a bit “more” to the clipboard design, but also gives a special teacher another useful gift too!
And that’s all there is to it!
You can attach a card to the clipboard, or a gift card — perhaps to their favorite place to get coffee.
I love how adding color to the pencil stamped image really made it pop!
Another gift idea?
Simply Stamps has a wonderful selection of teacher and school-themed stamps, available in different sizes.
Purchase a few of these stamps, then place in a small gift bag for a special teacher to use all year long!
Happy crafting!

So cute!
Why thank you Paula! xo
Fabulous idea