Here is the best plant tag solution to keep your tags all in one place and easily available when you need them! Gardeners: never lose your plant tags again!
This week, our Xyron Design Team is sharing different ways you can use Xyron’s laminate cartridges for crafts, storage solutions, organizing and DIYs.
Xyron makes a double-sided laminate cartridge as well as a laminate/magnet cartridge. You can use these cartridges in both the Creative Station and the Creative Station Lite.
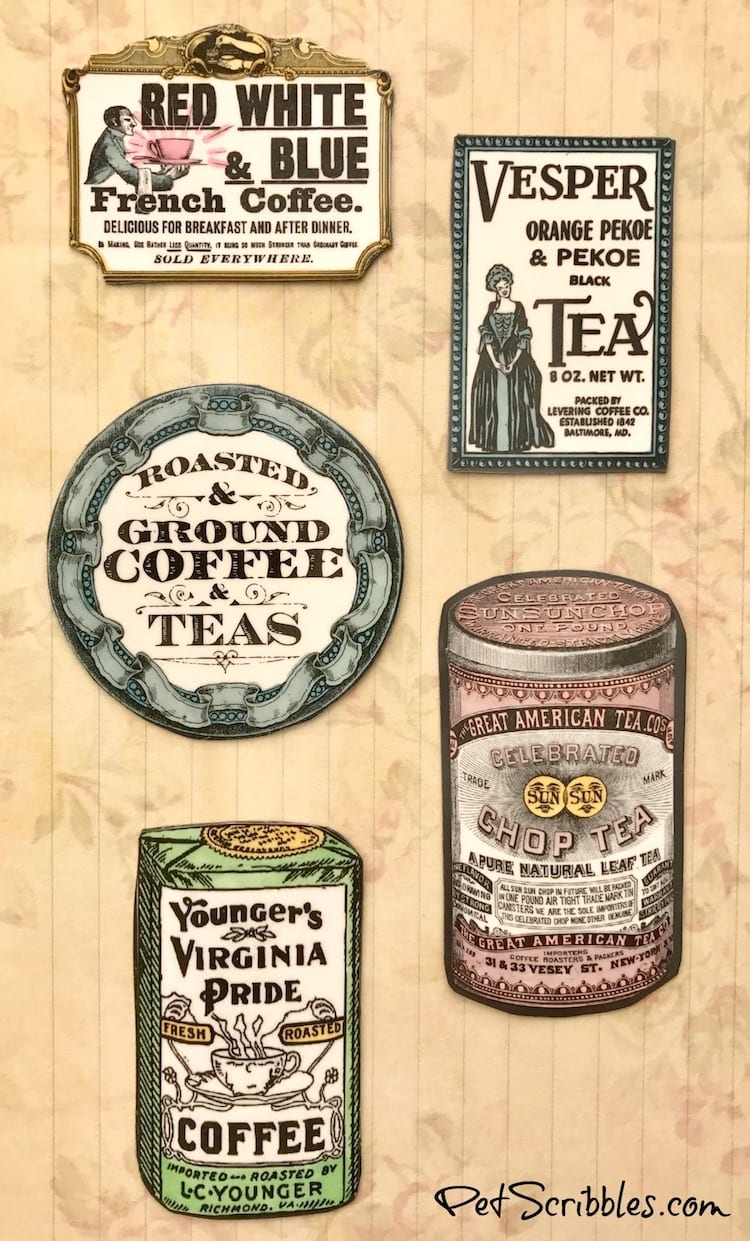
I’ve made many magnets with the laminate/magnet cartridge, including these vintage tea and coffee magnets.
But today, I’m all about using the double-sided laminate cartridge to help me with my gardening chores.
Yes, my gardening chores!
Plant Tags
Whether you’re an avid gardener like me, or just do a little bit of gardening here and there — saving your plant tags is a smart idea.
Most of the time, plant tags will have lots of information on them.
I refer to mine quite a bit when I’m gardening.
That is, when I can find the specific tag I need among the pile of plant tags in our garage.
I need to organize my plant tags.
It’s time for an intervention!
FTC Disclaimer: I’ve received products/compensation as part of the Xyron Design Team. This Plant Tag Solution, however, is 100% my own project! Some of the links in this post are affiliate links. I explain more here.
The Best Plant Tag Solution!
Supplies:
- Xyron® Creative Station Lite
- Xyron® Double Sided Laminate Refill Cartridge, 5-inch
- Plant tags
- Scissors
- Hole punch (I love this one by Fiskars)
- Keychain Binder Ring, 1.5-inch
Tutorial:
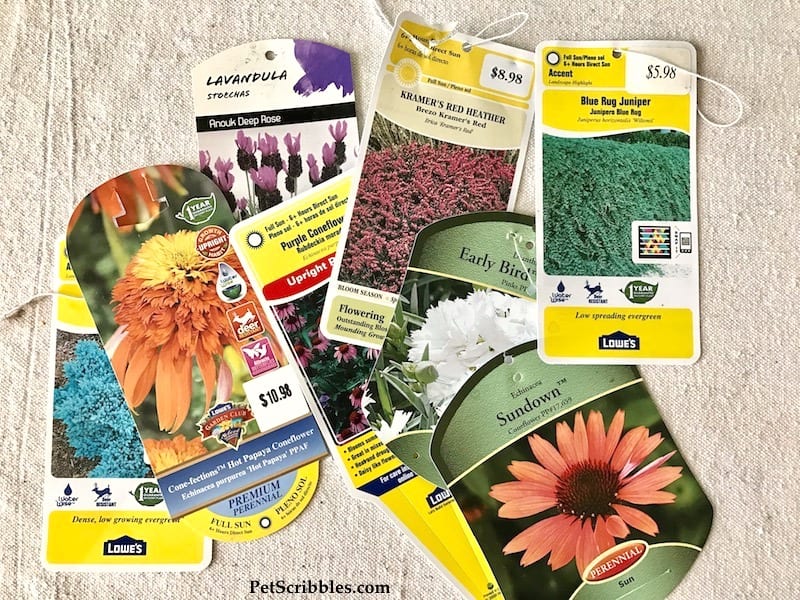
Step One: Gather your plant tags and wash them!
Yes, I needed to do this, after having them in a random pile in our garage over the years!
These are all plant tags from the back yard gardens.
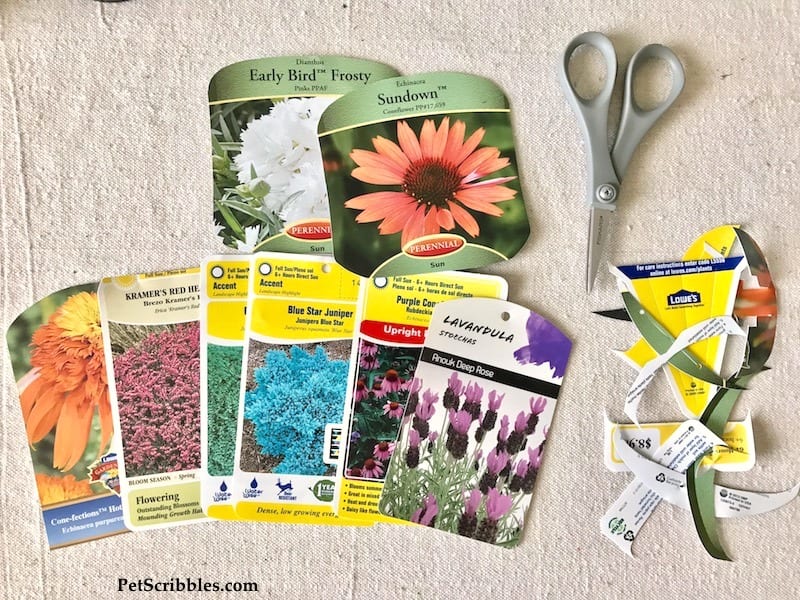
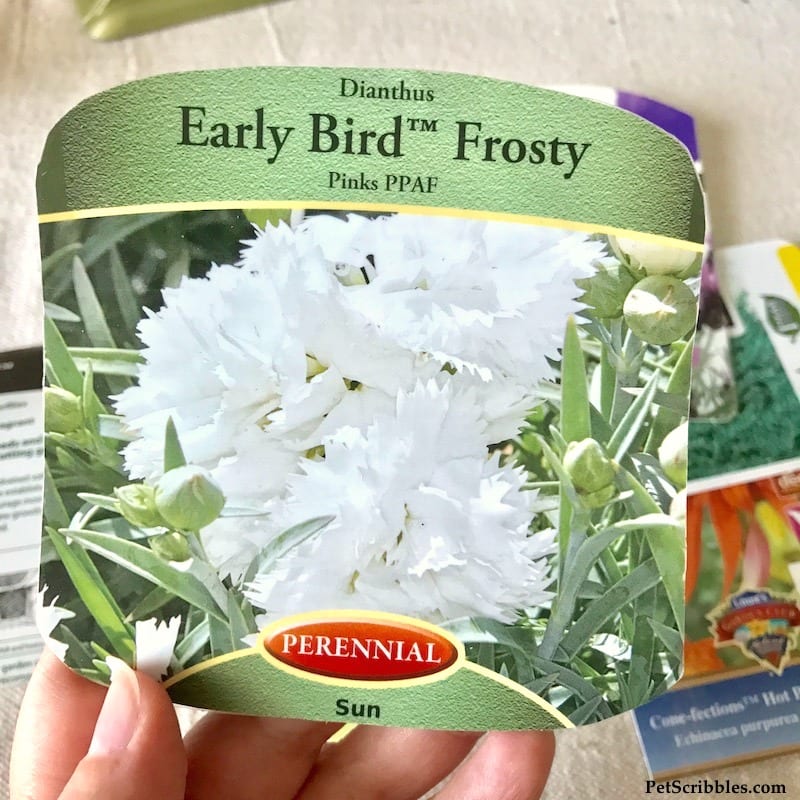
Step Two: Trim the plant tags as desired.
I cut off the strings that were still attached, then trimmed off the non-important parts to make all of the tags a similar size.
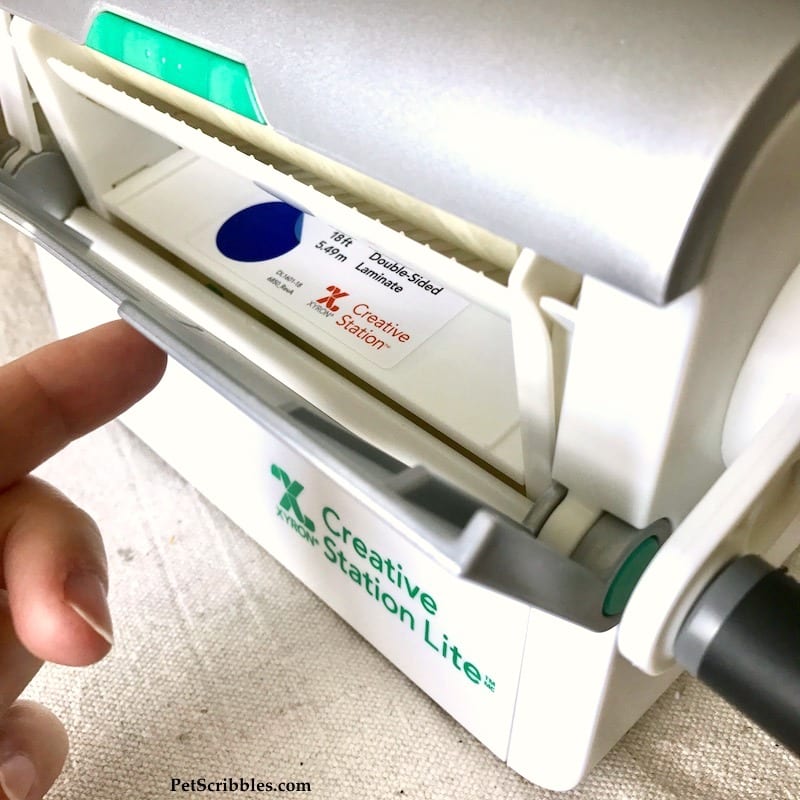
Step Three: Run each plant tag through the Creative Station Lite using a double-sided laminate cartridge.
Have I mentioned how much this little machine has changed my crafting life?
Now the Creative Station Lite is getting me organized too!
(You can refer to previous laminated tutorials — like this one I did with steampunk gear shapes — to see how the Creative Station and its little brother the “Lite” version work.)
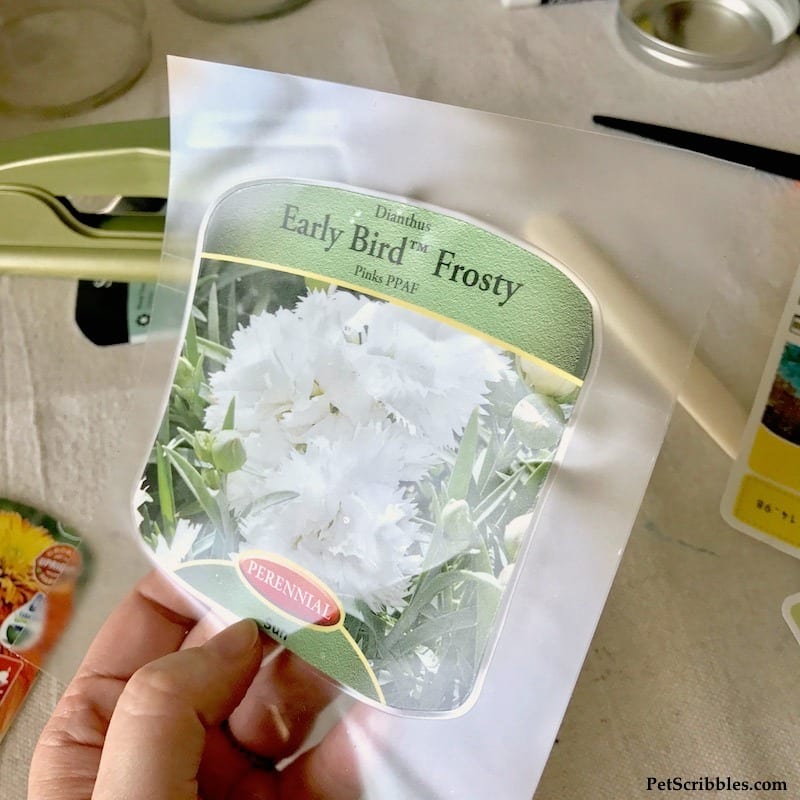
This is what a tag looks like once it has gone through the Creative Station Lite:
The tag has been laminated on both sides.
Laminating your plant tags will prevent them from fading or ripping, plus you can simply wipe them clean if you hold them with grubby gardening gloves like I do!
Step Four: Use a bone folder to gently press down around the edges of the tags before cutting the excess away.
I find this helps my cutting be a lot cleaner, but this is optional.
Step Five: Cut away all of the excess laminate around each tag.
You can either leave a little seam around the tags or cut them right up to the edge of each tag, like this:
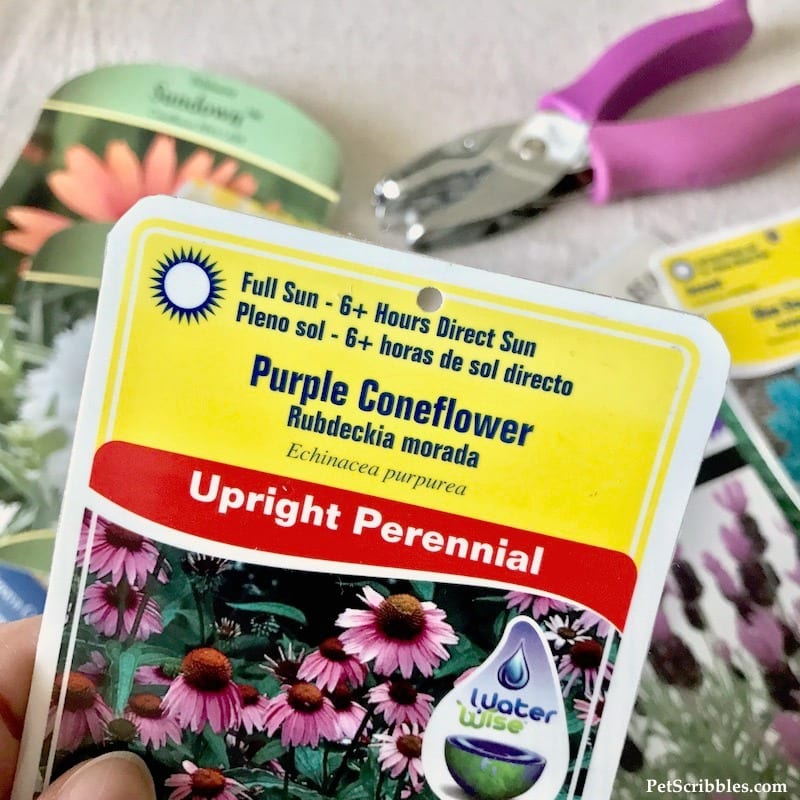
Step Six: Punch a hole in each laminated plant tag.
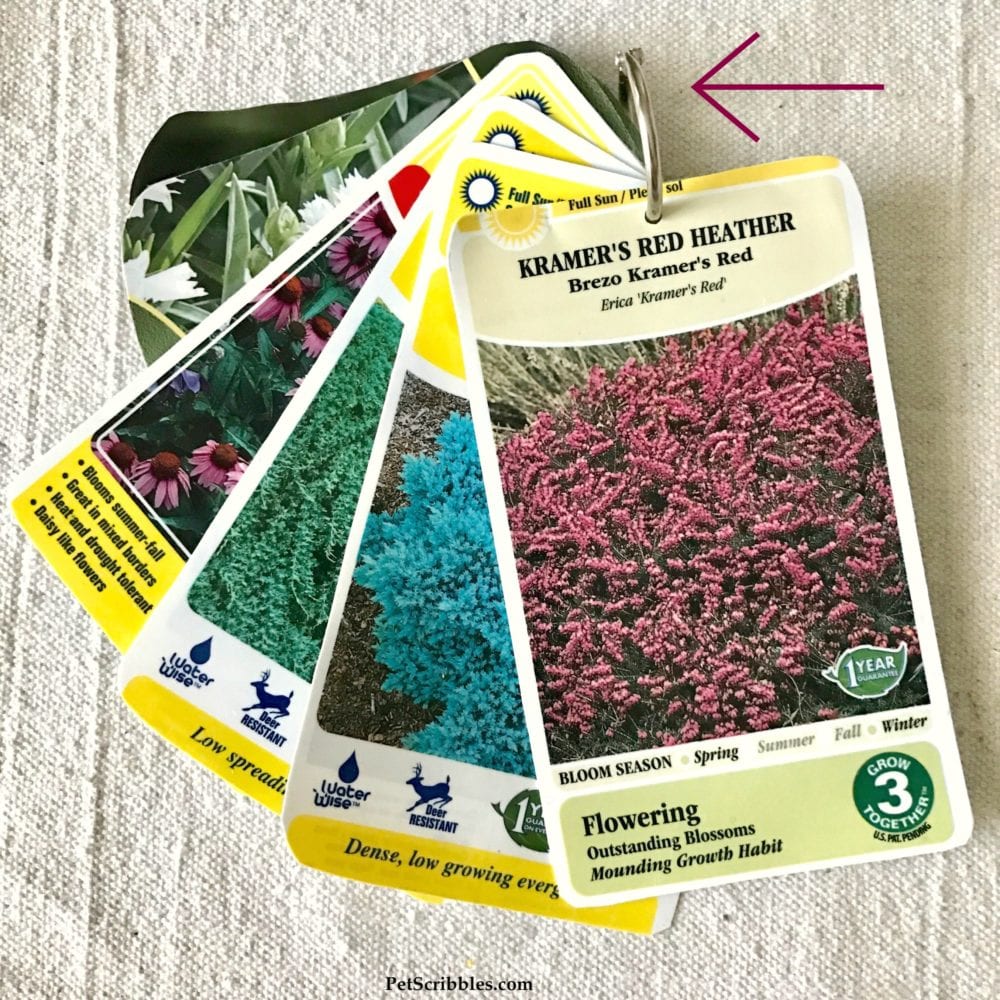
Step Seven: Attach them to a keychain binder ring.
These little rings are so handy!
And that’s it!
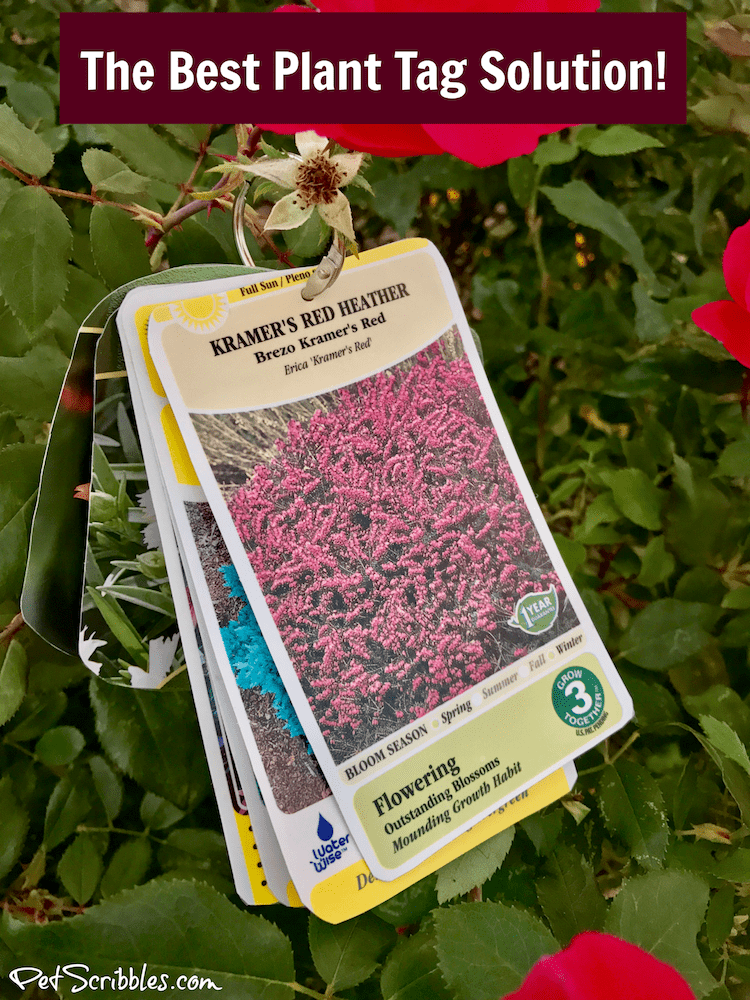
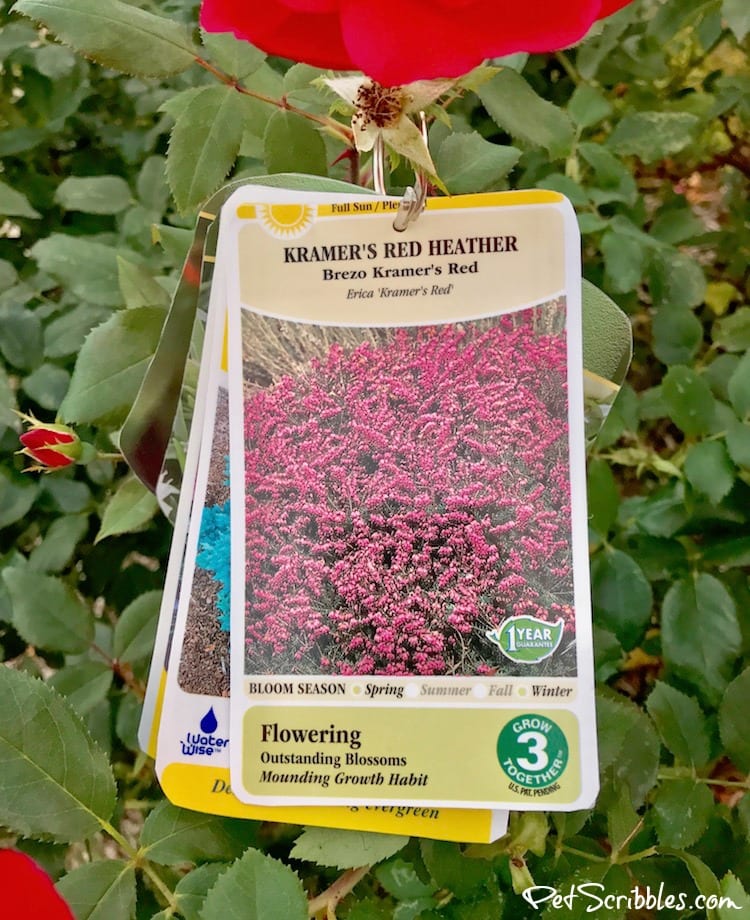
Now you can hang the plant tags on a nail in your garage or garden shed…
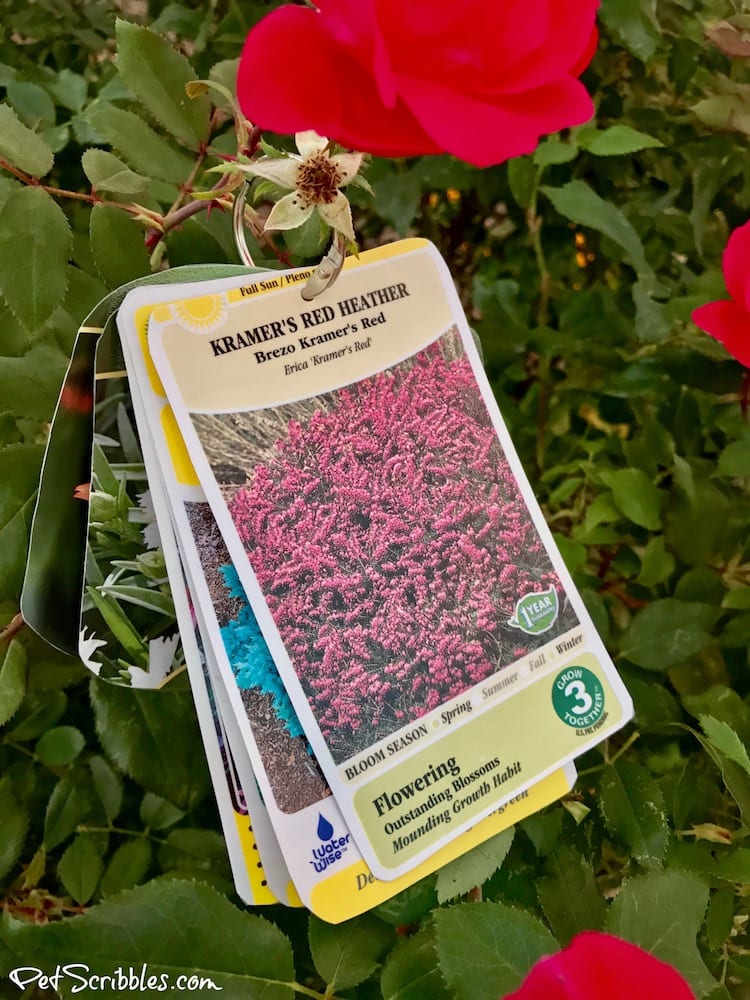
…or on a rosebush!
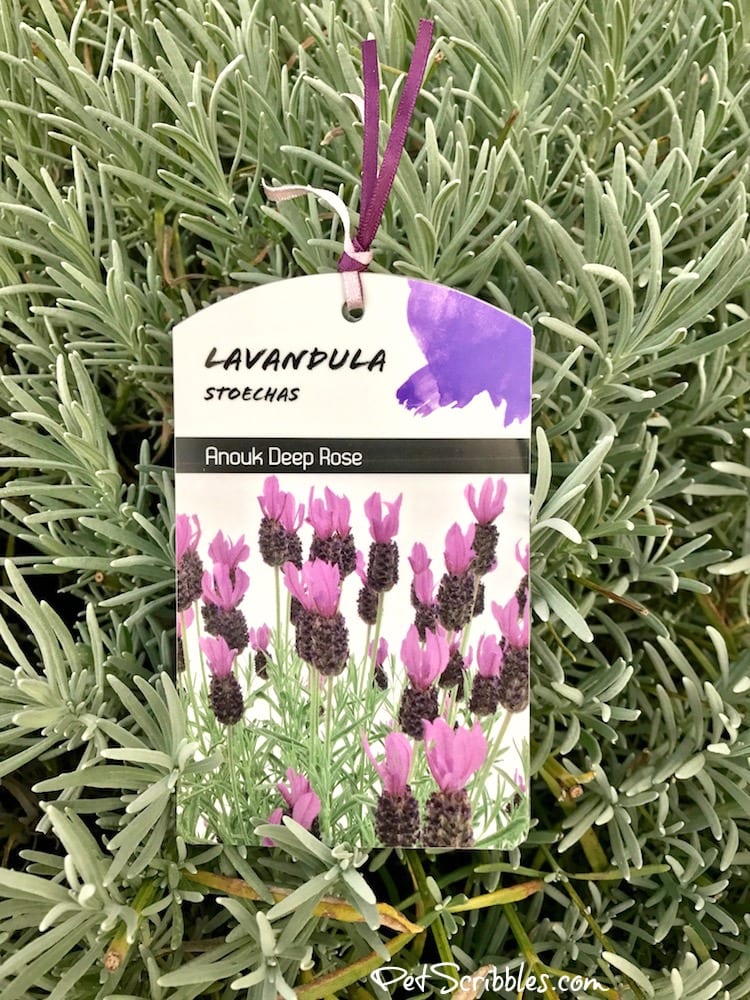
I also made one of the plant tags into a bookmark, simply by threading some ribbon through the hole and tying a knot.
I plan on making another set of laminated plant tags for our front yard plants and shrubs.
And when I buy another plant — and oh how I love to buy plants and flowers — I can simply trim the tag, laminate it, and add it to the binder ring.
Isn’t that the best plant tag solution?
I think so!
Make sure to stop by our Xyron Facebook page this week to see all of the laminate projects from the Xyron Design Team!
Happy crafting!
~Laura

Leave a Reply