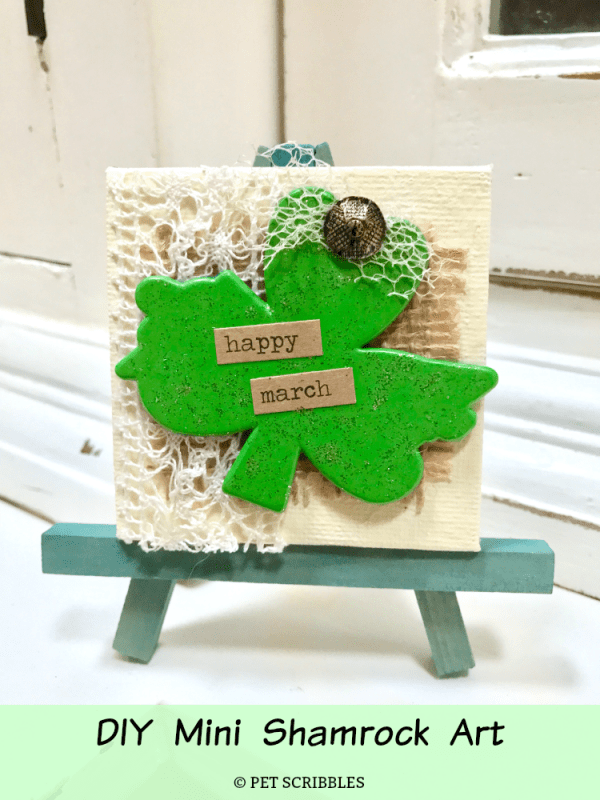
I’m not Irish, nor is my husband, so St. Patrick’s Day isn’t really a holiday that I decorate for.
That is, until this shamrock miniature art canvas came together so easily!
This project actually got its start last year on St. Patrick’s Day, when my husband and I went to our local pub for awesome Irish food and drink.
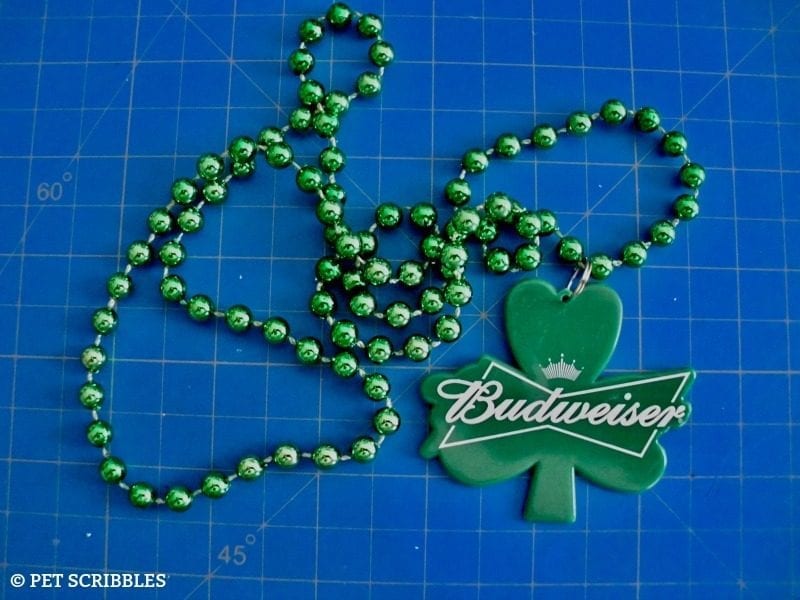
We were given these plastic promo necklaces . . .
Can you say tacky?
My husband left his there, but I kept mine.
Why?
Because I tend to be a hoarder when it comes to potential craft supplies, i.e. things I think I may craft with someday!
And someday is today, so let me show you how I transformed this little plastic thing into something pretty.
FTC Disclaimer: Some of the links in this post are affiliate links. I explain more here.
Shamrock Miniature Art Canvas
Supplies:
- Miniature canvas, 3” x 3”
- Plastic shamrock ornament or necklace
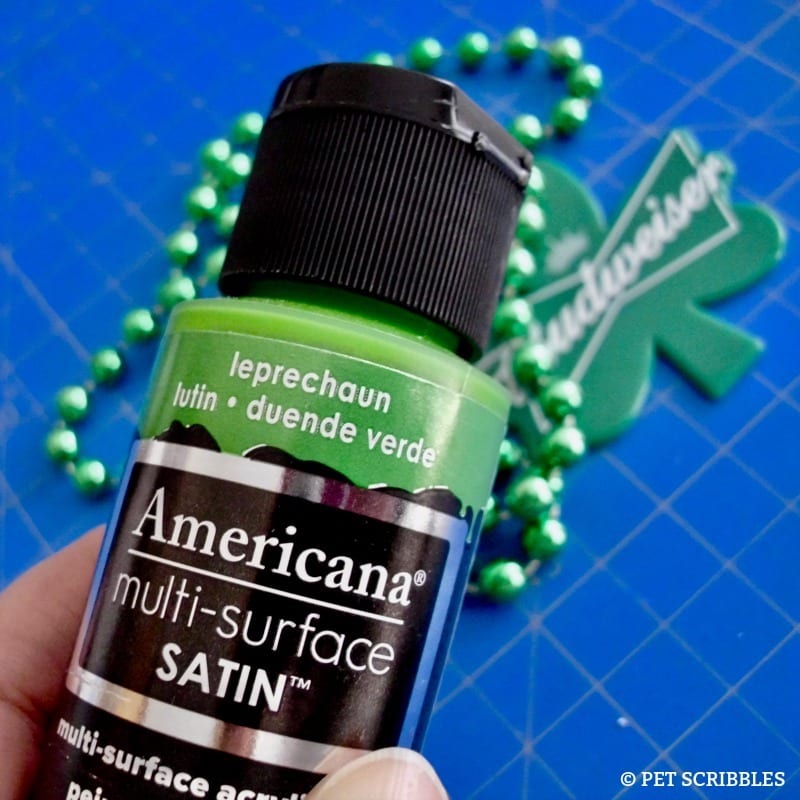
- DecoArt Americana multi-surface paint in Leprechaun
- DecoArt Americana craft paint in Buttermilk
- DecoArt Craft Twinkles in Lime Green
- Antique Mod Podge
- Sponge brush for painting
- Fabric scraps: burlap, lace, vintage tulle
- Scissors
- Decorative furniture tack
- Small words from Tim Holtz seasonal stickers
- Sharpie gold marker
Tutorial:
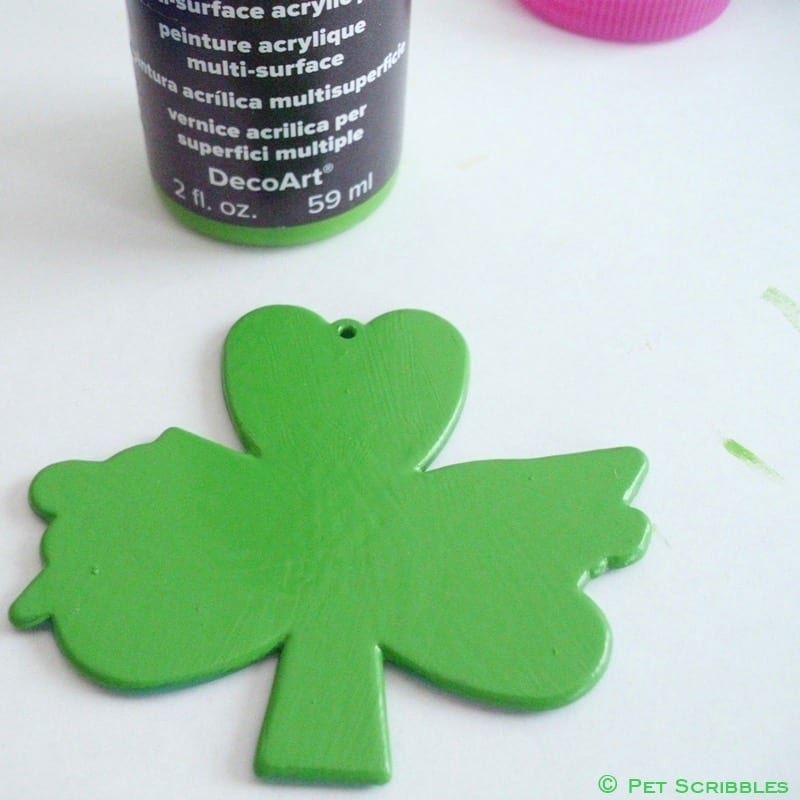
First, I gave the shamrock a quick coat of paint. And look: the paint color is called Leprechaun!
Already the shamrock is looking better!
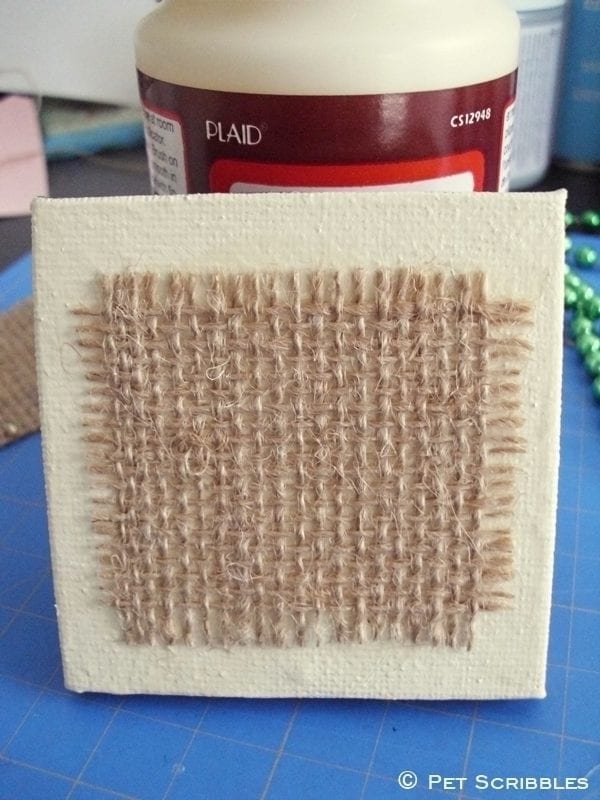
I used a miniature canvas for the background. This canvas is only 3 inches square.
First I painted it with a coat of off-white craft paint. (The color is called Buttermilk, which I linked to in the supplies list above.)
Once dry, I added a small square of burlap that I measured and cut to fit within the margins of the square canvas.
Helpful tip: Click here to read my easy tip for cutting straight lines in burlap.
I painted a quick coat of Antique Mod Podge onto the canvas, and then adhered the burlap square.
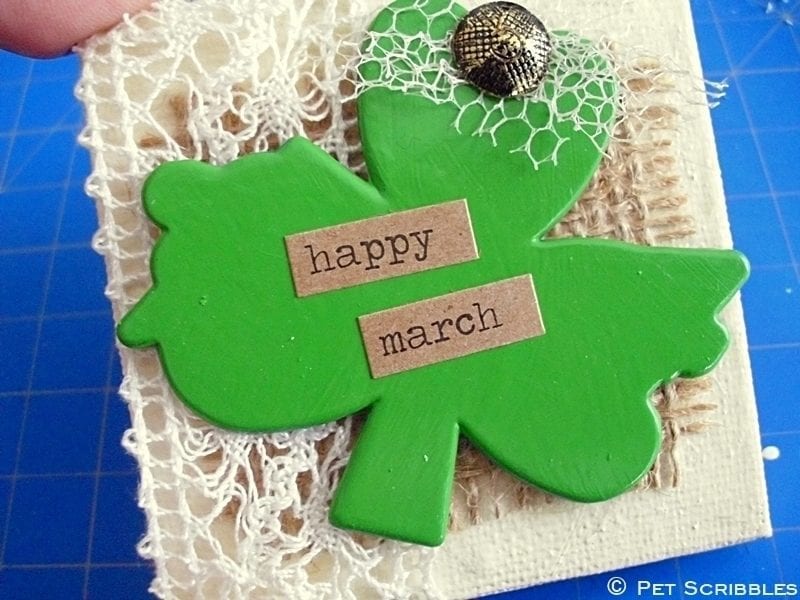
I added a scrap of lace onto the left side of the canvas on top of the burlap, trimming the ends to fit.
A decorative furniture tack was the perfect embellishment to stick through the pre-fab hole in the top of the shamrock.
I attached a tiny scrap of vintage tulle to the furniture tack as well.
On the front of the shamrock, I added small word stickers.
I love the mix of textures so far: plastic, canvas, burlap, lace, tulle and paper.
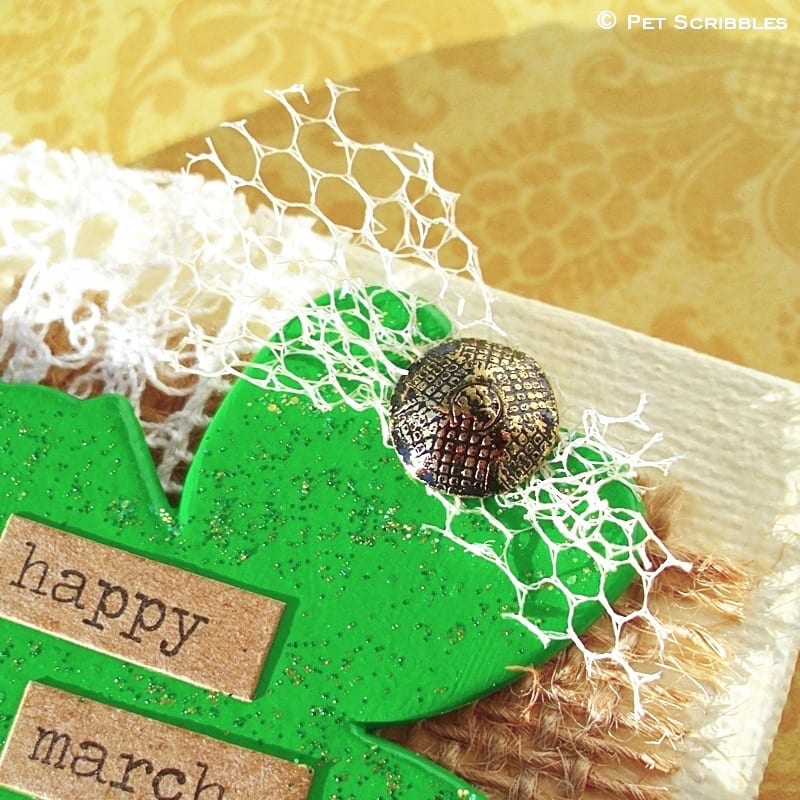
I decided to add green glitter paint to the shamrock.
(Yes, this meant taking the decorative nail off. Once the glitter was dry, I simply added the nail and tulle back on.)
I used DecoArt Craft Twinkles in Lime Green.
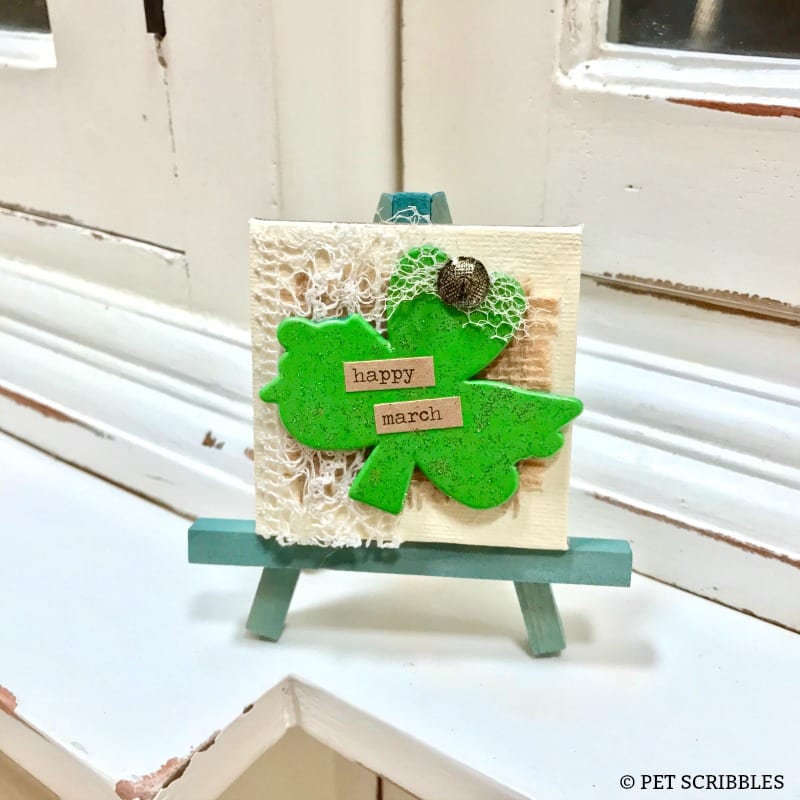
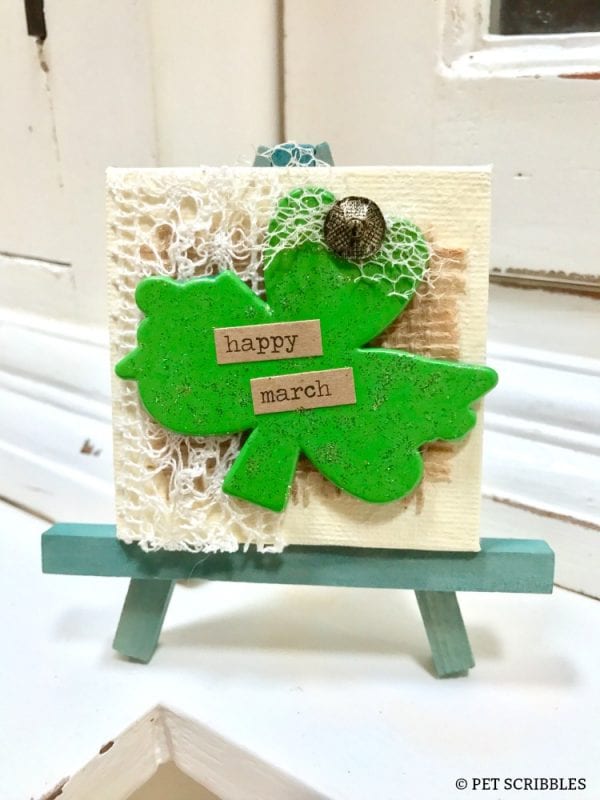
The glitter was the perfect finishing touch to my shamrock miniature art!
The glitter and the decorative furniture tack provide the shine – a nice contrast to the other matte textures.
So now we have a sweet little decoration for St. Patrick’s Day!
I love it, and will add this to our mantel as the holiday draws near.
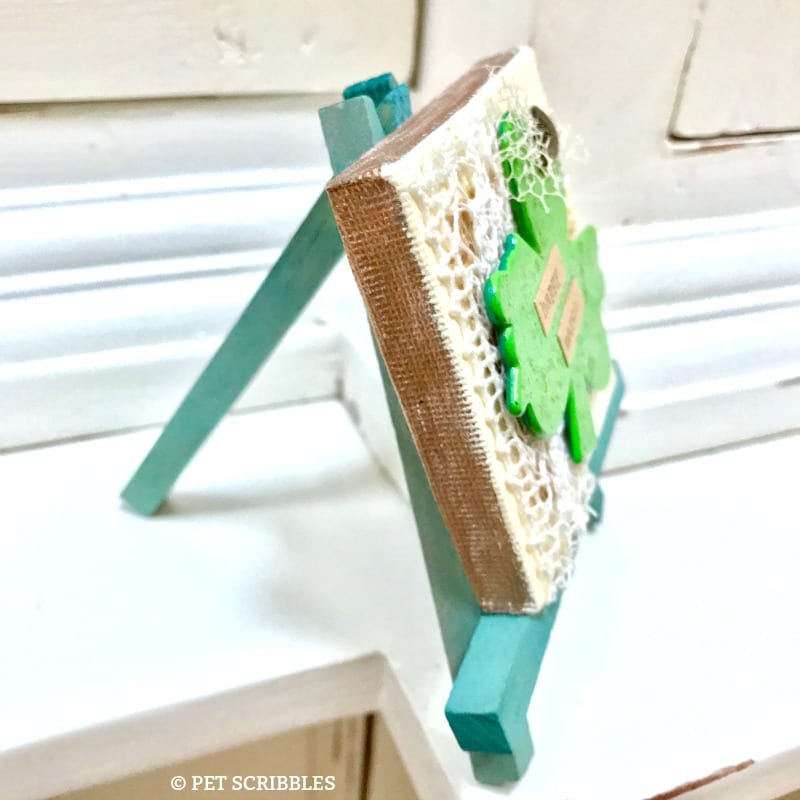
Once I placed it on a miniature easel, I decided to add some metallic gold to the edges of the canvas. I used a metallic gold Sharpie marker and just colored in the edges. Easy peasy!
So a once-tacky plastic necklace became the focus of this shamrock miniature art!
Do you decorate for St. Patrick’s Day?
You may also enjoy reading the tutorial for my St. Patrick’s Day Plaque.
Need festive drink ideas for both adults and kids?
Click over to the best non-alcoholic and alcoholic drink recipes for St. Patrick’s Day!
Happy crafting!
An older version of this tutorial originally appeared on the Live Creatively Inspired blog, when I was a craft contributor there. This tutorial has been completely updated.



Leave a Reply