Rustic Bottle Brush Trees on Spool: Paint bottle brush trees to match a wood spool, then glue it all together for an easy farmhouse Christmas decoration!
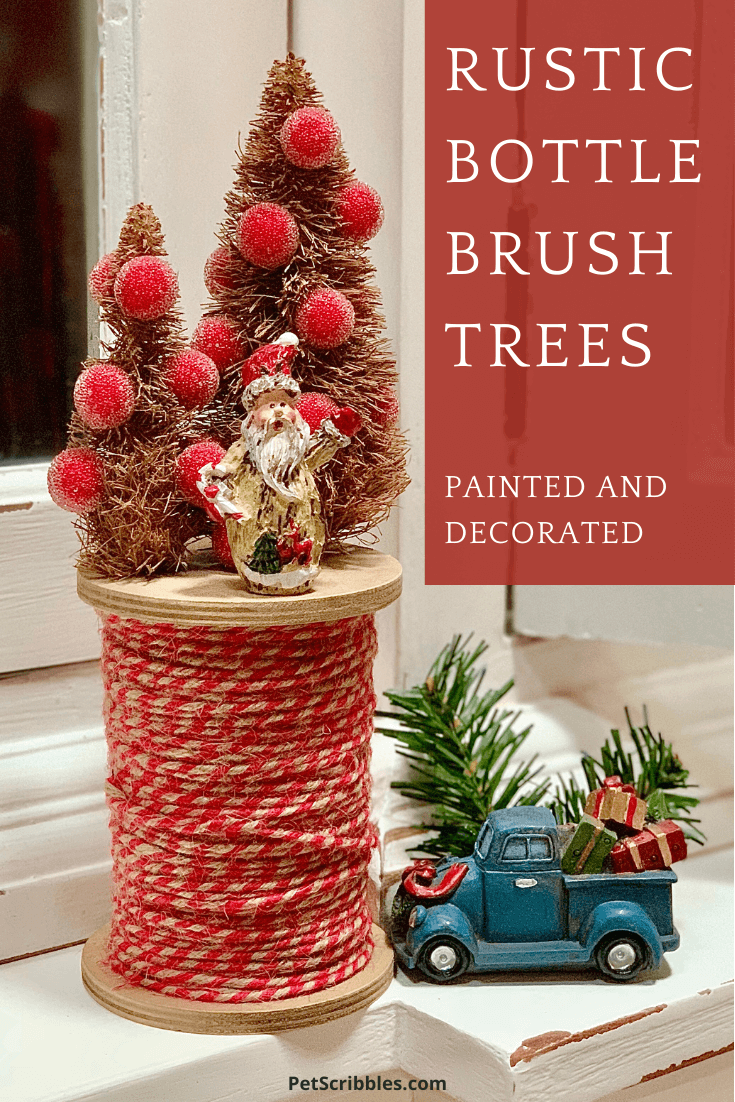
I love bottle brush trees!
After working on this rustic Christmas decoration, I want to buy up all the bottle brush trees everywhere and just keep creating with them.
I also love spools.
As a result, when I saw a bunch of these oversized wood spools at Michaels, complete with the red and tan twine wrapped around it, I knew I had another bottle brush DIY in the making.
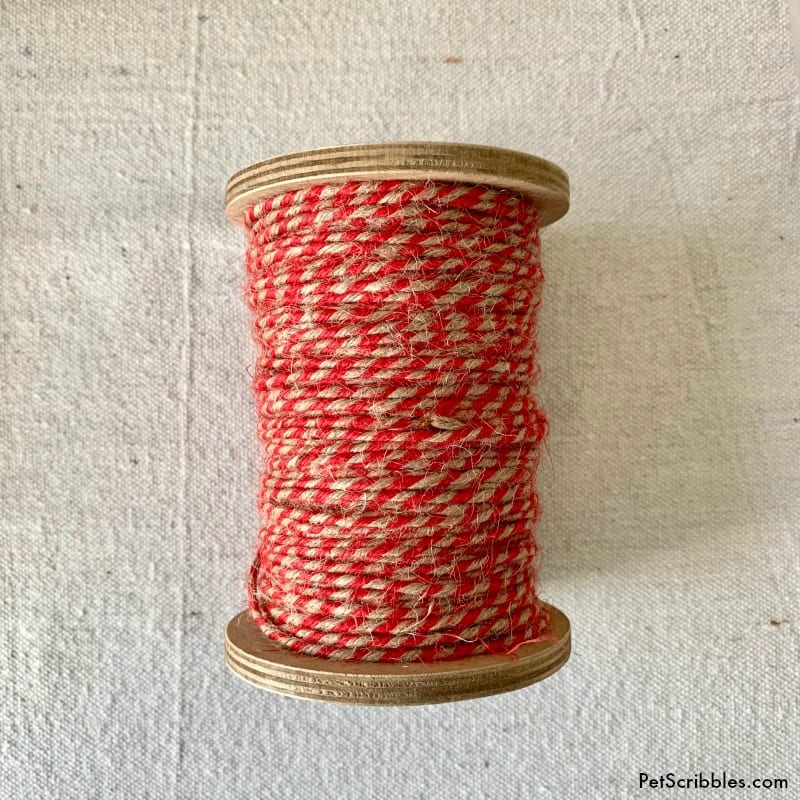
They come in two sizes, and this is the larger size. They are currently on sale at Michaels, so I hope you’re lucky enough to grab some!
The first thing I wanted to do was to paint some bottle brush trees to match the wood spools.
Let’s begin!
Supplies:
- Large spool of baker’s twine or regular twine — Michaels
(I found a similar one on Amazon here, but it’s a bit pricey) - Holiday berry pick — Michael’s
(I found a similar bunch on Amazon here for you) - Ivory bottle brush trees
(I bleached my own trees, but you can find similar on Amazon here) - Craft paint in matching color to twine
(I used DecoArt Soft Suede craft paint) - Jewelry pliers (great for cutting wire, better than scissors)
- E6000 Craft Adhesive
- Wax paper
- Recycled plastic lid to hold paint
- Small paintbrush
(These are my favorite paintbrushes!)
Tutorial:
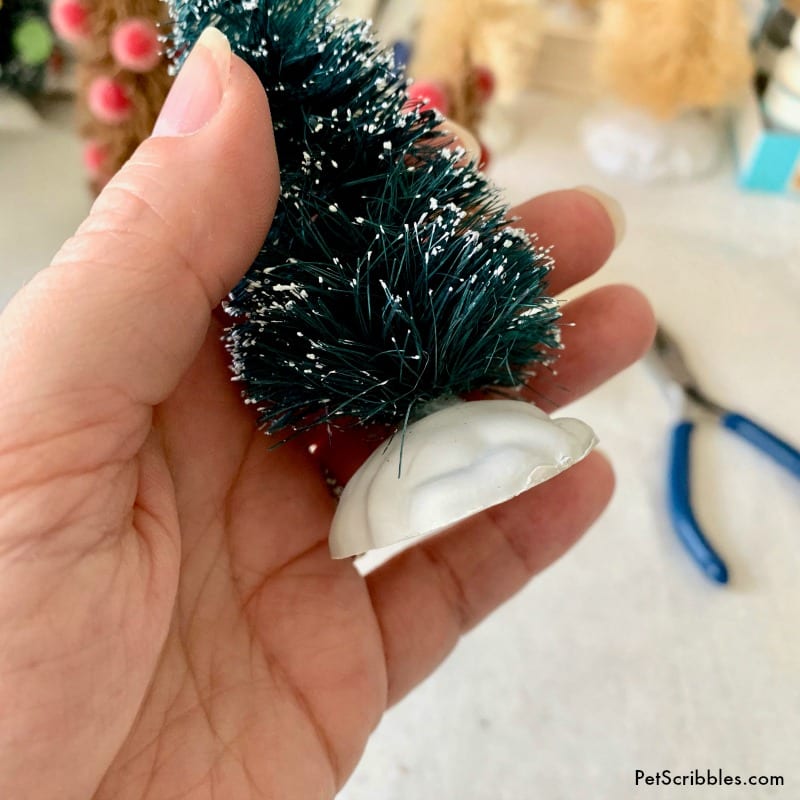
Step One: Remove the plastic bases from the bottle brush trees.
Whether you choose to use painted bottle brush trees, or these pretty green ones that are super popular, here’s a handy tip: You can easily unscrew these trees from their plastic bases. (I’m unsure about the trees with the small wood bases, but I imagine it’s the same idea.)
Step Two: Color match a craft paint that matches with your wood spool.
This is a great idea for any type of base you choose for your bottle brush tree scene, and is easiest to do when you’re in the craft store.
Since I have a zillion bottles of craft paint at home, I didn’t do this helpful step.
At first, I tried the color you see below, in the plastic lid. Let’s just say the color painted onto the ivory trees turned out like baby poop. And no, I’m not sharing a picture of them either!
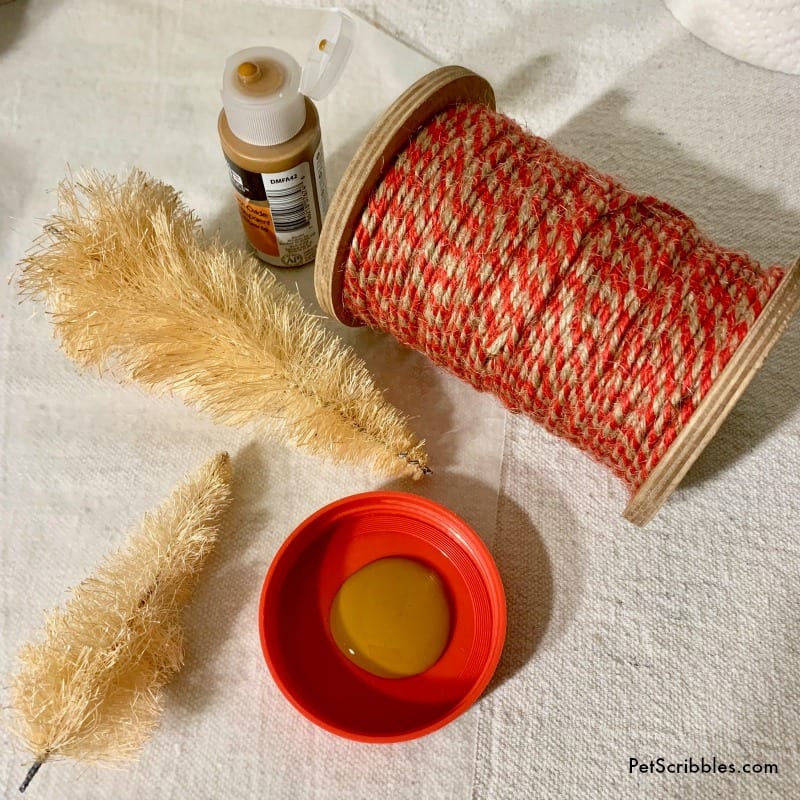
Lesson learned: don’t try to color match in the evening lamp light of your craft room.
Also lesson learned: do as I say, not as I do… sometimes!
Step Three: Paint your bottle brush trees with your chosen color.
These trees are painted with a pretty craft paint color called Soft Suede. I love how the color looks!
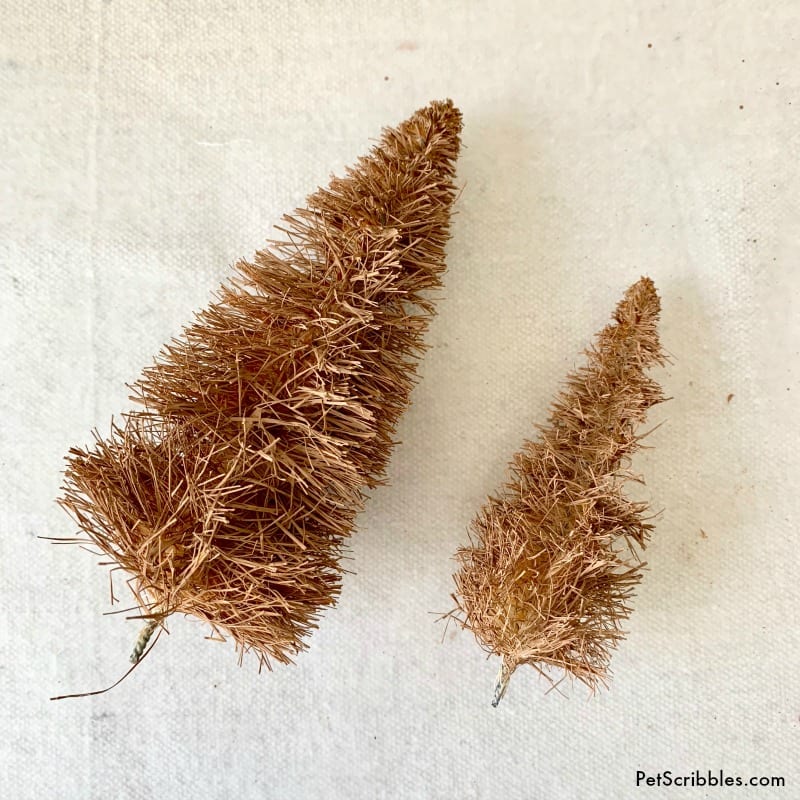
Tips for painting bottle brush trees:
- Ivory bottle brush trees are best to paint. (I used trees I had bleached myself.)
- Use a tiny brush
- Paint gently, so you don’t have the tiny flecks of paint everywhere.
- Tap the paint onto the tree’s bristles, then use the sides of the brush to move the color around.
- Add paint to the bottom tip of the paint brush, then work the brush into the middle “stem” of the tree and wiggle it around to apply the color inside of the tree.
- Hold the tree by the bottom wire stem, which is exposed from the base you removed.
- Start at the top of each tree and slowly work your way down to the bottom.
- Leave each tree resting on its side on a sheet of wax paper. (The wet paint won’t stick to the wax paper.)
Step Four: Remove berries from a floral pick to use as bottle brush tree ornaments.
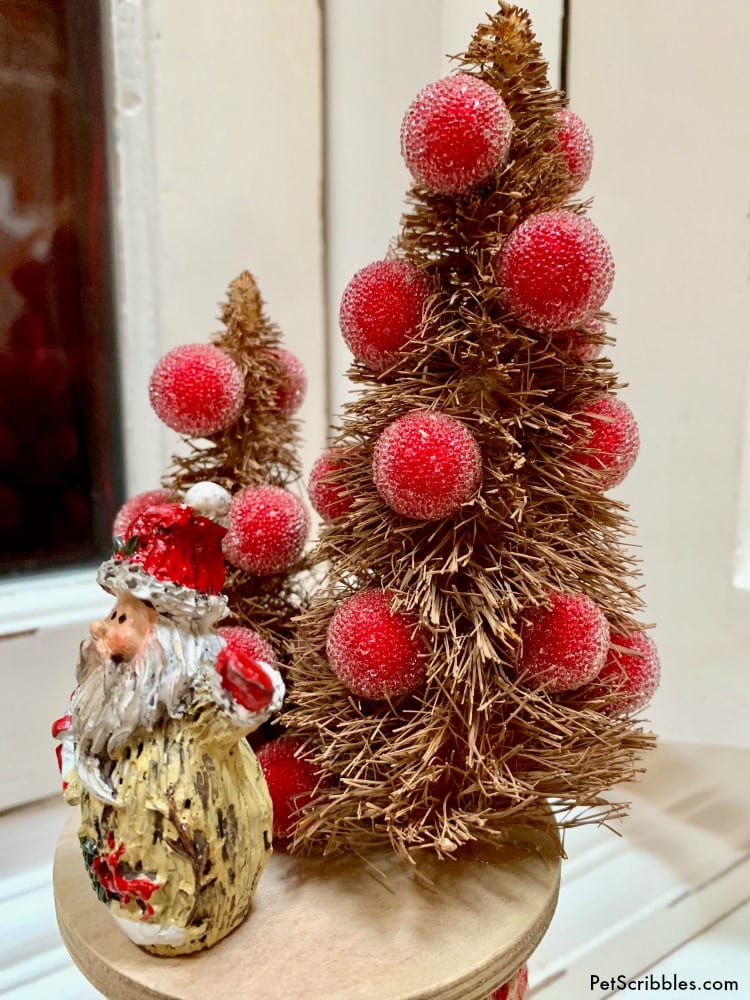
I matched up this frosted berry holiday pick at the craft store with the red color of the wood spool’s twine. Each berry is covered with tiny clear beads which make them look frozen — a perfect look for my rustic bottle brush trees on a wood spool!
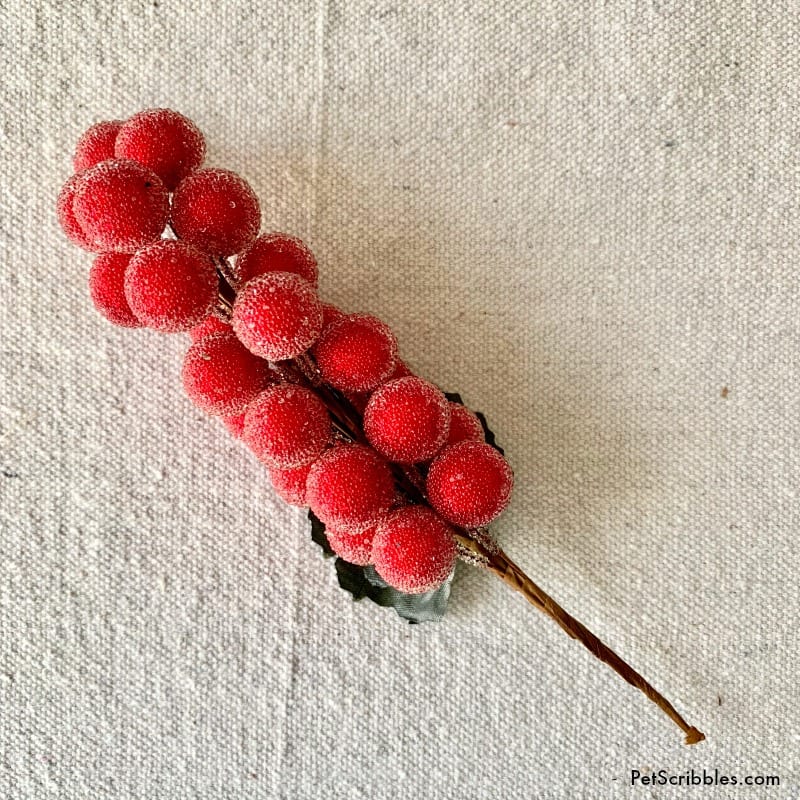
Use jewelry pliers to easily remove the berries from the floral pick. (Using scissors might damage the sharpness of the blades. So if you must use scissors, just grab an old pair versus your best shears.)
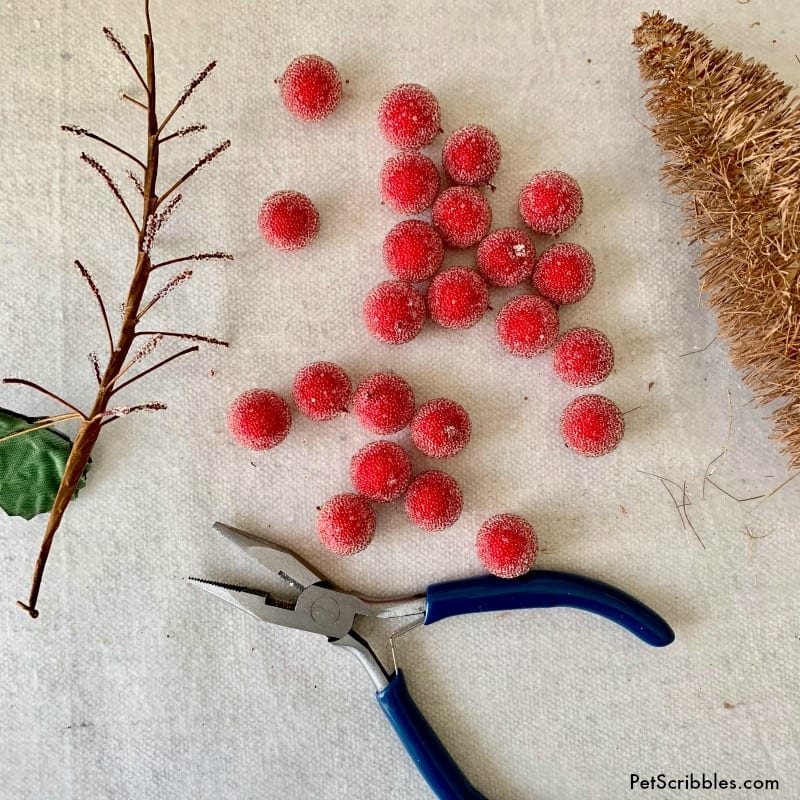
Putting everything together with glue!
Step Five: Attach the berry ornaments to the bottle brush trees using E6000 craft adhesive.
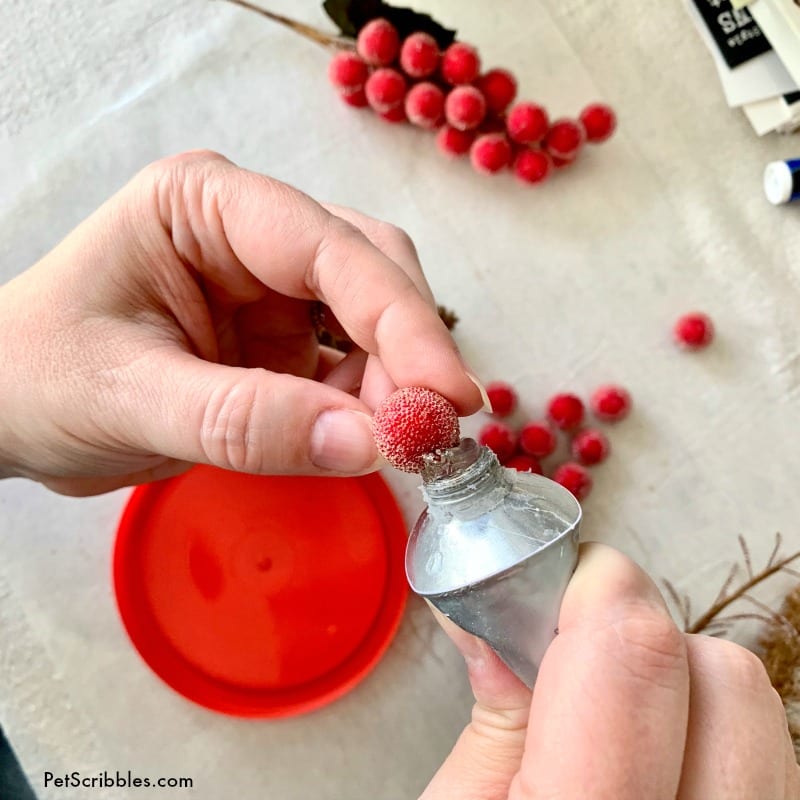
There are many craft adhesives out there, but I prefer E6000 whenever I truly want something to stick and never fall off.
These berry ornaments were large enough that I could simply dip them into the glue, as you see above. For smaller beads, there is a smaller size of E6000 that comes with precision tips you can attach for a more precise flow.
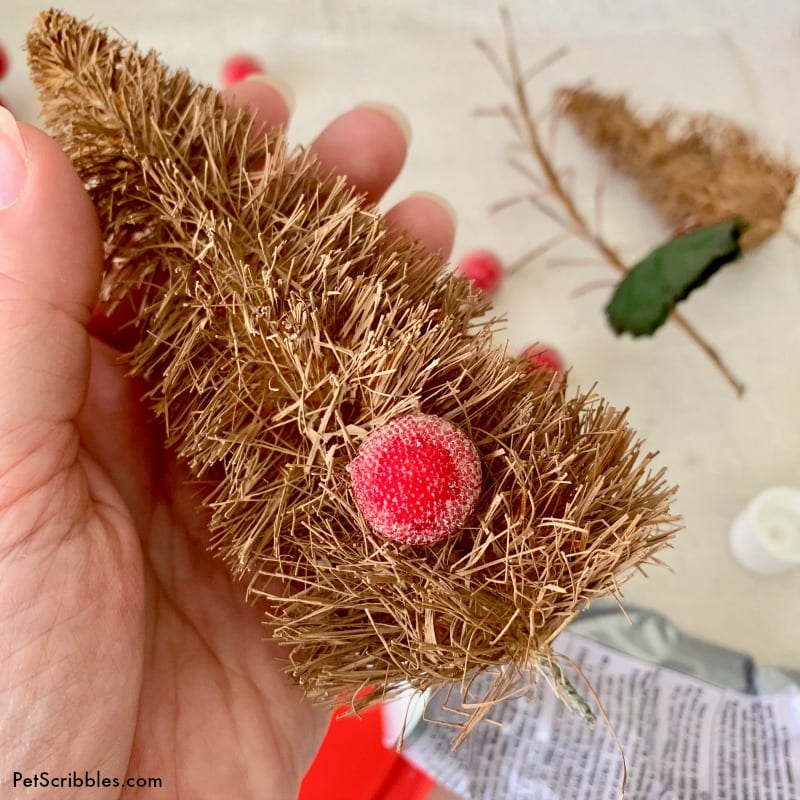
Dip each berry into the glue, then gently press each berry into the tree and hold for a few seconds.
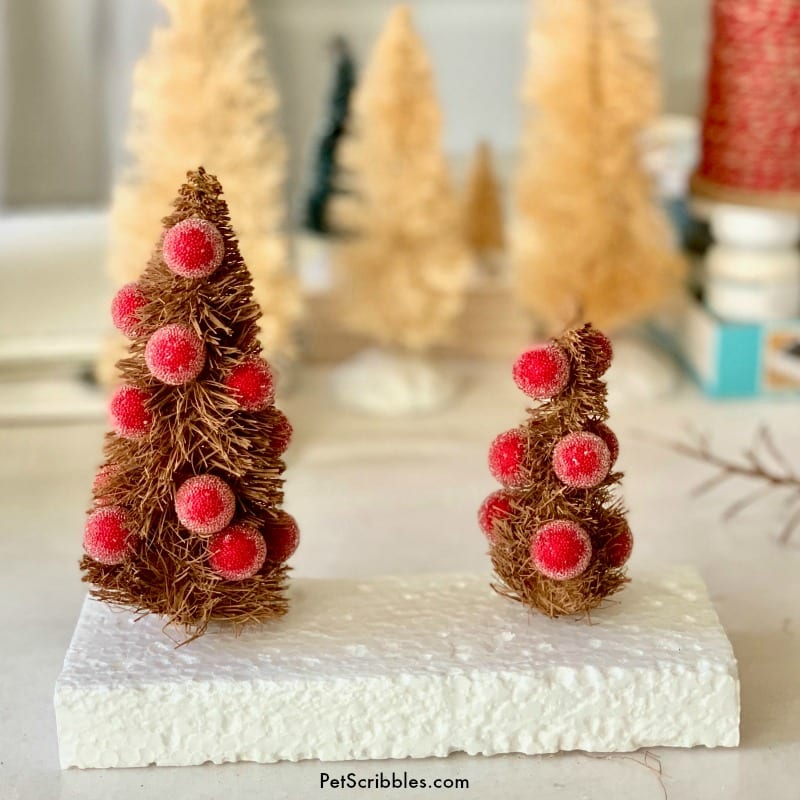
Finally, stick the trees — using their wire stems — into a scrap piece of Styrofoam to dry.
Leave the trees overnight, so that the glue can dry thoroughly.
Step Six: Attach the rustic bottle brush trees to the wood spool using E6000 adhesive.
First, I snipped off the wire base stem, so that the trees would “sit” better on the wood spool.
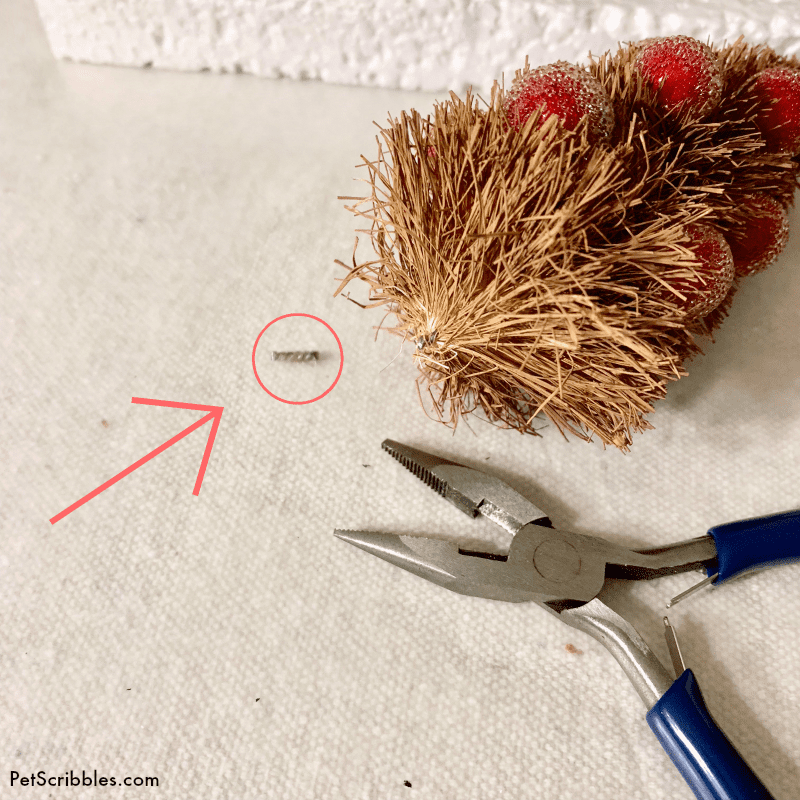
Next, I applied E6000 to the bottom of each tree and gently pressed it onto the top of the spool, holding it in place for about a minute before letting go.

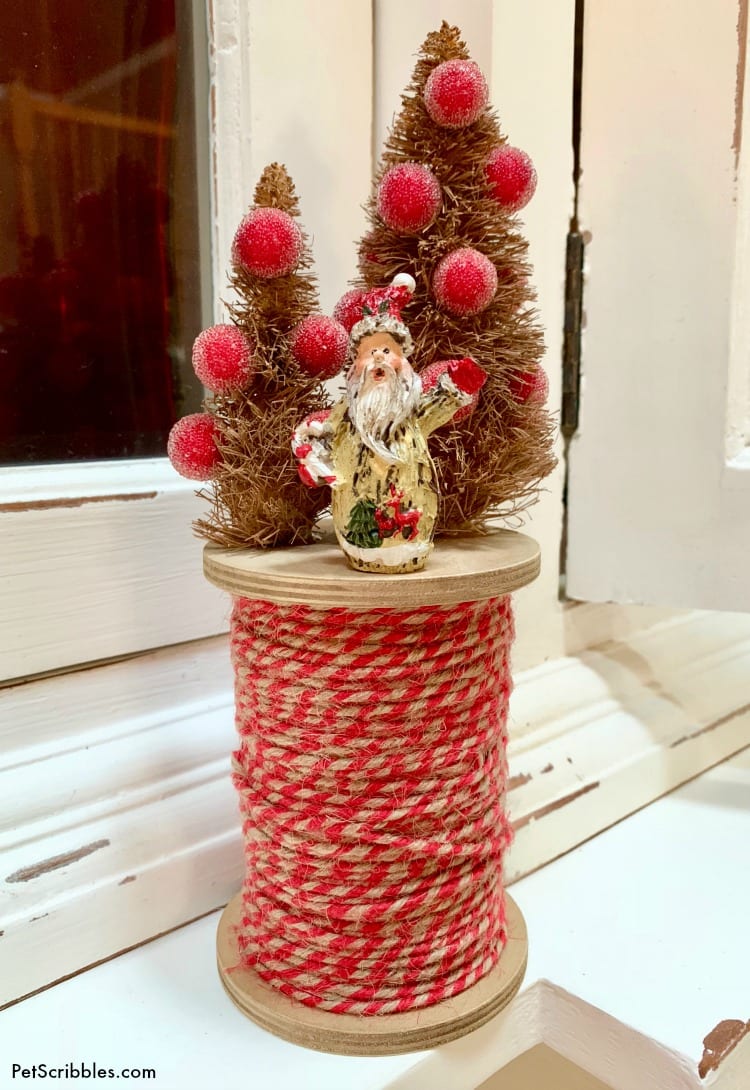
Lastly, I added a miniature Santa Claus that I picked up in the fairy garden/miniatures aisle in the craft store. He’s got some E6000 glue underneath him too!
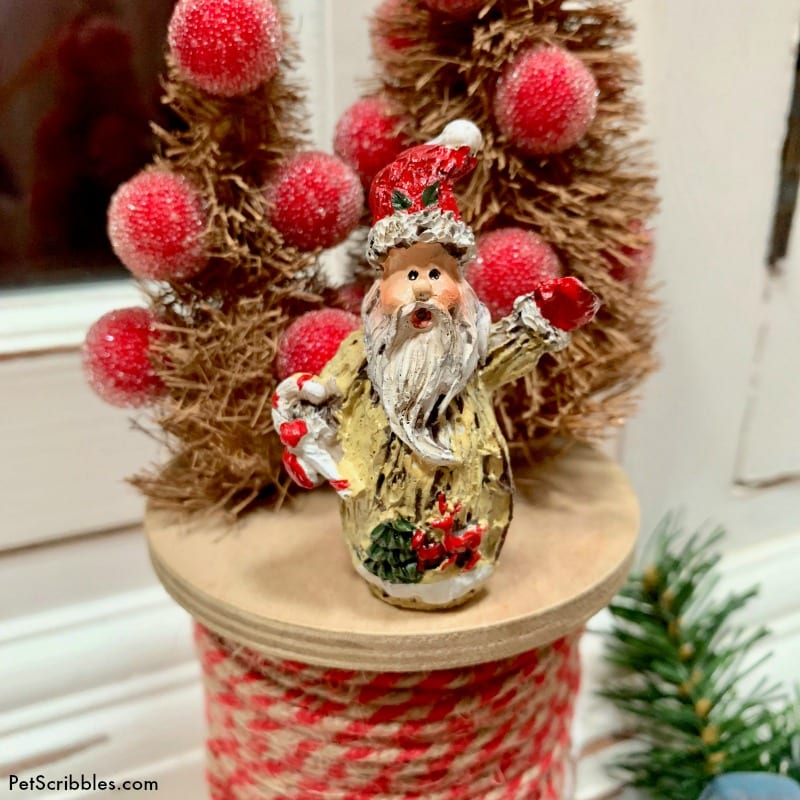
It wasn’t until I looked at the above picture that I noticed the detail on this tiny Santa: the two red deer on his coat with a tree, as well as the tiny holly leaves on his hat!
Rustic Bottle Brush Trees on Spool
Here are my rustic bottle brush trees on a spool!
A side view for you, to see the pretty berry ornaments . . .
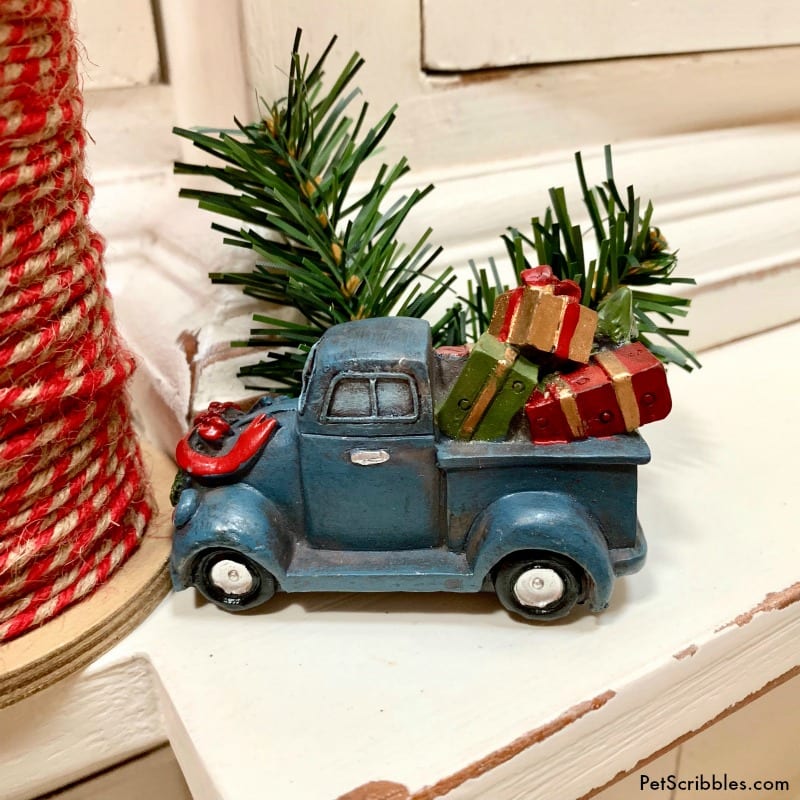
You can add all kinds of miniatures to your scene, such as this aDORable mini Christmas truck — also found at the craft store.
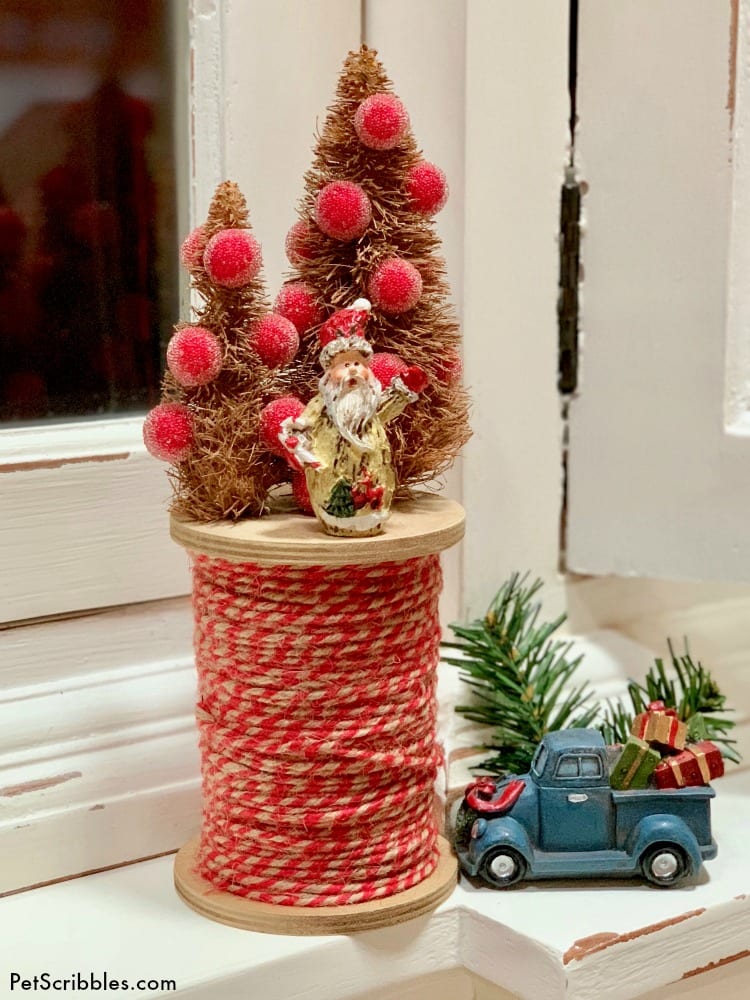
This rustic Santa Claus uses a truck instead of a sleigh, for some farmhouse Christmas style!
More Bottle Brush Tree Ideas!
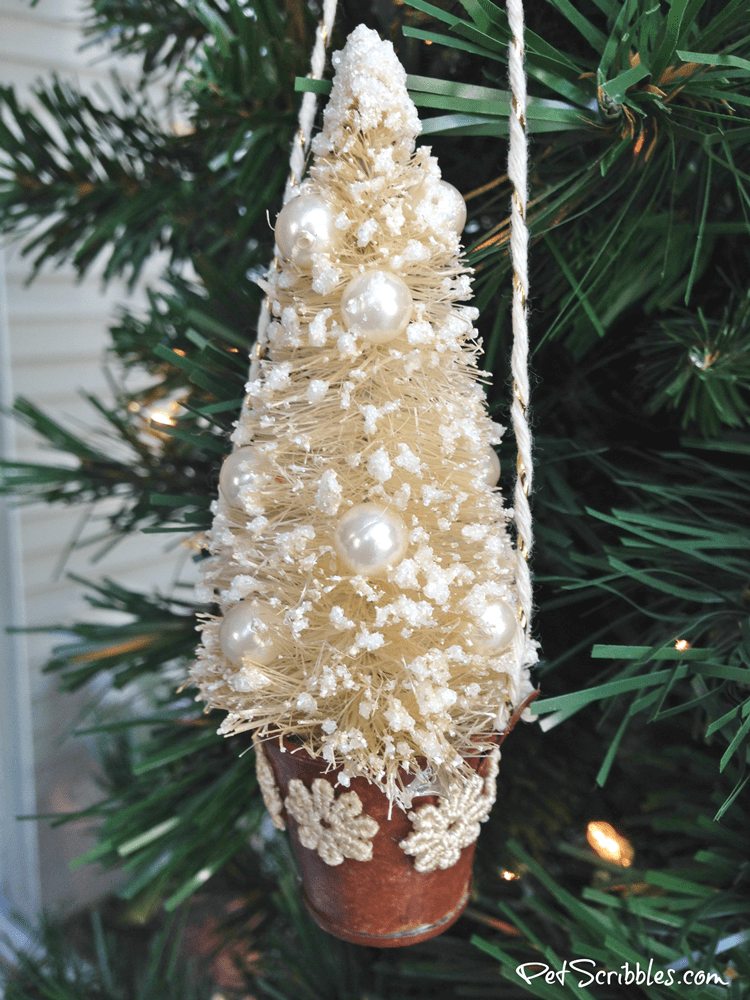
How to Make a Beautiful Bottle Brush Tree Ornament
Bottle Brush Trees Display Ideas

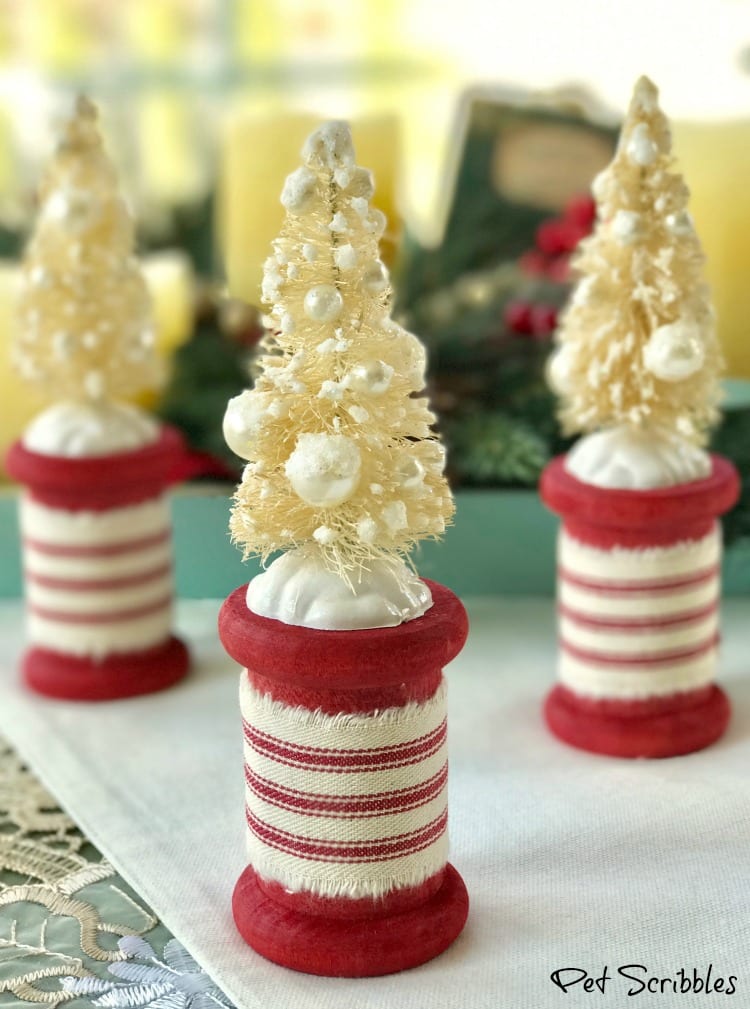
Ivory Bottle Brush Trees on Red Spools
How to Make a Tart Tin Christmas Ornament

For more Christmas crafts and DIYs — check out the links below (More from my site…) or click here for my Christmas gallery of projects.
Happy holiday crafting!

Leave a Reply