 |
| Paper Ballerina by Erin at My Very Educated Mother |
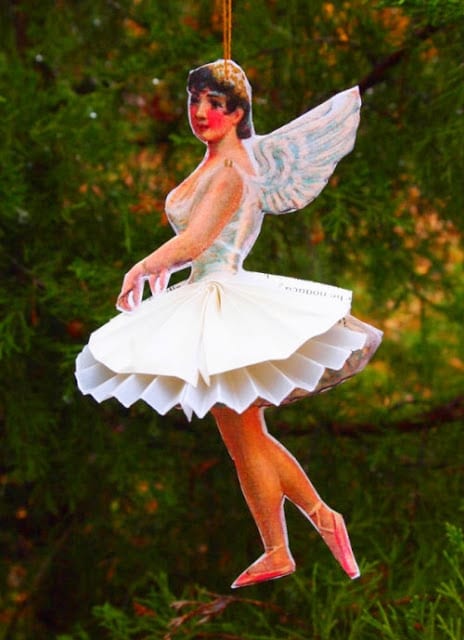
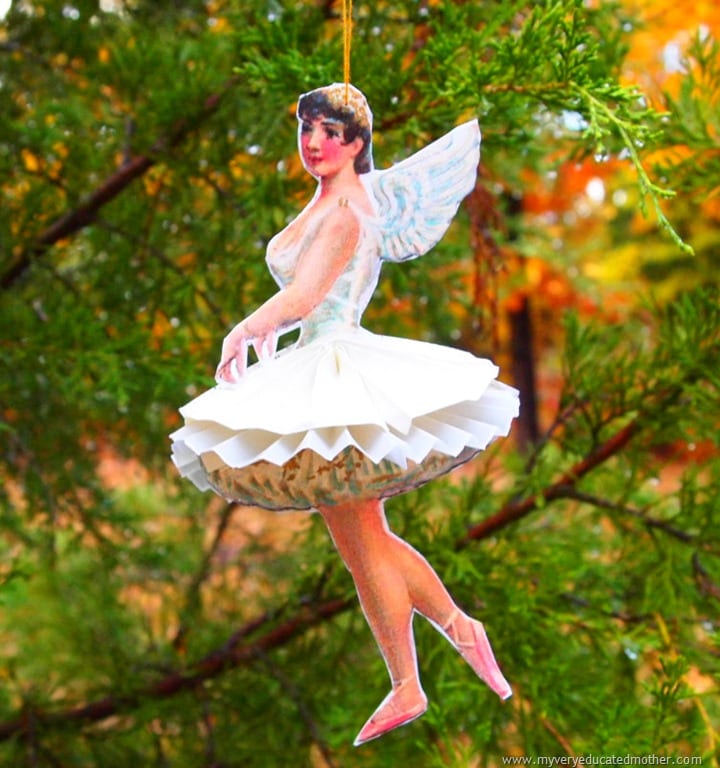
Hi everyone! Laura here! And I’m über-excited to have my crafty friend Erin, who owns the blog My Very Educated Mother, guest posting here today. She has a fabulous paper craft to share with you – the gorgeous vintage-looking ballerina in the above image. I plan on making some of these, and maybe doing a few variations with other vintage images too. Erin swears this is easy to do, so that makes me want to try this even more! The word “easy” attached to anything related to holiday preparations sounds like a win-win to me!
Without further ado…here’s Erin!
Hello everyone, my name is Erin and most days you can find me at My Very Educated Mother where I share crafts, recipes, and household tips. I’m so happy to have this chance to visit with you and tell you a little about the No Ugly Ornament Series.
Whether it’s handmade gifts or festive decorations, nothing gets me in the holiday spirit more than crafting. Unfortunately my oldest doesn’t always agree with me and last year in an attempt to keep everyone happy I started the first No Ugly Ornament Challenge. Every day during the month of November I tried my hand at a new ornament. Sure there were a few ugly ones, but working together helped to get the whole family in the creative holiday spirit.
This year, instead of tackling the challenge alone, I recruited a host of crafty bloggers who’ve been visiting and sharing their own ornament tutorials. I hope you have a chance to stop by and see all their creations. In the meantime, here is a beautiful paper ballerina ornament tutorial.
Paper Ballerinas – Supplies
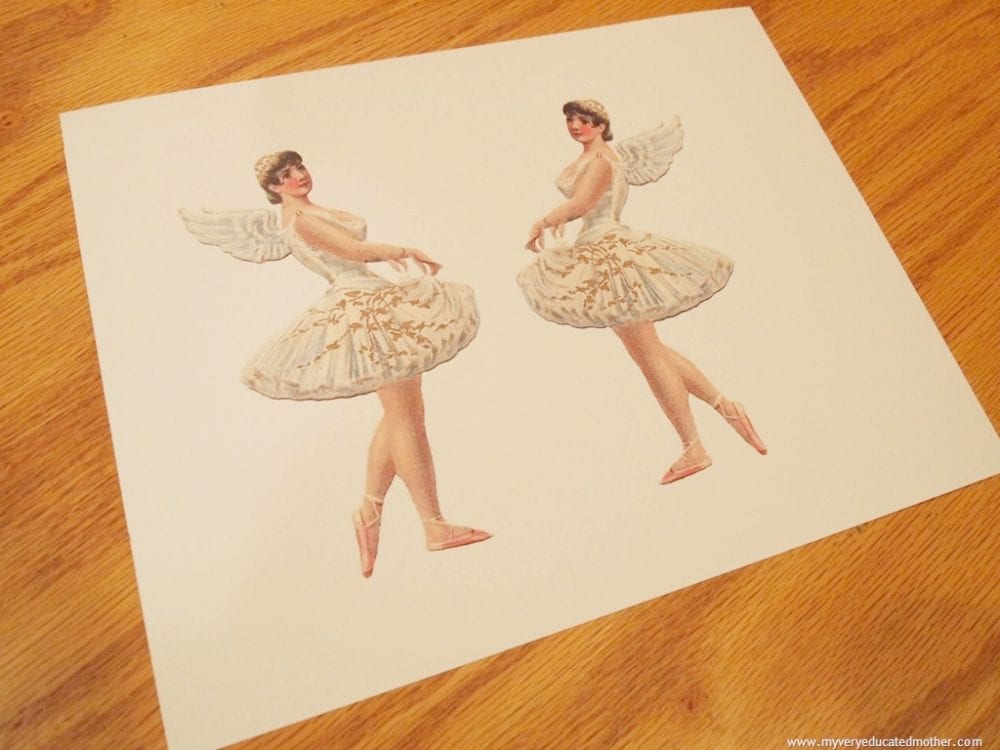
- This image from Graphics Fairy
- glitter glue
- book pages or any other thinner paper
- vellum
- hot glue gun
- needle and gold thread
Paper Ballerinas – Directions
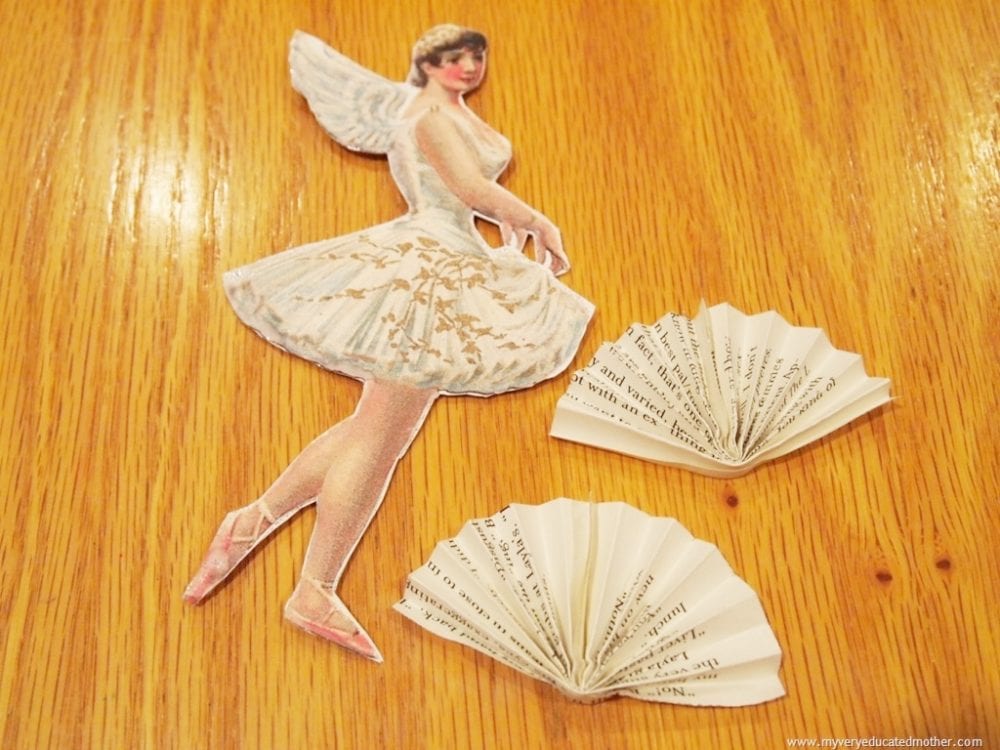
Once I saw this graphic I knew I wanted to make an ornament with it. I originally thought I’d add a bit of glitter and that would be it, but after I printed her out I knew she demanded more fanfare and fanciness.
1. Start off by printing the image and be sure to FLIP it so that you’ll have a front and back that line up.
2. Cut out the two ladies and glue them together using glitter glue. (I’m not the best with scissors and if my cuts don’t match up the glitter shows instead of the white of the paper.)
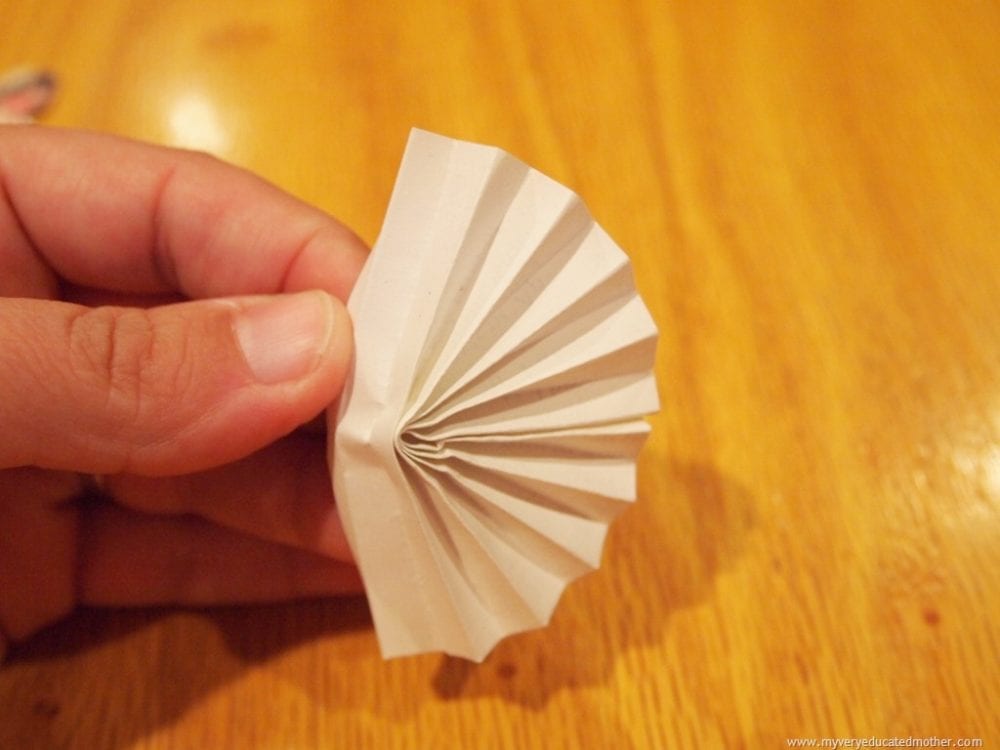
3. While the glue dries make two small medallions out of the old book pages. The size of the medallions depends on the size of your ballerina. You’ll want it to go from tip to tip of her skirt.
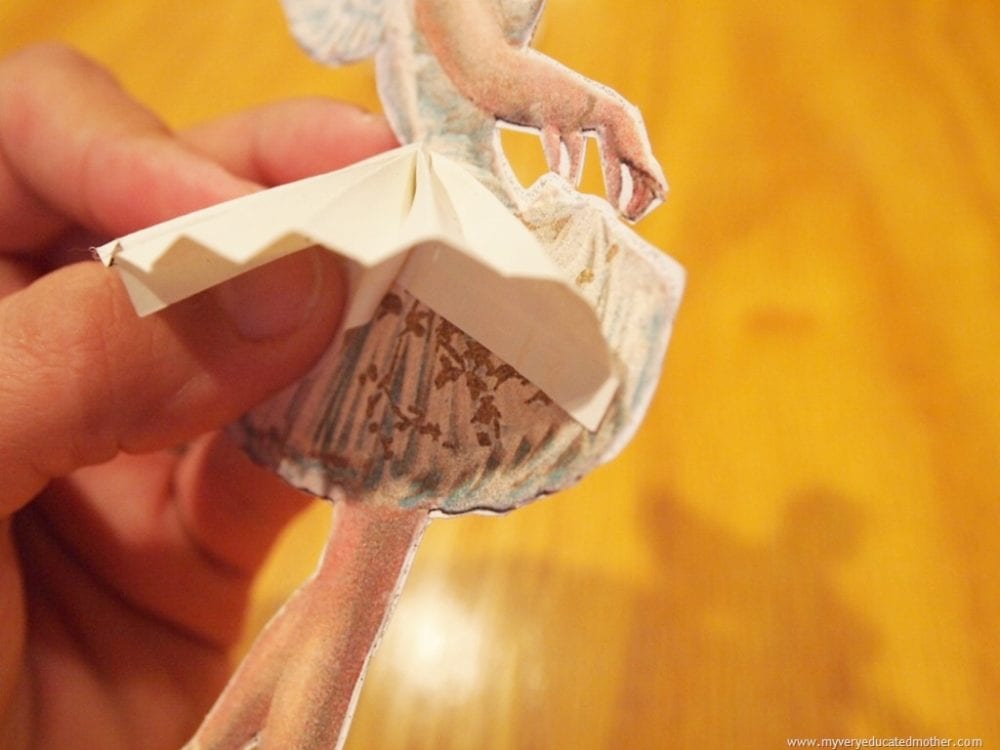
4. Next glue the medallions along the top line of the skirt. I had to unfold it and work the paper to get it to curve.
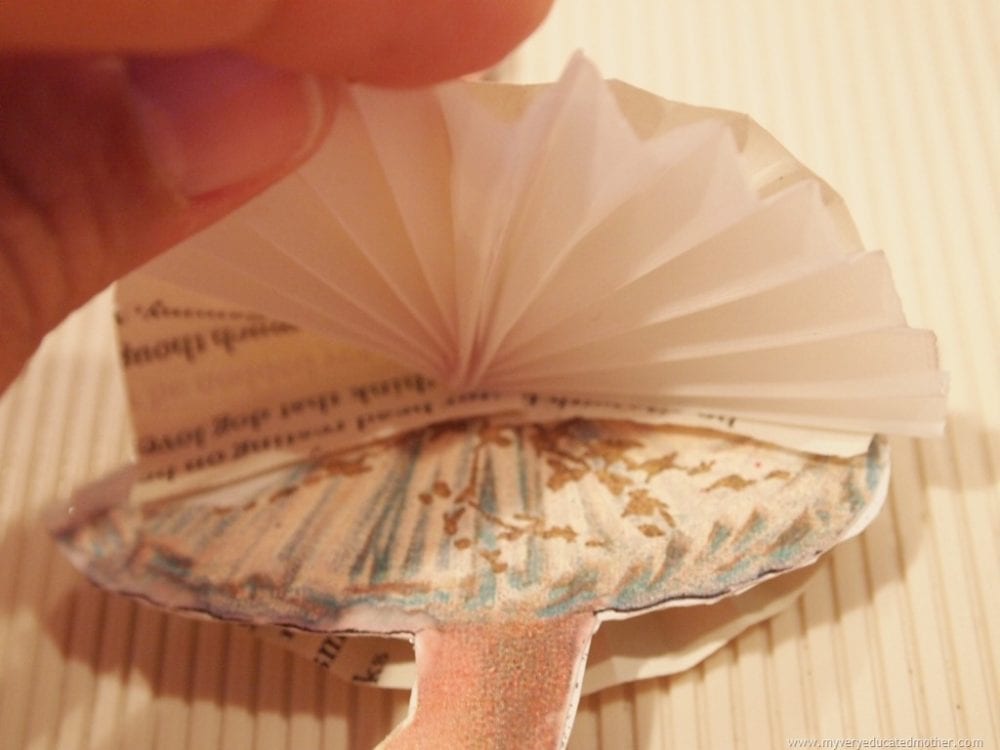
5. To add more poof, I added another medallion but this time it was about 1/2 longer and made of vellum.
6. All you need now is a way to hang her, so I used gold thread and a needle. You can always go with a hole punch but she won’t be that attractive with a big hole in her head…just saying.
Isn’t she lovely?
For more ornament inspiration be sure to stop by My Very Educated Mother or you can keep up with the No Ugly Ornament Series via Facebook, Twitter, and Pinterest.
Happy Holidays!
~Erin

Super cute paper ornament!
I agree Katie! Erin did such a great job. I can imagine an entire tree with these and some “icicles” – maybe a Nutcracker Ballet sort of theme!
This is so cute. Thank you for sharing this!
You’re so very welcome! 🙂
What a stunning ballerina Laura! You are so dang creative!!!
Malia – I would say “thank you” but all the credit goes to Erin of My Very Educated Mother: SHE is the one who made this stunning ballerina! 🙂 And I agree with you that she is so dang creative! 😉
cute cute! LOve the idea of adding the skirt…brilliant!
I thought the same thing, Janel! Erin’s ballerina ornament went to another level with that adorable skirt! 🙂