Use painted magnolia leaves for Fall decor and weddings with my simple tutorial. I added my painted leaves to a simple Fall centerpiece tray — an easy do-it-yourself project!
Our home has teal accent colors sprinkled throughout, and whenever possible I like to include that color in seasonal decorations.
I also have been wanting to paint leaves from our Magnolia Jane trees, as I’ve seen how popular that is on Pinterest for a myriad of decorations including wreaths and garlands.
Today, I’m sharing my painted magnolia leaves tutorial, which is fairly straight-forward, as well as showing you how I used these leaves in a pretty Fall centerpiece tray.
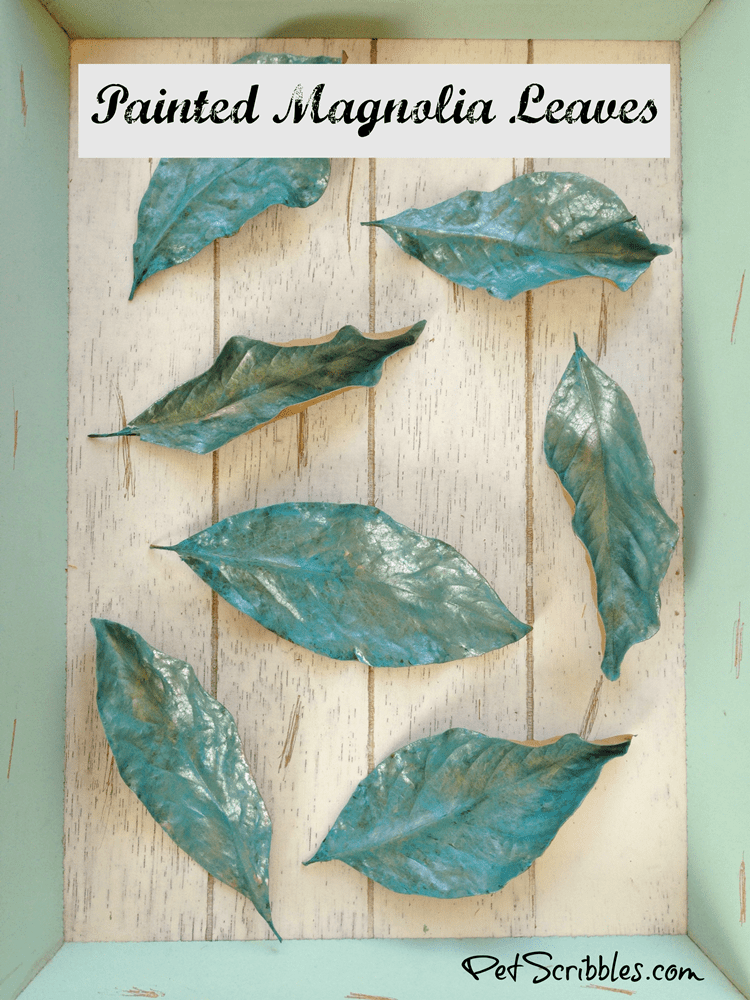
Painted Magnolia Leaves
Supplies:
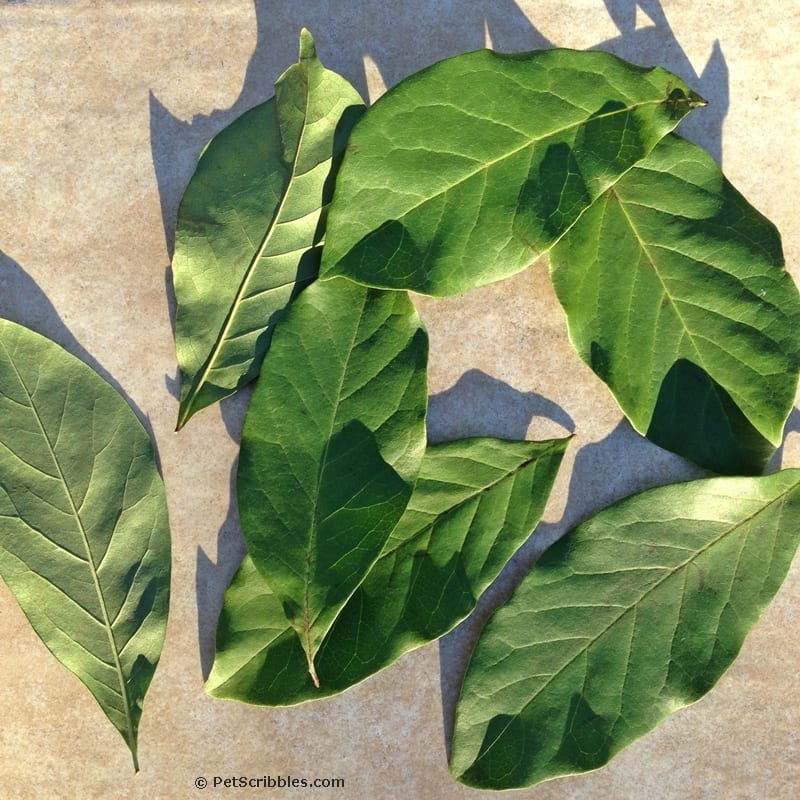
- Fresh Magnolia leaves (snip from the trees just before you’re going to paint them)
- Tan-colored craft paint (DecoArt Americana Multi-Surface Satin in Brown Sugar)
- Teal-colored metallic paint (DecoArt Dazzling Metallics in Peacock Pearl)
- Small paintbrush
- Wax paper
Step One: Snip the Magnolia leaves from the trees just before you’re going to paint them, so they’ll stay fresh as long as possible.
Step Two: Gently rinse the leaves on both sides and let completely dry.
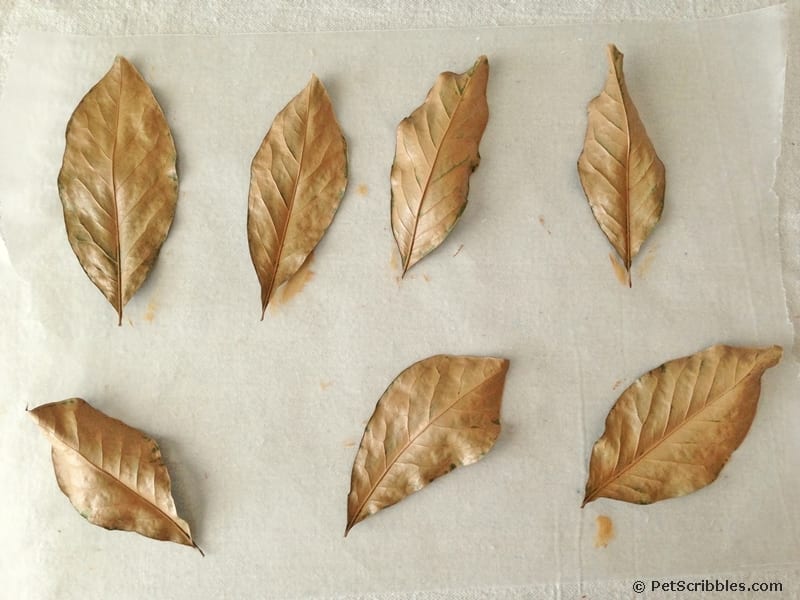
Step Three: Paint the backs of each Magnolia leaf with one coat of Brown Sugar acrylic paint. Place on wax paper and let dry.
I love this shade of paint because it instantly makes the leaves look like they’ve been picked up from the ground during the Fall. The color has almost a gold look to it, and matches nicely with Autumn colors.
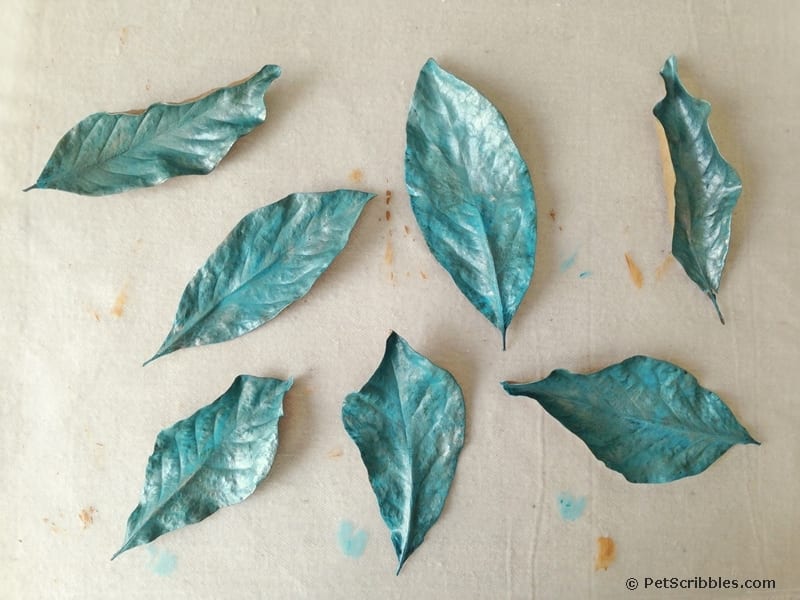
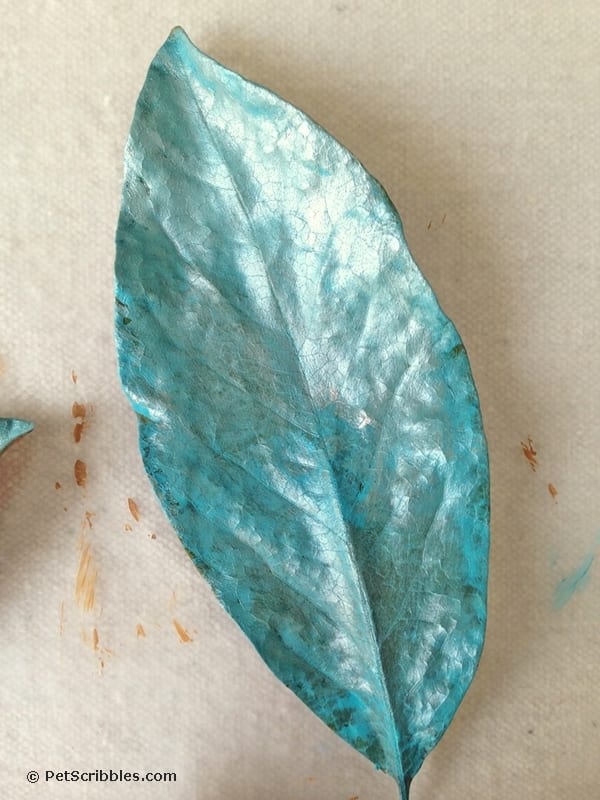
Step Four: Paint the front of each Magnolia leaf with two thin coats of Peacock Pearl metallic paint. Place on wax paper and let dry.
Helpful tip: Once your leaves have a coat of paint on them, they’ll feel more brittle and thus could rip or tear if handled roughly. Be gentle while painting leaves and afterwards when using in decorations.
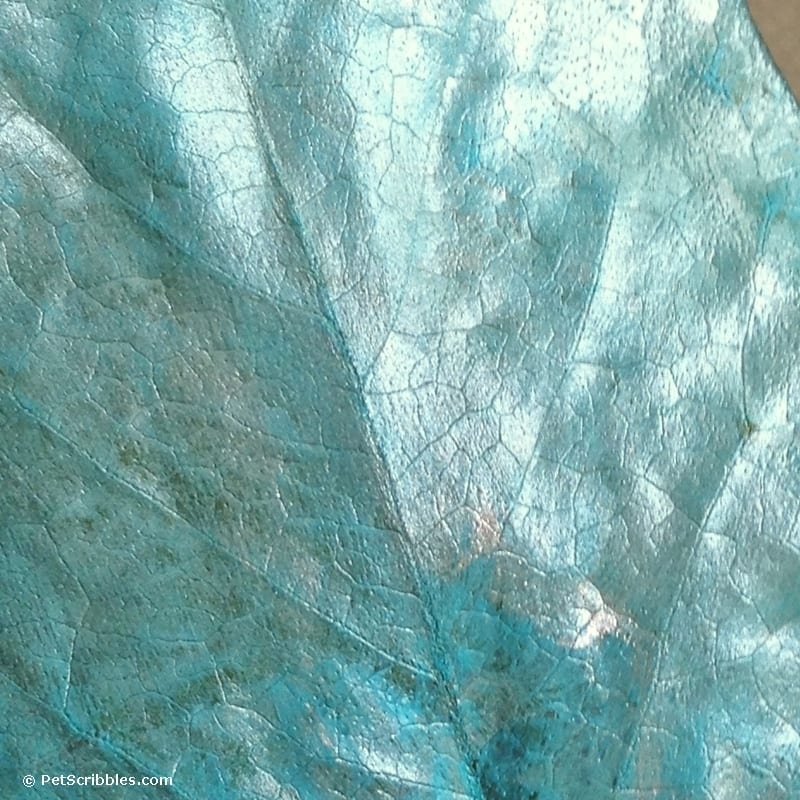
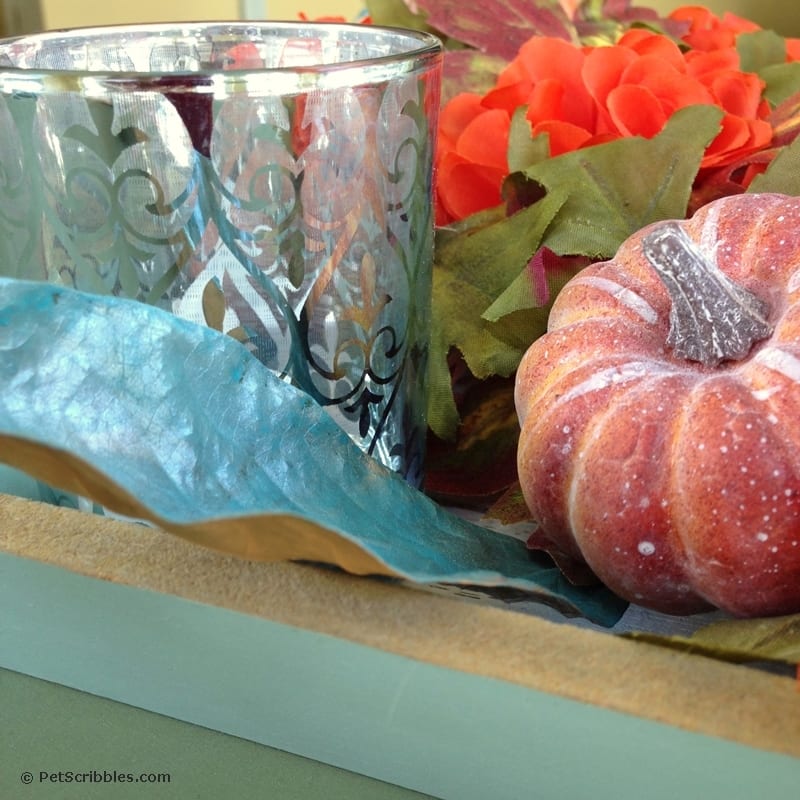
Here are a few close-up images of my painted magnolia leaves. I love how the paint on the front ended up with somewhat of a natural crackling effect once dry! Unexpected but I love it!
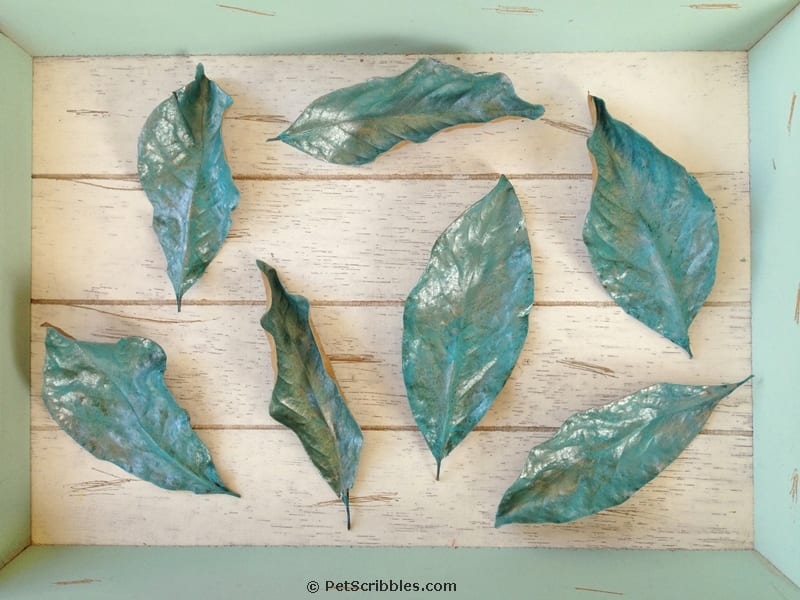
I left the leaves for 24 hours, partly to make sure they were dry and to see if they would curl up at the edges.
As you can see below, a few curled up, but to me that just makes them look more natural.
Painted Magnolia Leaves in a Fall Tray Centerpiece
I have a nautical-style tray that I love to use on our Breakfast Room table as a centerpiece. The tray handles make it easy to remove and replace during mealtime.
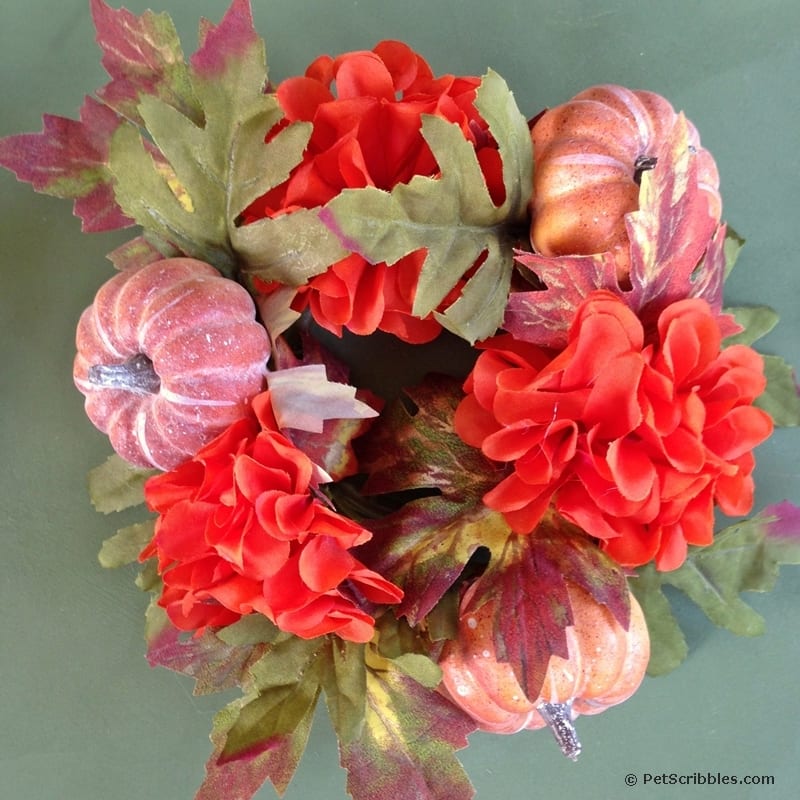
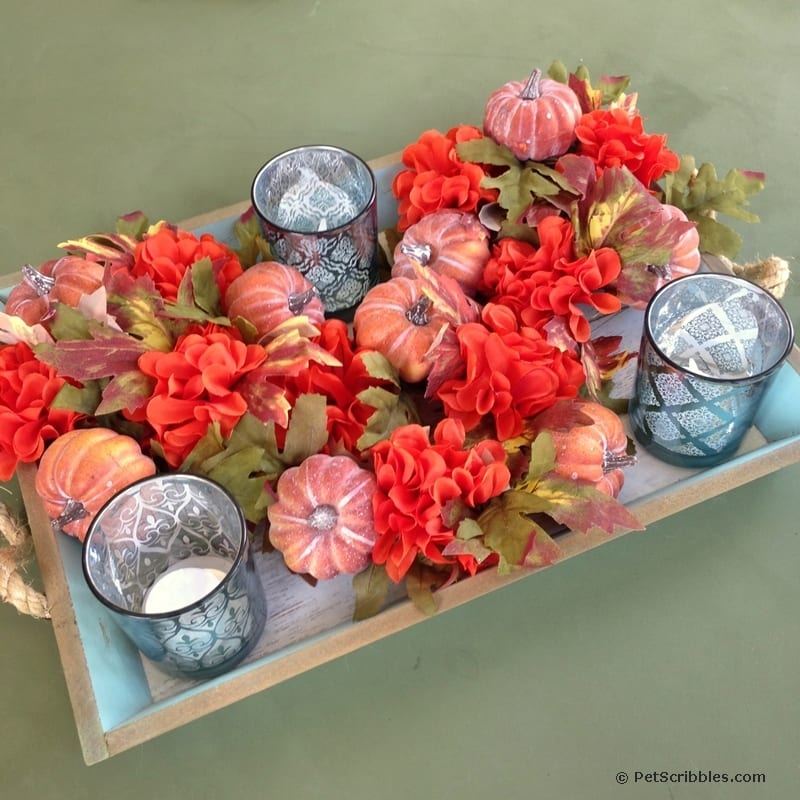
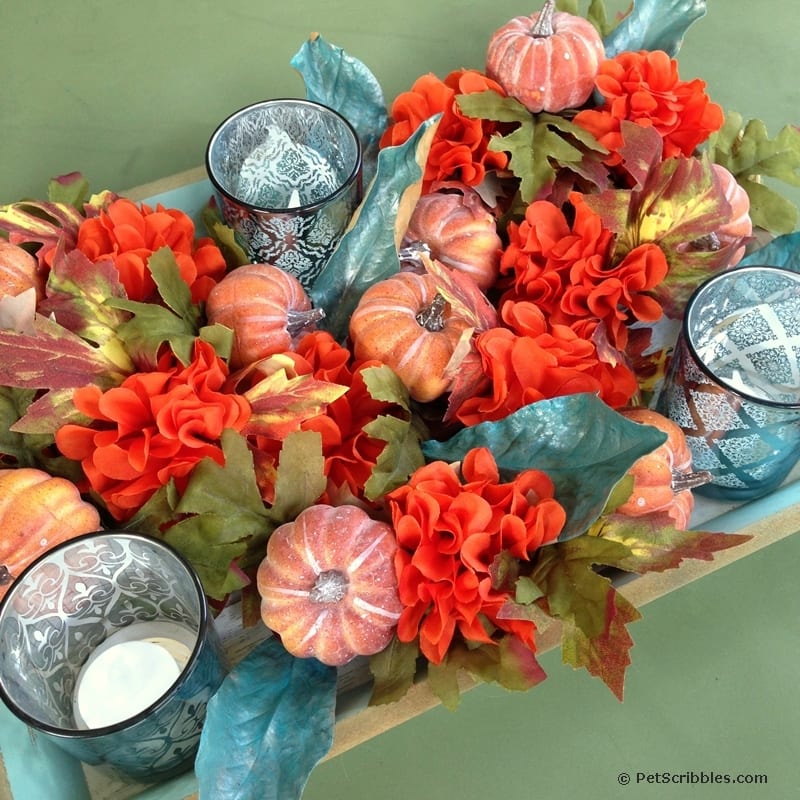
First, I purchased three Fall faux floral candle rings — say that ten times fast — from Michaels. I love the mix of both vibrant and soft colors.
Next I stuck each of the candle rings into my nautical tray, only instead of putting the candle holders in the candle rings, I kept them on the outside.
I like how the candle rings actually don’t look like rings, but rather one long piece of Fall floral decor.
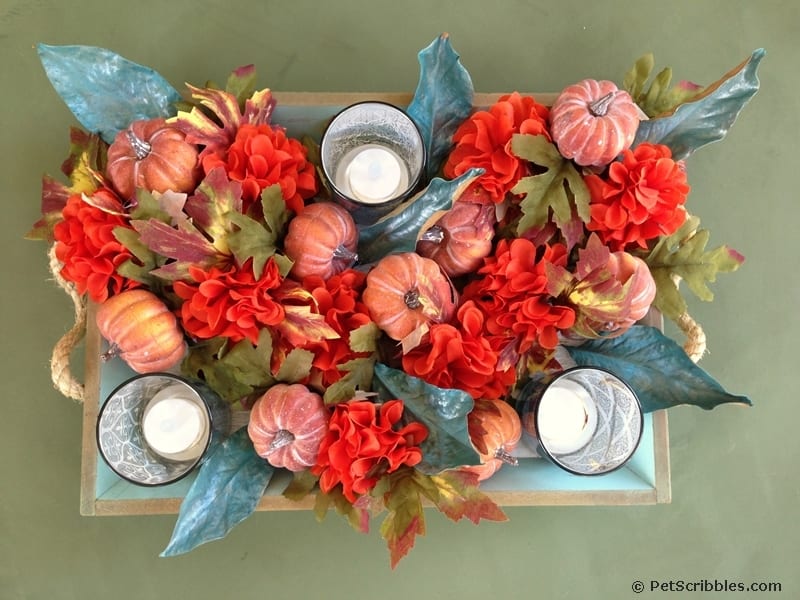
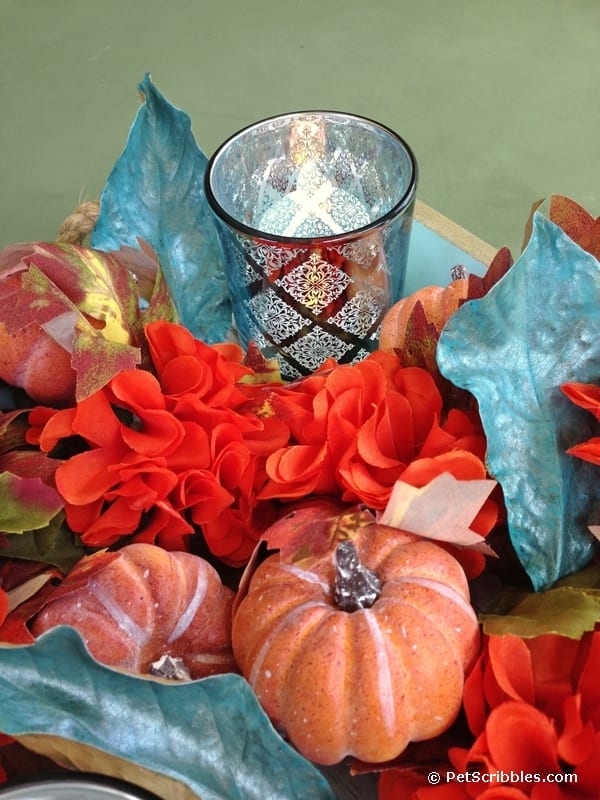
To enhance the centerpiece, I simply tucked in the painted Magnolia leaves here and there among the decorations.
I love how the leaves are a pretty close match to the candle holders, and also bring out the painted tray color too.
You can see the backside of the leaves when seated, and both colors fit into the color scheme nicely.
I put battery-operated tealight candles into each candle holder, and the effect in the evening is so pretty as the light dances off of the metallic leaves.
Helpful tip: You can find craft and metallic paints in just about any color you need, so matching your painted leaves to whatever your seasonal decor is — or whatever your wedding colors are — is quite easy to do.
Painted Magnolia Leaf decorating ideas
Yes there are many tutorials on Pinterest for making wreaths and garlands, but I love this simpler idea of using the single leaves as decorations.
For a Fall wedding, these painted Magnolia leaves would look so pretty on each reception place setting, tucked into a napkin, or attached to the menu card. This would work for a dinner party as well.
I also love the idea of having a table of leaves — or perhaps each is on a string held by a miniature clothespin — with each guest’s name and table number written in permanent marker. In fact, purchase a Fall garland from Michaels or another craft store and mix in these painted and personalized leaves so when guests take their specific leaf, your garland still looks pretty!
Helpful tip: If you’re having an outdoor wedding — like we did almost 10 years ago already (hard to believe) — always, always, always make sure you take the wind into account. You don’t want your leaves flying away if not secured somehow. Use small stones to hold each leaf down if placing them on a small table for guests to take.
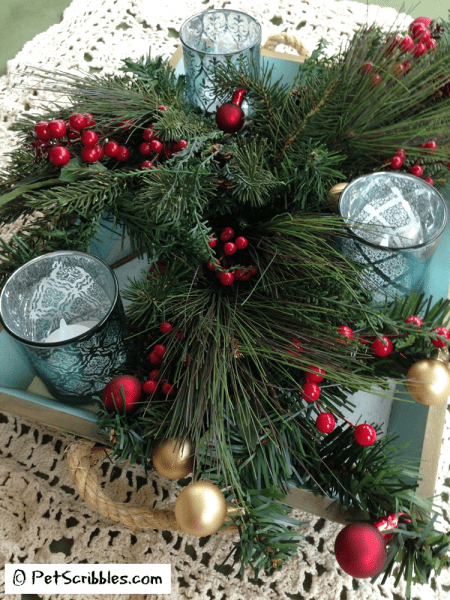
For a similar tray centerpiece for the holidays — using the same candles and tray — see my Christmas Tray Centerpiece here.
Happy crafting!
~Laura

Stunning! I would have NEVER thought of this! How beautiful and elegant the leaves look!
Stunning work!
Thanks so much Donna! I really appreciate it!
Laura, these are beautiful! Does this preserve the leaves, or do they dry out more and crumble in time?
Thanks Bernadette! The leaves should last for at least a few months — perfect for seasonal decor. I’ll keep you posted, because I plan to have these leaves displayed through Thanksgiving. Not sure if they will pack up easily to store for next year, as it might just be easier to paint new ones!