This is a short story on the evolution of our DIY backyard firepit area.
Back in 2007 . . .
I wish I would have taken pictures of what our backyard looked like when we moved in, back in September 2007.
But I have a very good reason that I didnt: it looked awful.
Our backyard was basically fenced-in weeds, with a section of woods left in one corner. Yes, the previous owners did install a nice white vinyl fence around the yard’s perimeter, but they never did anything with the yard.
The good news for us?
We were given a blank slate to play with!
We’ve been working on different areas of the yard since we moved in. We are nowhere near completion, and I’ve heard repeatedly that you never truly reach an end point.
I don’t mind, because I love to garden and I love to be outside doing yardwork, except when there’s biting gnats, mosquitoes, greenhead flies or oppressive humidity. Remove those impediments and I can be outside working for hours!
Spring 2009 . . .
We originally made our vegetable bed area with raised cedar beds in the Spring of 2009:
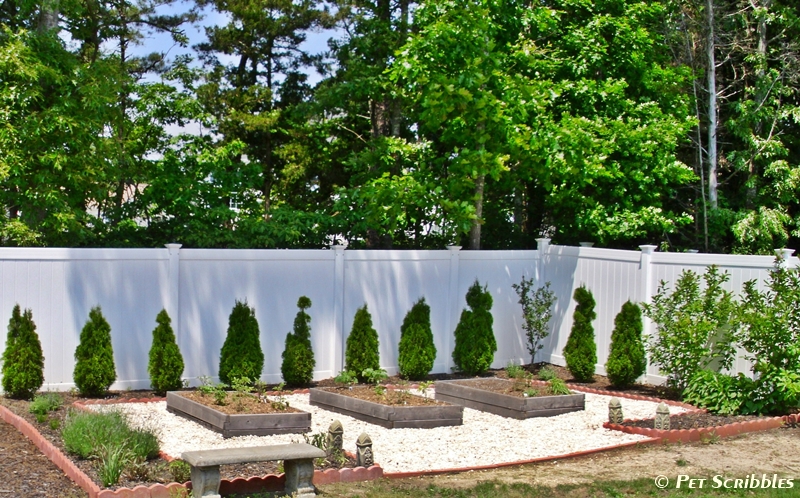
The entire area in the photo above was originally all woods. The builders of this development left sections of the natural woods “in” some of the yards for more of a lived-in feel, less of a stark-looking cookie-cutter neighborhood.
The first thing we did to the yard back in 2007- especially this back corner – was to rake everything up. It had become a dumping ground of leaves, refuse, and things we were amazed to be raking up – and I’ll just leave it at that without sharing anything more specific!
After living with the yard as it was for a short while, we decided to have the trees removed from inside the backyard which opened up the space a lot more. However, the ground there was tough, which wasn’t surprising, as the entire area that our development was built upon was once woods with a few bike paths thrown in.
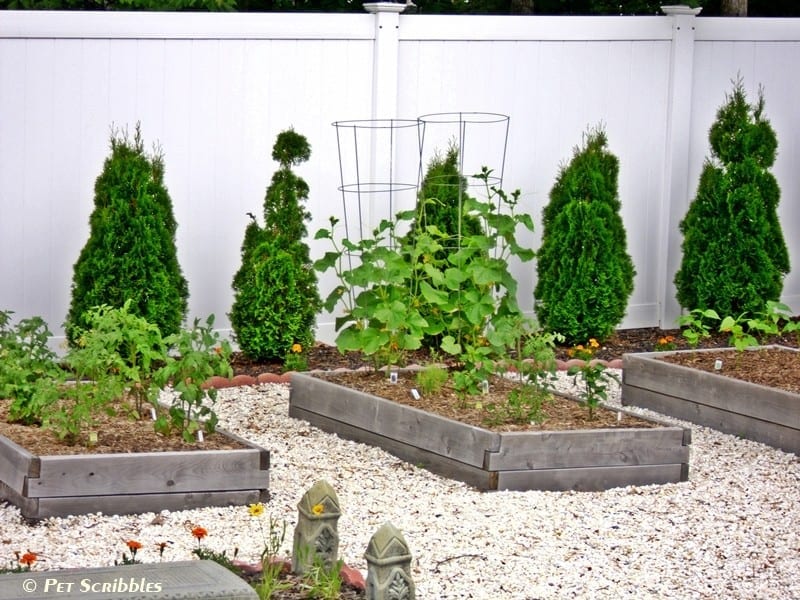
Somehow we managed to dig up some of the dirt enough to plant a row of Arborvitaes. Knowing we wouldn’t have much luck with the soil in this part of the yard, we decided to make our vegetable garden in raised cedar beds.
Spring 2012 . . .
After growing vegetables in our raised beds for a few Summers, we realized the vegetables never got as much sun as they needed to thrive.
Last Spring, my husband decided to move the cedar beds to another area of the yard. However, once he began taking the beds apart, some of the cedar wood was rotted through from termites. Yuck!
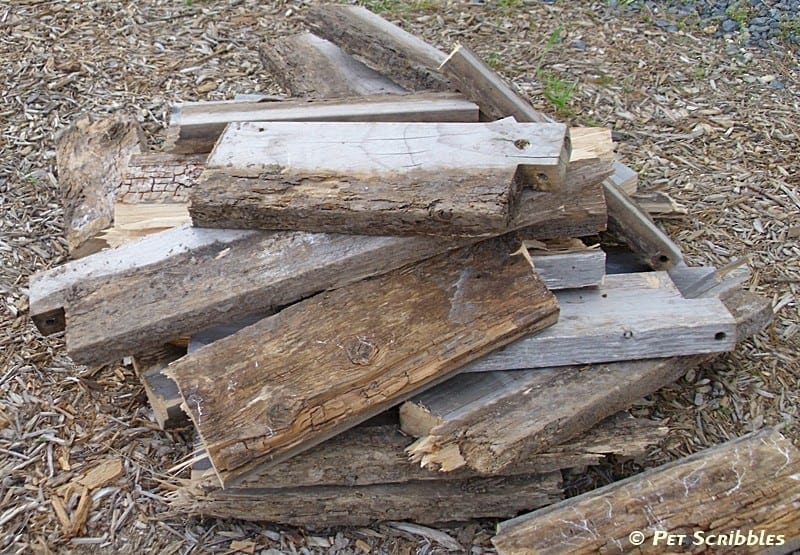
Yes, I’m keepin’ it real by showing you the termite-damaged cedar. You won’t see that on any other DIY blog today!
My husband wanted to create a much larger vegetable bed (versus the three individual ones we previously had), so we decided to use cobbled pavers. Of course I’m using the royal version of the word “we” in the previous sentence. You knew that, right?
My husband built our new vegetable bed last May, and you can click here to read that post: How to Build a Raised Garden Bed for Vegetables.
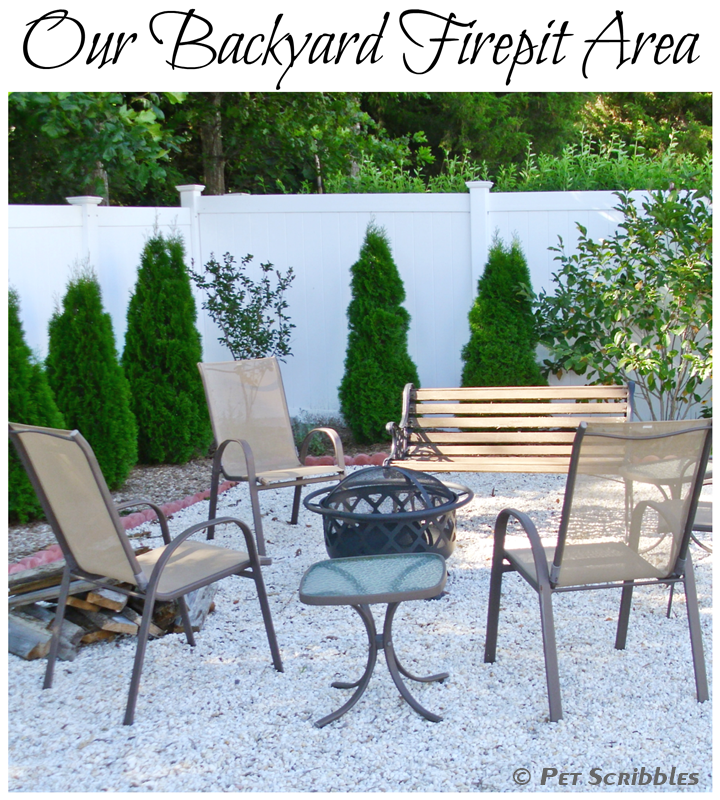
So what did we do with the area where the vegetables originally were? We made a firepit area!
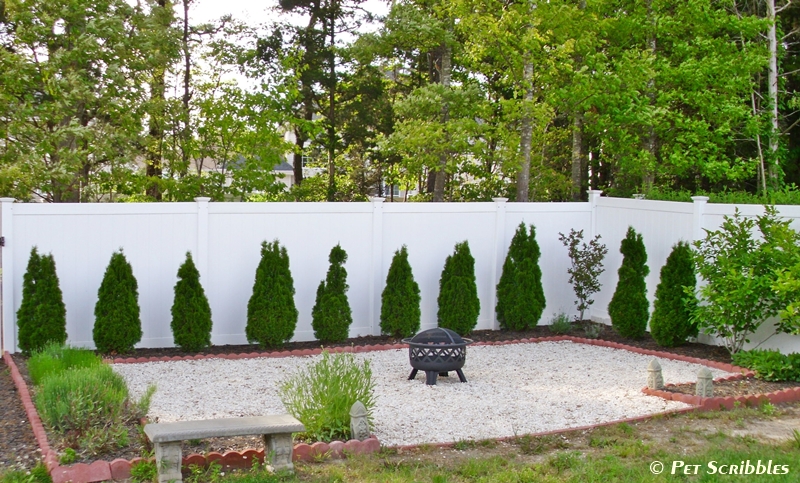
In addition to the Arborvitaes, there’s a Summer-blooming Crepe Myrtle in the corner. There are three Spring-blooming Magnolia Janes planted to the right of the Arborvitaes, with Black Eyed Susans which bloom effortlessly mid-Summer in the Fall in front of them.
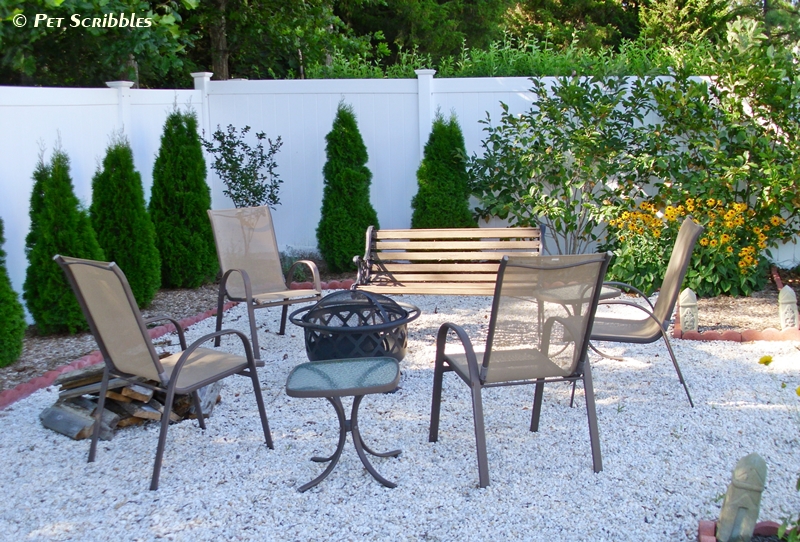
We added some of our lawn chairs and a few tiny side tables around the firepit. (You can find these at just about any of the big-box or home improvement stores, usually called sling chairs or stack chairs. The free-standing firepit was also from a home improvement store.)
We have an old bench that a family member was getting rid of because most of the wooden slats need to be replaced, which we will repair and then we’ll have a new bench!
I used the royal “we” again in the previous sentence with one difference: I told my husband that I would make the bench over. (And now it’s in writing here, so it’s official!) Stay tuned, as it will either be a future DIY post or a DIY fail post. Could go either way!
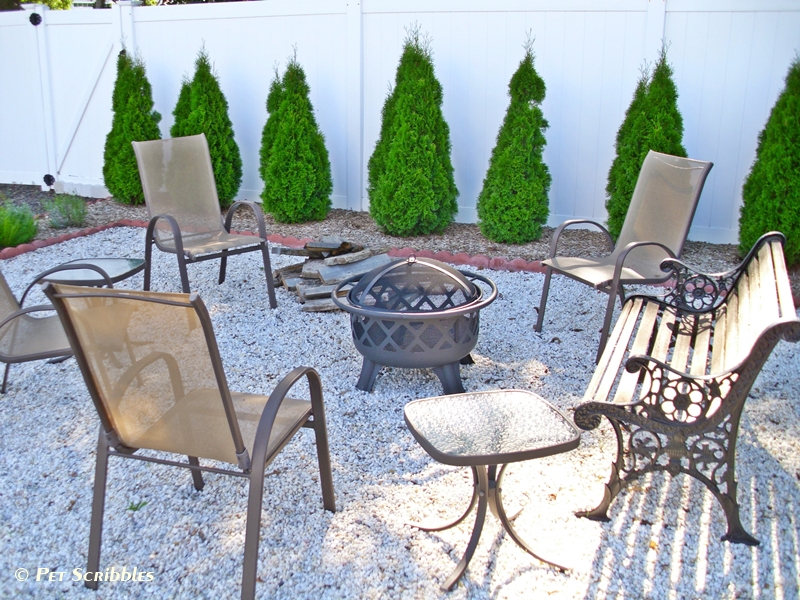
Doesn’t it look like we never had any vegetable beds in this spot? My husband was a lot neater than I would have been with removing all that dirt, the boards, and then raking back all of that decorative rock!
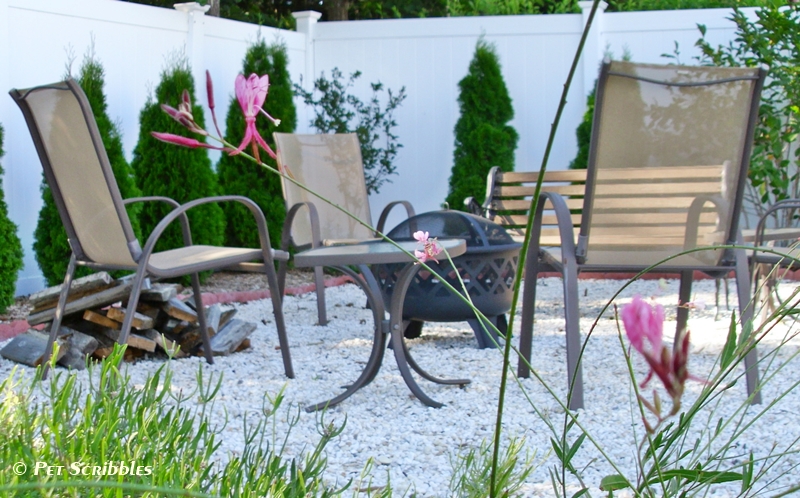
Our backyard firepit is surrounded by gardens!
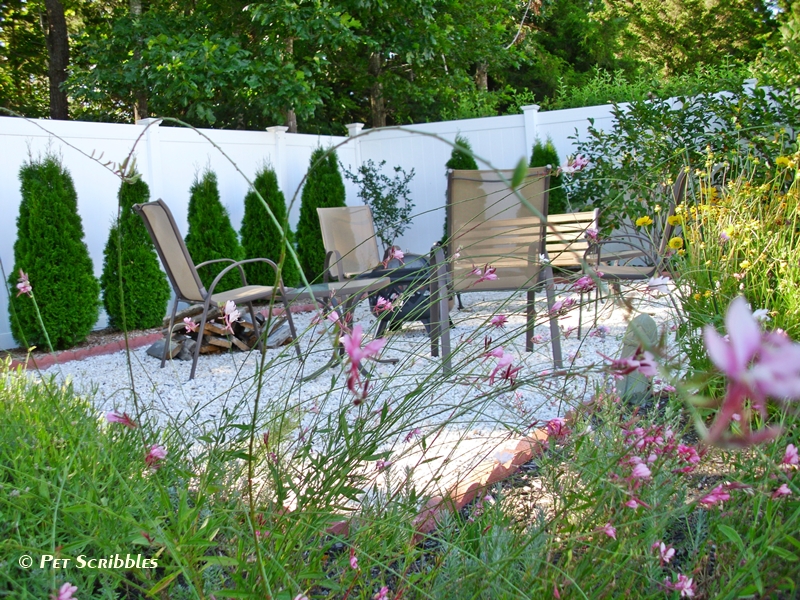
We’re already tired of the brick-colored scalloped border around the firepit area, so that’s going to go eventually and be replaced by smaller cobbled border pavers. And we want to shrink the firepit area slightly, possibly making the beds surrounding it wider.
The list of never-ending outdoor projects! Do you have one of those too?
Happy gardening!

I know what you mean, Pam. Just when will Spring truly arrive?!
Looks like a fun area. Much better use of the yard than the trees. My outdoor project list is getting shorter the longer winter hangs around.
I want a fire pit area. Maybe this summer! Your husband did do a good job remover the plant beds. Can’t even tell!
Thanks Deneen! It was an amazing job he did! Wait until you see the vegetable bed he built in its place…coming soon!
It’s smore’s time! The redo looks great! ~di
Thanks Di! 🙂
Hi Laura! Love the Fire-pit update!! I was thinking, because it is such a large space and your dear hubbie spent so much time spreading the rock, that you could move the chairs and the pit over to the left, a wee bit, and then add a picnic/dining table on the left. You would then have 2 outdoor rooms for entertaining…just a thought 🙂 Have a beautiful weekend,
Laura S.
That’s a great idea Laura, thanks for sharing that with me! We have an outdoor dining table setup on our patio, but there’s no reason why we couldn’t have another table handy. 🙂
Love your backyard Laura–nothing like adding a little fire pit to make it all complete! :0
Thanks Katie! Yes, this part of the yard is good…and there’s a few other parts that we love. Now we just have to tie them all together by getting rid of the remaining ugly bits! LOL
It looks great, can’t wait to see what you did with the vegetable gardens. 🙂
Thanks Erin! I hope to post the vegetable garden pictures later this week! 🙂
What a lovely backyard, Laura ~ do you think you could come for a visit and help me get mine in shape????
Thanks so much for sharing at Project Inspire{d} and have a FABULOUS week.
Hugs,
Mary Beth
Hah! Mary Beth – I’m just showing you sections of my yard, a little at a time! We still have MUCH work to do, before I can come for a visit. 🙂 Thanks for hosting another fun Project Inspire{d}!
I love the idea of a fire pit area in the backyard! Wish we had one of those.
I can’t quite get my hubby inspired to do any kind of yard work though.
He’s a car guy and engine builder, so any household DIY projects are off limits unless I do them myself and I’m not as talented as you are in that area!
Thanks so much for the inspiration though…I just might try and tackle this some day!
It was easier than you think, Lisa, especially as the firepit is an above-ground, self-contained unit that you can purchase at the big-box home improvement stores. Pull up some lawn chairs around it in the back yard, and voila! (All your hubby needs to do is carry the firepit from store to car, and from car to yard! LOL)
What a lovely corner of your yard! I like both versions… but this firepit area looks so inviting! I hope you get to use it a lot this season! (thanks for sharing this week at Project Inspire{d}!)
Thanks Shannon! I hope your hope comes true! 🙂 And thank you and the other gals – I love the Project Inspire{d} linkup – a great way to start each week!