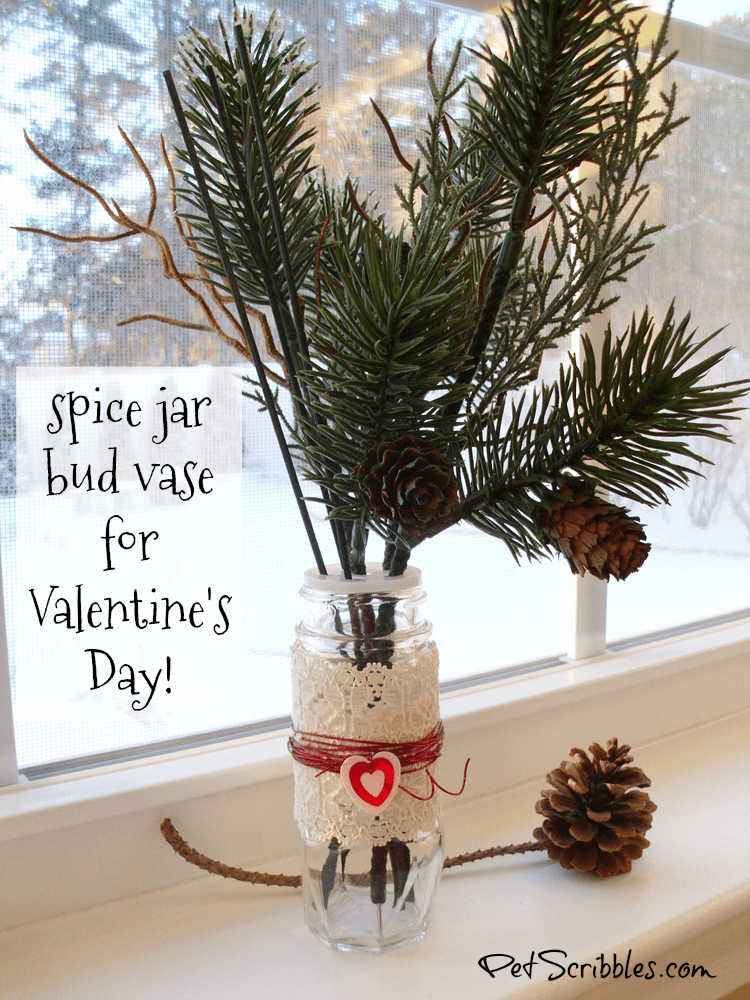
Make a sweet spice jar bud vase for Valentine’s Day, and enjoy something sweeter than candy! OK, that sounds a bit silly, but it actually is pretty sweet how easy this DIY is. Plus you’re upcycling!
I’ve been keeping various shapes and sizes of glass jars to use in my DIY projects. The problem is, however, that I’ve yet to do much with the ever-growing collection.
And it is an impressive collection.
Sure there’s some mason jars, but there’s also small moisturizer jars, jelly jars, a few test tube-looking things, and some glass spice jars.
I’m pleased as punch to finally use one of these to make a sweet spice jar bud vase for Valentine’s Day!
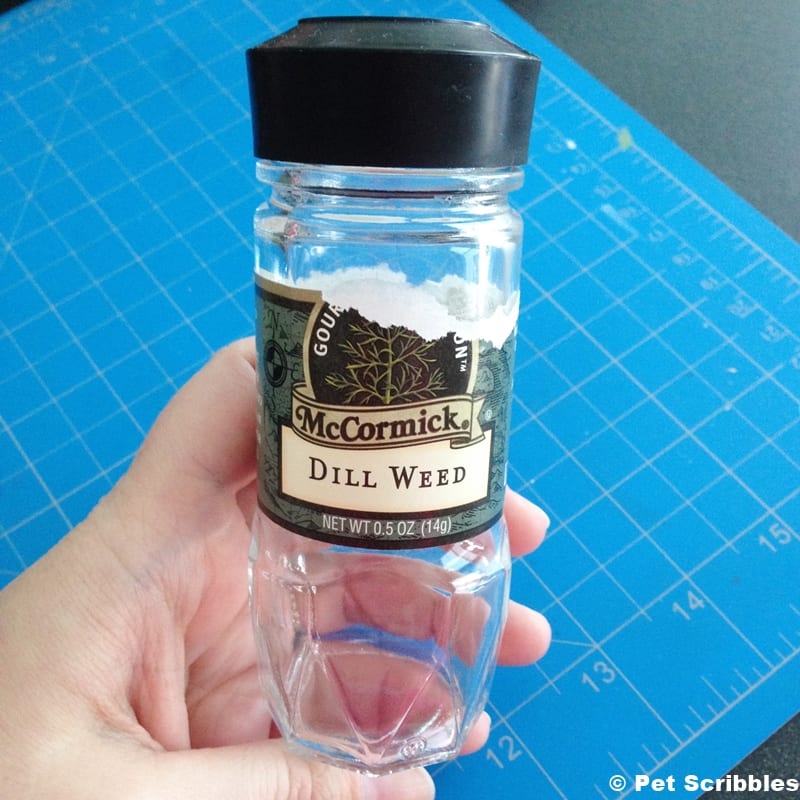
Behold, an empty spice jar! It’s glass, and it’s perfect!
My husband long ago stopped questioning me when I would exclaim about a jar like this in our recycle bin. Now he rinses them out once empty and asks me if I want them before they’re tossed into the bin! Love him!
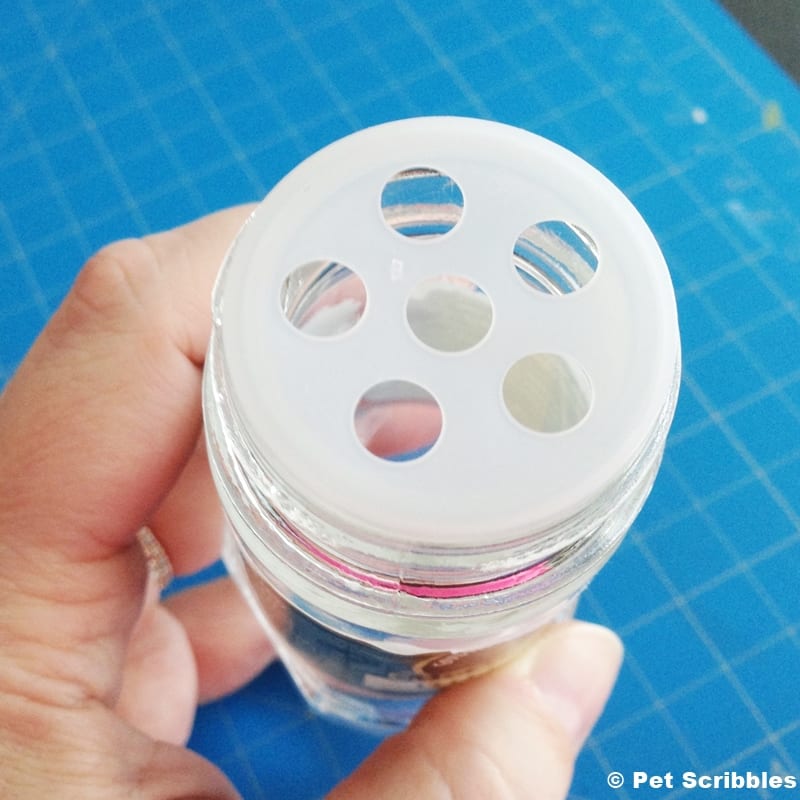
And how about the built-in stem holder? I mean…this just begs to be made into a tiny bud vase!
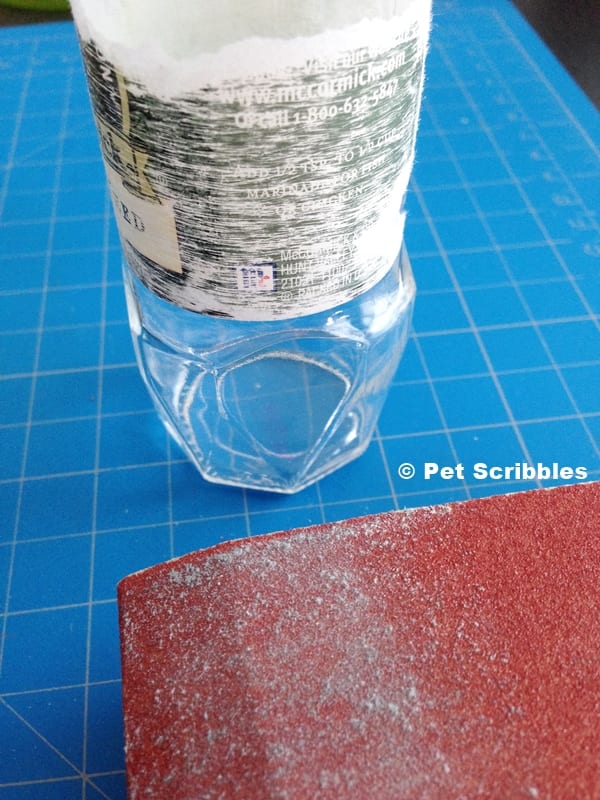
I tried to get the label off, but as you can see I was unsuccessful. (Nor did I feel like spending more than 5 seconds on removing it!) I simply sanded the label a little bit to smooth it out.
The first thing I did was to paint over the remaining label bits with two quick coats of white craft paint.
I simply wanted to cover up the words and make a neutral background for any parts of the label that could possibly show through.
(You’ll see what I mean in a minute…)
You could also use white washi tape, or just do a much better job than I did with removing the label. Hah!
Wait a minute. What if I don’t cook or use spices and don’t have an empty spice jar handy?
You’re in luck because I thought of you!
Amazon actually sells empty spice jars — with the shaker caps that I think make the best stem holders! I found four options for you below (affiliate links)…
The recycled spice jar becomes a bud vase!
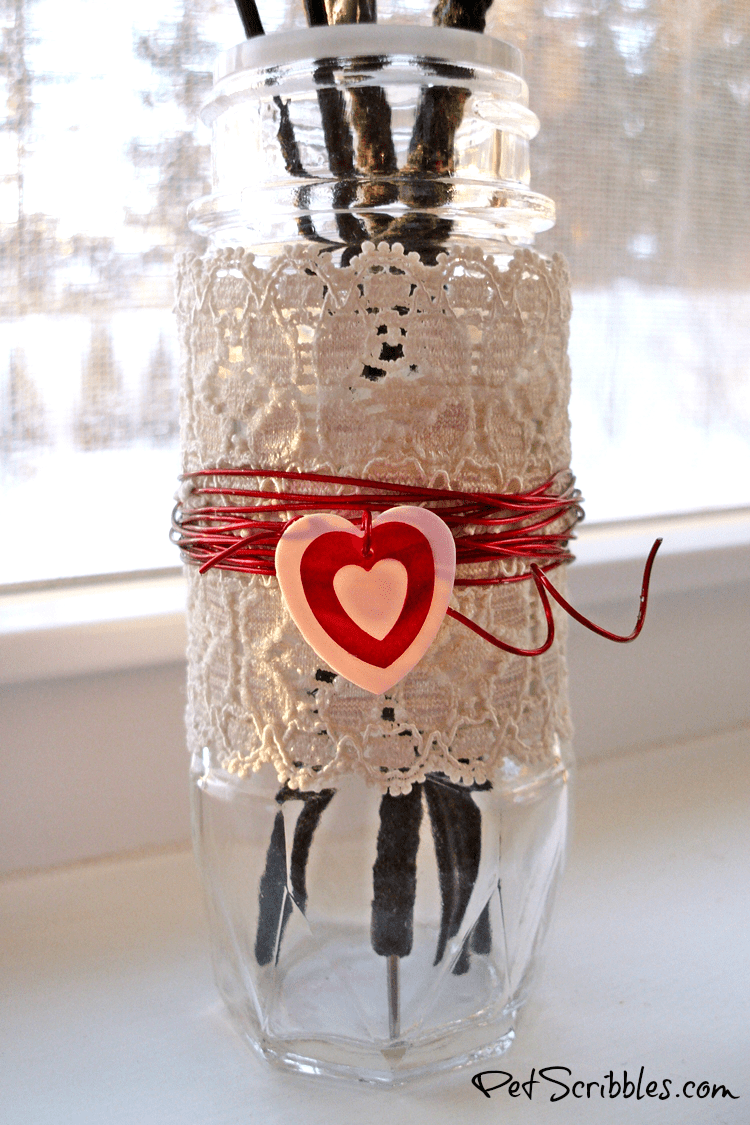
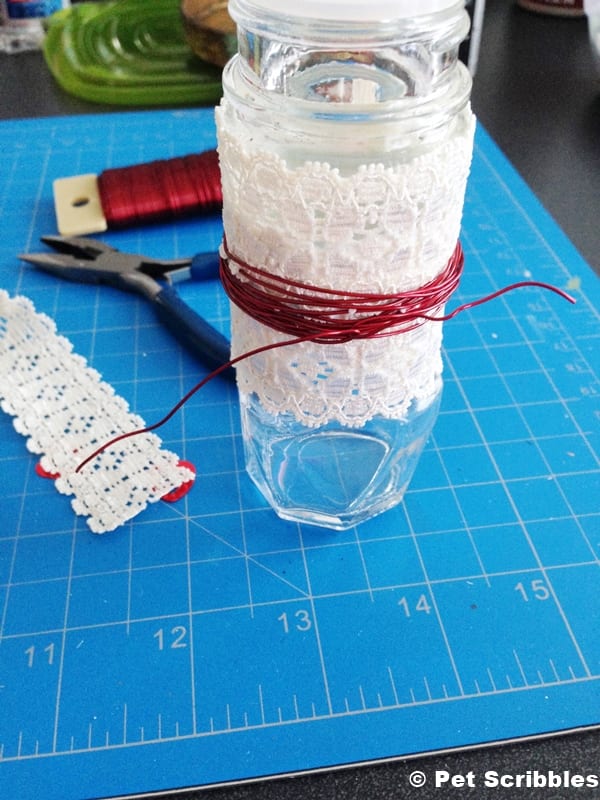
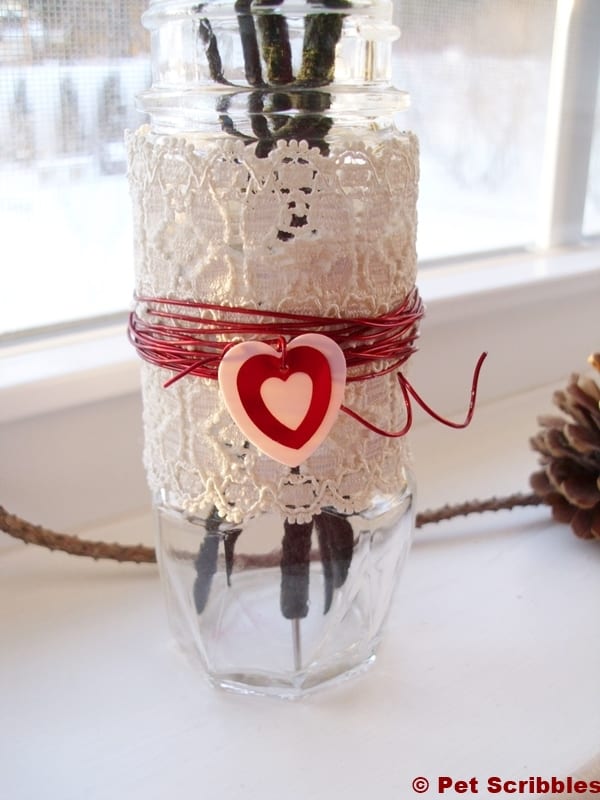
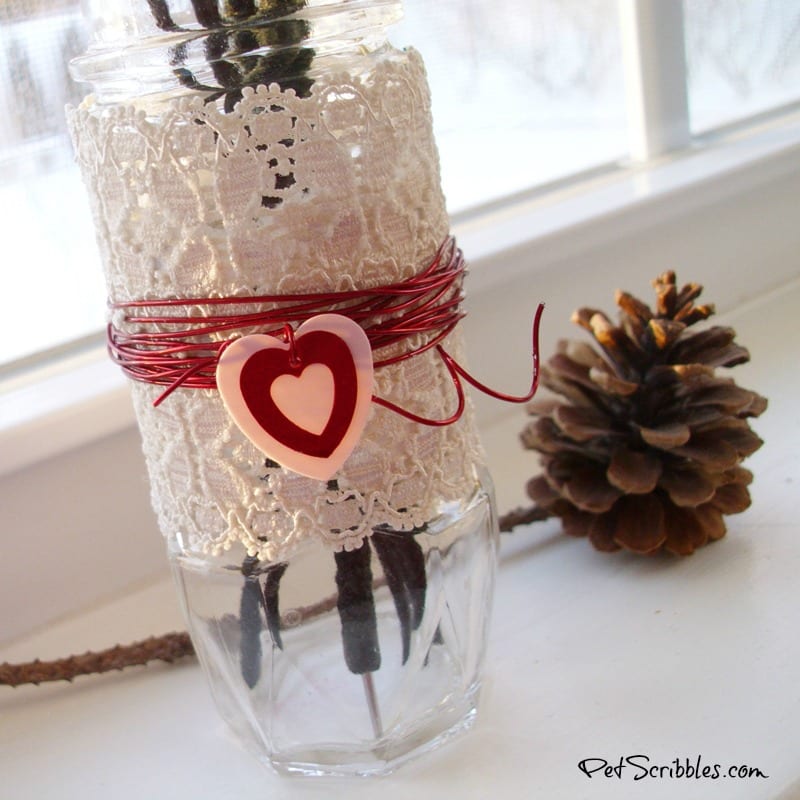
I wrapped two strips of ivory lace around the vase (over the painted label) and secured each strip with glue dots.
Next I took red floral wire and wrapped it around the vase several times, then secured by twisting the two ends together, while still leaving enough wire on each end to attach something, although I wasn’t sure exactly what to attach . . .
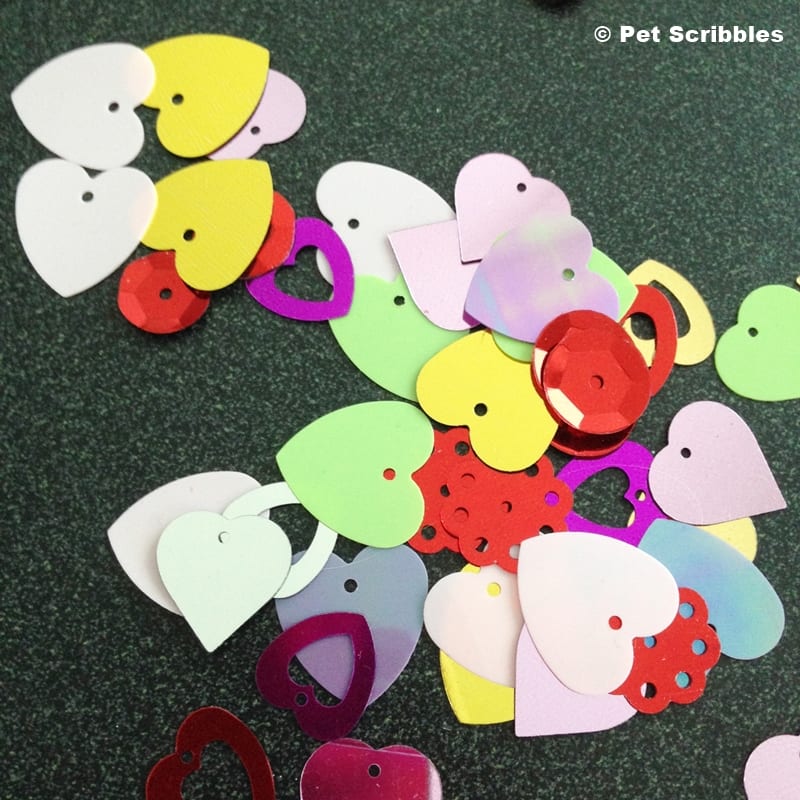
And then I had one of those lightbulb moments: what about my vintage-style sequins? I have a stash I purchased years ago and they come in handy every so often for projects.
I picked out some of the hearts . . .
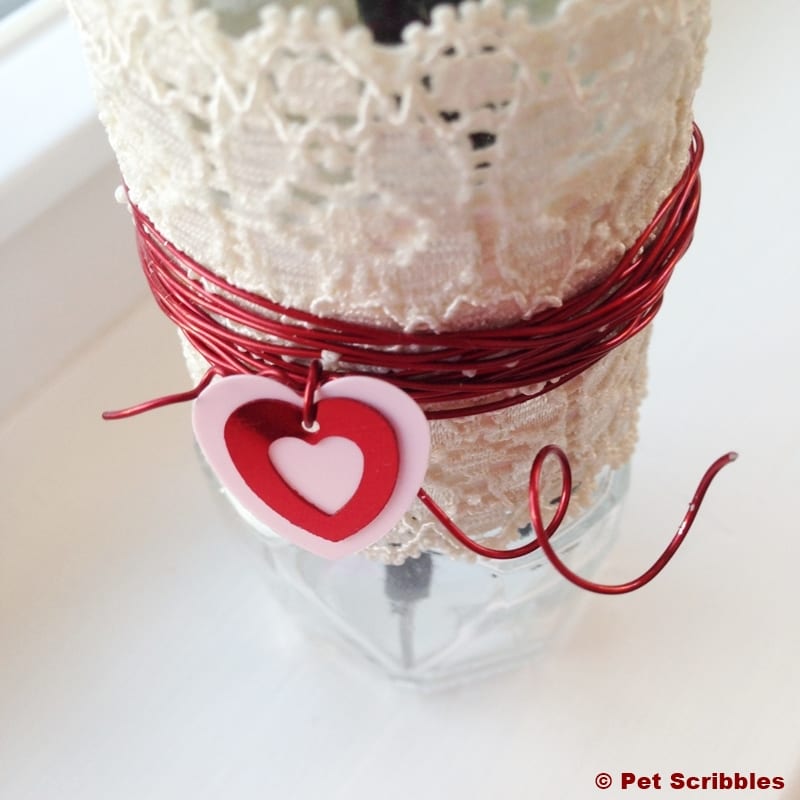
. . . and decided to layer two of the heart sequins together. I stuck one end of the wire through both sequins, then twisted the wire around itself to secure. I wrapped the other end of the wire around a pen a few times to make a curl . . .
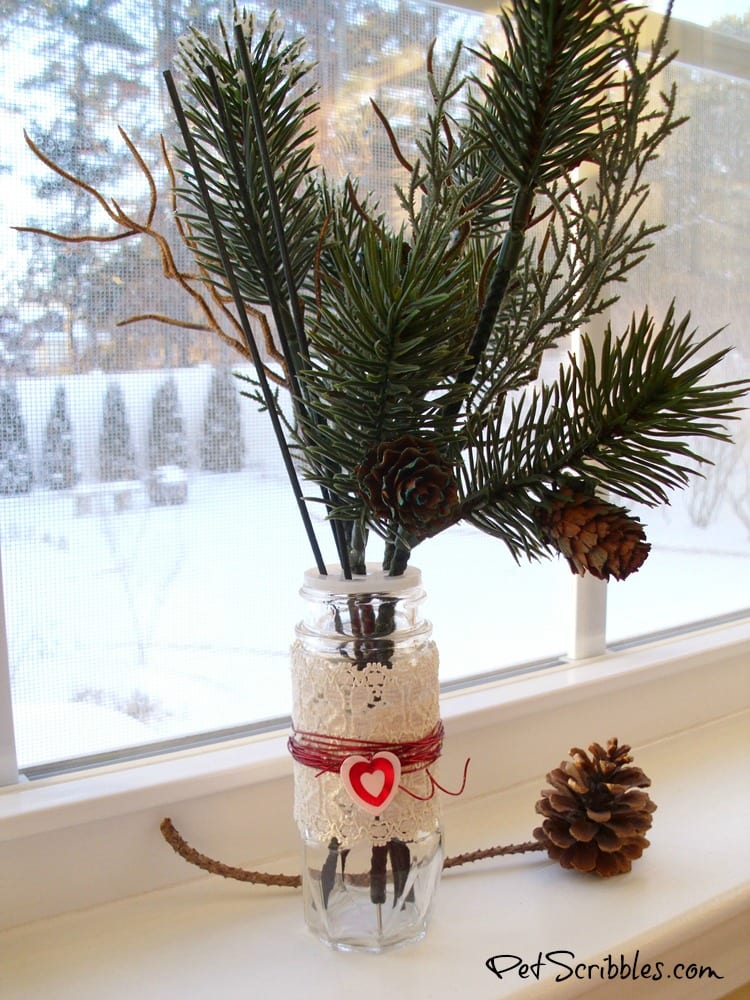
And now I have the perfect little bud vase for Valentine’s Day!
Because it’s still Wintertime, I decided to stick some faux pine branches into the bud vase. Closer to Valentine’s Day, I think I’ll buy some carnations, chop them down in stem size, then display in this sweet little guy!
Happy crafting!
A much older version of this tutorial first appeared on Live Creatively Inspired when I was a contributor there. This post has been completely updated for you here!

