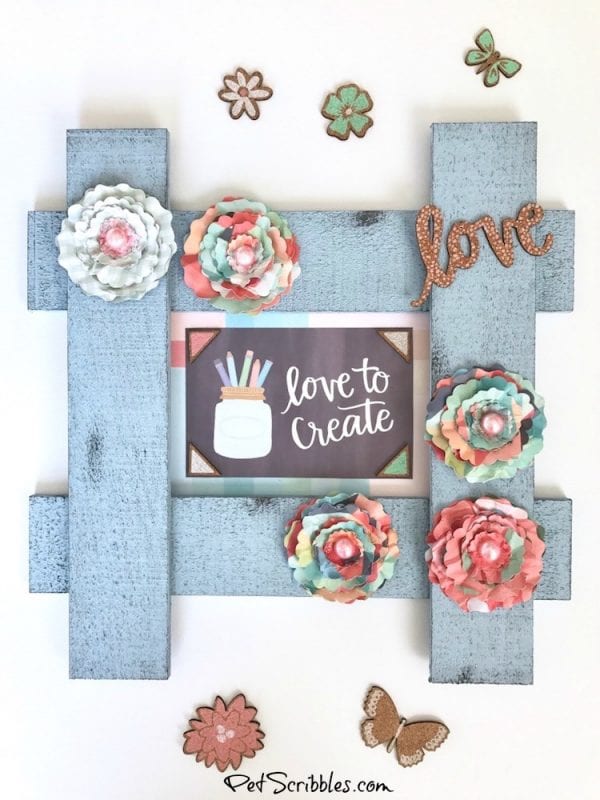
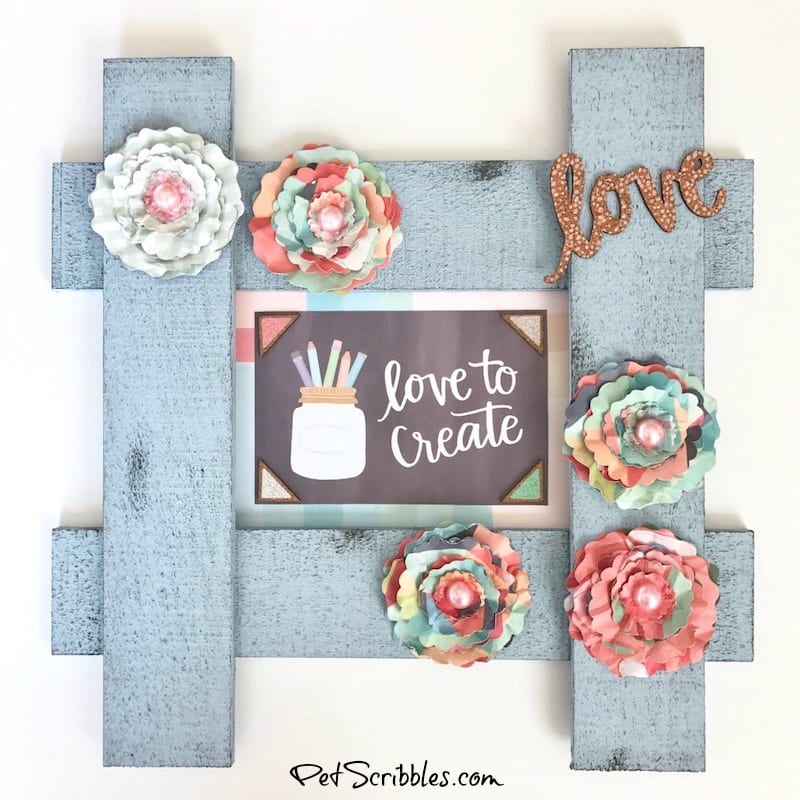
I’m in love with my Love to Create Wall Art! I made this in about two hours — including drying time — and you can alter this tutorial to make it personally yours. Let’s do this!
This week, our Xyron Design Team has partnered with a fabulous new collection by 1canoe2 and American Crafts!
And yes, that is an exclamation point at the end of the sentence above because This. Collection. Is. Gorgeous.
FTC Disclaimer: I’ve received products/compensation as part of the Xyron Design Team. This Love to Create Wall Art, however, is 100% my own project! Some of the links in this post are affiliate links. I explain more here.
I received items from the 1canoe2 “Hazelwood” line. Ah-MAZ-zing!
Let me show you . . .
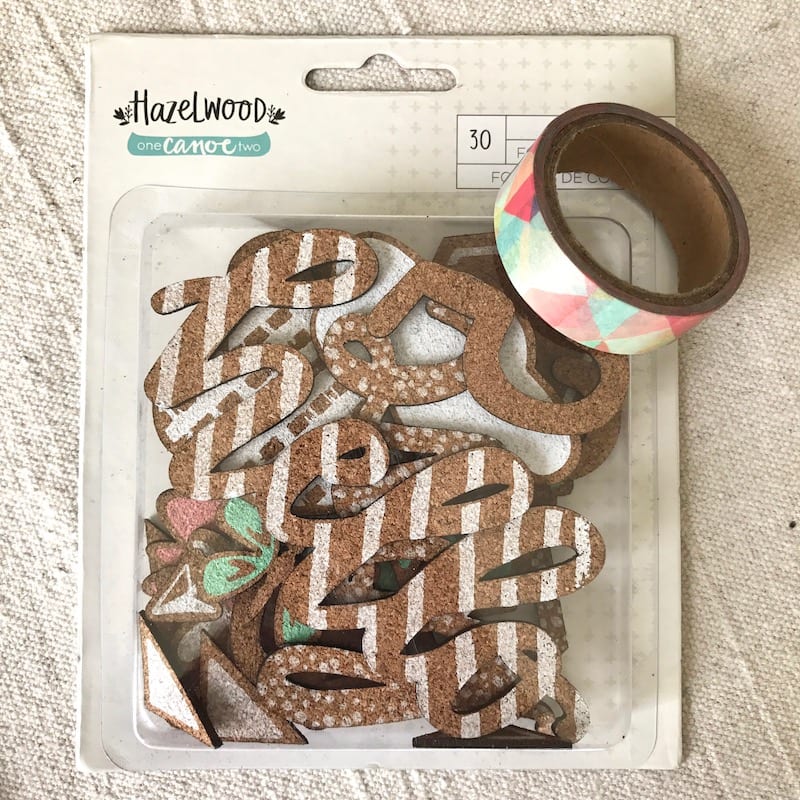
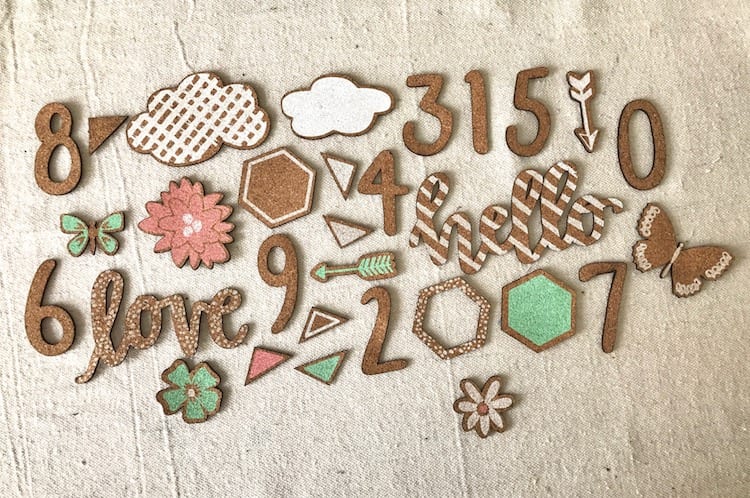
First, we have Hazelwood Cork Diecut Shapes
Yes, you see some pretty washi tape above, which matches the Hazelwood paper line I’m about to show you.
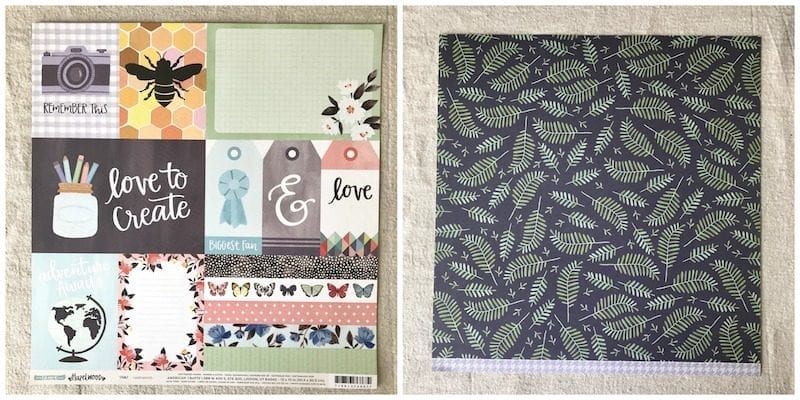
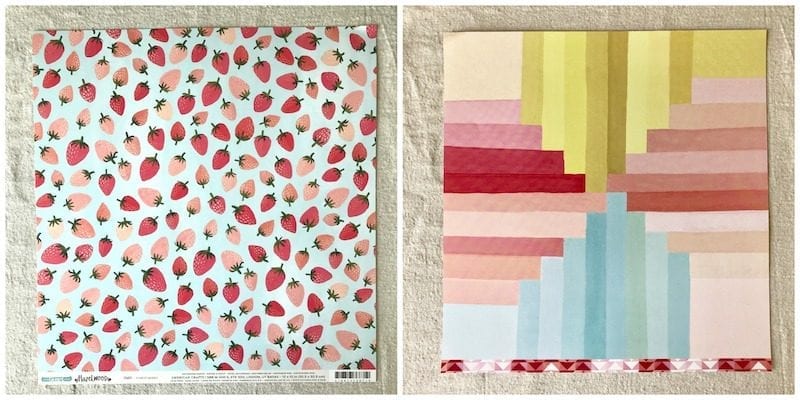
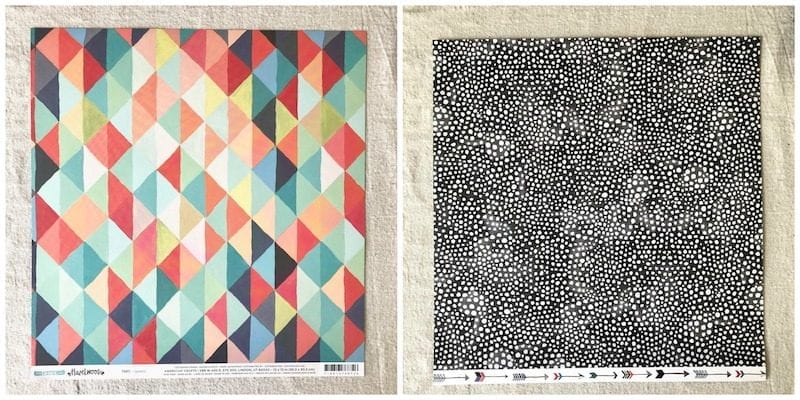
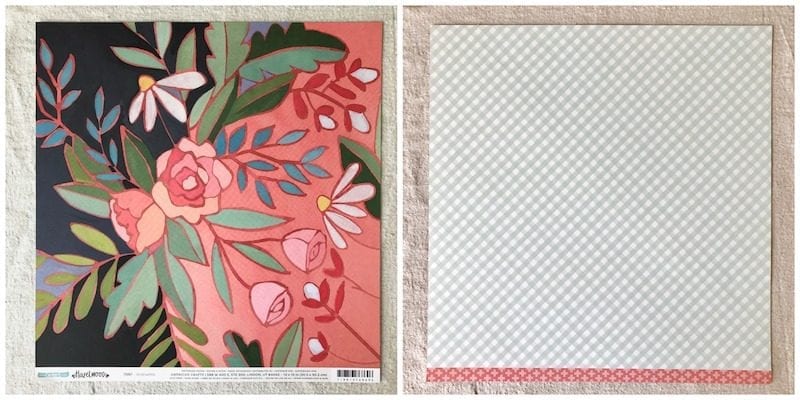
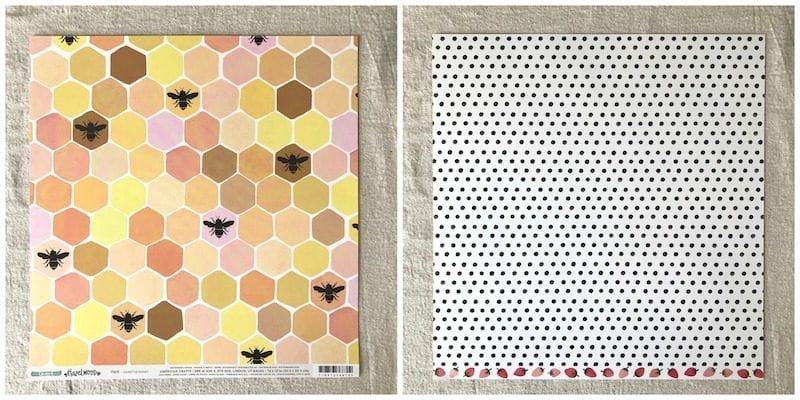
Here are the “front and back” of the 12 x 12 cardstock papers I got to play with:
The difficult part about this paper line is deciding which side you are going to use.
Actually, the most difficult thing for me to decide was what to make, because my initial reaction was I just wanted to frame each paper! LOL
OK, enough drooling!
It’s time to share how I made my new wall art for my craft studio!
Love to Create Wall Art with 1Canoe2 and Xyron
Supplies:
- Xyron® Creative Station
- Xyron® Creative Station Lite
- Xyron® Mega Runner
- 1canoe2 Hazelwood Scrapbook Papers (American Crafts)
- 1canoe2 Hazelwood Cork Diecut Shapes (American Crafts)
- Unfinished wood hashtag frame (Walnut Hollow)
- Chalk paint (pale blue and dark gray shades)
- Glitter paint (bright pink shade)
- Half-pearl embellishments
- Diecut machine (I used my Sizzix Big Shot)
- Flower Die
- Scissors
- Paintbrushes
- Wax paper
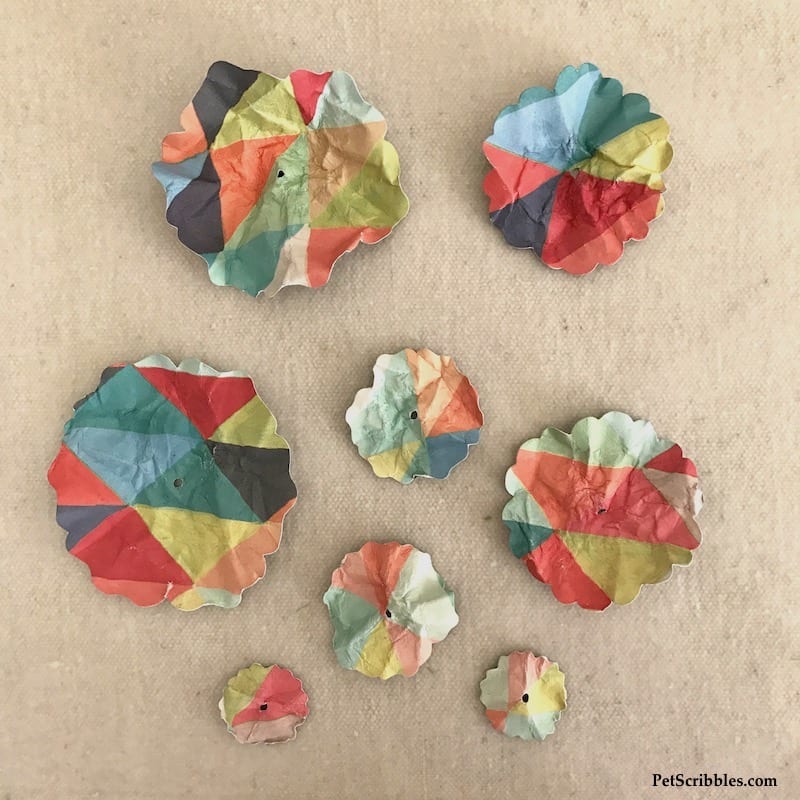
Step One: Make flowers with your chosen papers. You can see my full tutorial on how to do this here. For these flowers, I used 8 layers of cardstock for each flower.
Tip: to get the shabby look, spritz the cardstock with water and crinkle by hand, then gently pull apart and let dry.
Don’t put your flower layers together just yet — that will come later.
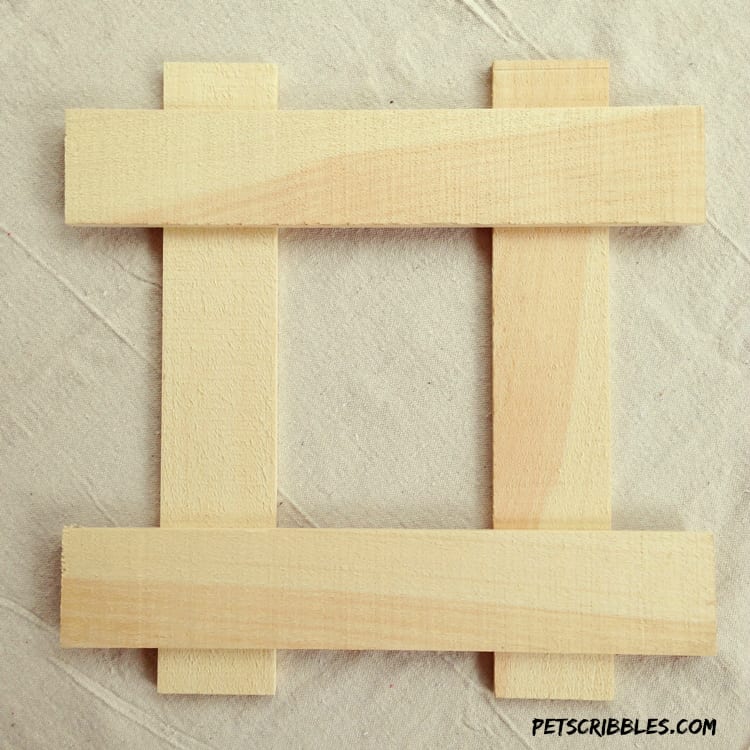
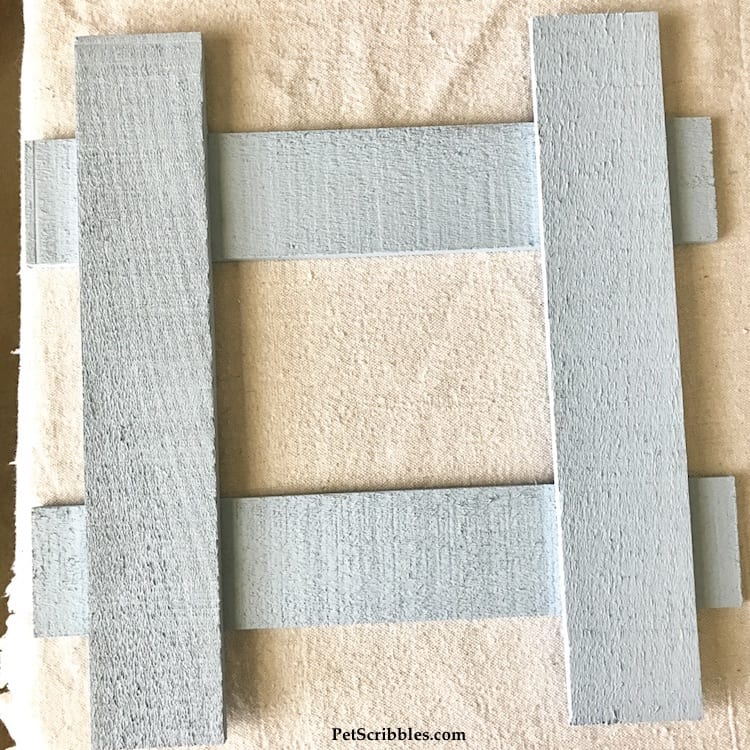
Step Two: Paint your unfinished wood frame in your chosen chalk paint colors. I absolutely love the rustic look, so I didn’t do any sanding on this hashtag frame.
I painted the frame with one coat of a pale blue color.
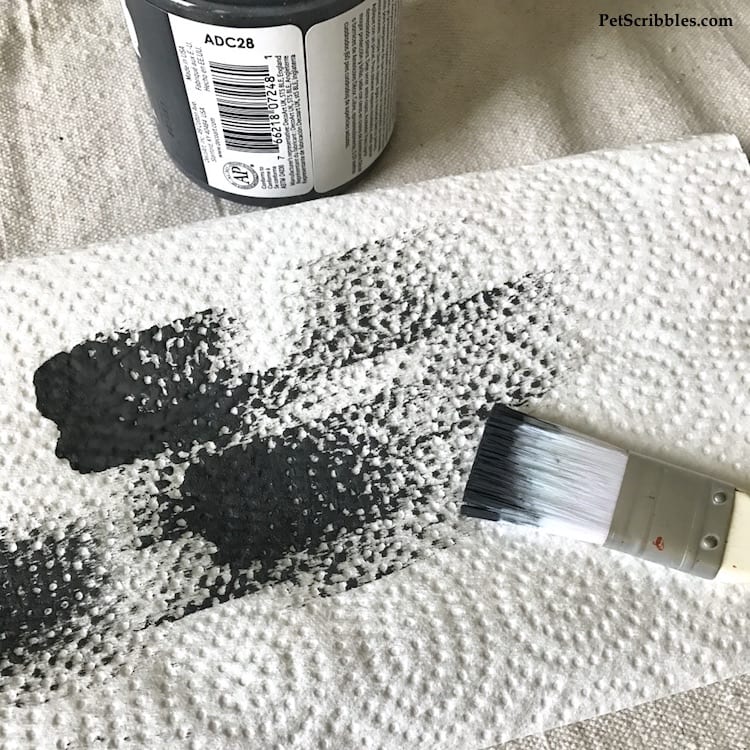
Once dry, I very lightly went over it with a black shade — almost more of a dark gray — using a dry-brush technique. (To learn how I do this, click over to see this post here.)
Step Three: Create the framed image using the scrapbook papers.
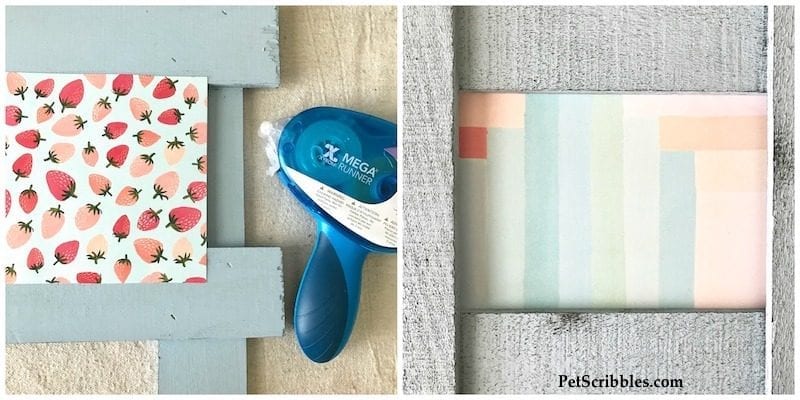
First I chose my “love to create” image, and then matched up a background paper. Cut the background paper larger so it can be attached to the back of the wood frame. Use the Xyron Mega Runner: two strips of adhesive along each piece of wood. (below left)
Flip the frame over to make sure you like the placement, then smooth down the paper to fully stick to the frame. (above right)
Step Four: Attach the “love to create” paper to the background paper.
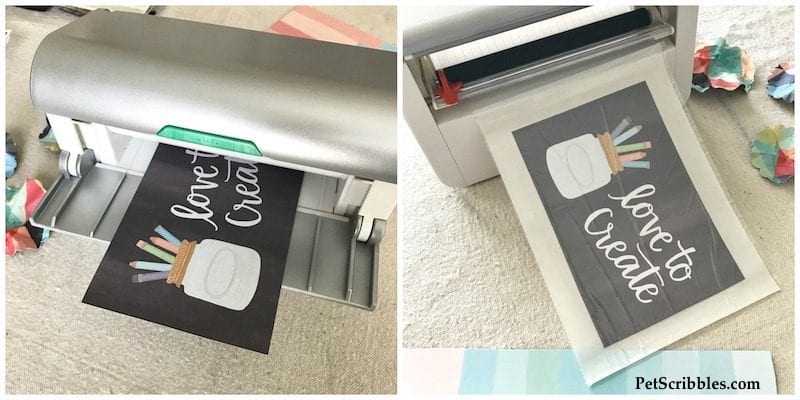
First I ran the “love to create” paper through the Xyron Creative Station Lite to turn the paper into a sticker.
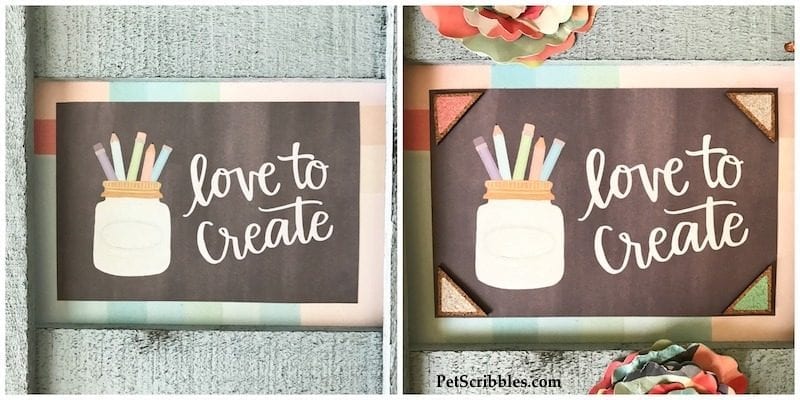
Then I attached it to the background paper and smoothed it down. (below left)
Finally, I added the adorable triangle cork diecut shapes to each corner. (above right)
Step Five: Attach your flowers to the painted frame.
Here’s how I did this…
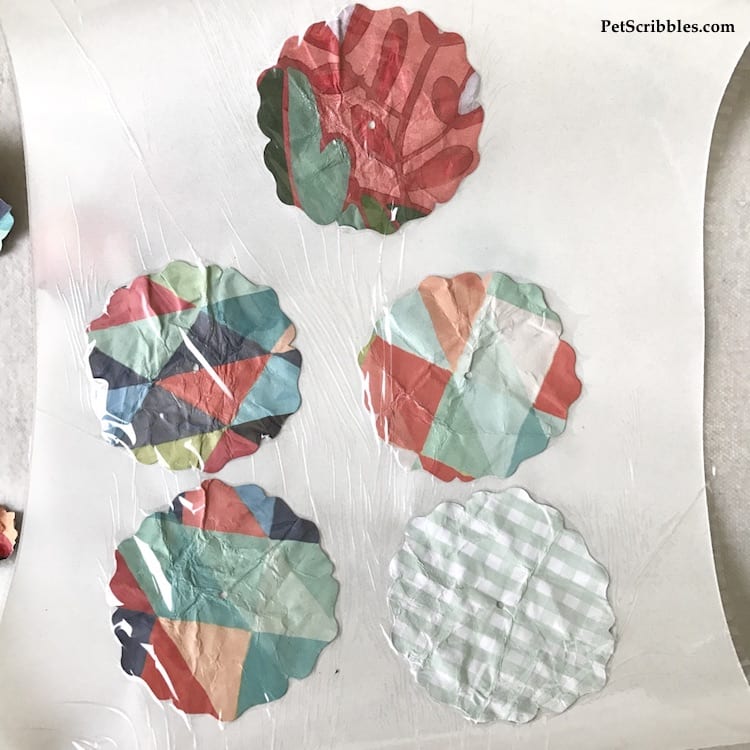
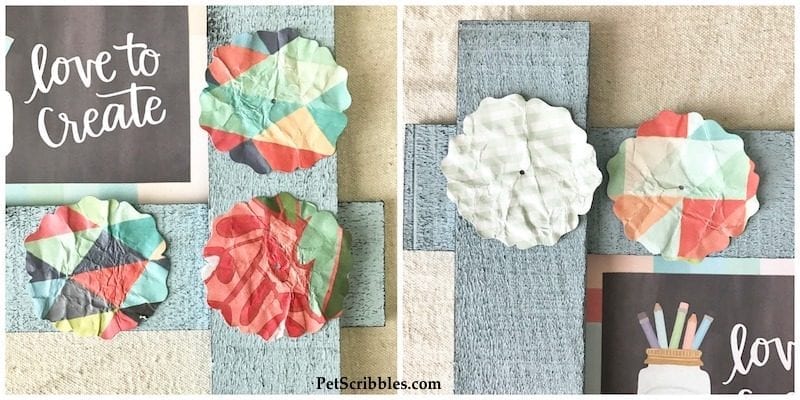
Step 5A: First, I ran the bottom layer of each flower through my Xyron Creative Station:
These layers became stickers, which made it easy to attach them to the frame.
Tip: Don’t worry if the top plastic part (seen above) is crinkly. The good sticky stuff is on the bottom paper. The top plastic is simply something you’ll peel off before attaching to your project.
Step 5B: Attach the flower bases to the frame. Press down and rub to make sure these bottom layers are secure.
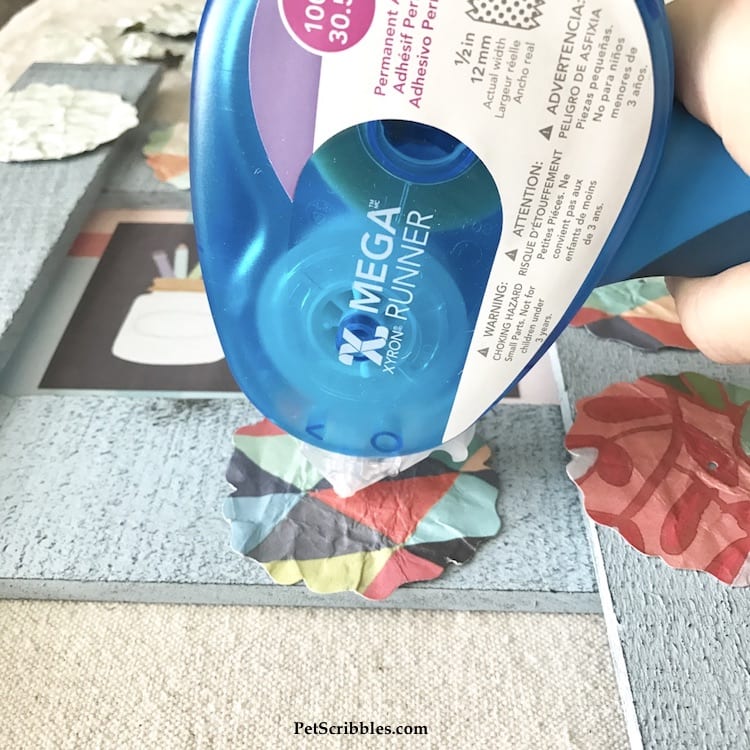
Step 5C: Use the Xyron Mega Runner to apply adhesive to the top of the bottom layer. (I know, you need to think about what you just read! LOL)
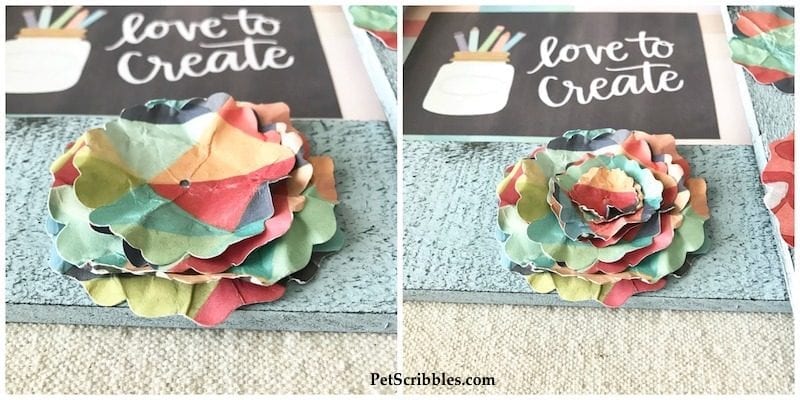
Step 5D: Attach the next layer for your flower on top of the base layer, and press down in the center where you applied the Xyron adhesive to make sure it sticks. Repeat this process for the rest of the layers, and for each flower.
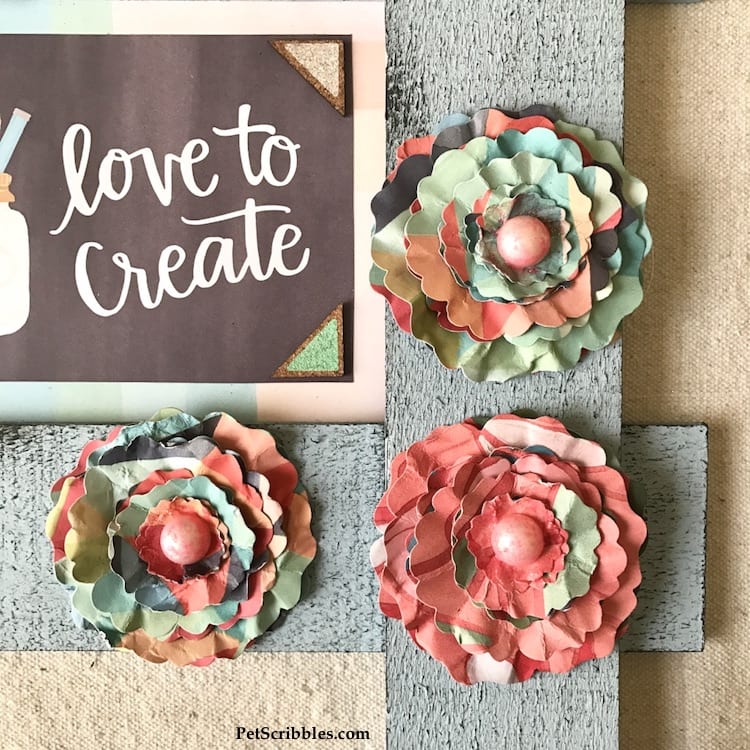
Step 5E: Using the Xyron Mega Runner, attach half-pearls — these are pearl embellishments that have a flat back — to the center of each completed flower.
Step 5F: Apply pink glitter paint onto the pearls as well as the top layer of each flower. (Of course you can leave the pearls as is, too, if you prefer.)
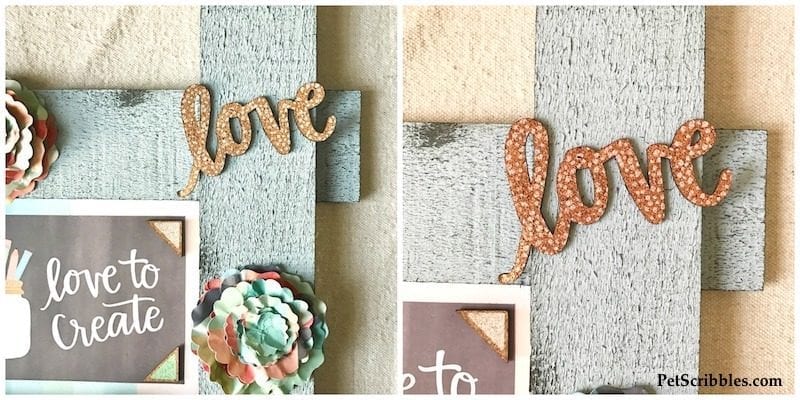
Step Six: Attach the “Love” cork diecut shape using your Xyron Mega Runner. First I played with the placement, and I couldn’t resist trying to mimic the exact position of the same word that appears in the center “love to create” image. Then I applied the Xyron adhesive to just the parts of the word that would be sticking to the frame. (below left)
Step Seven: Apply pink glitter paint to the “love” word. I dabbed it on with a small paintbrush, and love how you can still see the polka dots through the glitter paint. Just a bit of sparkle! (above right)
I absolutely love this sign and will enjoy seeing it everyday in my craft studio!
1canoe2 and American Crafts
Have I convinced you yet that you need to check out this new collection by 1canoe2 and American Crafts?
You will thank me! In fact, I’ll just go ahead and say, “You’re welcome!” now, ahead of time!
Happy crafting!
~Laura

