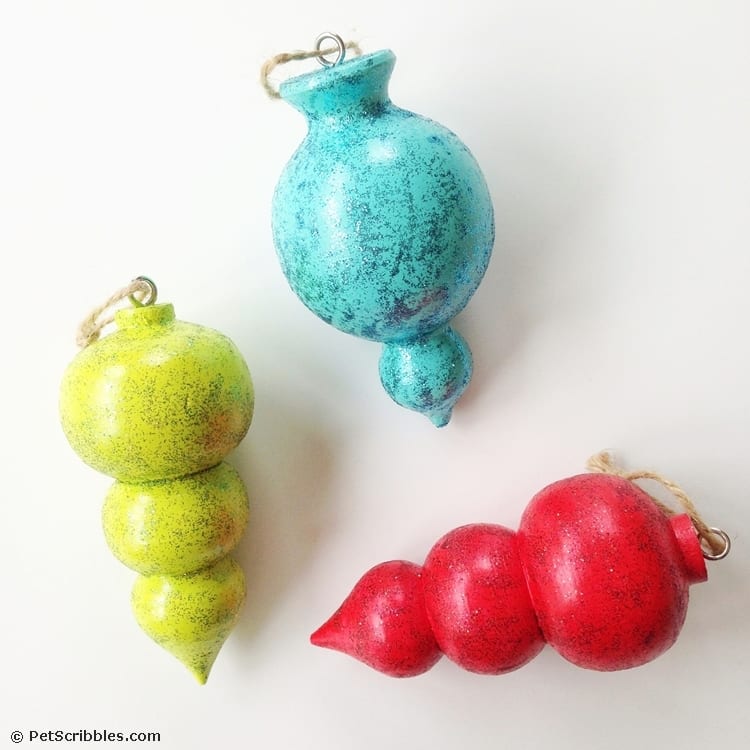
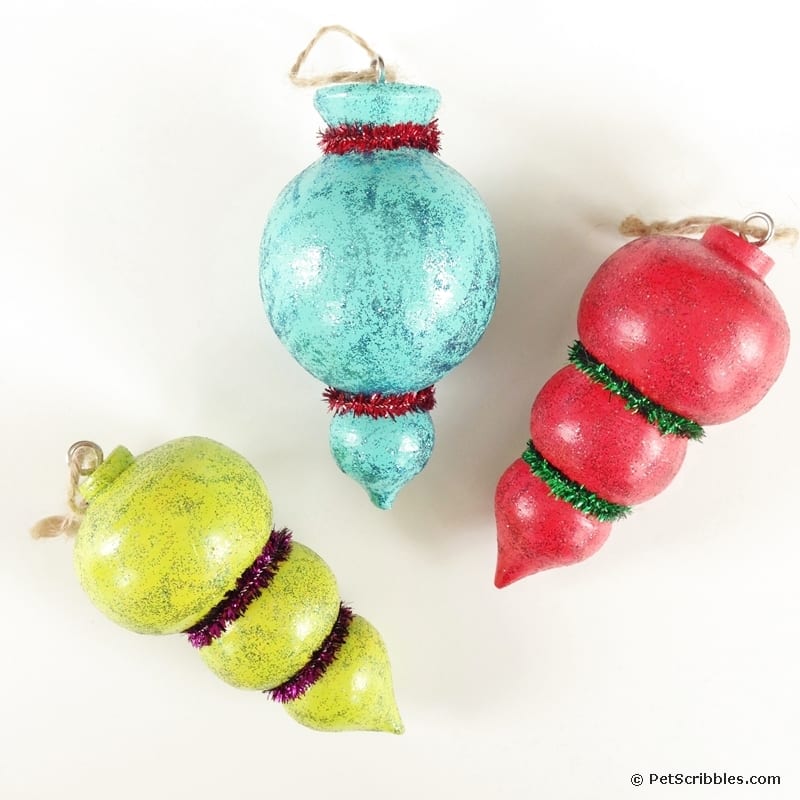
Want to have sparkling painted Christmas tree ornaments without the glitter falling off? Then you’ll love this easy ornament tutorial!
I love all of the ornament shapes at the craft stores. Many of these stores are already having sales on their ornaments, so now is a great time to get your holiday crafting on!
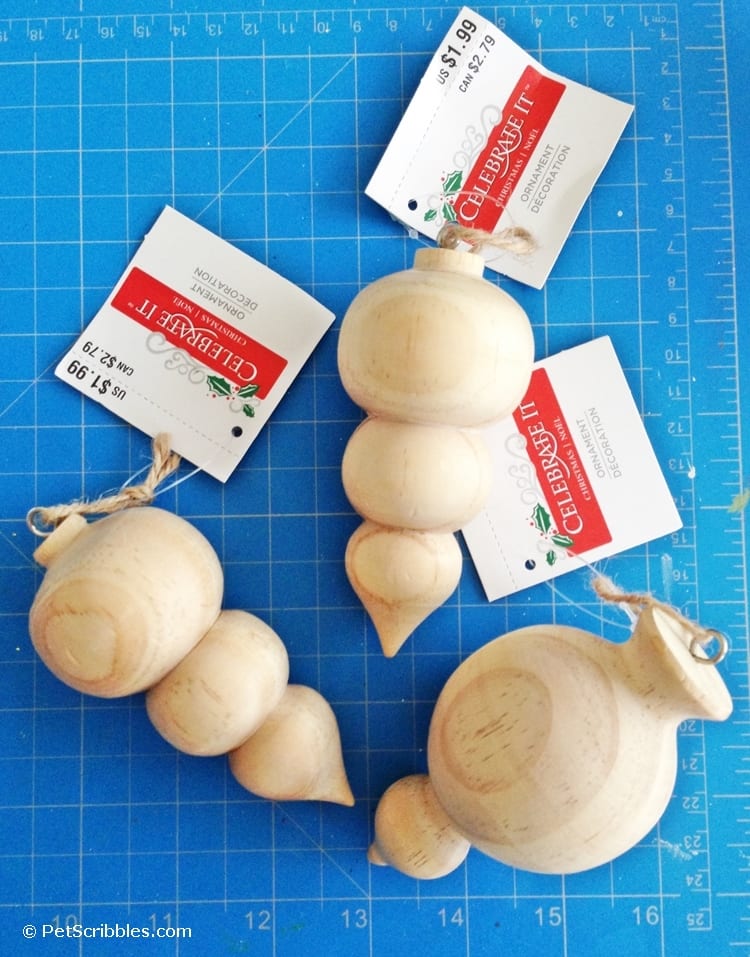
I found these ornaments at Michaels last year and grabbed them during the “after Christmas” sales!
Their shapes remind me of old-fashioned Christmas ornaments in rich, jewel tones, made out of mercury glass or tin.
Playing off the old-fashioned ornaments idea, I chose some jewel-like colors for the paint and glitter, as well as for the tinsel I used to embellish each ornament.
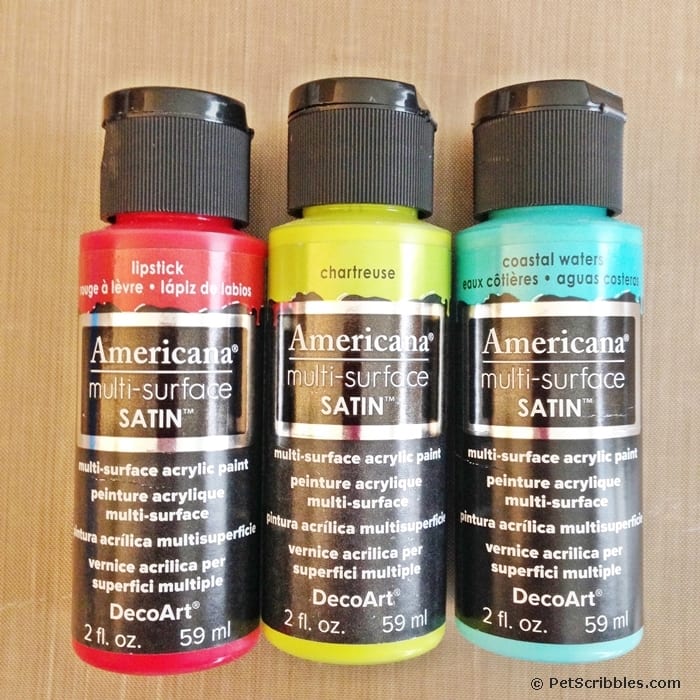
Here are the paint colors I chose:
Supplies:
FTC Disclaimer: Some of the links in this post are affiliate links. I explain more here.
- Craft paint in red, chartreuse and aqua colors (DecoArt)
- Glitter paint in red, lime green and turquoise (DecoArt)
- Paintbrush
- Plastic recycled lids to hold paint
- Wax paper
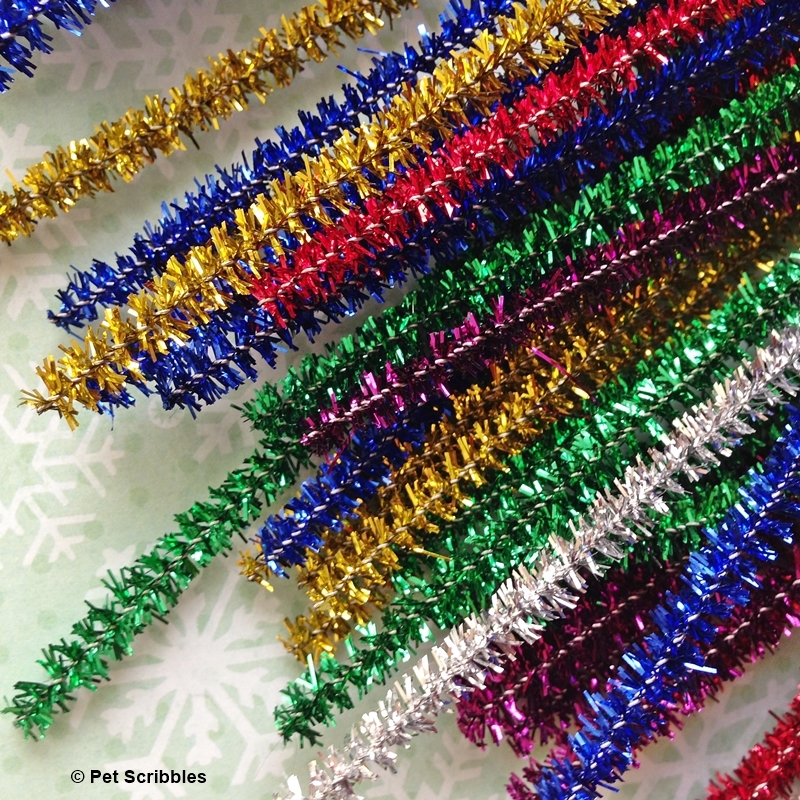
- Tinsel pipe cleaners
- Jewelry pliers (to cut the tinsel)
- Ornaments to decorate (Michaels)
How to: Sparkling Painted Christmas Tree Ornaments
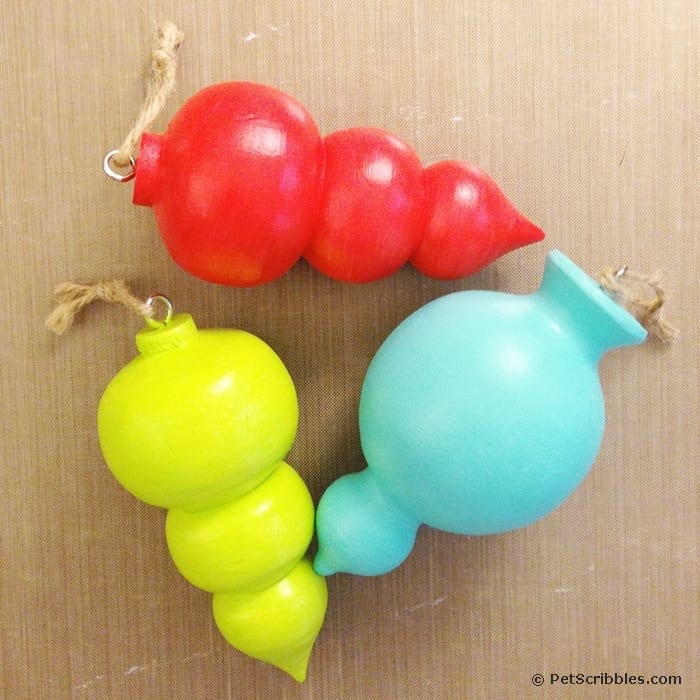
Step One: Apply two coats of paint to each ornament using a small paintbrush. In the photo below, you can see how vibrant the colors are.
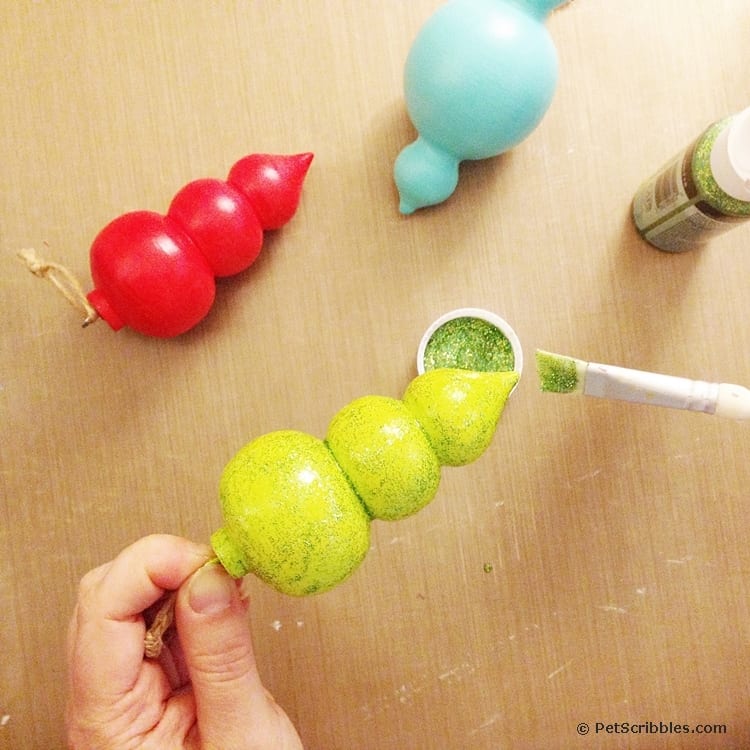
Step Two: Apply one coat of matching glitter paint to each ornament.
Once dry, you can easily stop there and be finished!
Aren’t they pretty? Such a fun Christmas craft in a short amount of time!
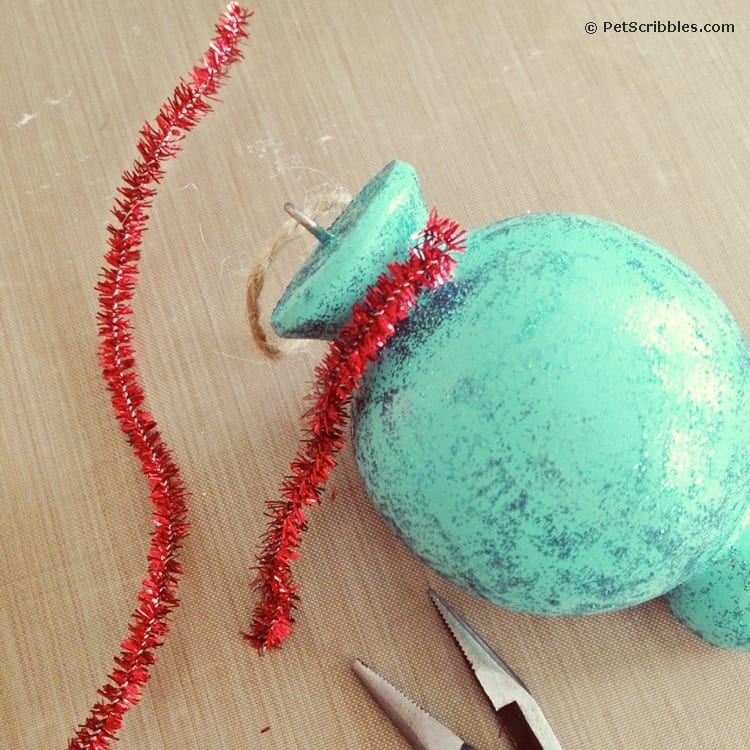
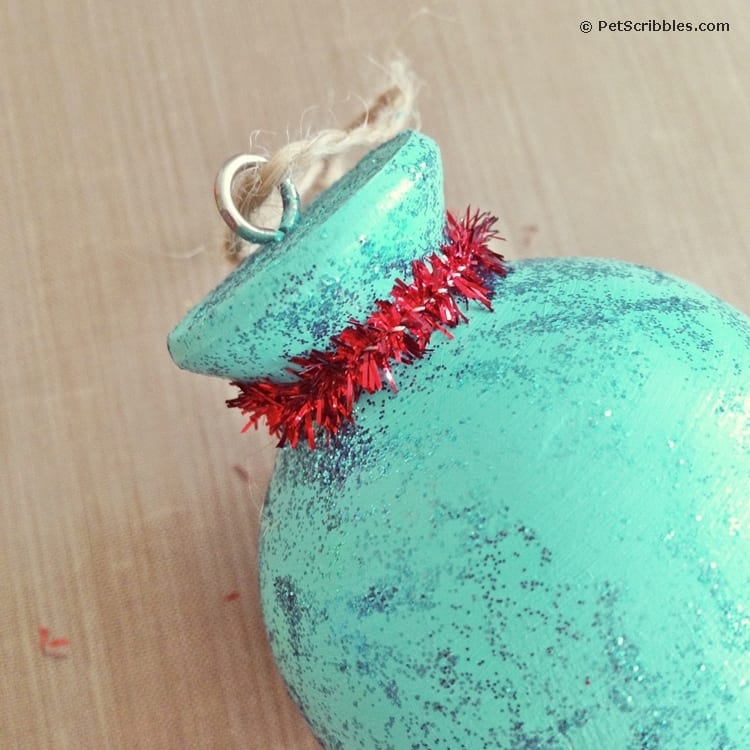
Step Three: Wrap tinsel pipe cleaners around the indented parts of each ornament for more sparkle.
I found these tinsel pipe cleaner stems at Walmart a few years ago and love how vintage they look.
I measured out (nothing fancy – just used my eyes) a small length of pipe cleaner and cut it with jewelry pliers. (Not sure if that’s even the proper tool, but it’s what I had on hand and it worked.)
I measured just enough so there was a tiny overlap of the ends, which I wrapped around each other before pressing them back into the rest of the tinsel.
These ornaments don’t have a front and back to them, but if you need to, just hang the ornaments so that the pipe cleaner ends (twisted together) are in the back.
And that’s it!
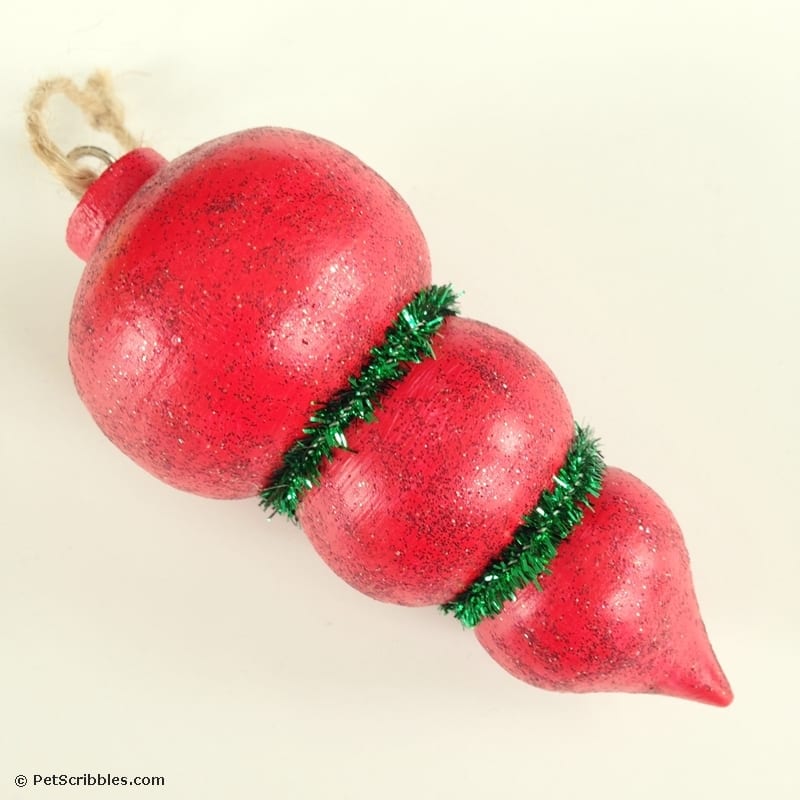
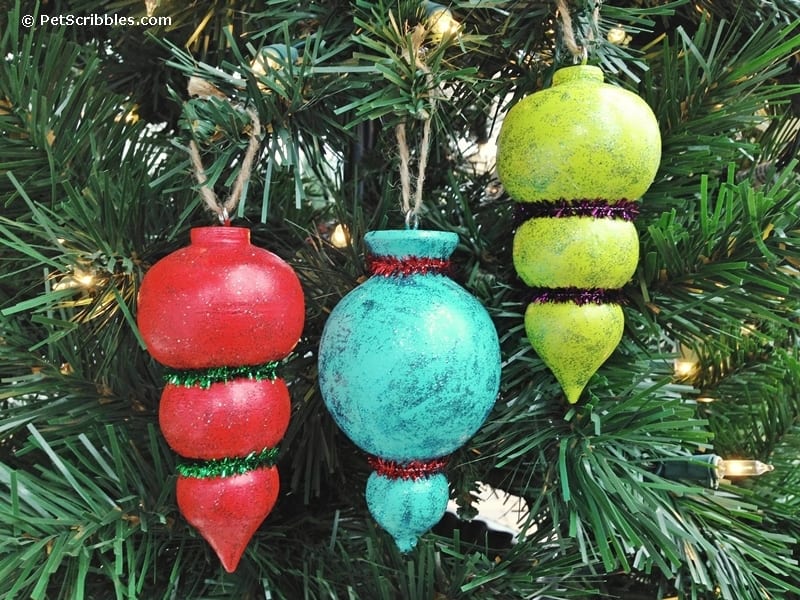
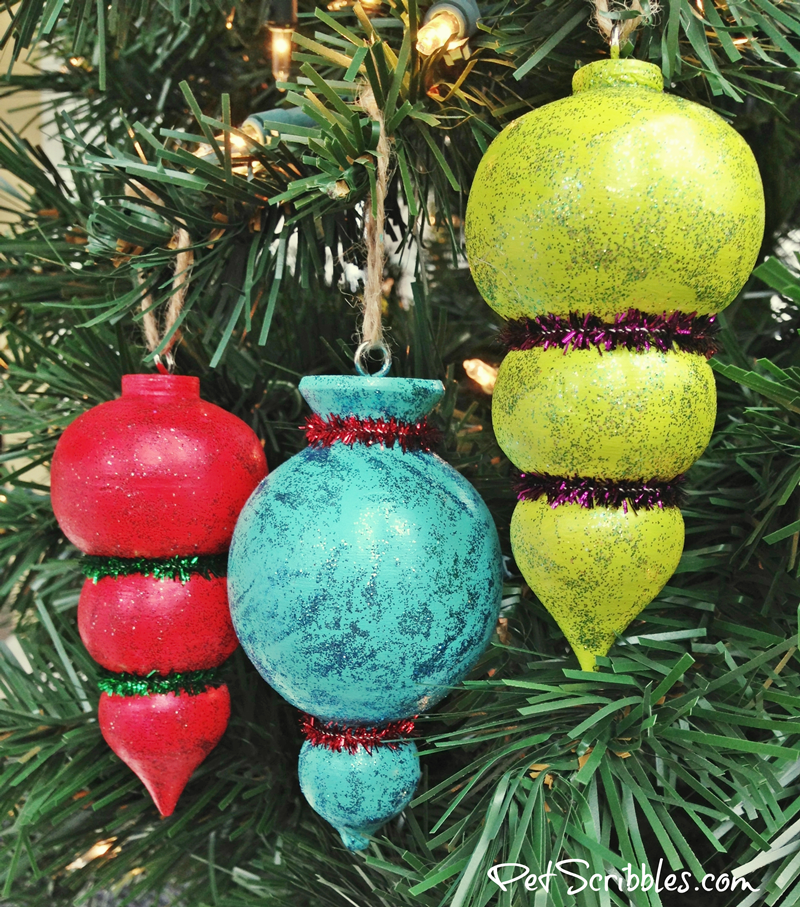
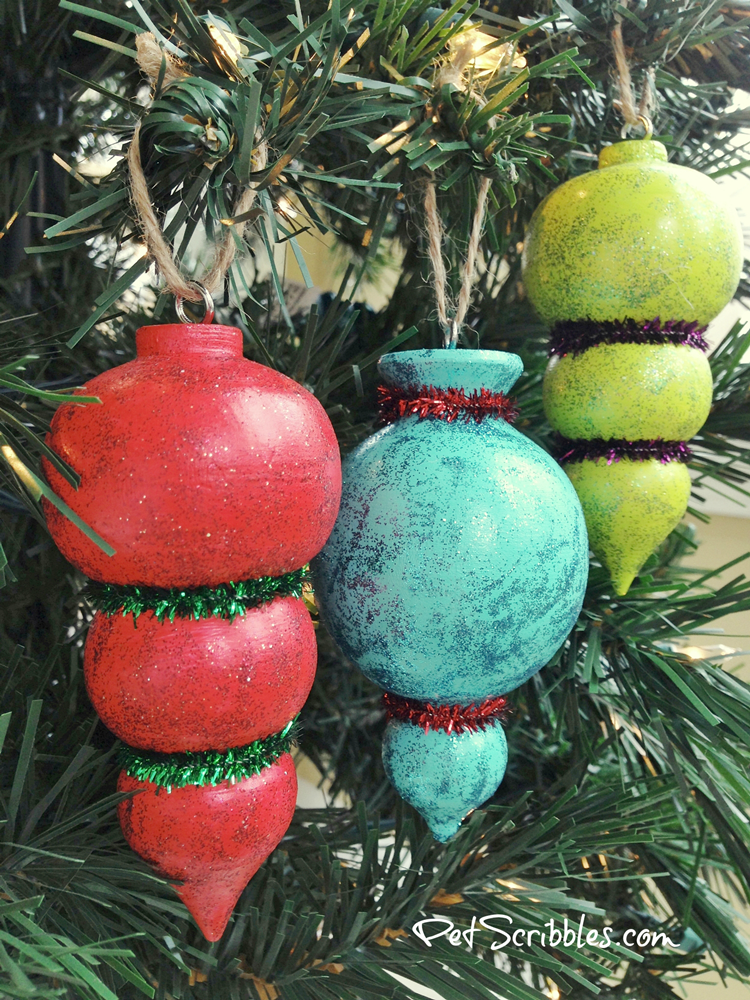
Here’s a close-up of the red ornament. The green tinsel gives the ornament a very traditional Christmas feel . . .
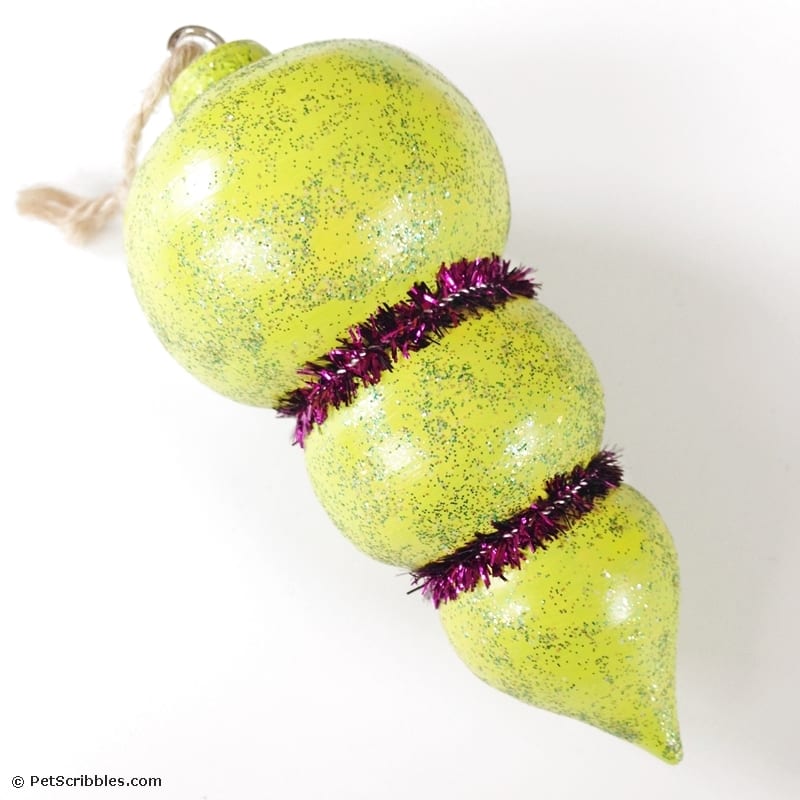
I purposely matched deep purple tinsel with the bright chartreuse ornament . . .
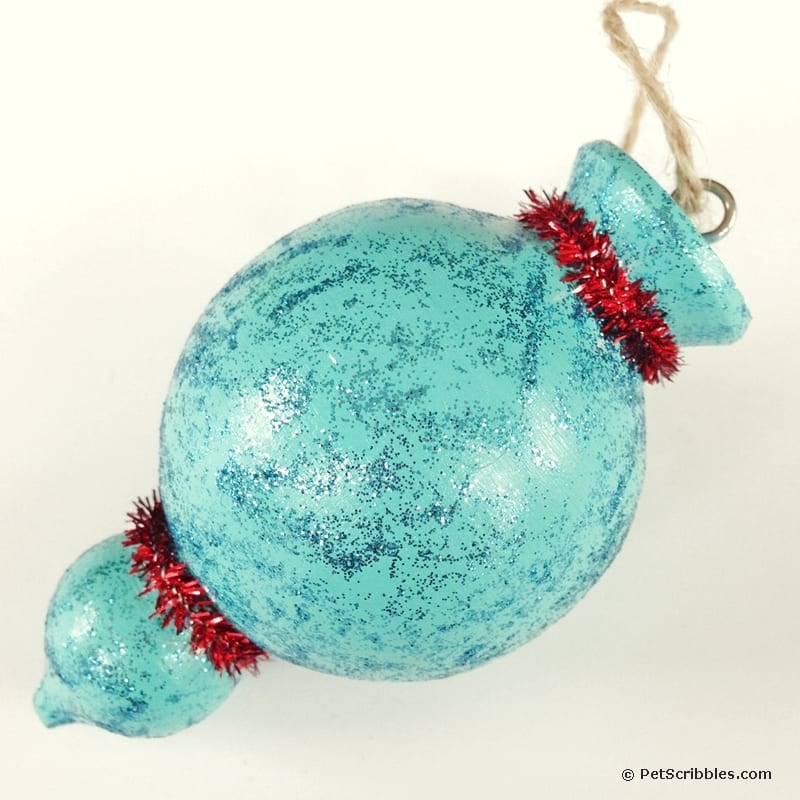
For the blue ornament, I chose red as I do like that color combination as well . . .
Here are all three ornaments . . .
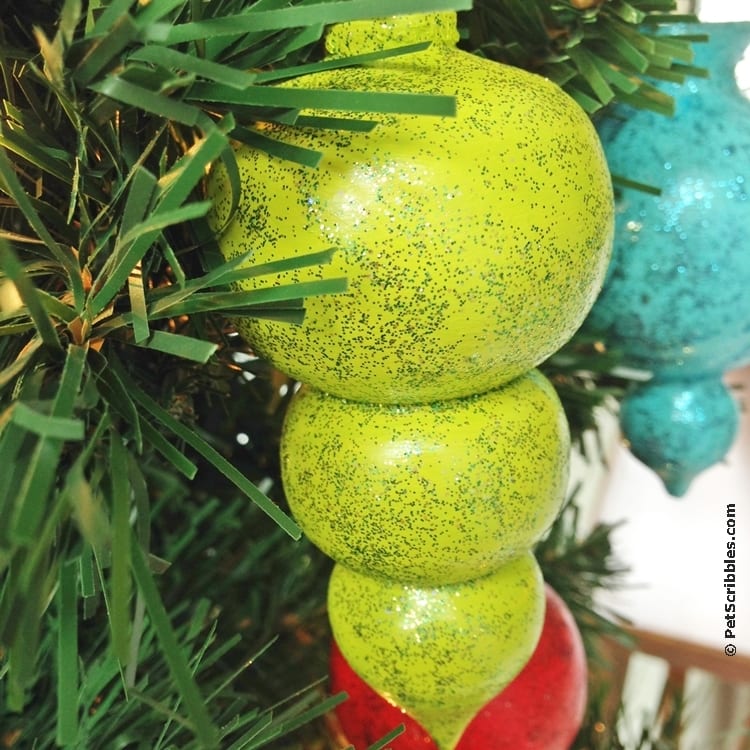
They’re so sparkly! And because I used glitter paint, there’s no worries about the glitter falling off.
Let me repeat: no worries about glitter falling off, or coming off on your hands, or getting on the carpet or stuck in your wood flooring.
Paint and Glitter on Multiple Surfaces
These ornaments began as unfinished wood, but you can totally do this same tutorial with ornaments made of other materials such as tin, plastic or glass.
Just make sure to use a good craft paint that says “multi-surface” on the bottle, as these paints are purposely made to adhere to multiple types of surfaces.
You can personalize these ornaments by adding sticker initials you can find at the craft store. (The scrapbook aisle has tons of adhesive-backed letters in different colors and finishes including glitter.)
Lots of possibilities to make these ornaments your own!
Happy holiday crafting!
~Laura
An older version of this tutorial first appeared on PinkWhen.com, when I was a craft contributor there. This post has been completely updated for you here!

