When I first began painting paper maché boxes, I had to special order mine, as they were not a commonly-carried item in craft stores. Happily, these days you can find them at the big-box stores and even on Amazon. And now that they are so popular, you can find paper maché shapes in many sizes as well as seasonal shapes and ornaments too.
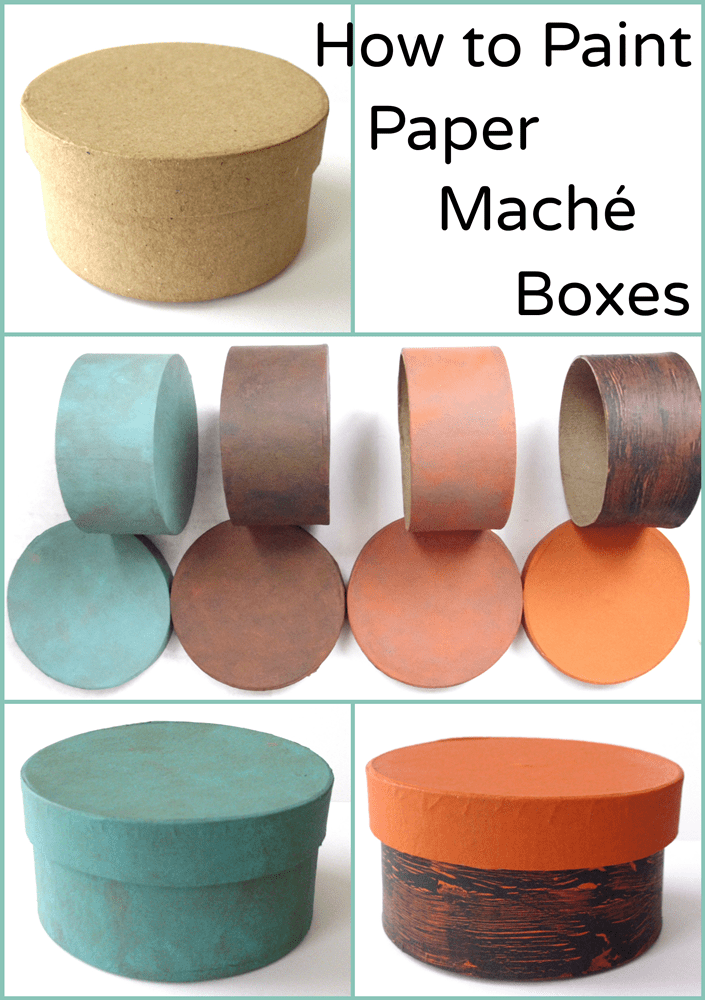
Today I’m going to show you how easy it is to get different looks on a basic paper maché box just by the way you apply your craft paints!
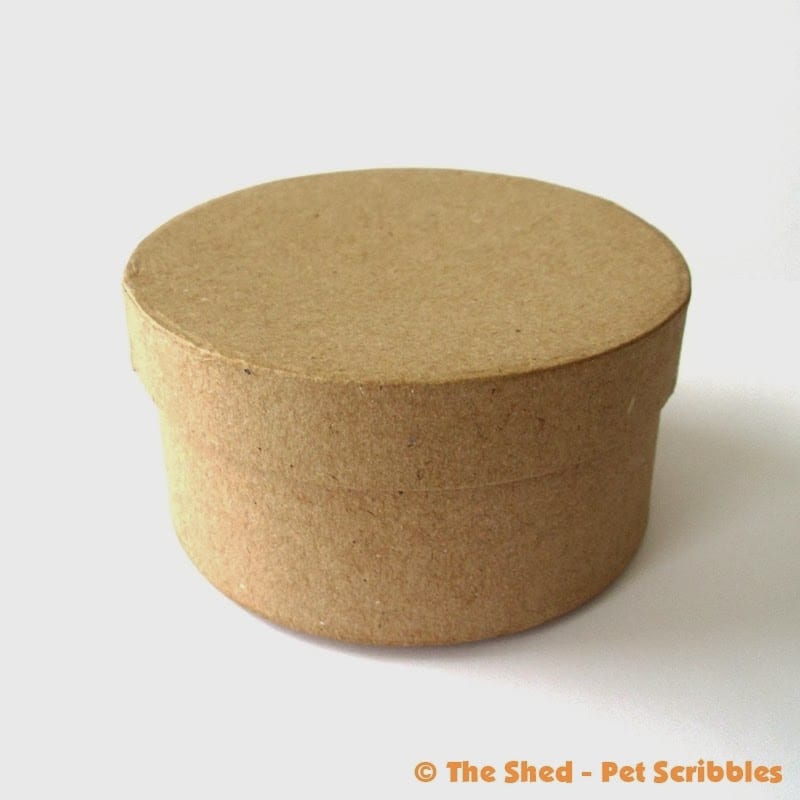
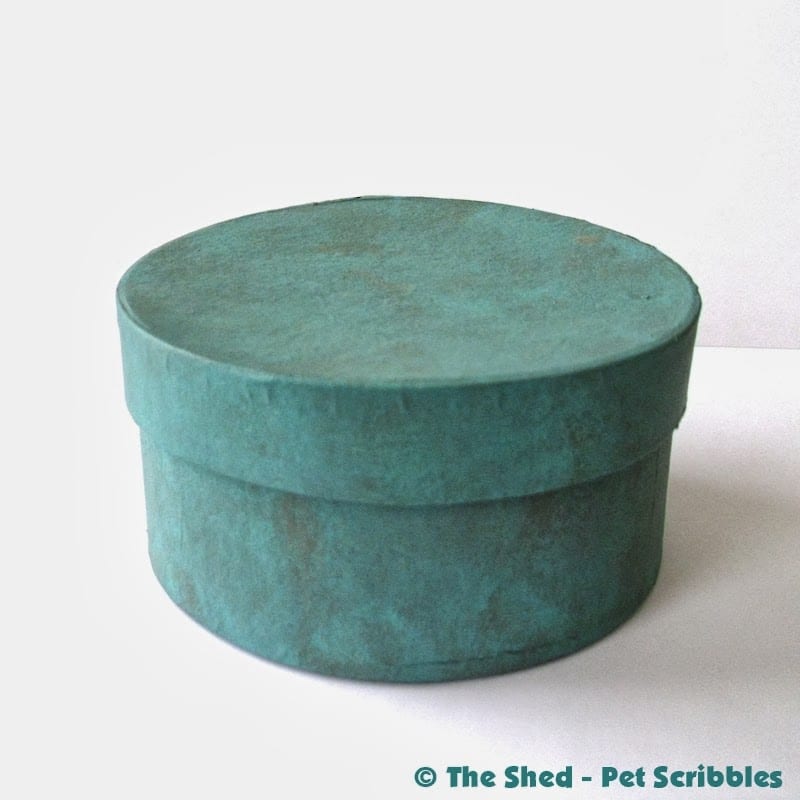
Here’s a paper maché box that is 4 inches in diameter and 2 inches tall:
Apply base color(s)
First step is to apply your base color of paint. You’ll find a myriad of posts online that discuss which are the best paints to use for these boxes, as some people have very specific preferences. I find that using basic craft paints in the popular 2 oz. sizes are your best (and most economical) bet.
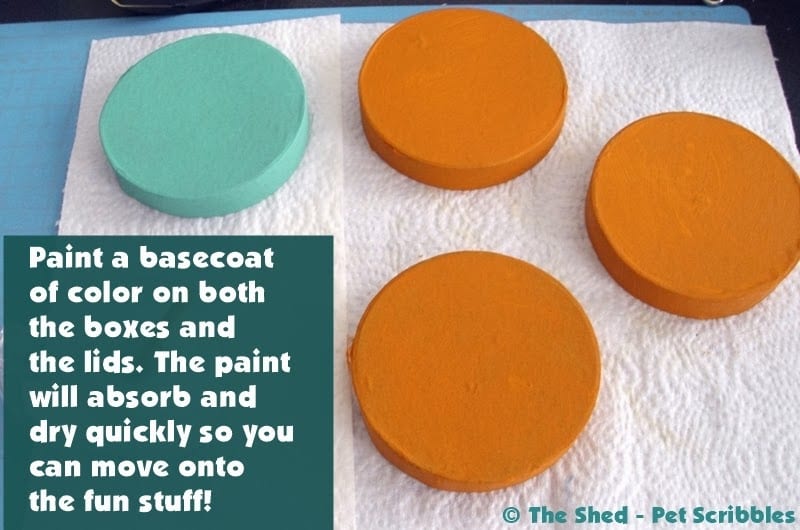
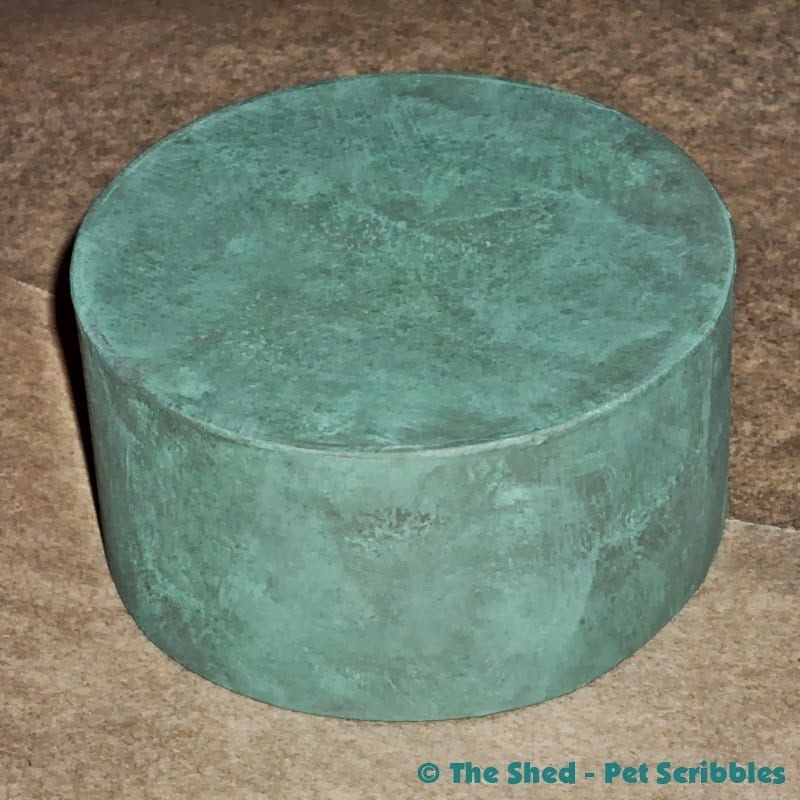
For these boxes, I chose an aqua shade for one of the boxes, and then decided to paint the other three boxes in orange. It is Autumn, afterall, and Fall decor and Halloween crafts are on my mind and my worktable!
You’ll find the paint will dry very quickly, as it gets absorbed into the paper maché easily. I applied two coats of my base color on each box using a basic foam brush. Let dry for about an hour.
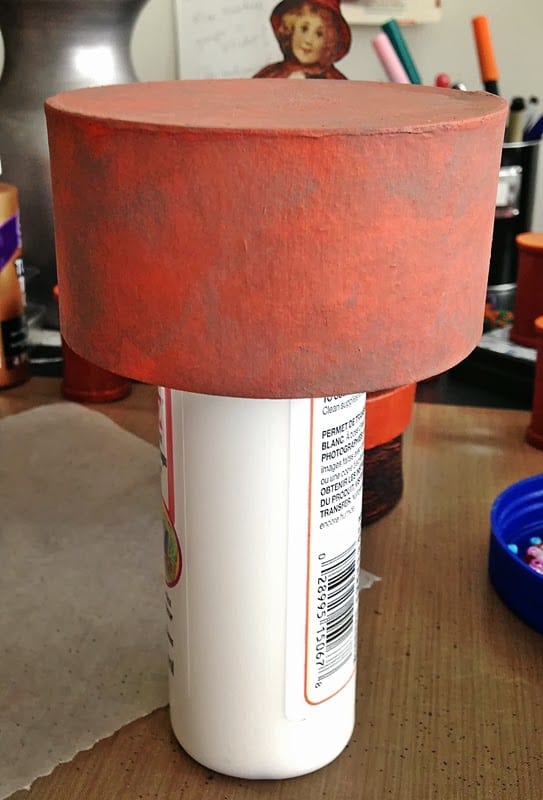
Helpful hint: You’ll find it much easier and faster if you put your hand inside of the box and paint the sides and bottom at the same time. Or, place the box opening on top of a handy bottle – i.e. top of bottle is inside the upside down box – on your craft table and you can both paint and dry it easily that way! Example:
Now it’s time to have some fun! I took some dark steel grey-colored craft paint and squirted it into my trusty plastic lid. (You can read why I love using plastic lids here.)
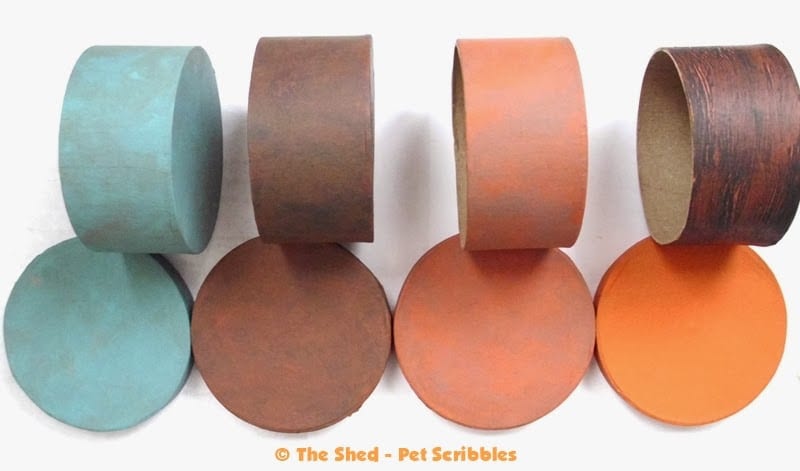
Aqua and Grey Splotchy Box
Splotchy is a very technical term, I know! 😉
Add a tiny amount of water to thin the paint just a bit and stir it around. Using a foam brush, pat and swirl and swish and splotch this watered-down paint onto the Aqua paper maché box. The goal isn’t to cover the entire box with this paint, but rather to build up a few layers in spots to give it some depth.
I did this step in two phases: do a first round, let dry a bit, then do another round. You honestly can’t go wrong, as you just do this until you love what you see! (And isn’t that the best kind of crafting?)
Repeat this same process for the box lid. Let both the box and lid dry thoroughly. Spray with an acrylic sealer in either matte or glossy, depending upon the look you want. I chose a matte look for all of these boxes but have used glossy as well in the past. Let dry thoroughly.
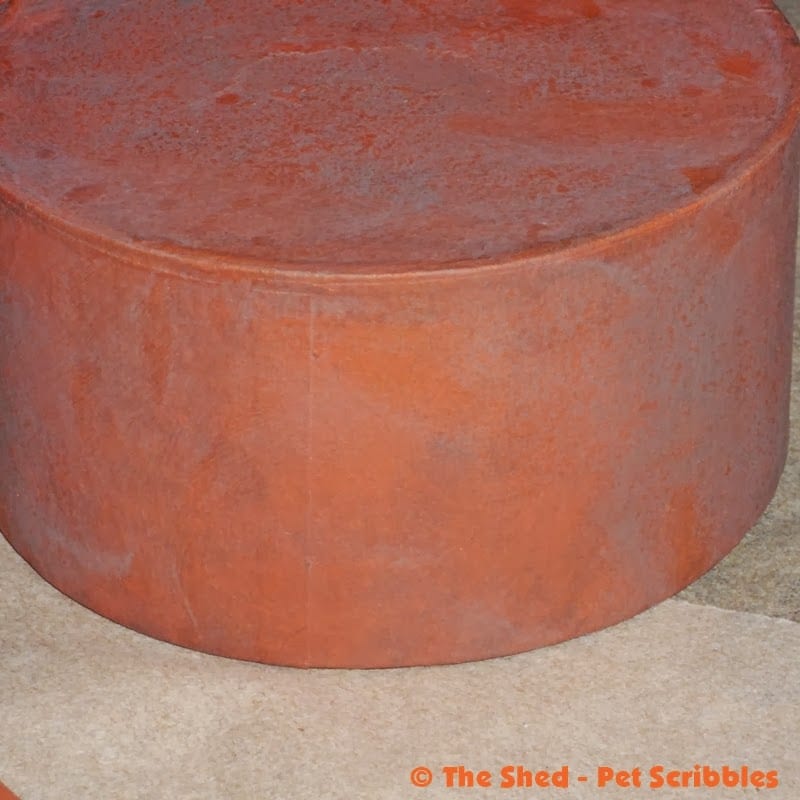
Orange and Grey Splotchy Box
Repeat the above steps with one of the orange paper maché boxes until you love the look. And then repeat the same steps for drying and spraying with an acrylic sealer.
Even though the same grey paint was used, I love how different the finish looks on each box because of the base color chosen.
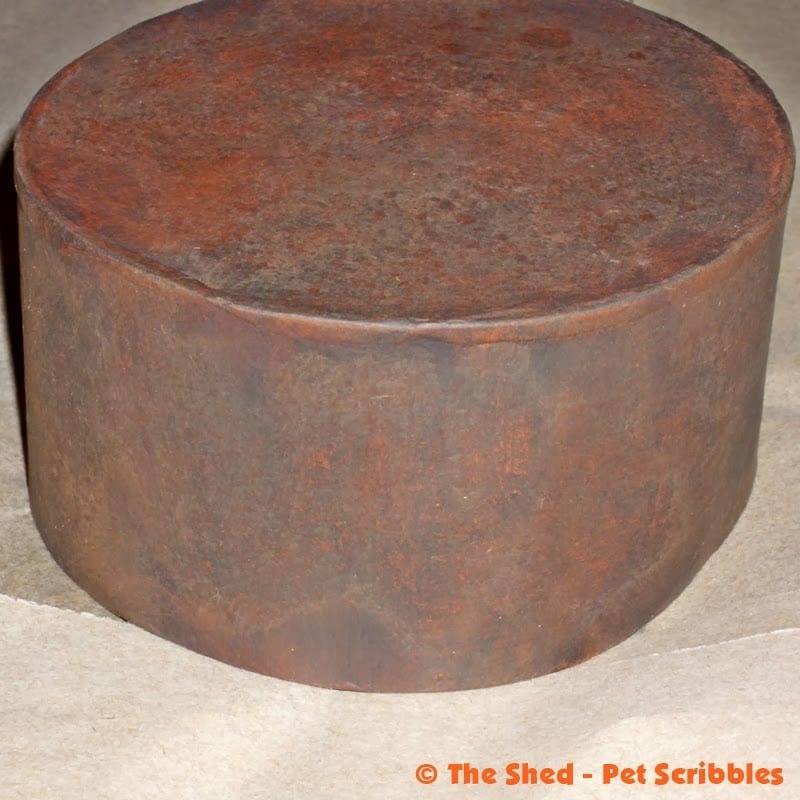
Dark Orange Splotchy Box
For this box and lid, I used the same watered-down steel grey paint in the lid, but added a small amount of black craft paint and mixed it in. Then I simply repeated the above steps of patting and swirling and swishing and splotching to get the same depth but in a much darker and more primitive style. I did this again in two phases, let dry, and then sprayed with an acrylic matte sealer.
Helpful hint: If you want a primitive look to your paper maché boxes, definitely use a matte sealer, as the grungier the better. Primitive things don’t shine!
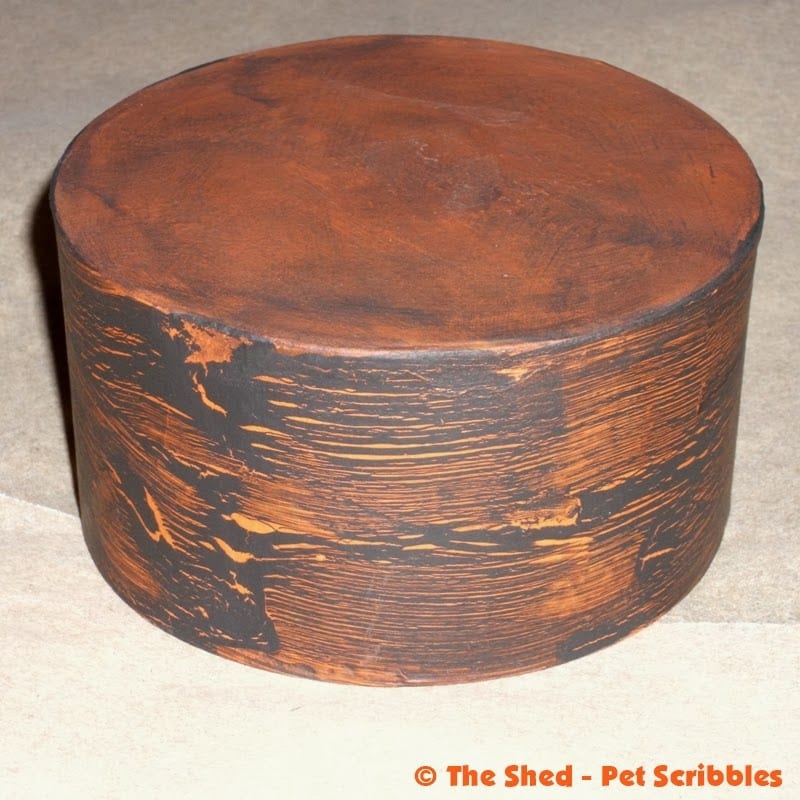
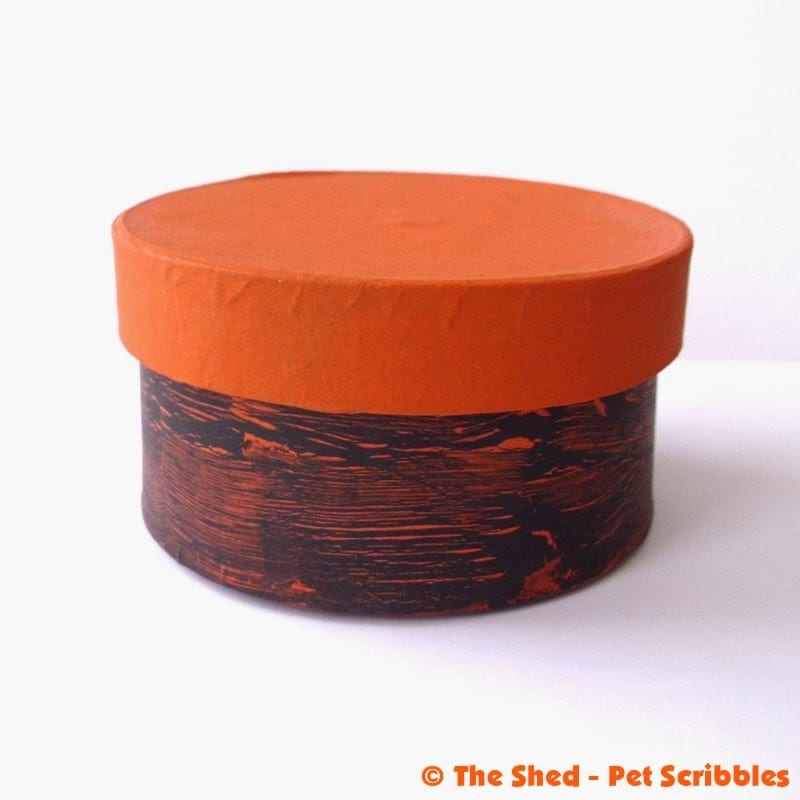
Orange and Black Crackled Box
For this technique, I decided to add a crackle finish to the sides of the box. I kept the lid bright orange, and kept the bottom in the splotchy look.
Paint on a layer of basic white school glue – like Elmer’s. Don’t wait for it to dry. Instead, immediately paint on a layer of black paint. (For this technique there’s no need to water down the paint. In fact, I encourage you to brush on a rather solid layer over the glue.
Once applied, just leave it to dry. As it dries, cracks will appear where the paint resists the glue, or the glue resists the paint. Either way, it’s almost like magic! Let dry thoroughly, I’d suggest at least 6 to 8 hours. Then apply your acrylic sealer in matte or glossy.
Painted Paper Maché Boxes
And now you have a set of pretty painted boxes!
These boxes make great gifts. Stack them up in different sizes, tie with decorative ribbon or vintage seam binding, and you have a miniature version of stacking boxes.
Put some decorative shredded paper inside one of these boxes and place a special gift, perhaps a piece of jewelry or a gift card, and the box becomes a treasured gift box.
Decorating Paper Maché Boxes
You can leave your boxes as is, or you can further embellish them by applying glitter to the sides, decoupaging pretty ephemera or paper accents onto the sides and lid, or stick on some adhesive letters, gems or pearls. Stamp words, phrases or images. The possibilities are endless!
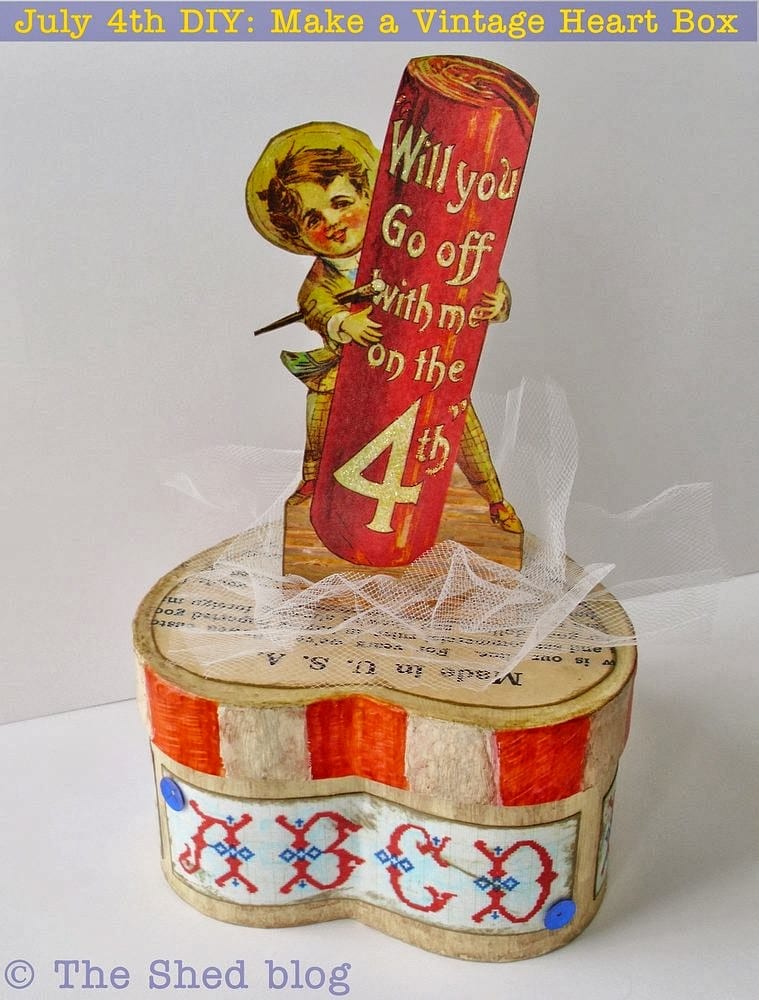
Here’s a few examples of how I decorated paper maché boxes for other holidays . . .
For Christmas:
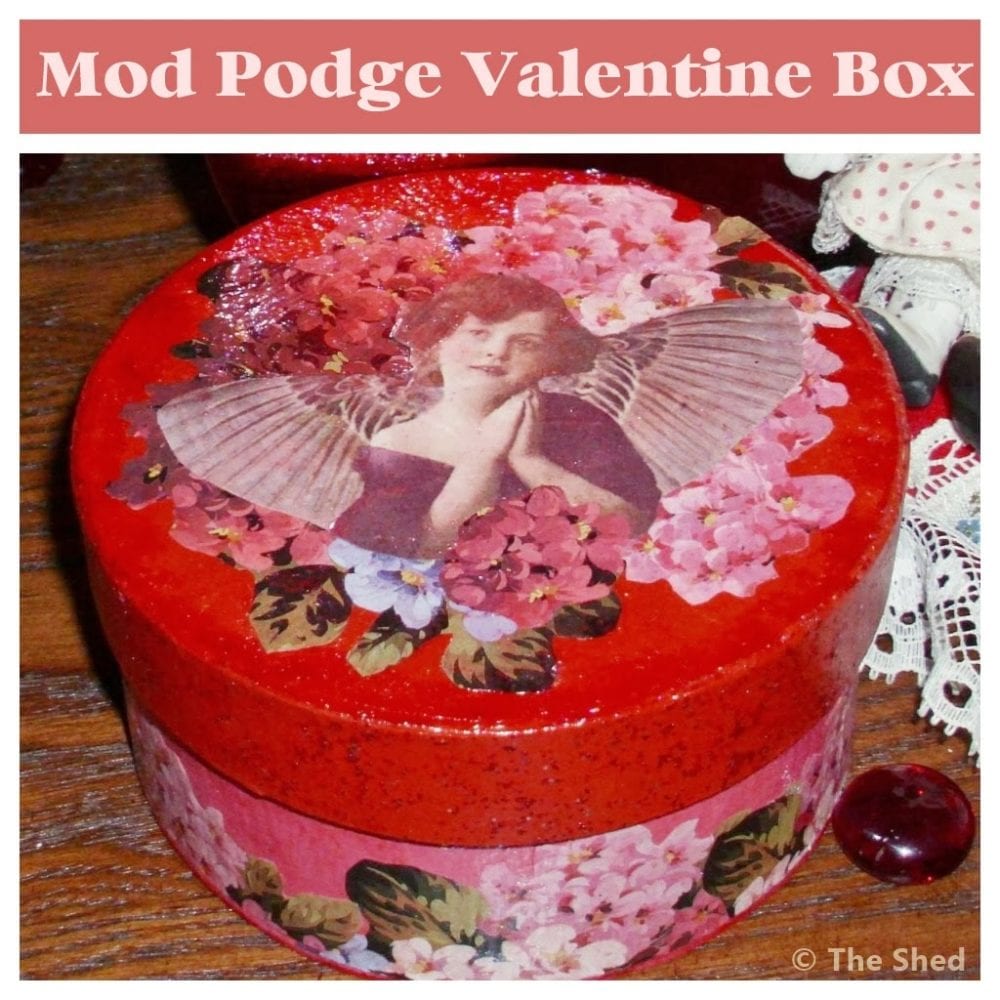
For Valentine’s Day:
And for Halloween?
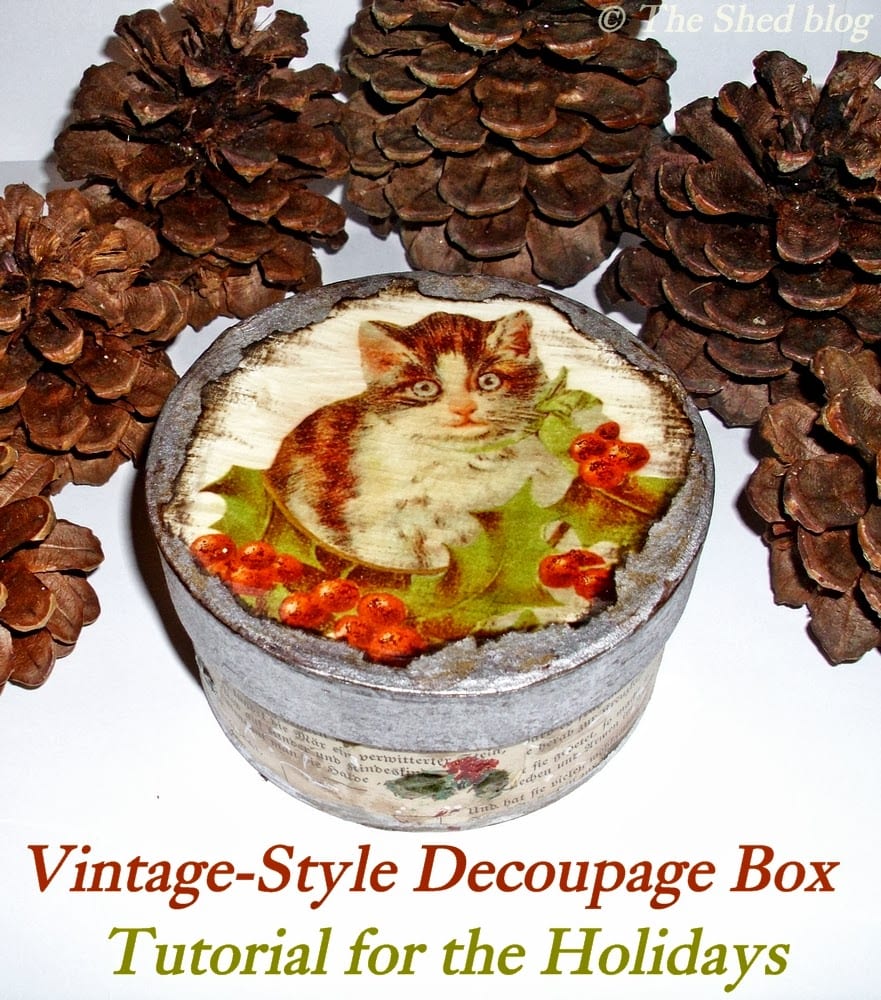
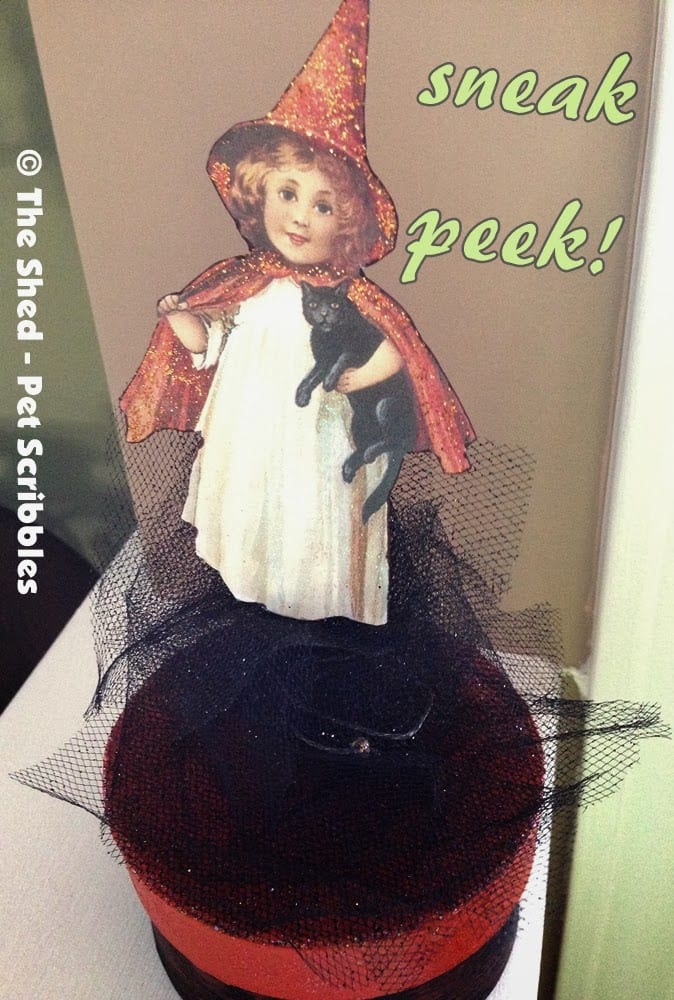
I embellished my orange boxes further with a vintage-style Halloween theme, and can’t wait to share them with you later this week! Here’s a sneak peek:
Have you crafted with any paper maché boxes? Have a favorite shape or size? Any good tips to share?
Leave them in the comments!

Laura, I usually walk right by these boxes…never sure what to do with them! Thanks for the how to and the inspiration…love the decoupage! Might have to pick some up next time and give it a try! 🙂
Kim @ Exquisitely Unremarkable
Thanks so much Kim! I hope you DO pick some up soon, as I’d love to see what you create! Keep me posted as I’m always looking for new inspiration with these boxes too!
I love decorating boxes. An excellent tutorial. Your finished boxes are wonderful – love the Fourth one.
Thanks Donna! I really appreciate your comment, as I adore the boxes you’ve decorated!
I’m arriving from the Shabbilicious Link party.
Thanks for this useful tutorial!
Have a nice weekend!
You’re welcome Emanuela! Thanks so much for visiting! I love Kerryanne’s Shabbilicious party! 🙂
I love paper mache boxes! I love painting and then decorating the surfaces. They make great personalized gift boxes that are also keepsakes.
Vicki, I’d love to spend a day being a “fly on the wall” in your studio watching you create!
I love these boxes embellished for different holidays.
Thanks Paula! I have fun creating these but making each look a bit different for each holiday!
What pretty boxes! I’ve never tried to paint these boxes – thanks for the how-to, the grey splothcy looks awesome!
You’re welcome Joann, and I hope you’ll try to paint some of these! Definitely let me know – it’s easy and the results are very satisfying! 🙂
Very pretty, splotchy looks so nice 🙂 Good tips too, thanks for sharing.
Sarah
http://www.creativeramblingsblog.com
Thanks Sarah! Glad you love the splotchy! (Not an easy word to type! LOL)
fabulous! pinned!
Thank you, my fabulous friend!
I love your boxes! I picked up a couple on sale and really had no idea what I was going to do with them. It’s so fun to have craft supplies on hand because I’m very much a “mood worker”. When I see something, I want to do it right away. I think the witch box is adorable. Thank you.
You’re welcome Jillybarb! I know what you mean about wanting to try something right away! Hope you’ll try painting the boxes – I’d love to see what you create!
Laura, these are beautiful. I love the crackle finish!
Thanks so much Steph! 🙂
VERY cool painting techniques Laura! I am so pinning this! xo
Awesome Malia! Thanks for sharing! 🙂
Great painting tips Laura. I’ve painted a few of these in my day too and never tire of decorating paper mache boxes.
Thanks Kerryanne! I can’t imagine I’ll ever get tired of decorating these boxes either! 🙂
How fun! I always walk by these too, but no longer! Thanks for sharing it at the Pinworthy Project Party. Pinning.
Awesome PJ! So glad you’ll try crafting with these, because you’ll quickly see how handy they can be too! 🙂
I have never heard the Elmer’s glue/crackle technique, but I LOVE it! That’s such a great idea!
Thank you so much for sharing this (and your Halloween boxes) at Twirl & Take a Bow!
~Brooke~
You’re welcome Brooke! Let me know if you try the glue-and-crackle technique too! 🙂