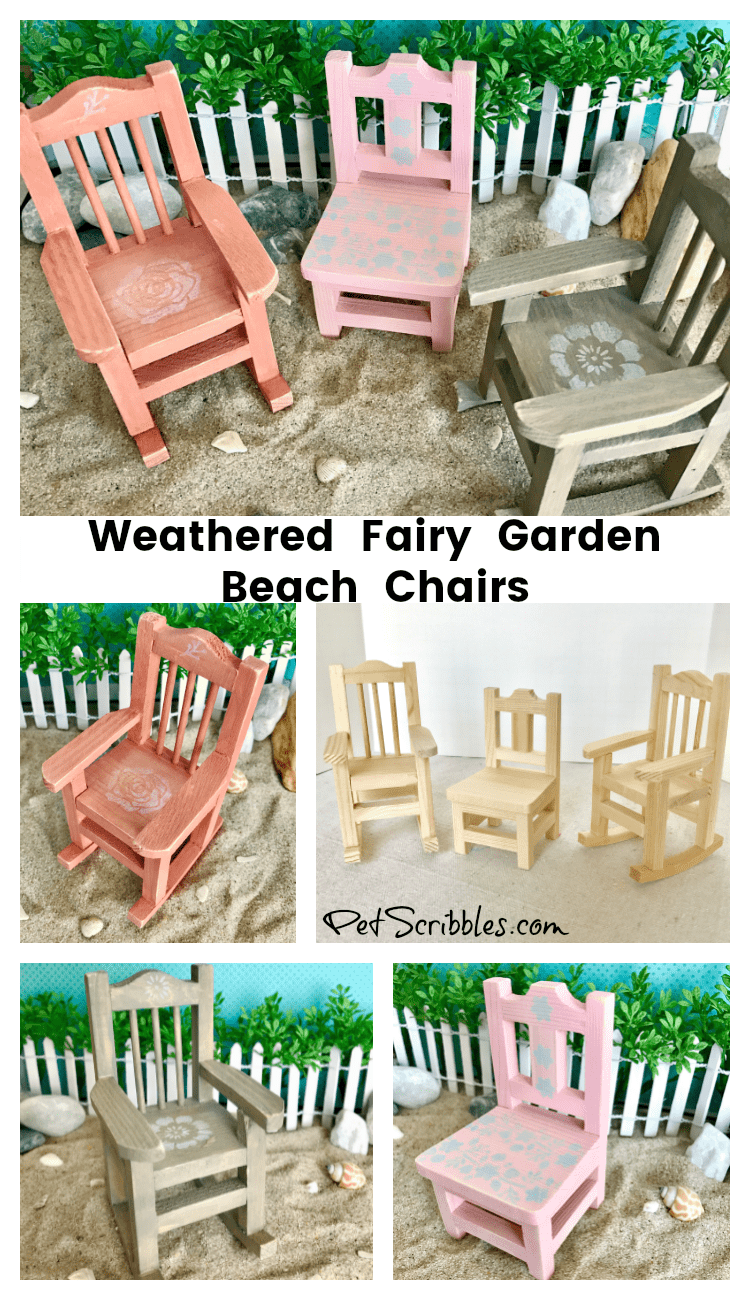
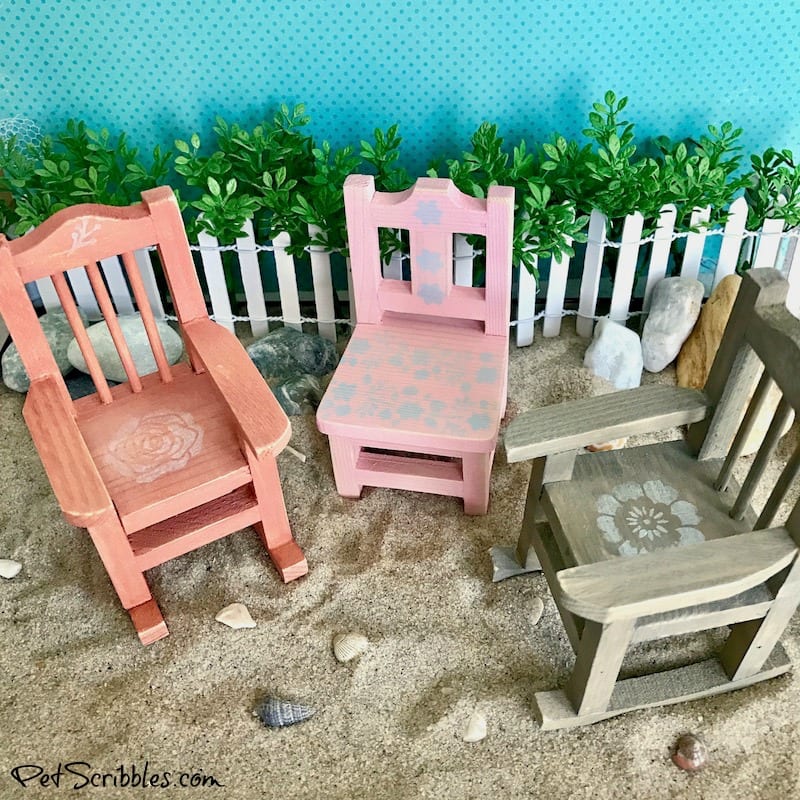
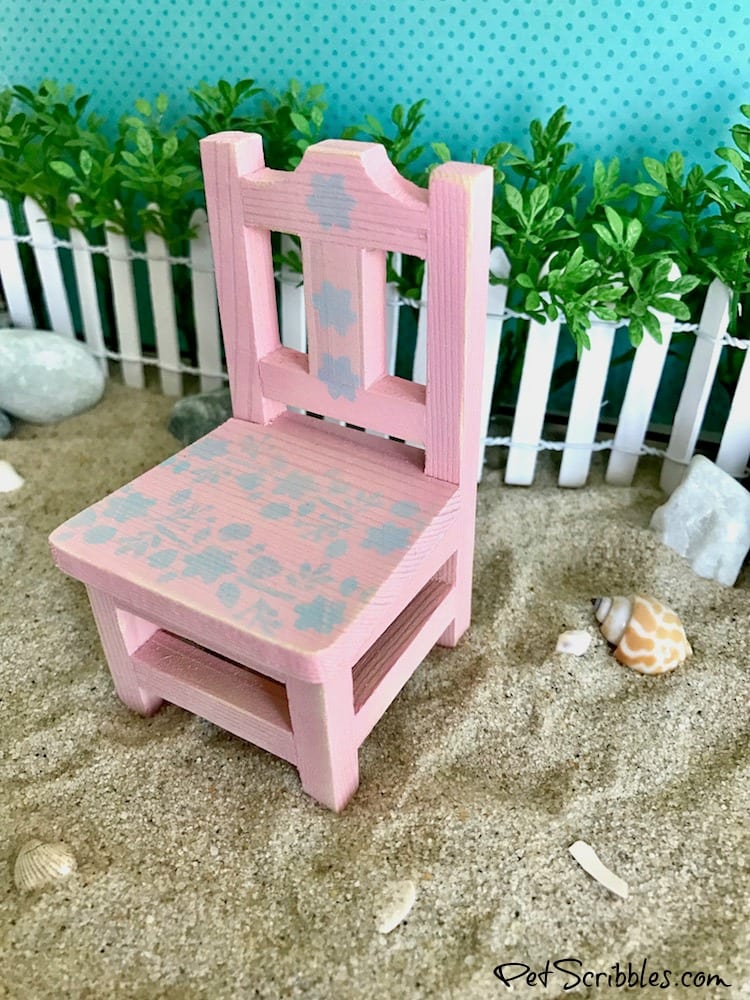
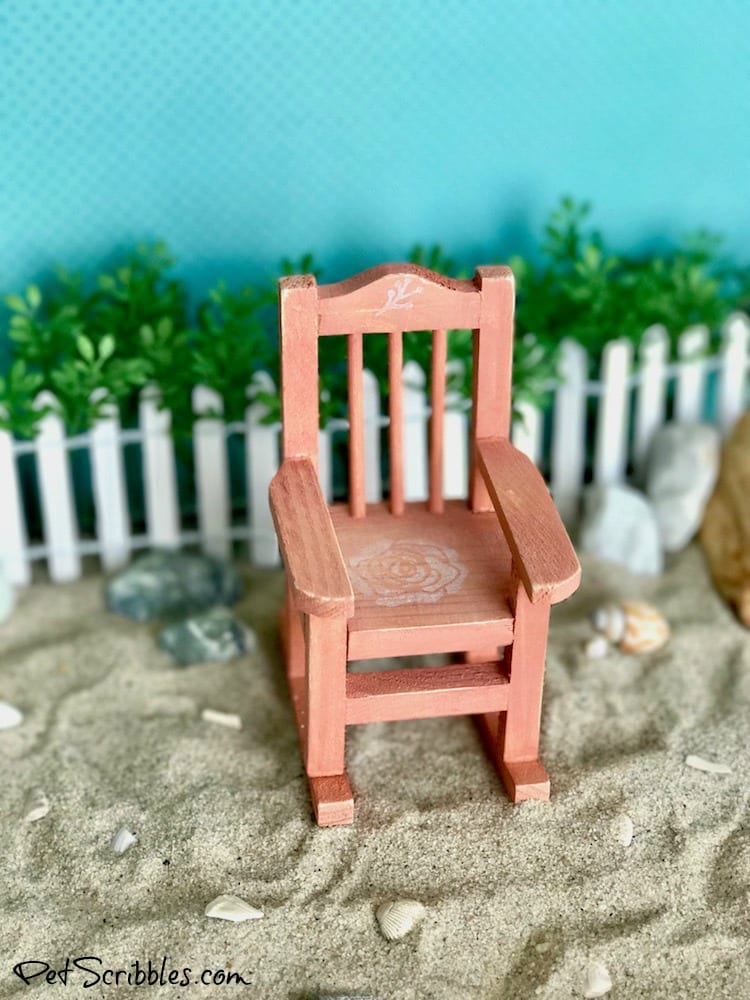
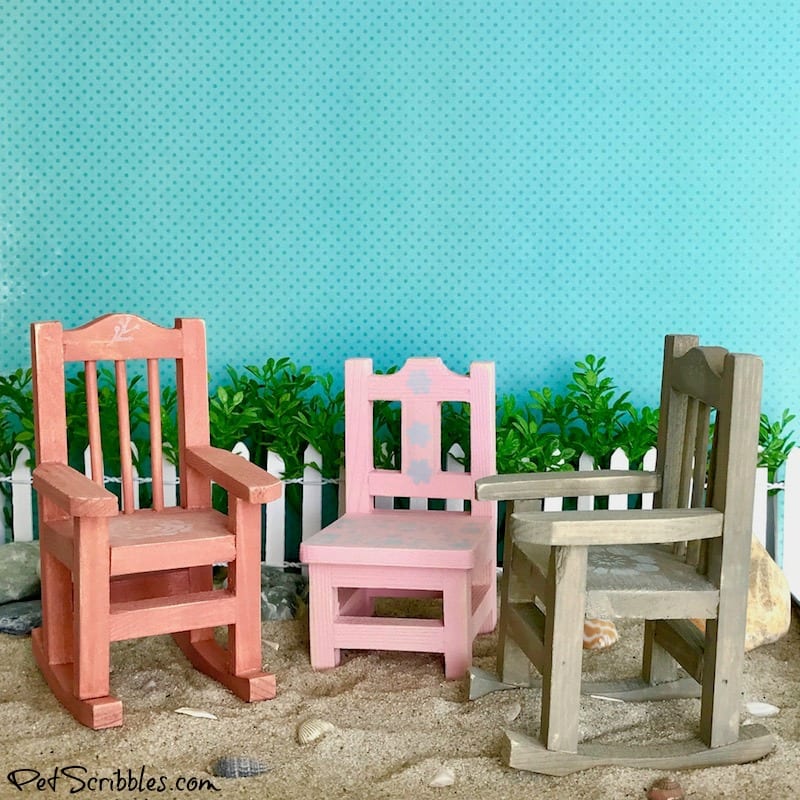
How to make weathered fairy garden beach chairs — because even fairies need a break from their gardens! Wait until you see how easy this is to do!
Where do fairies go when they want to take a break from their gardens?
They hit the beach.
A magical, private beach just for them.
This fun craft is just unfinished wood chairs plus pickling wash plus tiny stencils!
FTC Disclaimer: As a Plaid Ambassador, I’ve received free products to test out and create craft and DIY projects. These weathered fairy garden beach chairs are 100% my own project! Some of the links in this post are affiliate links. I explain more here.
Supplies:
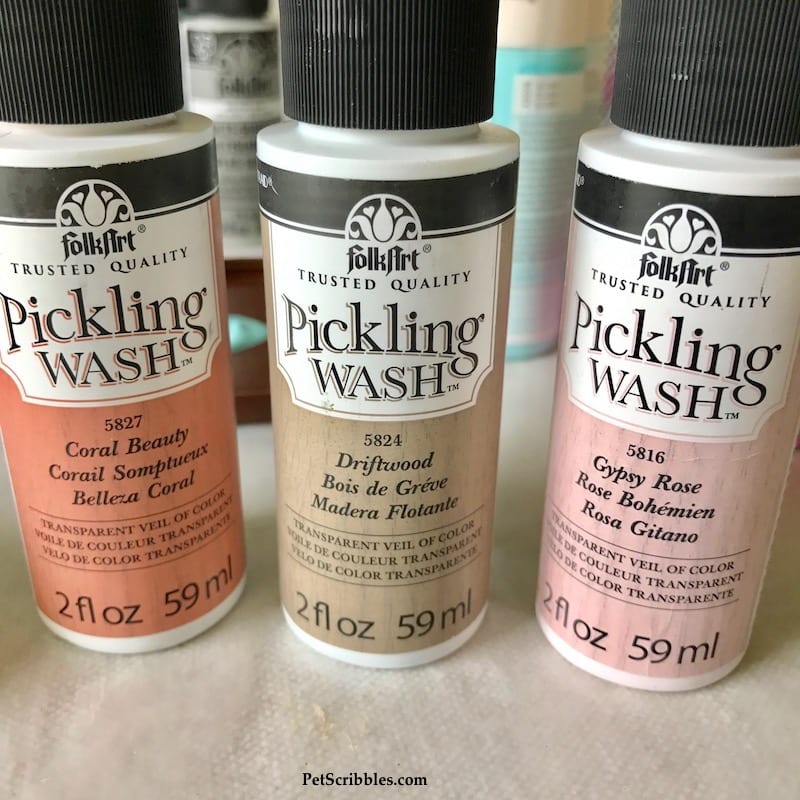
- FolkArt Pickling Wash in Gypsy Rose, Driftwood, Coral Beauty (Plaid Crafts)
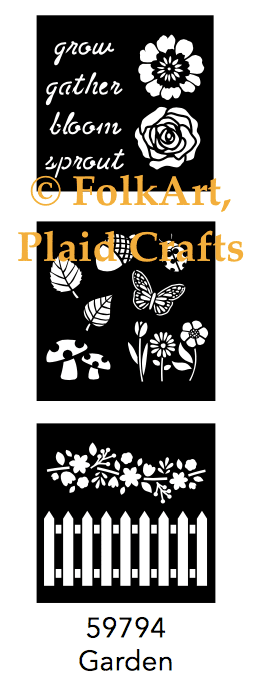
- FolkArt Mini Stencils, Garden theme (Plaid Crafts)
- Martha Stewart Multi-Surface Satin Craft Paint in Surf, Sea Lavender (Plaid Crafts)
- Unfinished wood rocking chairs (2) (ConsumerCrafts.com)
- Unfinished wood chair (1) (local craft store)
- Small paintbrush (I always use this set from Martha Stewart)
- Small stencil brush or pouncer
- Washi tape (to mask off the mini stencils)
- Sanding sponge
- Emery board
- Paper towels
How to make weathered fairy garden beach chairs
Step One: Sand any rough spots on the unfinished wood chairs, then wipe off dust with a damp cloth or paper towel. Let dry.
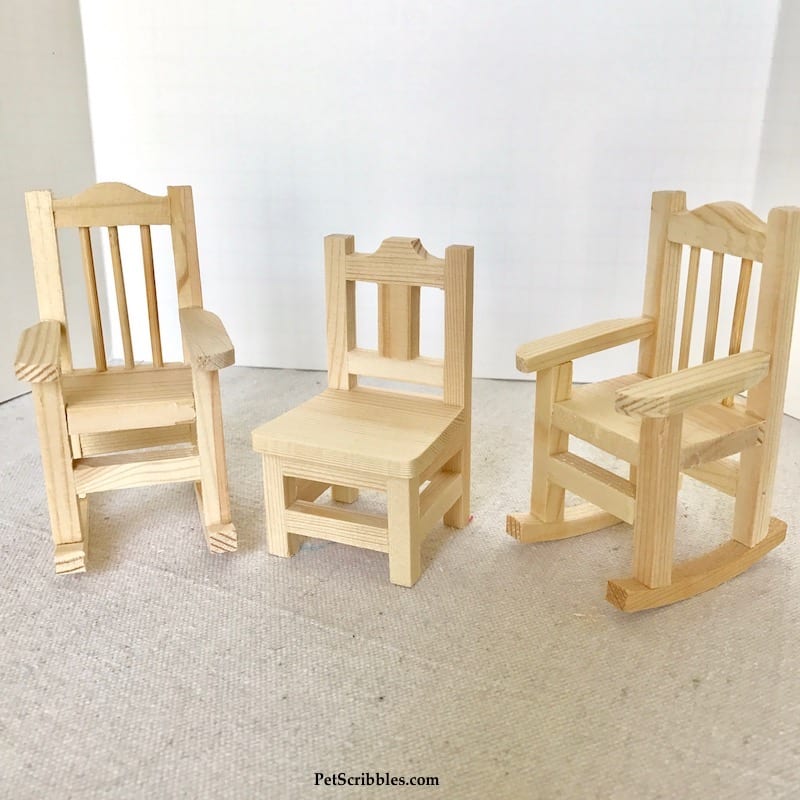
I love these miniature chairs! I found the rocking chairs on ConsumerCrafts.com (see supply list above for link), and you can find chairs like these at most of the national chain craft stores in their unfinished wood section.
Helpful tip: Try out new paint techniques on inexpensive wood pieces like these, or flat wood shapes. It’s inexpensive and far less intimidating than starting with a larger project!
Step Two: Paint on the Pickling Wash!
Whoo-hoo! This is a new product that I love so much!
I almost feel silly typing this, because it is so easy to do!
Paint a small section at a time, then immediately wipe it back with a soft cloth.
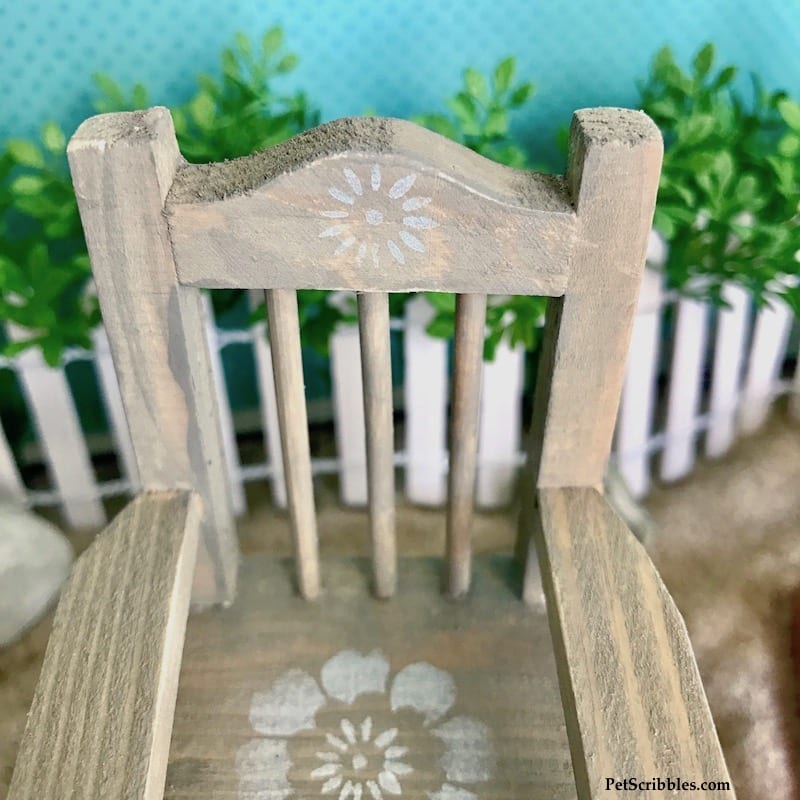
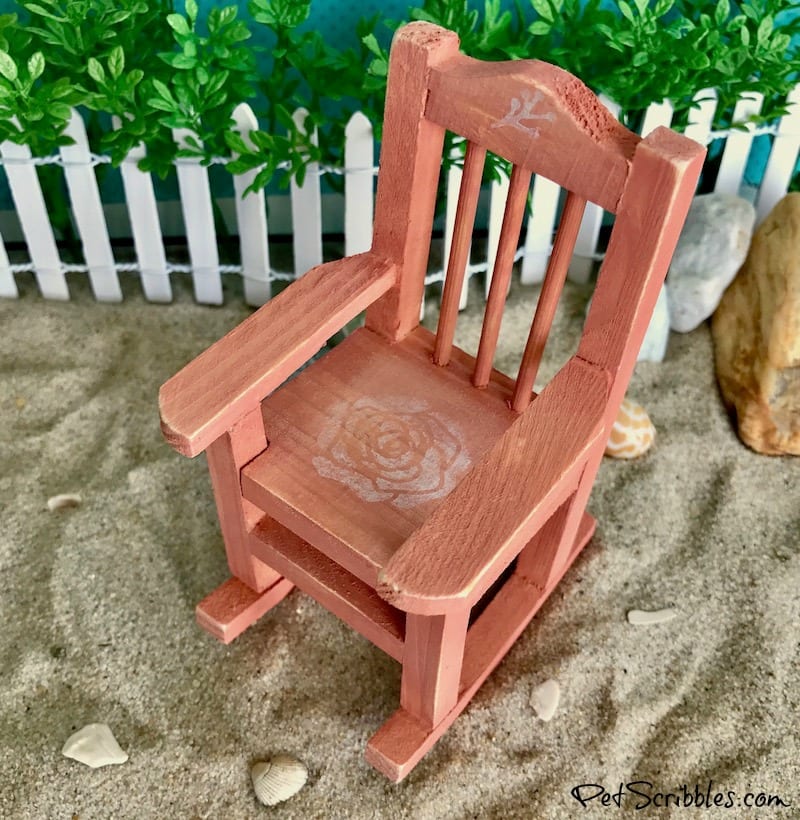
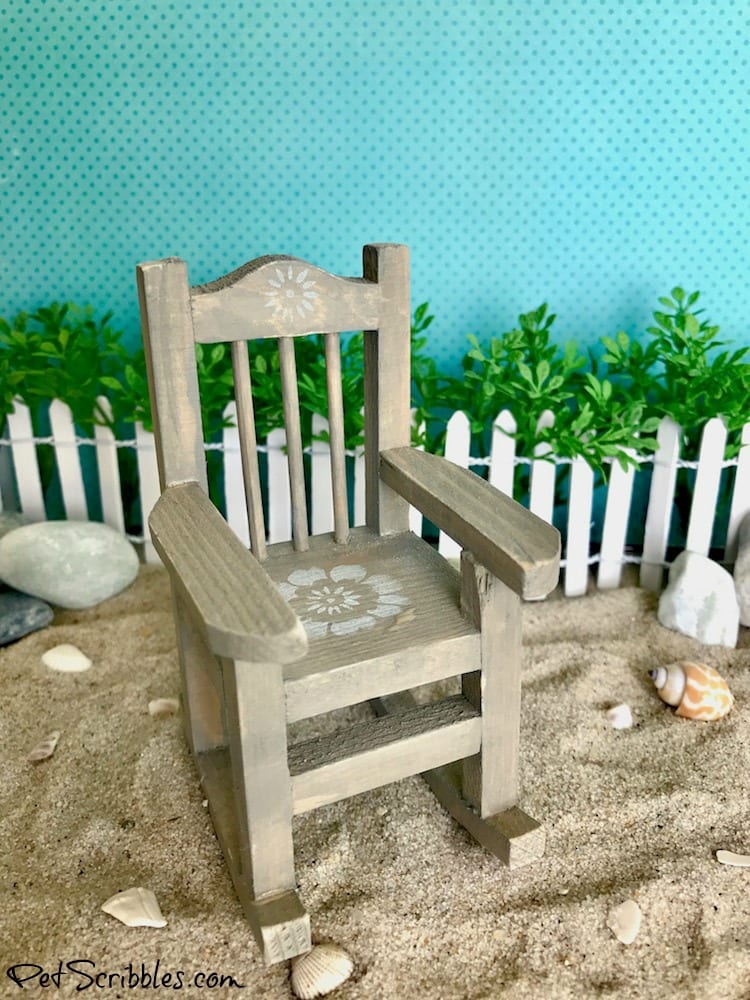
What will be left is a beautifully aged-looking, weathered finish. If you want a more color, you can repeat the process again.
Let dry.
Step Three: Stencil with adorable mini stencils!
I’m in love with these new mini stencils from FolkArt and they’re in stores now! (And also on Amazon here!)
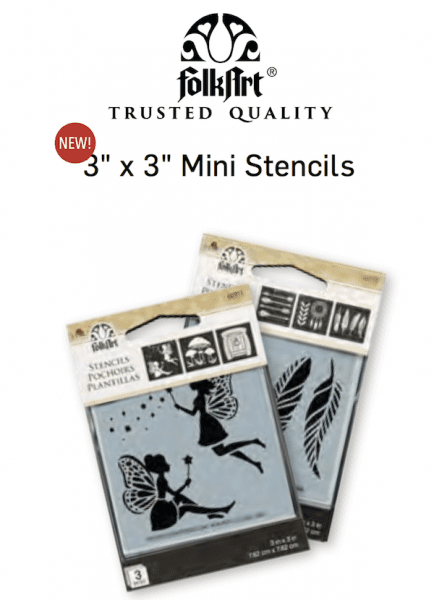
These stencils come in 3″ x 3″ mylar sheets, and you get several designs in one package! I used the “Garden” package of stencils, and here’s what was included:
There are many different design packages of these mini stencils, including fairy garden designs, typography, nature, French, nautical and more!
You’ll be seeing more of these cuties in upcoming projects!
Stenciling on little objects — how do you do it?
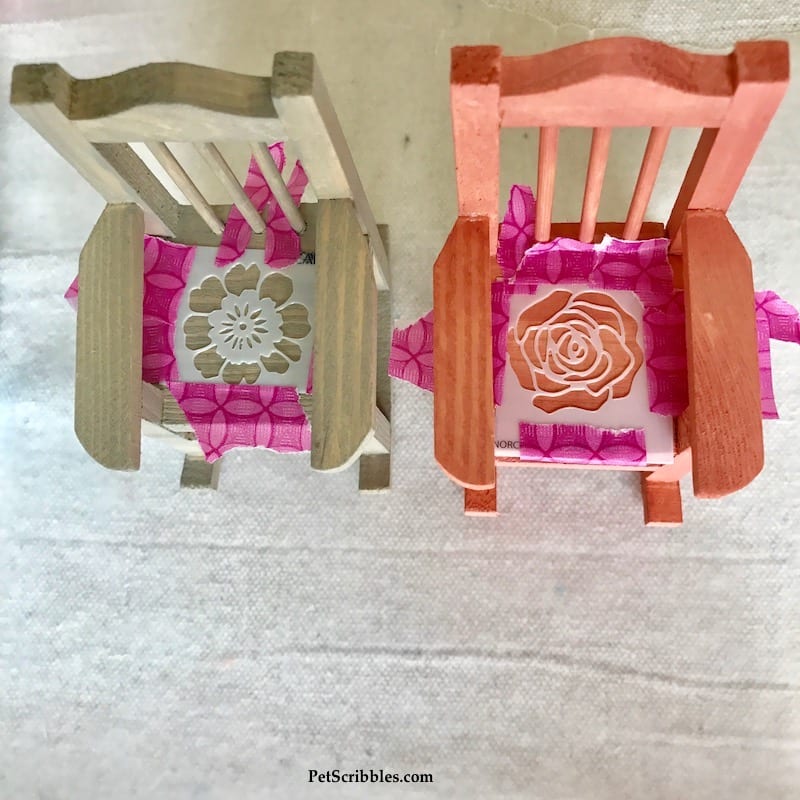
Just as I use washi tape to hold my stencils in place when working on large pieces of furniture, I use washi tape on miniature projects too.
And here’s a little 40-second video I filmed so you can see this little trick I do, whenever a stencil design is going edge to edge on a flat surface . . .
After stenciling, let dry.
(I used two multi-surface satin paints listed above in the supplies for these stencils. They are very light blue and light aqua shades, but look almost white in some of these images.)
Step Four: Sand the stenciled designs!
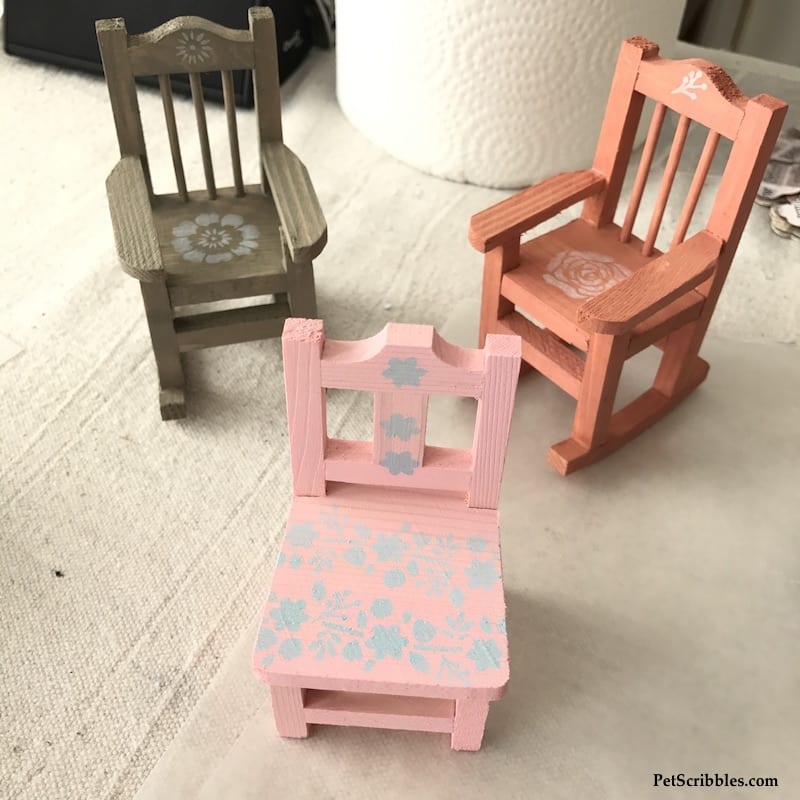
Sand just a bit, to make the designs look like they are as old as the weathered chairs are.
And to get in those tiny nooks and crannies? Use an emory board!
Here’s what the stenciled designs look like once sanded . . .
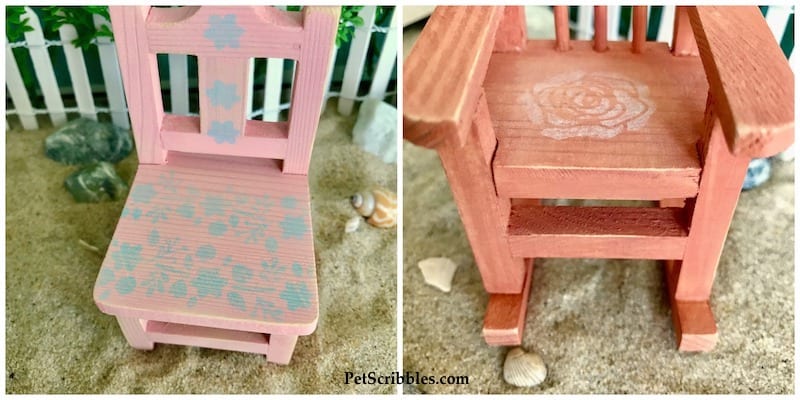
I also gently sanded some of the edges of the chairs too, to give them a well-loved and well-used look!
Weathered Fairy Garden Beach Chairs!
Now I need to make some tiny pillows — or drape some tiny throws over the chairs!
Wouldn’t this be a great spot to spend time with friends?
Happy crafting!

