Glitter monogram magnets are easy to create using just a few supplies, including paintable glitter that won’t come off and get all over everything. It’s a fun and quick party craft that will leave you plenty of time for socializing!
Today is Day 5 — our final day — of Craft Lightning Wood Crafts week, a crafty blogger event I’m co-hosting with Angie of The Country Chic Cottage, and Carolina of 30 Minute Crafts.
I’m super excited about today’s 15-minute craft I’ve made, so let’s get right to it!
How to Make Sparkling Glitter Monogram Magnets
We have a Super Walmart in our town now, which is quite a big deal as we are quite rural.
Their craft aisles ROCK and I love the variety of craft supplies you can find there.
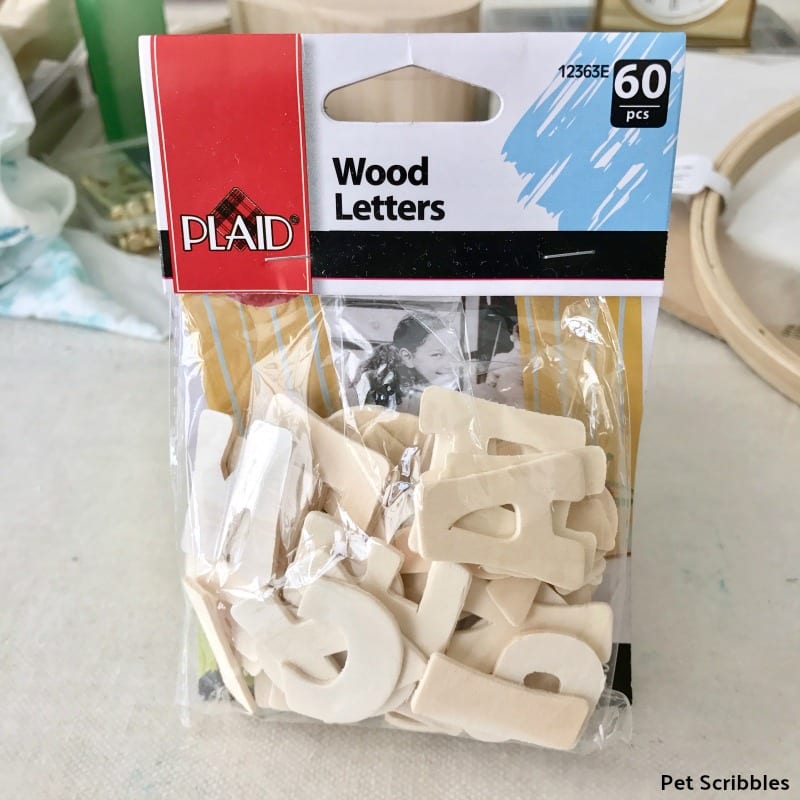
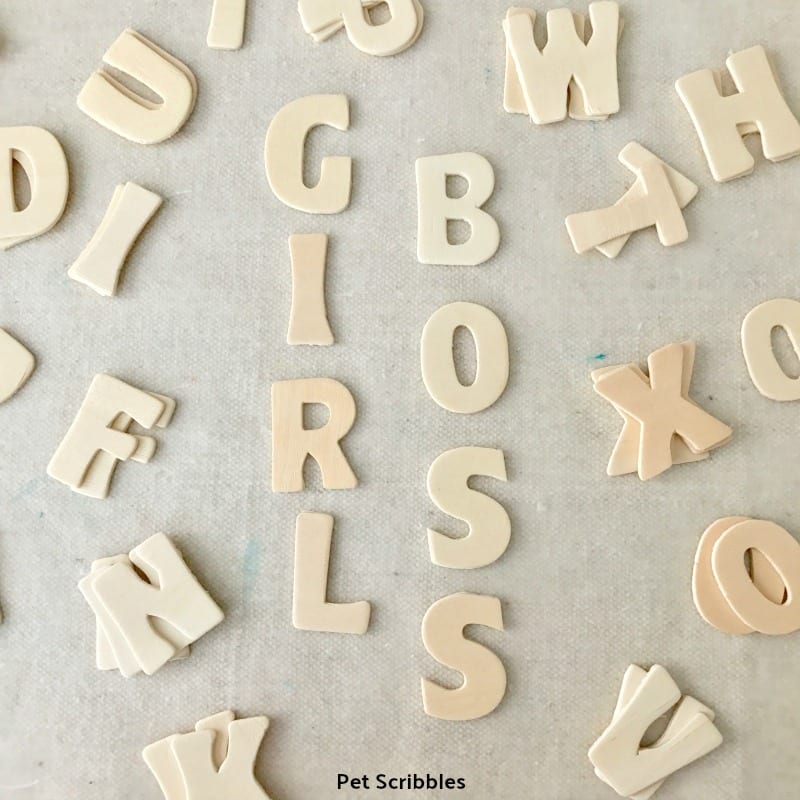
For example, I bought this package of unfinished wood letters:
You might see the letters and wonder what you can do with them.
Wonder no more, because today we’re making glitter monogram magnets with them!
Supplies for Glitter Monogram Magnets:
FTC Disclaimer: I received the paints used in today’s craft to try out in my role as a Plaid Crafts Ambassador. These glitter monogram magnets, however, are 100% my own project! Some of the links in this post are affiliate links. I explain more here.
- Unfinished wood letters — Plaid Crafts
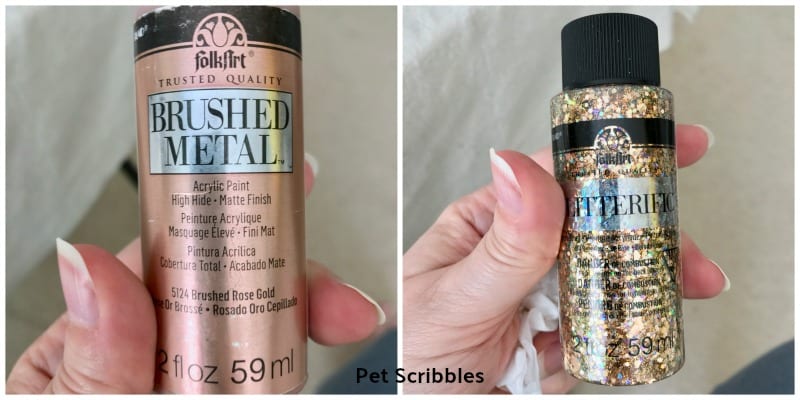
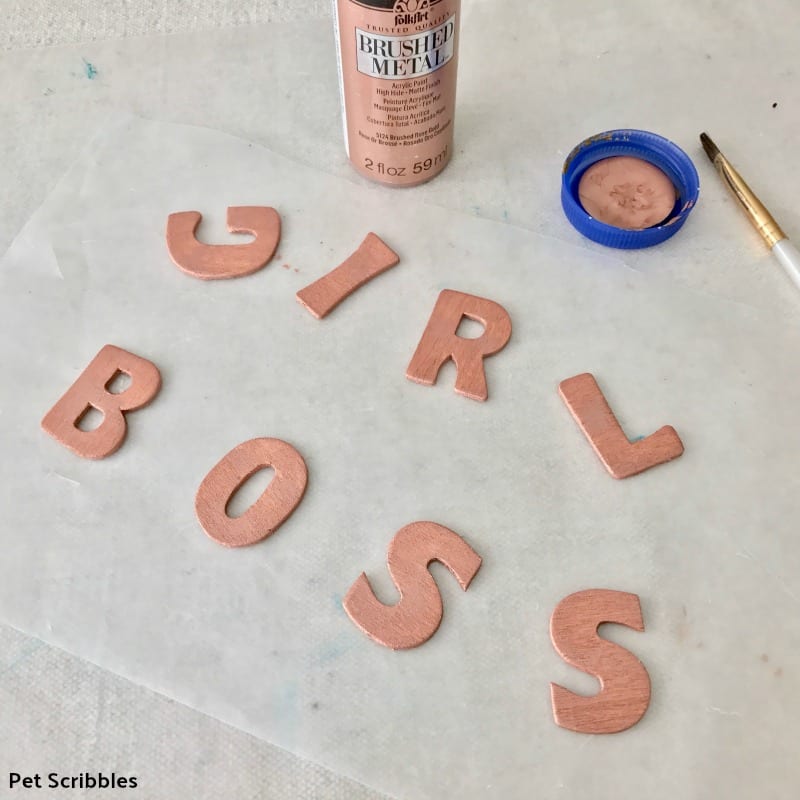
- FolkArt Brushed Metal Paint in Rose Gold — Plaid Crafts
- FolkArt Glitterific in Rose Gold — Plaid Crafts
Additional supplies include:
- Small paintbrush
- Wax paper
- Plastic lids (for paint)
- Small magnets — 3/8 inches diameter
- Diamond Glaze Dimensional Adhesive — JudiKins
Glitter Monogram Magnets Tutorial:
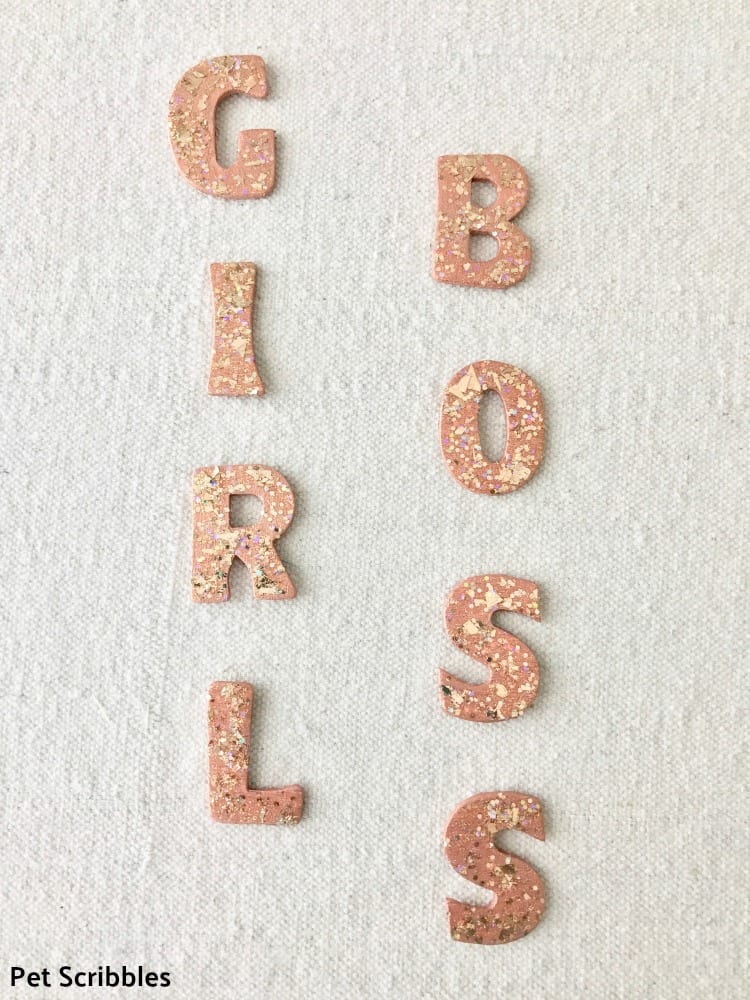
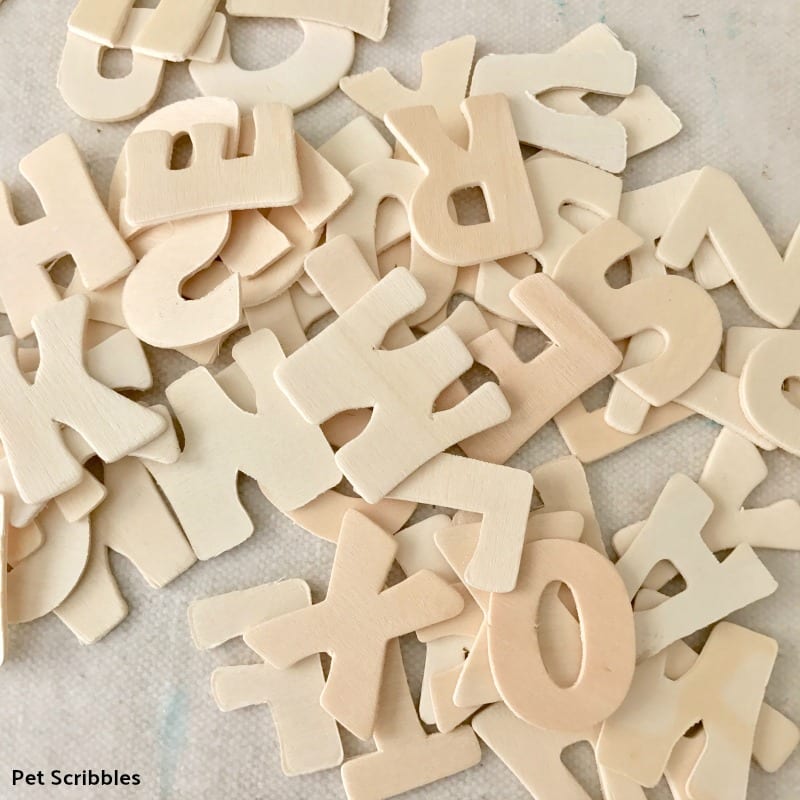
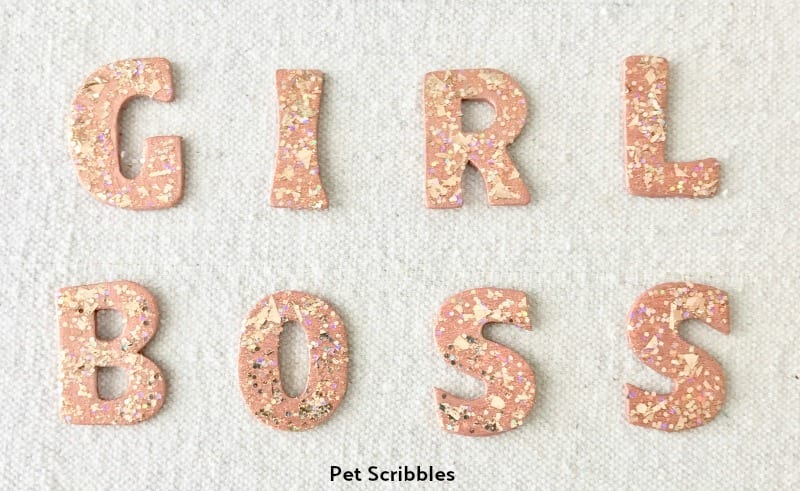
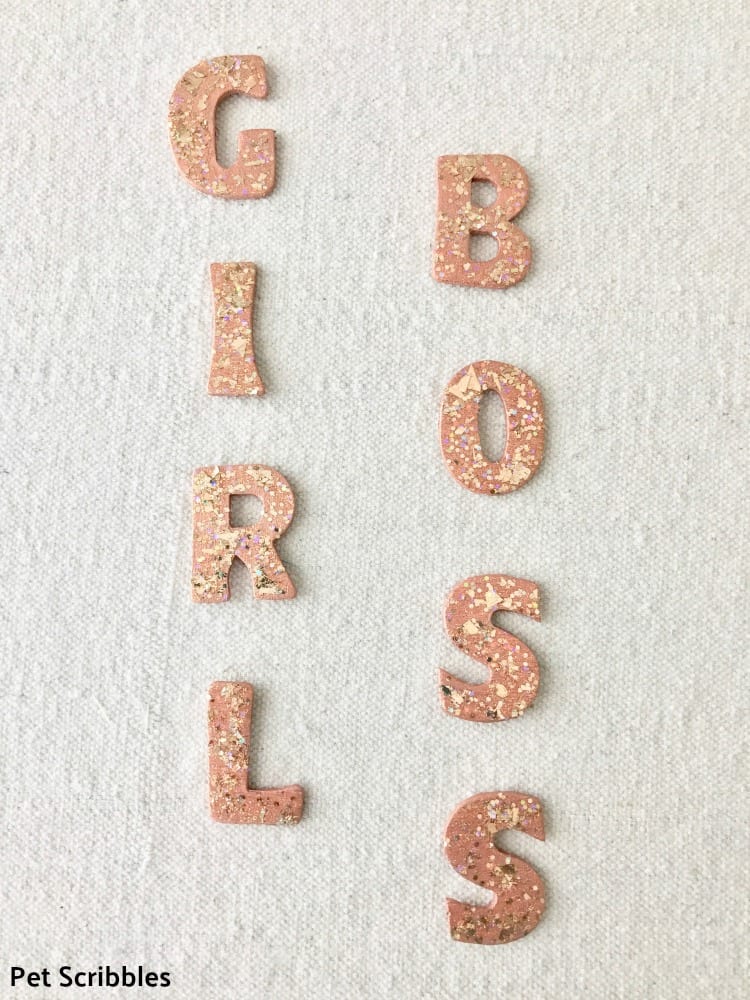
After sorting out all of the letters, I decided to make a set of GIRL BOSS magnets.
If you are doing this as a group craft, have everyone do their initials and it will be even quicker to create!
First, paint on one coat of Brushed Metal in rose gold. I painted both sides as well as the tiny edges, and let them dry on wax paper.
Helpful tip: I always use wax paper when painting small objects, because the wet paint won’t stick to the wax paper. I also reuse my wax paper, unless it’s just too gobbed up with paint.
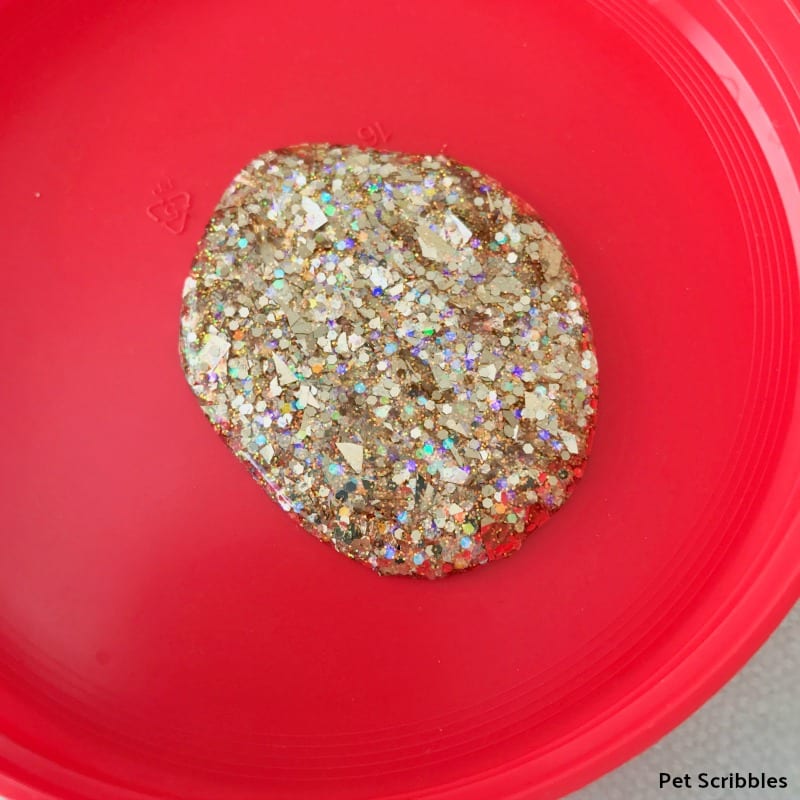
While the letters dry, pour out some of the Glitterific into a plastic lid. It has a chunky consistency with different shapes and sizes of glitter. So gorgeous!
Next, dab the Glitterific onto the front of each painted letter. A mix of brushing and dabbing with the paintbrush works best.
And when you see in person how stunning this glitter is — seriously, it is amazing!
The glitter is in a clear base. Here’s how the letters look still wet:
Once the letters are dry, you have gorgeous glitter monogram letters without any worries of glitter coming off!
How much glitter?
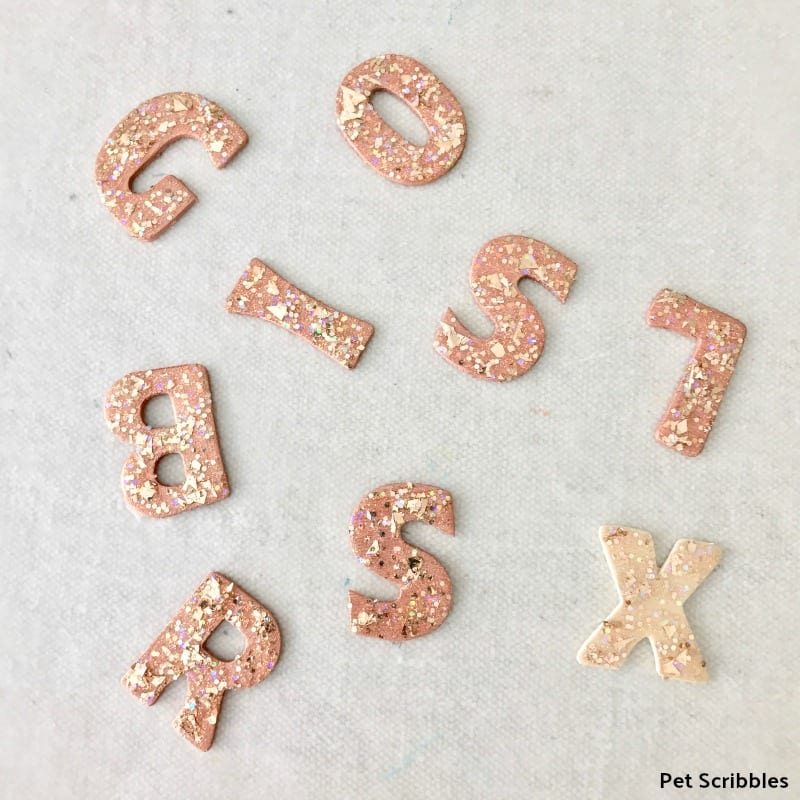
If you want your letters literally covered in glitter, simply dab and brush on more of the Glitterific paint. I wanted the background color to show through, so I didn’t apply as much.
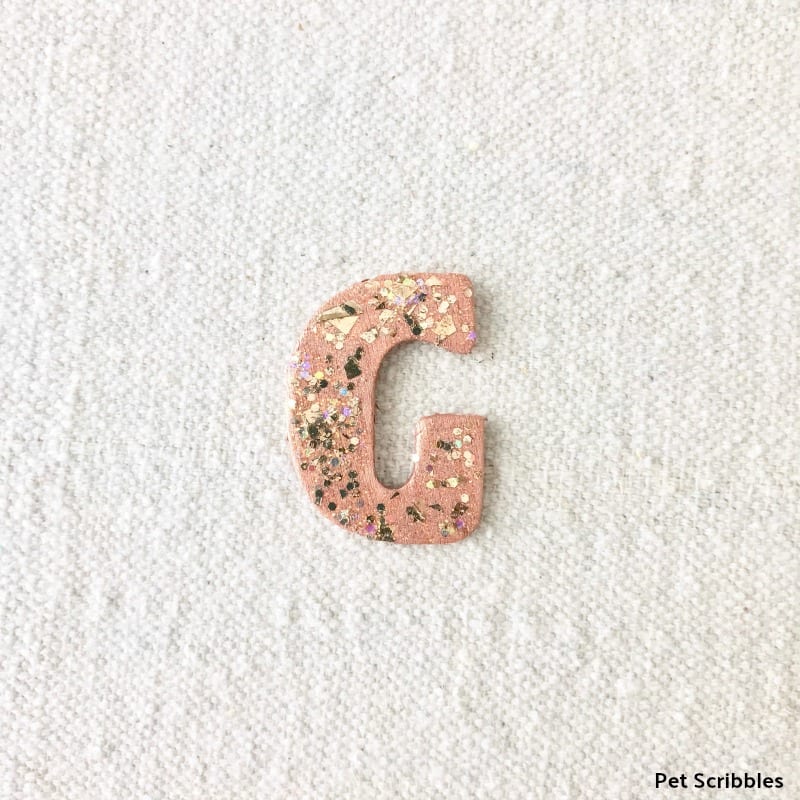
Here’s a close-up of the Glitterific paint over the rose gold paint:
There are different shapes and sizes of glitter and a few different colors that make up the overall rose gold glitter color!
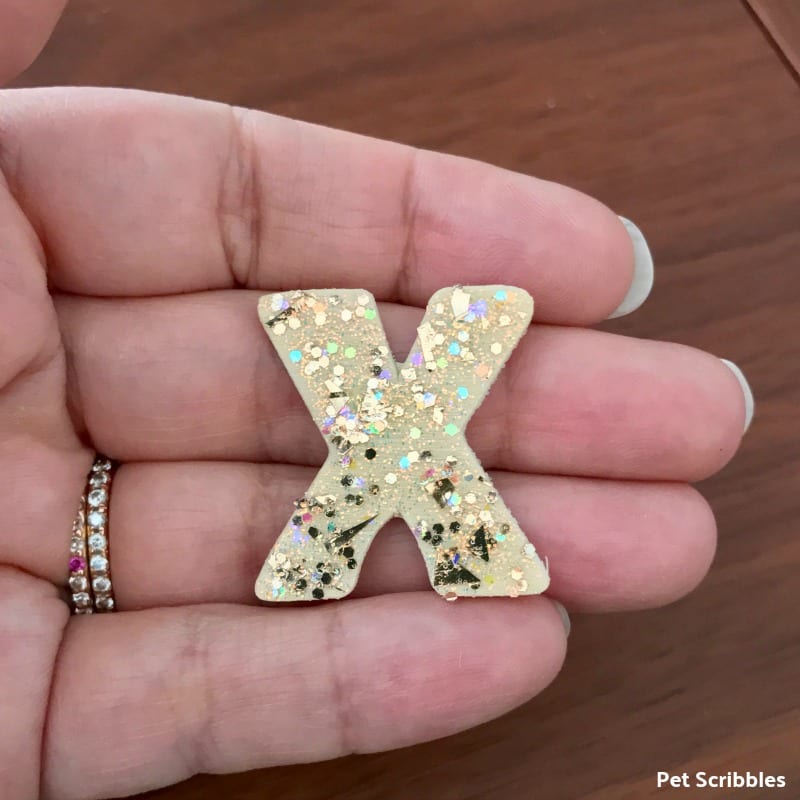
I painted the Glitterific onto an unpainted letter too, so you can see the difference:
Finally, add small — but strong — magnets to the back of each letter.
I used a drop of Diamond Glaze, which is a very strong adhesive. I placed a tiny 3/8-inch magnet onto the drop, gently held it in place for a few seconds, then left them to dry.
Helpful tip: When working with strong magnets, make sure you keep the letters separated enough from each other, otherwise they will be drawn together and it gets a bit messy if they aren’t yet dry.
Ask me how I know.
Please note: the magnets I used were from my own stash of craft supplies, however I did find these small magnets on Amazon which are similar in size and as strong.
This is a great craft for tweens and teens to do at a party. While drying, kids can take a break for pizza or other games, then return to the craft…then take a break for cake.
It’s also a fun craft to do for a Girls Night In!
The drying is the part that takes the longest, but the craft itself is quick and easy to do!
I love how these look!
More 15-Minute Crafts!
All this week, we have had an amazing group of creative bloggers share wood craft projects that can be made in about 15 minutes, minus any necessary drying time.
Make sure you click over to see all of the really neat projects from Day 1 — Day 2 — Day 3 — Day 4, which are featured at the end of my own 15-minute wood DIYs!
Here’s our final group of crafty bloggers, below. Enjoy!
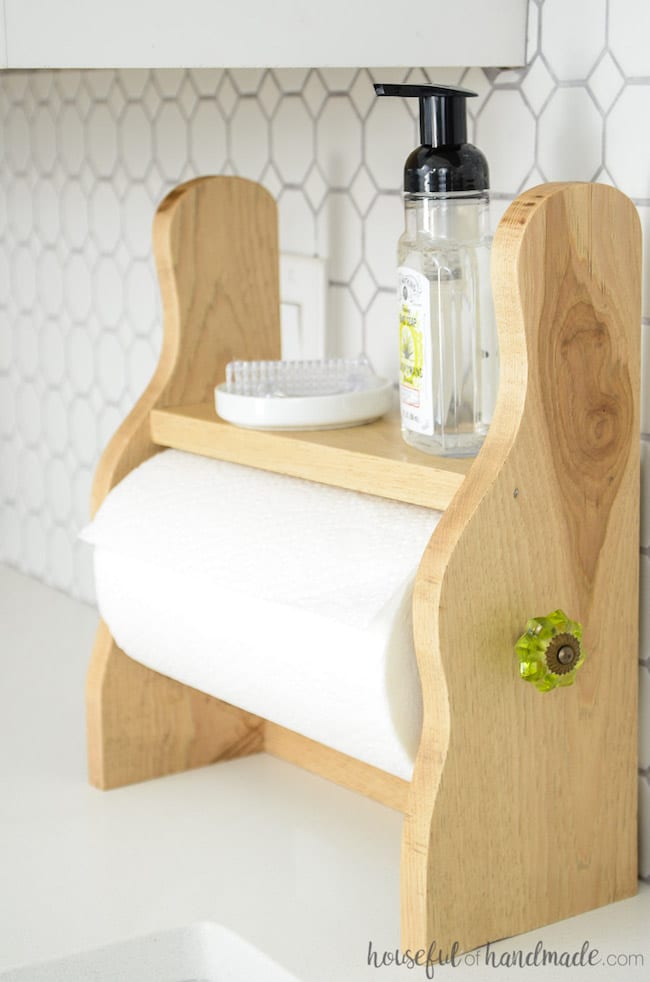
Farmhouse Paper Towel Holder by Kati of Houseful of Handmade
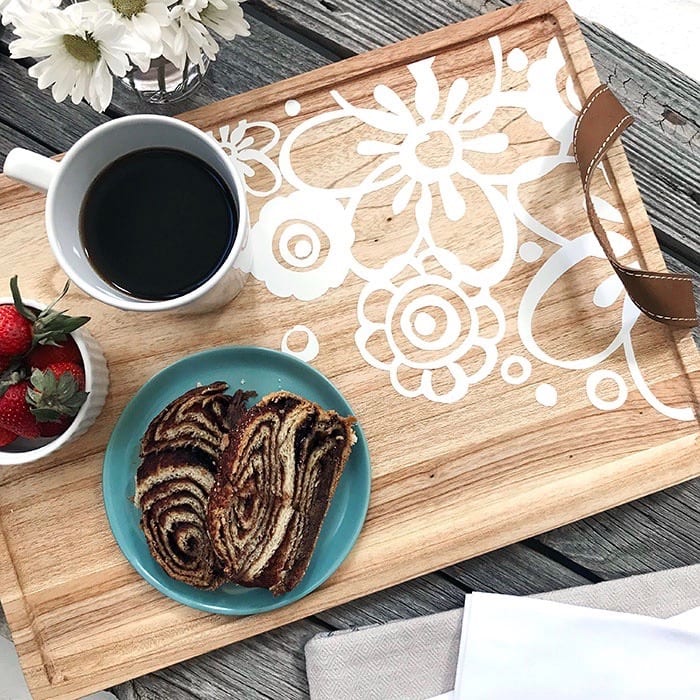
Quick DIY Decorative Serving Tray by Jen of 100 Directions
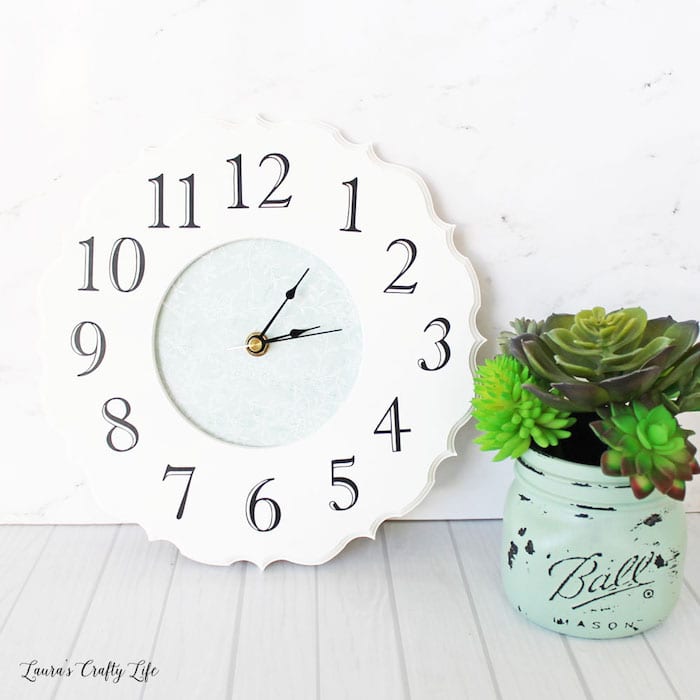
DIY Wooden Frame Clock by Laura of Laura’s Crafty Life
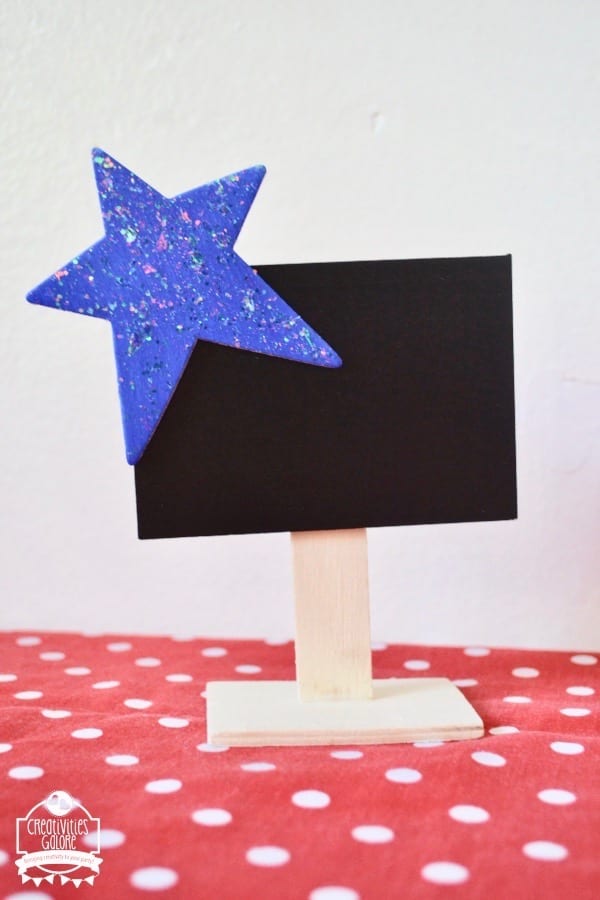
Patriotic Table Place Card by Blanca of Creativities Galore
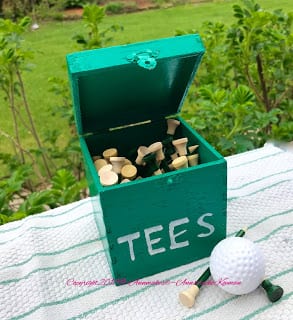
Tee Box for Dad Father’s Day Gift by Ann of Ann Makes
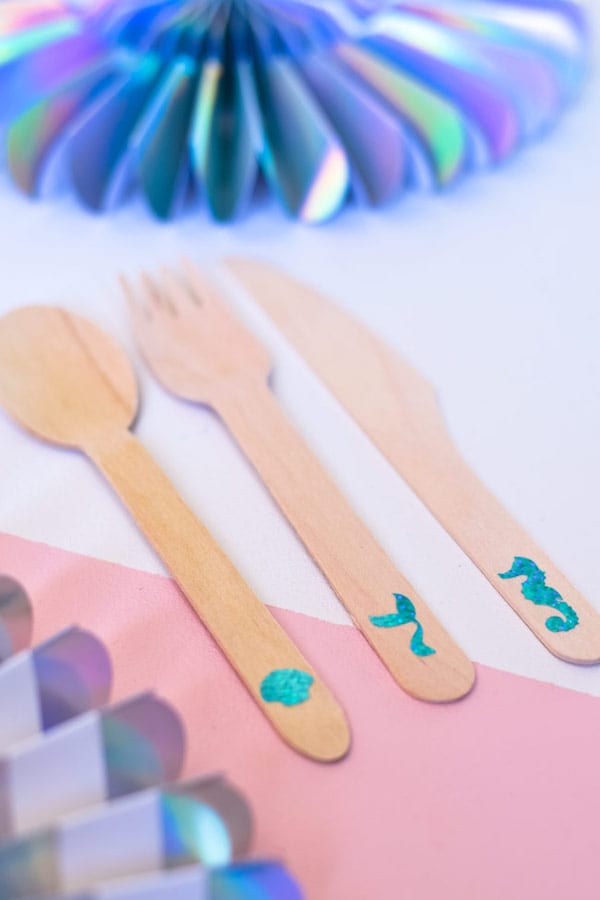
Mermaid Party Cutlery with your Cricut by Lindsay of seeLINDSAY
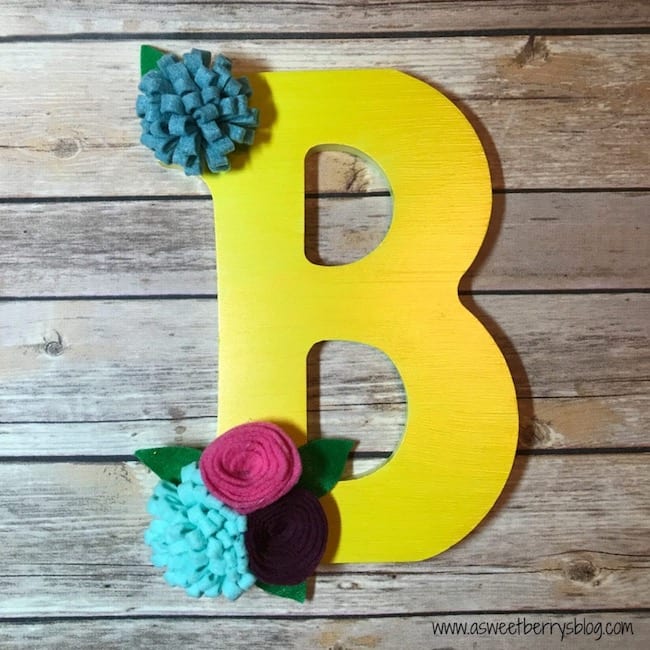
Decorated Letter Decor by Katie of A Sweet Berry’s Blog
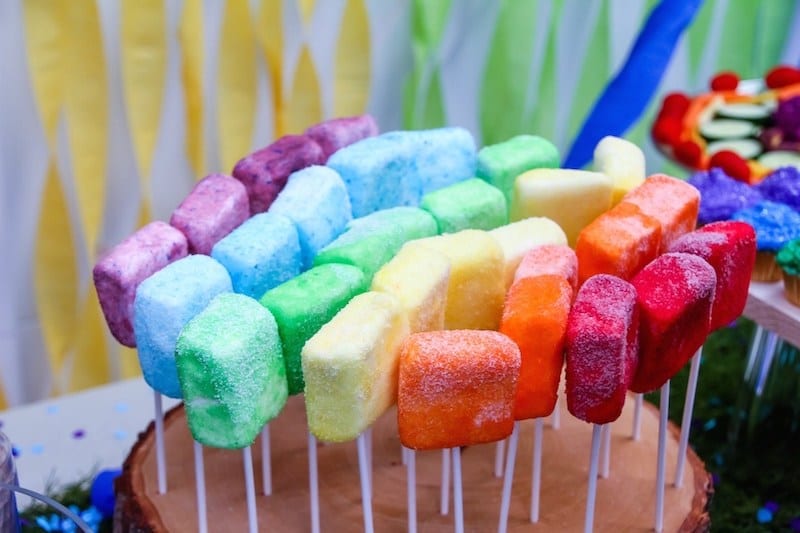
Wood Slice Stand for Cake Pops by Niki of 365 Days of Crafts
And finally, projects from the two awesome blogger friends who run Craft Lightning: Angie and Carolina.
I want to say a huge thank you to both of them for asking me to co-host this week of wood crafts!
It was challenging to come up with a quick craft to share each day, but I loved how it sparked my own creativity!
So…thank you Angie and Carolina! xoxo
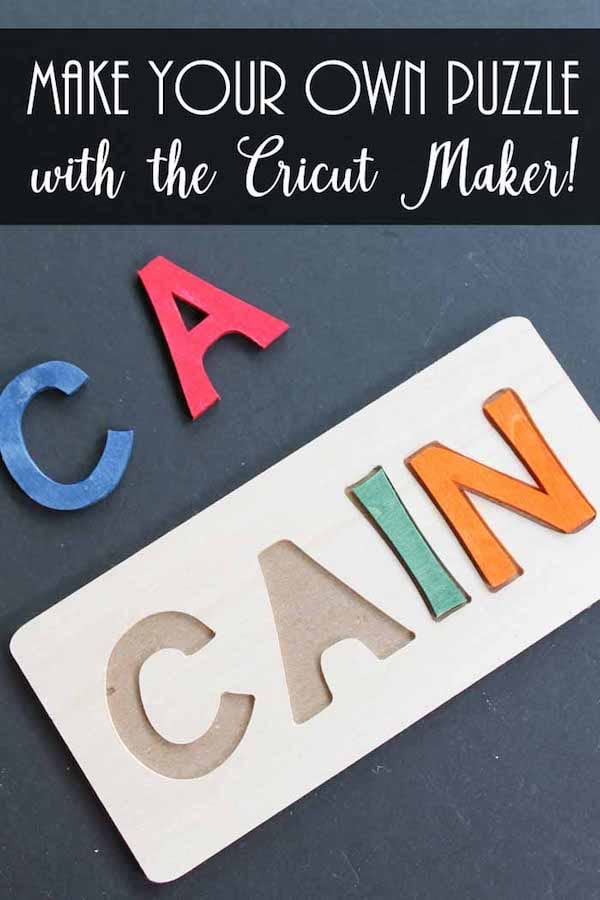
Make Your Own Puzzle with the Cricut Maker by Angie of The Country Chic Cottage
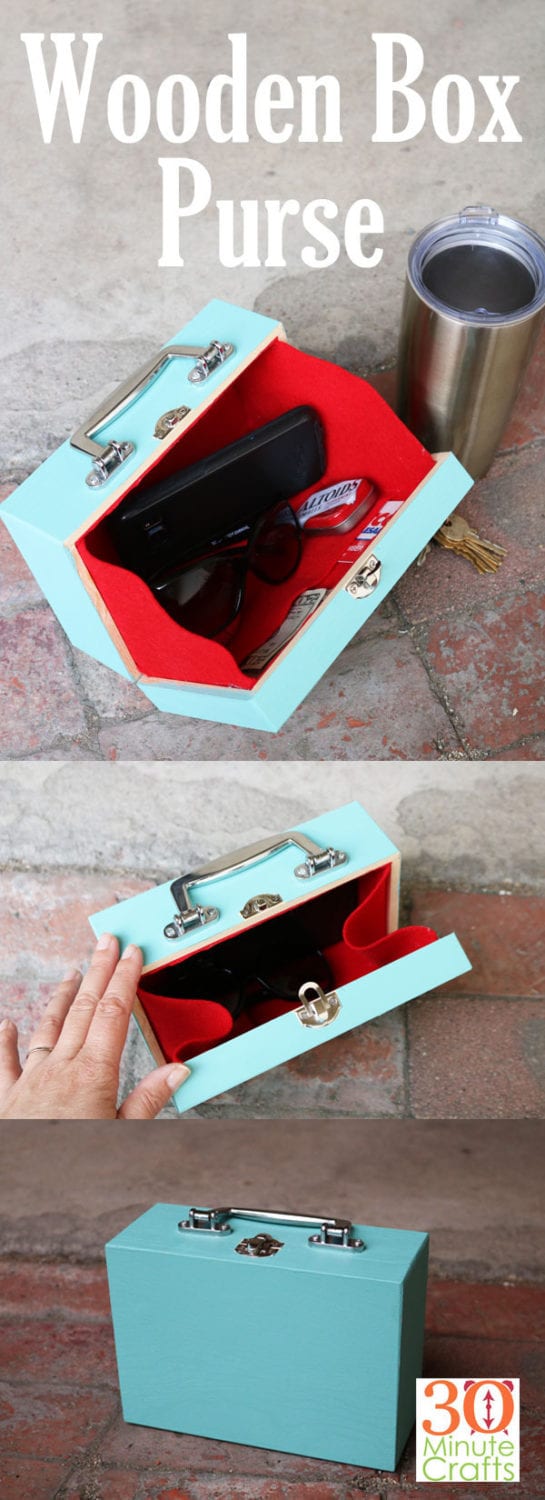
Wooden Box Purse by Carolina of 30 Minute Crafts
I hope you’ve been inspired to try some of these wood crafts we’ve shared here all week.
More importantly, I hope you can carve out 15 minutes here or there to do some quick crafts!
Happy crafting!

Leave a Reply