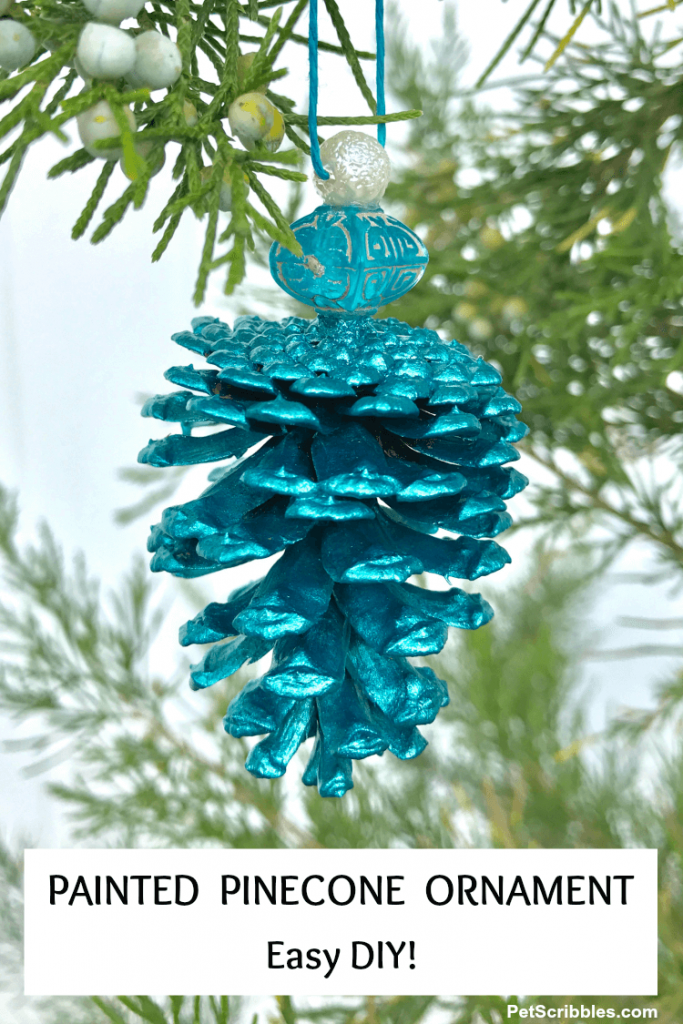
It’s easy to make a stunning teal pinecone ornament! Painted pinecone ornaments can be matched to your Christmas decor in any color you wish using metallic craft paint. Glue on a bead and add string for a pretty handmade ornament! Easy DIY with helpful images.
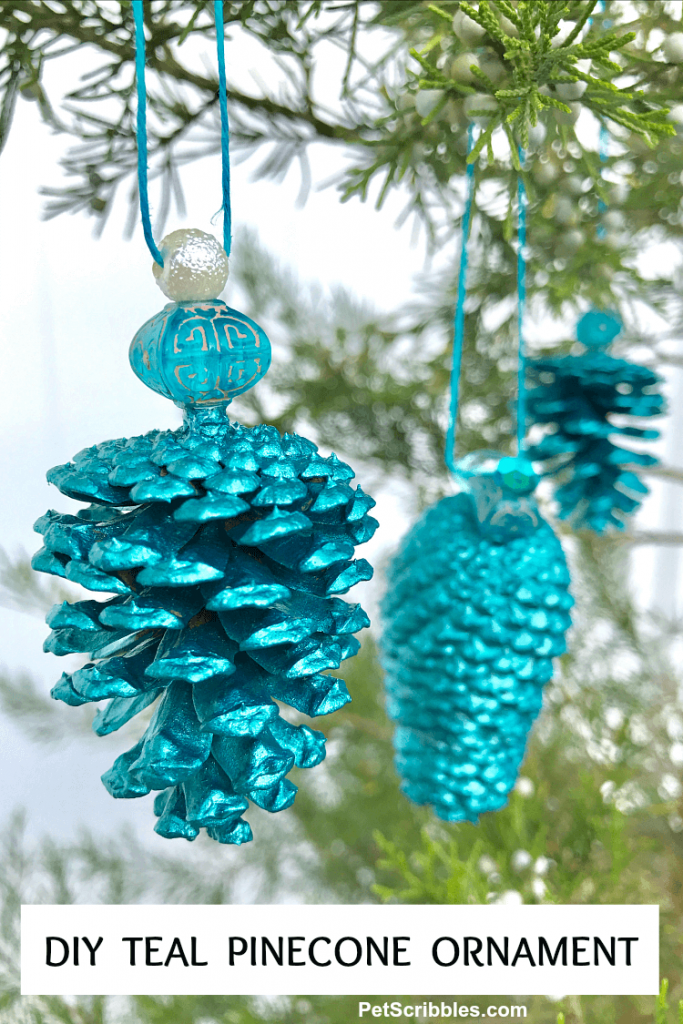
Painted pinecones become more and more popular every year it seems.
They are simple to create, whether to hang on your tree or give as gifts.
Let’s get started!
Teal Pinecone Ornament Tutorial
Supplies:
- Pinecones
- DecoArt Dazzling Metallics in Teal
- Small Paintbrush
I love this Soft Grip brush set! - Plastic lid (or plate) to hold the paint
- Jewelry beads (I used 6 total, each with a hole all the way through the center)
- E6000 Craft Adhesive
- Matching colored hemp cord (to hang)
Start with clean pinecones.
I’m fortunate that we have pinecones in our backyard, so I can just gather them up when I need them for crafting.
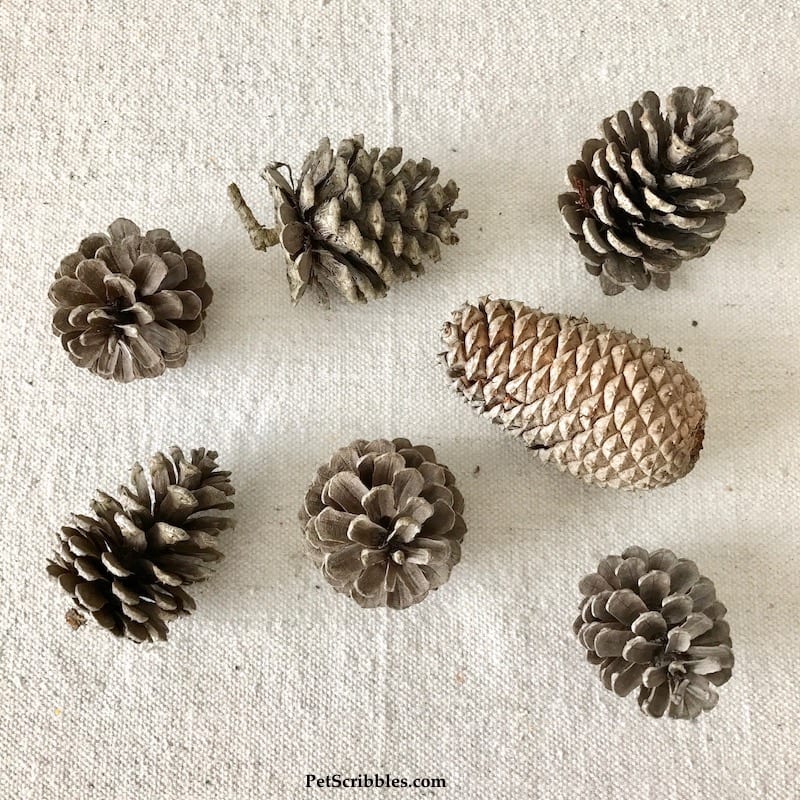
Rinse them out really well and make sure they are completely dry.
If you don’t have lucky access to pinecones naturally, you still do have luck because pinecones for crafting are now sold in the larger craft stores and even Amazon carries several different kinds.
Next, paint your pinecones!
Hand-painted pinecones have such a beautiful appearance!
I’m not sure if I have a favorite type of paint to use, because whether I use a matte paint like chalk paint or a brilliant metallic color like I’m using here, the effect is always so pretty!
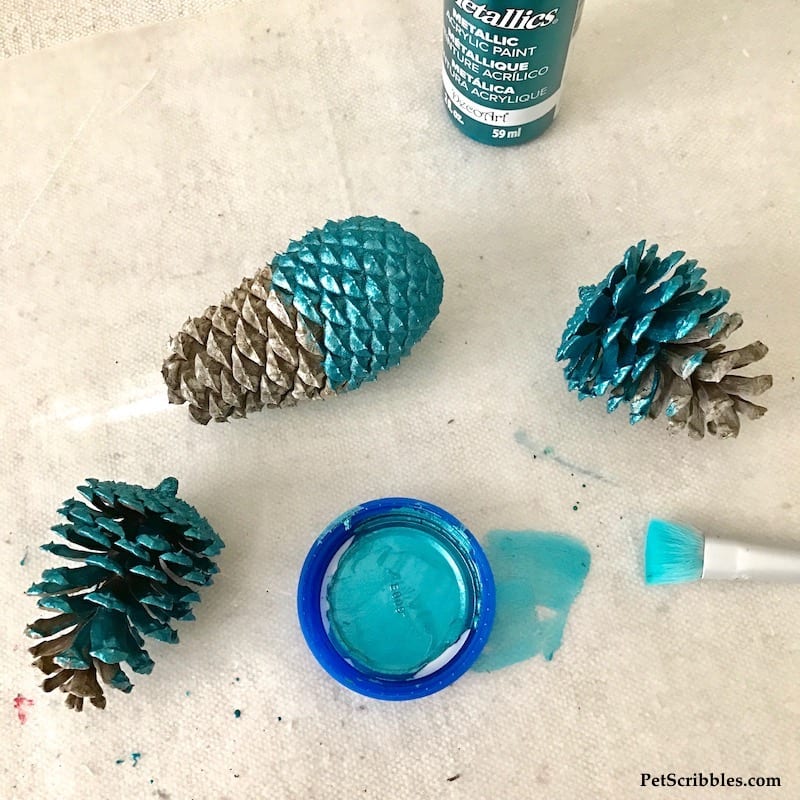
Paint half of the pinecone at a time.
For this teal pinecone ornament DIY, I came up with this little trick:
Paint only half of each pinecone at a time, as this makes it easy to hold the pinecones without getting paint all over your fingers.
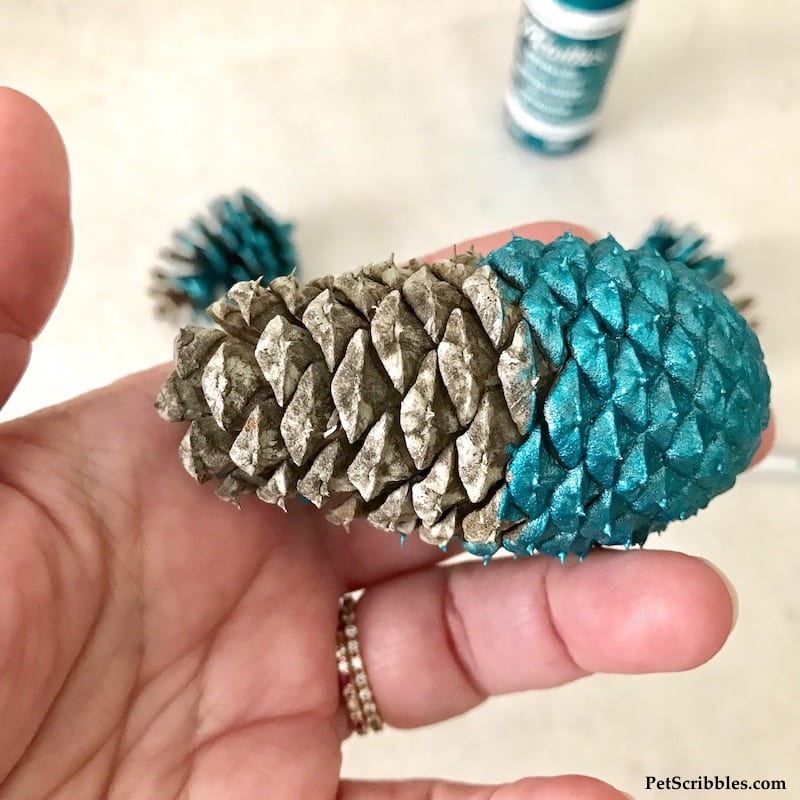
Some pinecones remain closed up — like the example above — and these are very easy to paint.
Other pinecones that have opened up take a bit more time to paint — like the one below — as both sides of the pinecone’s scales need to be painted.
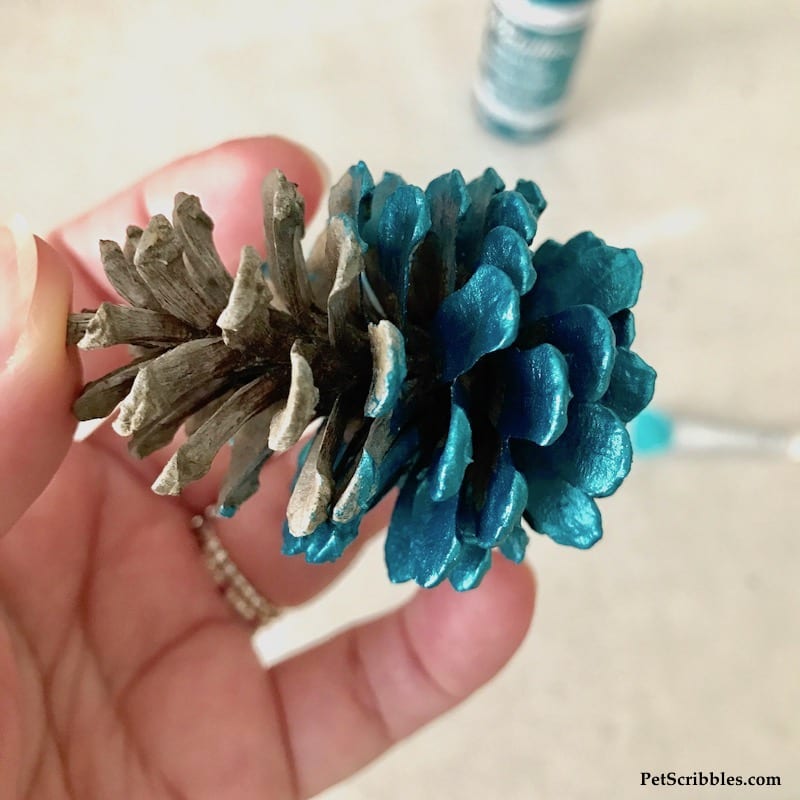
Begin by painting the pinecone upside down — which is the direction it will hang as an ornament.
Once dry, go back and paint the “other side” of the pinecone scales.
Pinecone “A” (below) has been painted first upside down. This means that the underside of the scales have been painted teal.
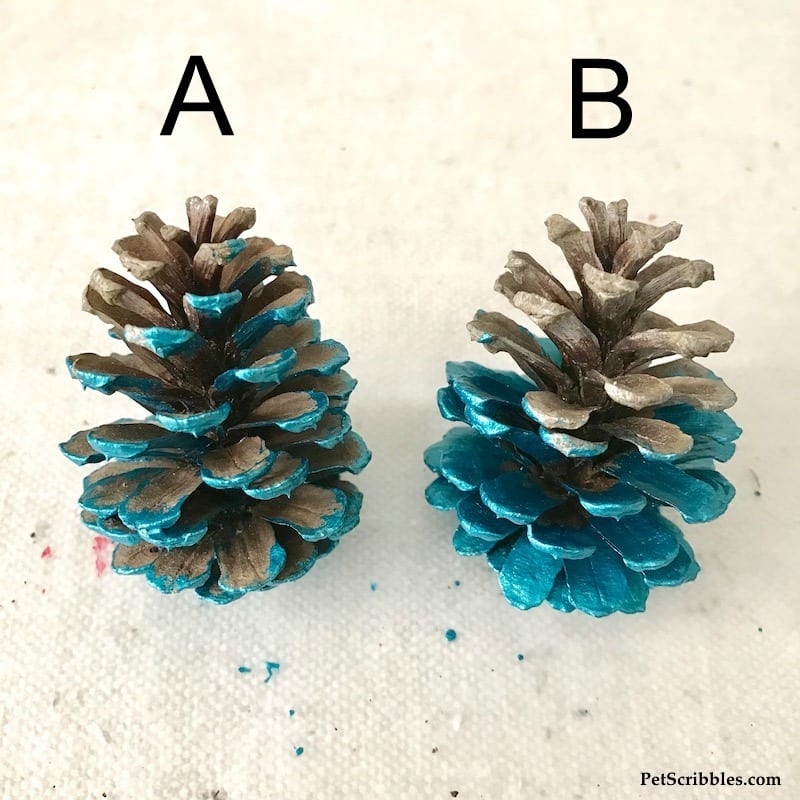
Pinecone “B” (above) shows the bottom half of the pinecone with both sides of the scales painted teal.
Let the pinecones dry for several hours — or overnight — before proceeding with the next step.
Add beads to your teal pinecone ornaments!
Using beads is a decorative way to attach a string for hanging your pinecone ornaments.
I use beads from old jewelry that I have, but you can easily buy beads at the craft store in just about any color, shape and style!
First, I attached a decorative bead with a bit of E6000 craft adhesive, which is super strong and holds things together well.
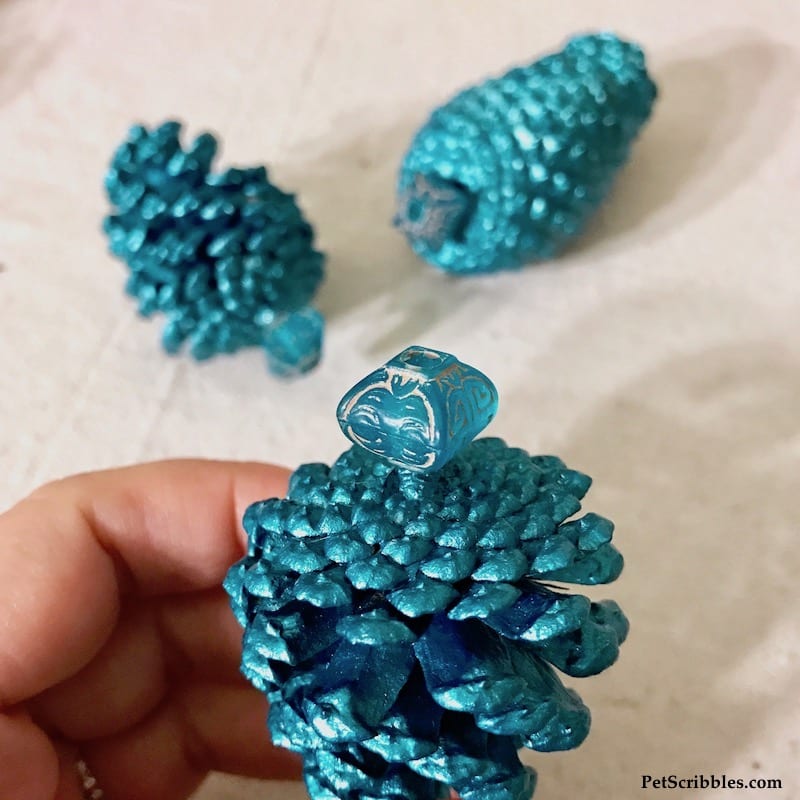
Set these aside, propped up against something so they can dry thoroughly.
Once dry, it’s time to add a second bead.
Make sure your second bead has holes, and make sure those holes are visible when you’re attaching the second bead to the first. (See image below.)
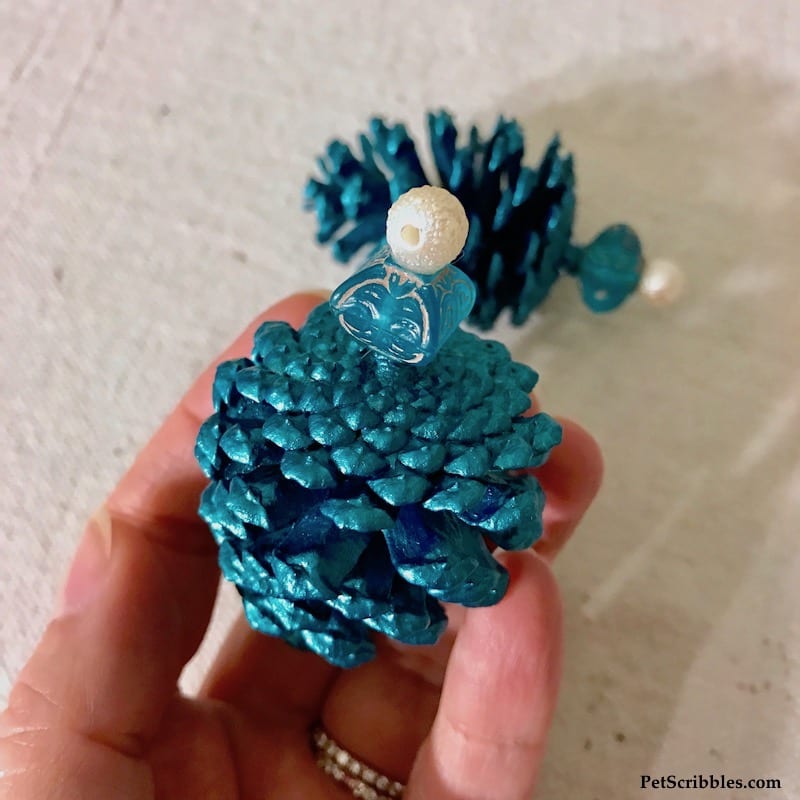
Again, prop up your pinecones so that the beads can dry upright.
Let everything dry and cure thoroughly overnight.
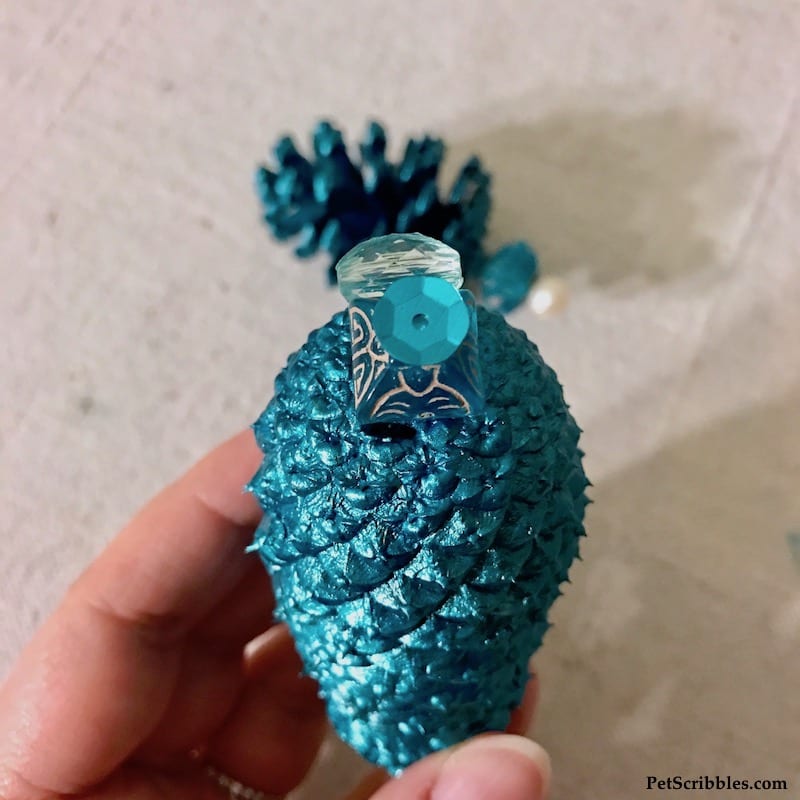
For the pinecone that was closed up — I did a slight variation since the bottom had a bit of a dent in it.
For the second bead I used an oval shape that fit perfectly into the little dent.
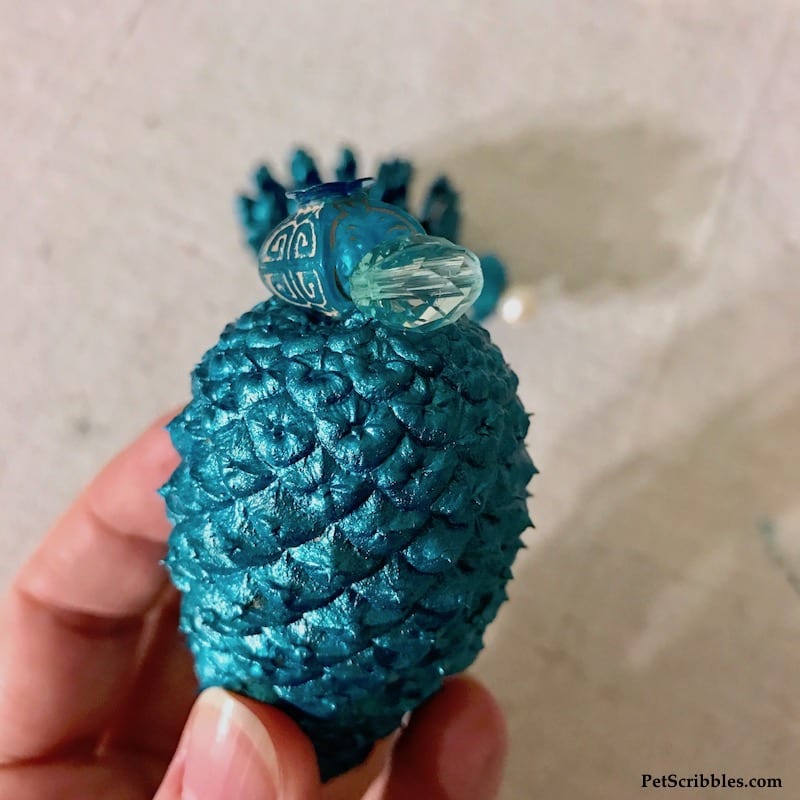
To finish off the first bead I just added a sequin with a mini adhesive glue dot to cover the hole.
Add string to your teal pinecone ornaments!
The last step is to add string to hang the ornaments up.
I used teal blue hemp cord threaded through the top bead on each pinecone, tied in a knot. (This string is fantastic and comes in many colors.)
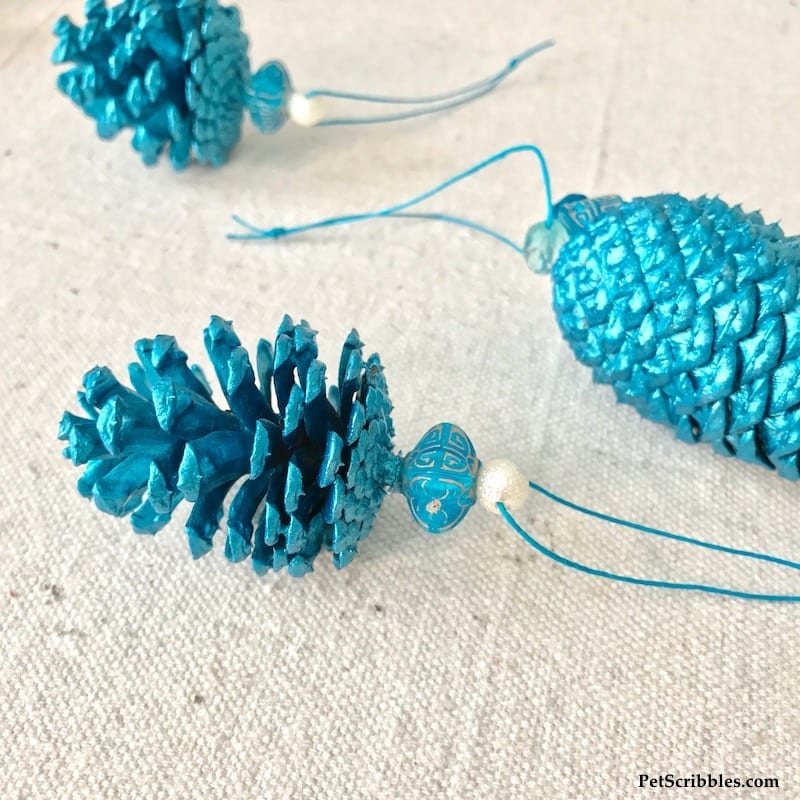
And that’s it!
Painted Pinecone Ornaments
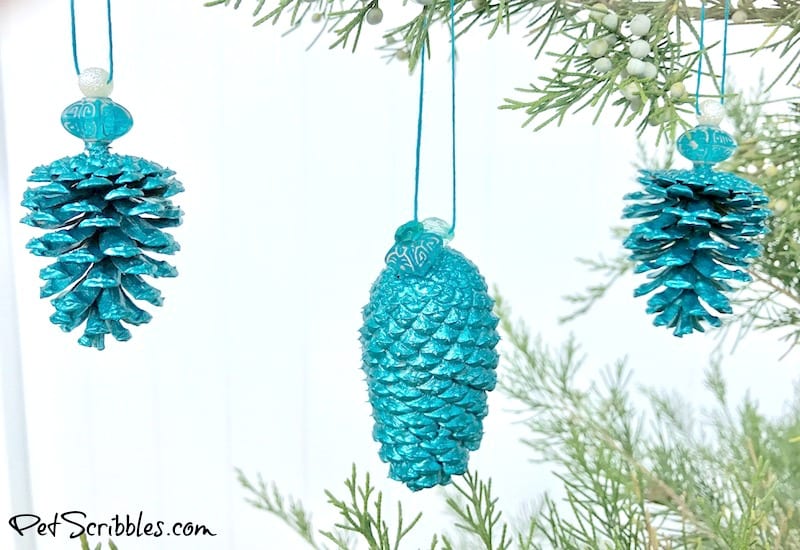
In addition to tree ornaments, you can attach these to wine bottles for hostess gifts, or as a topper on gift-wrapped presents.
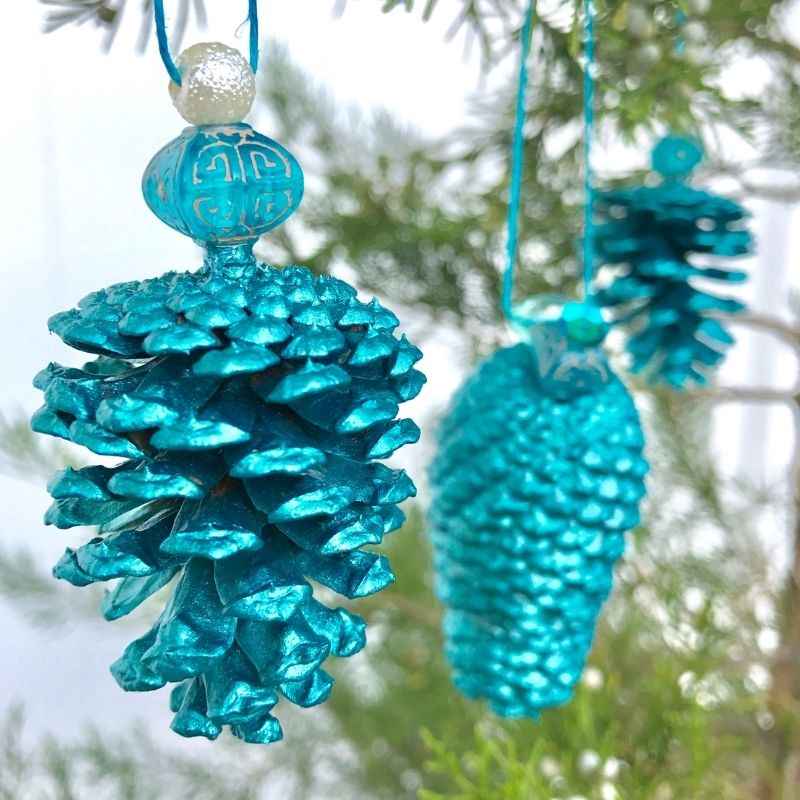
These painted pinecone ornaments are very durable once dried and cured.
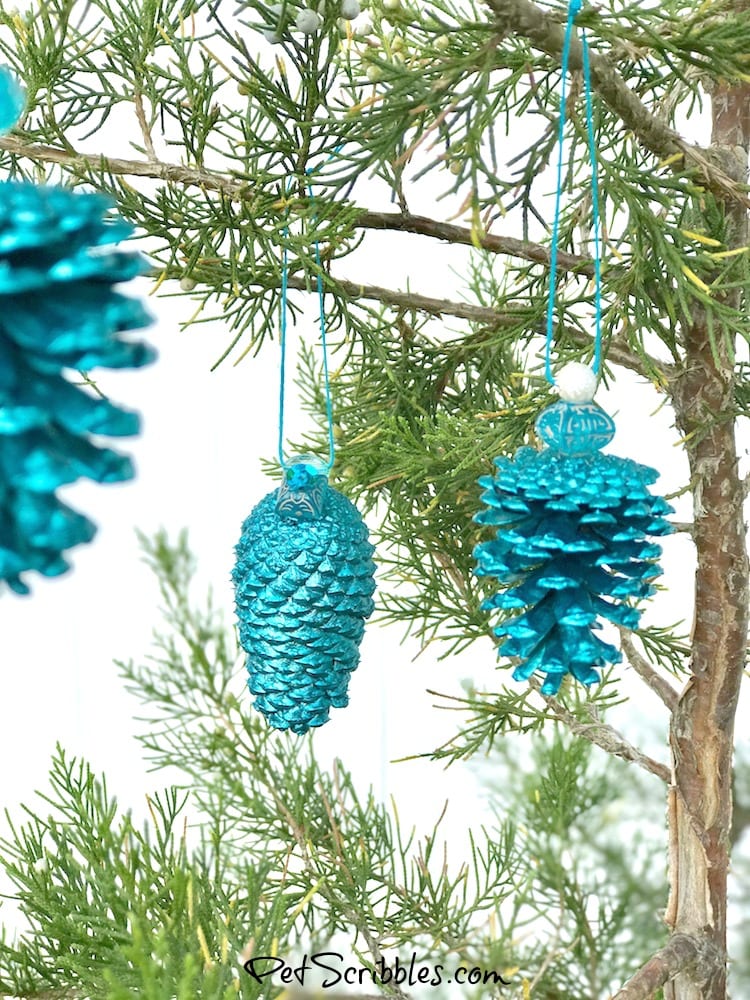
Which colors are you drawn to in your holiday decorating?
When in doubt, gold or silver metallic paint is always an option!
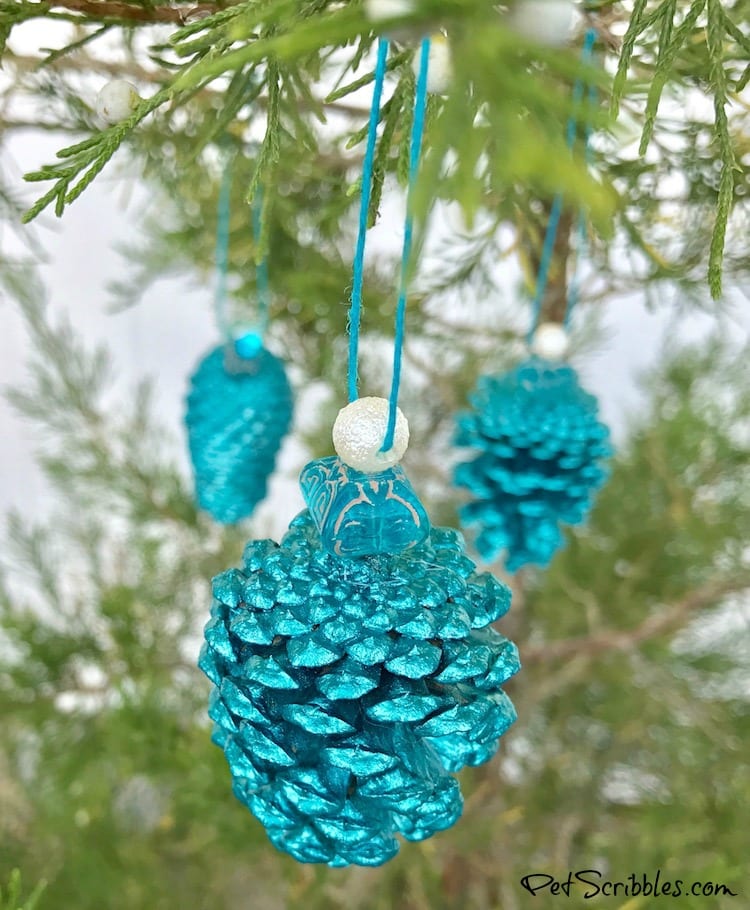
More DIY Ornament Tutorials!
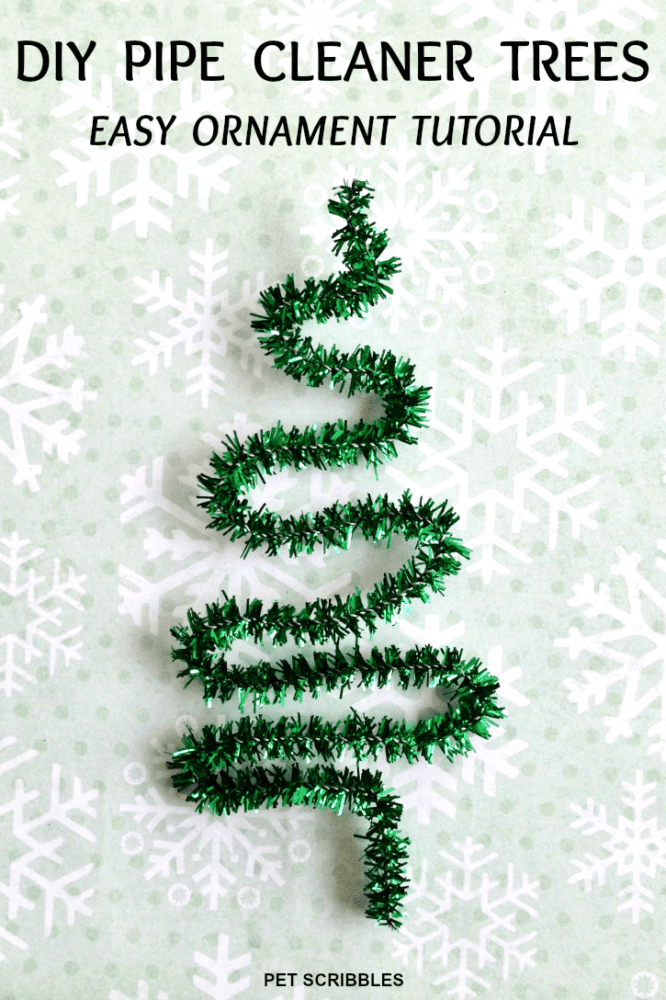
DIY Pipe Cleaner Trees
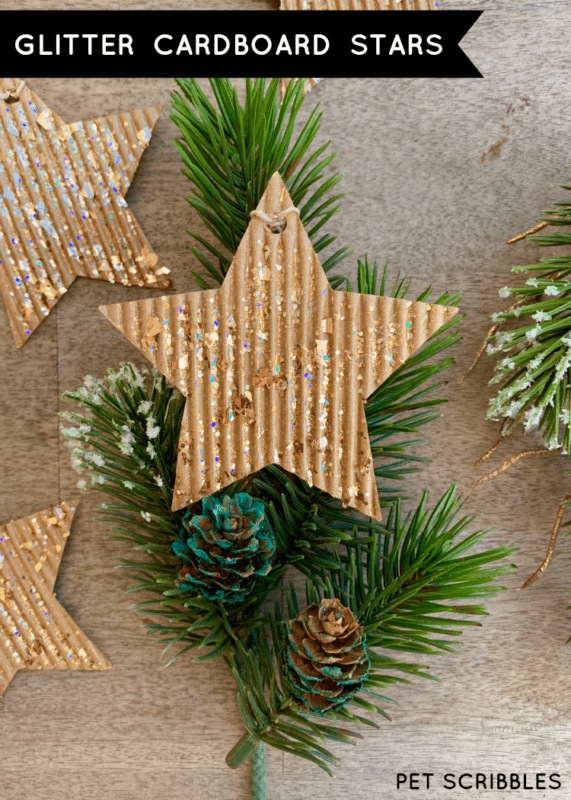
Glitter Cardboard Star Ornaments
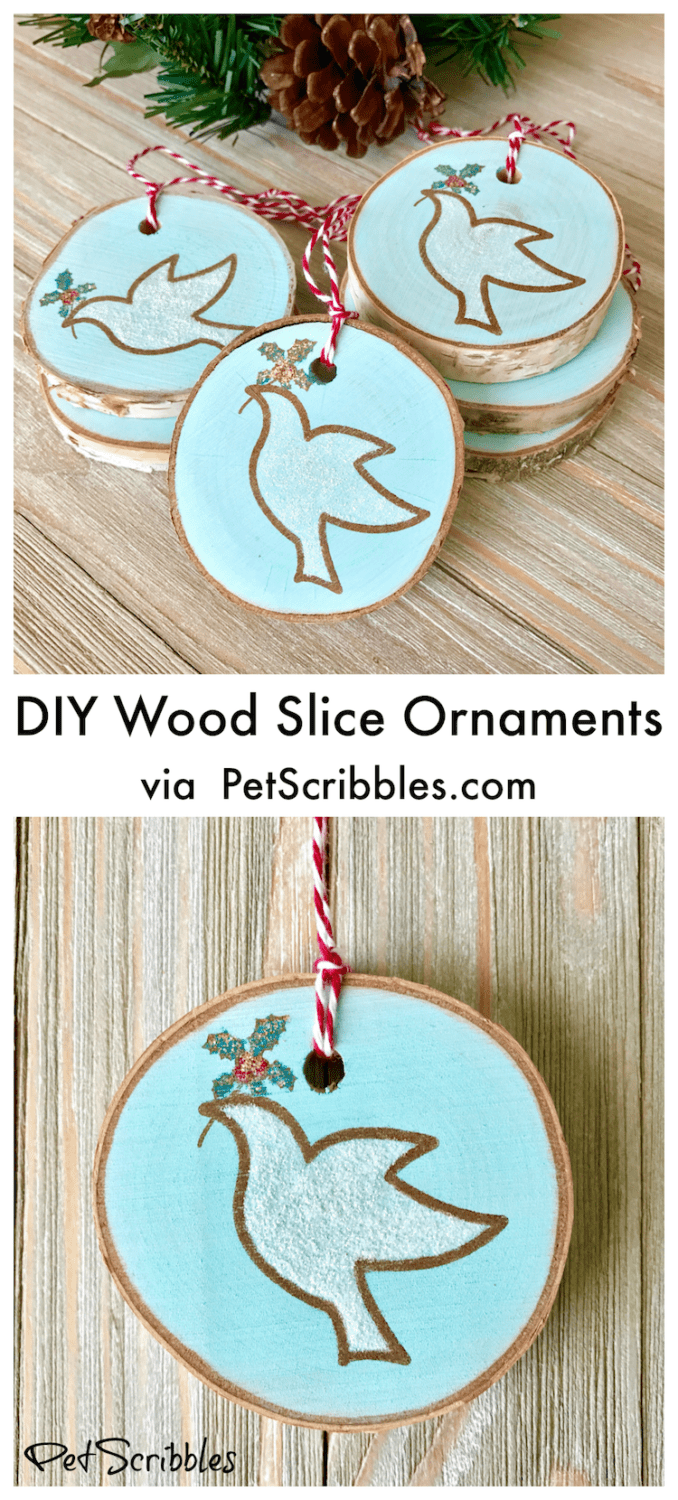
DIY Painted and Stamped Wood Slice Ornaments
Happy holiday crafting!

Leave a Reply