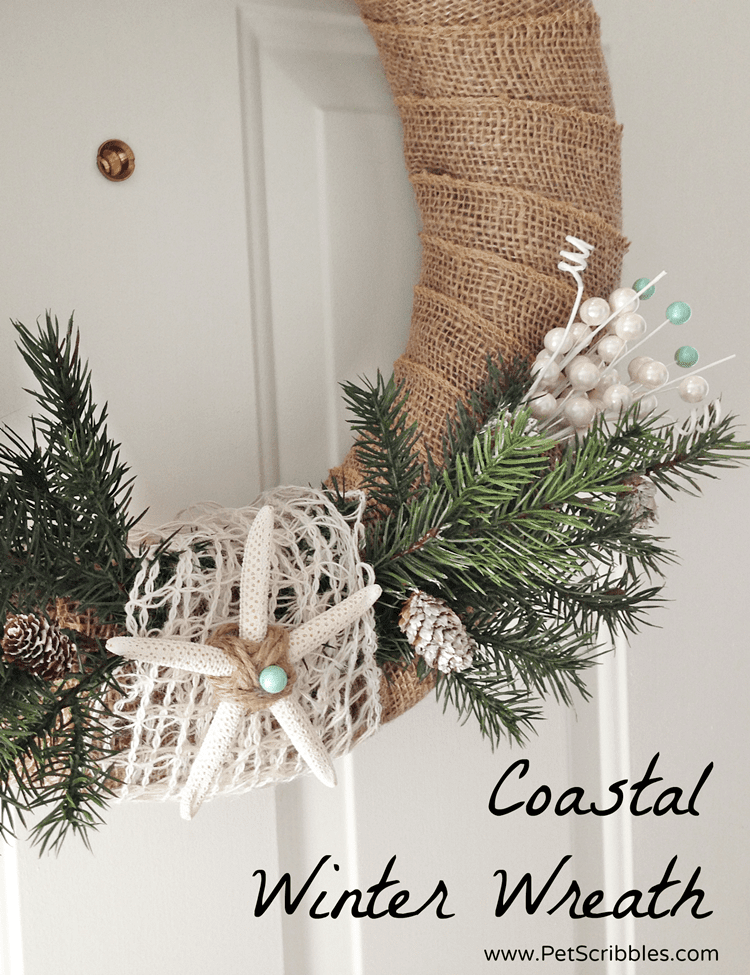
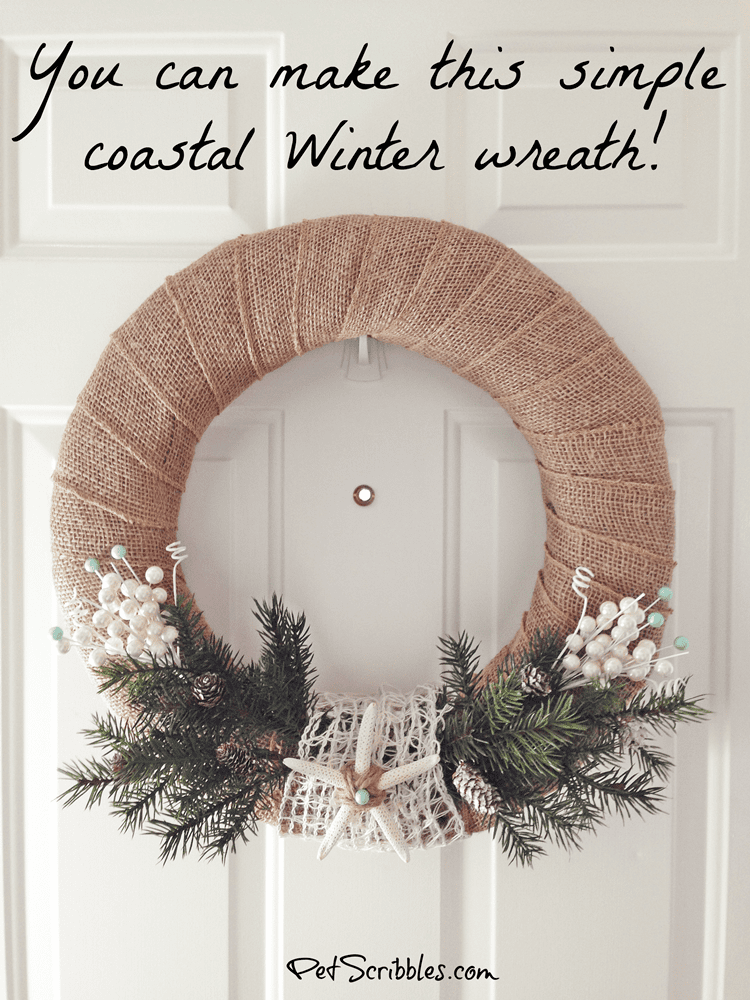
Today I’m showing you how to make a simple coastal Winter wreath. After all of the glitz and glimmer of the holiday decorations, this wreath is a refreshing change you will enjoy throughout the Winter season! And it’s easier to make than you might think!
Living here at the Jersey shore, I couldn’t resist making a Coastal Winter Wreath to enjoy for the Winter season.
And truth?
This is the first wreath I ever made from scratch, starting with a Styrofoam wreath form!
Was I nervous? Yes.
Did I think I’d screw this up before I even started? Sort of.
Did I roll my eyes at myself after I was finished because it was easy and I loved what I created? Uh-huh!
This simple coastal Winter wreath is the perfect indoor wreath.
I wouldn’t use this outside, as our Winter wind gusts would pull this thing apart in no time!
However, if your front entrance isn’t battered by strong winds, or you have a glass storm door in front of your actual front door, then you’re all set to show off this wreath to your neighbors!
Supplies used . . .
It may seem like lots of supplies are listed below, but most of these items can be found during one trip to your favorite craft store.
I’ll list below where you can find each item!
Supplies:
- FloraCraft Styrofoam wreath form, 18 inches
- Wide burlap ribbon
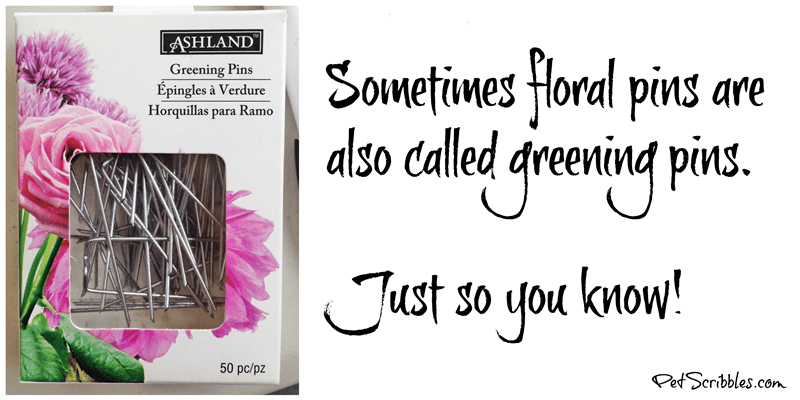
- Floral pins
- Metallic craft paint in metallic white or silver
- Small paintbrush
- Wired jute ribbon
- Starfish
- Faux pine branches with pinecones
- Winter-white colored picks
- Strong adhesive craft glue
- Pale aqua beads
- Scissors
- Large garbage bag
In the “floral” aisle, you can find the wreath form, floral pins and most likely the starfish too. Most floral aisles have a nautical selection of vase fillers and other items, since the coastal-nautical home decor trend — and beach-themed weddings — aren’t going away any time soon!
Picks and embellishments can usually be found in two different places.
- Look for floral picks — including faux greenery, pinecones, and leaves — in the fake flowers section of the craft store. This section of the craft store can be overwhelming, but take your time and you’ll find the sizes you need.
- Look for decorative picks in the seasonal aisle. I check the seasonal aisle year-round because you never know what you might find there! Spring pastel blues might also double for your Frozen movie-themed decorations, just as one example.
The burlap and jute ribbon can be found in the ribbon aisle. Beads can be found in the jewelry aisle. Paintbrushes in the craft paint section, and glue in the adhesive section of the store.
Hopefully your scissors and the garbage bags can easily be found in your home.
You can also search Amazon, of course! (Affiliate links below…)
How to make a simple coastal Winter wreath!
Step One: Cut open the garbage bag and spread it out to use as your work surface. Use the garbage bag for easy cleanup of any stray foam bits that might come off as you’re wrapping the wreath.
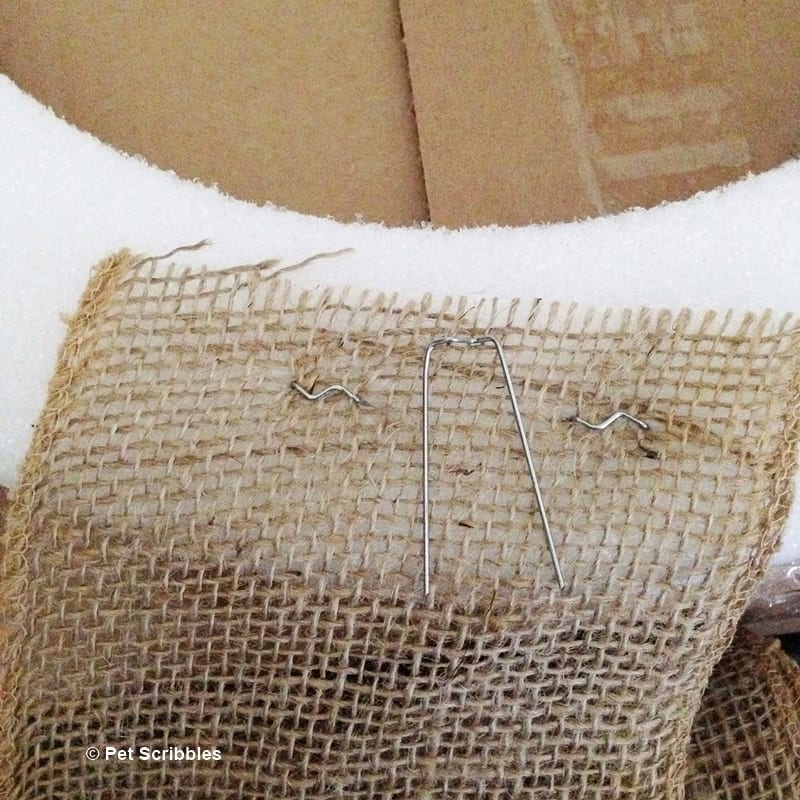
Step Two: Start to unroll the wide burlap ribbon and attach that end to the back of the wreath using floral pins. I like using floral pins – so much easier than glue!
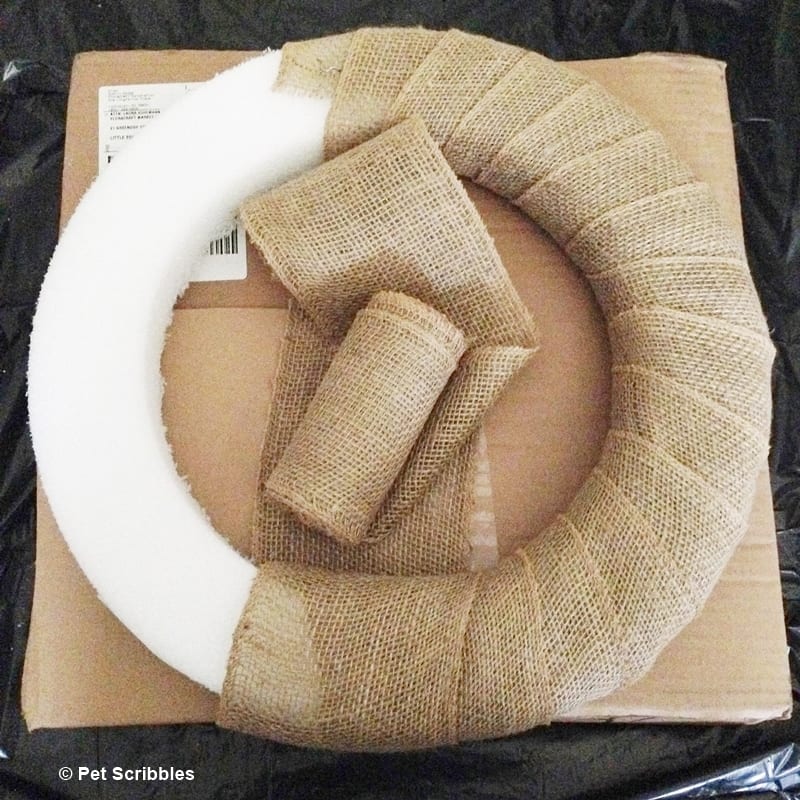
Step Three: Wrap the entire Styrofoam wreath form with the wide burlap ribbon. I wrap on an angle with a slight overlap of the previous band of ribbon.
Just eyeball it as you go, and you’ll be fine.
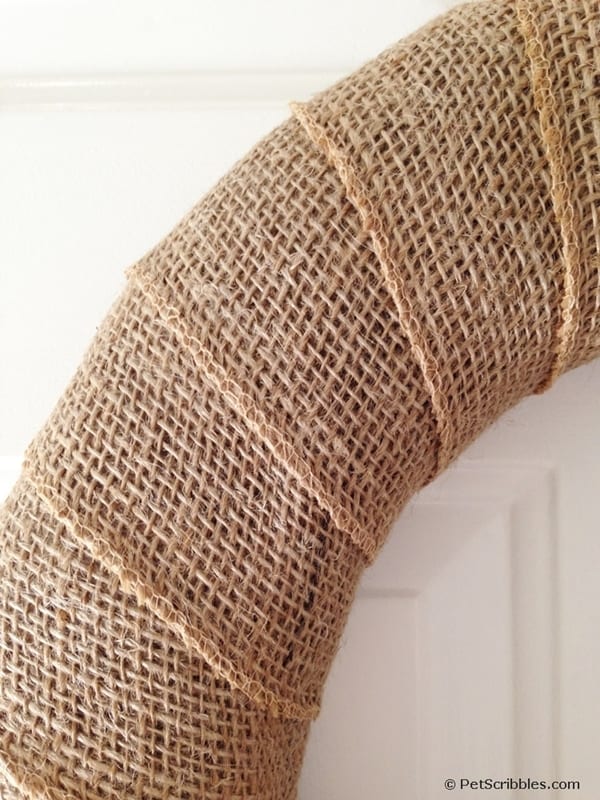
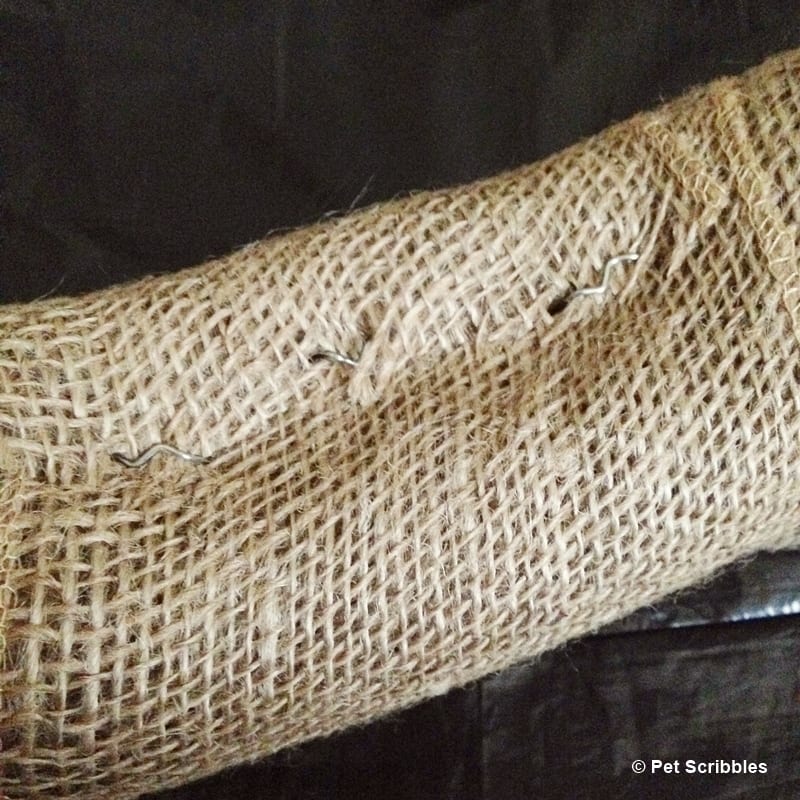
Step Four: Once the wreath form is completely wrapped, cut off any remaining ribbon and attach that end to the wreath with floral pins. You can either pin the end in the back as you did in Step Two, or attach the pins in the inside of the wreath opening, where it will be covered by your embellishments. Either way works just fine.
Step Five: Play with your embellishments and picks and branches, to decide how you want everything to look.
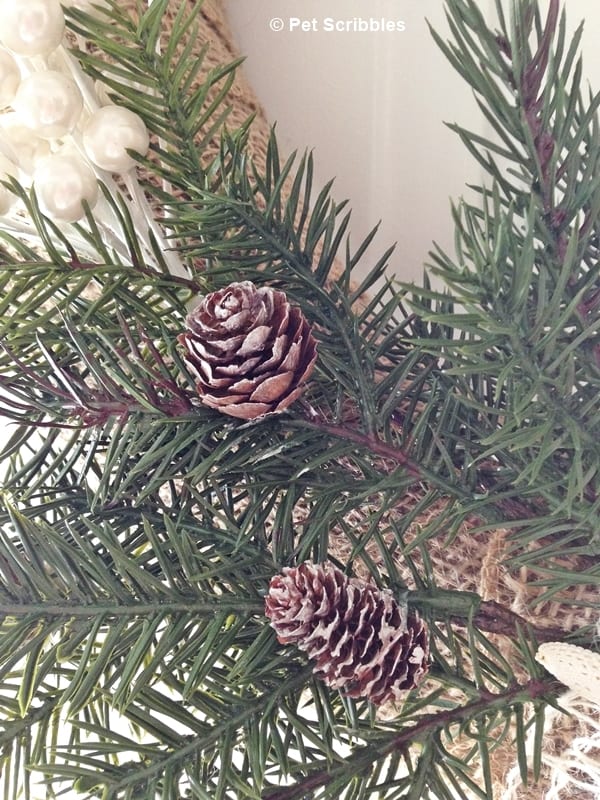
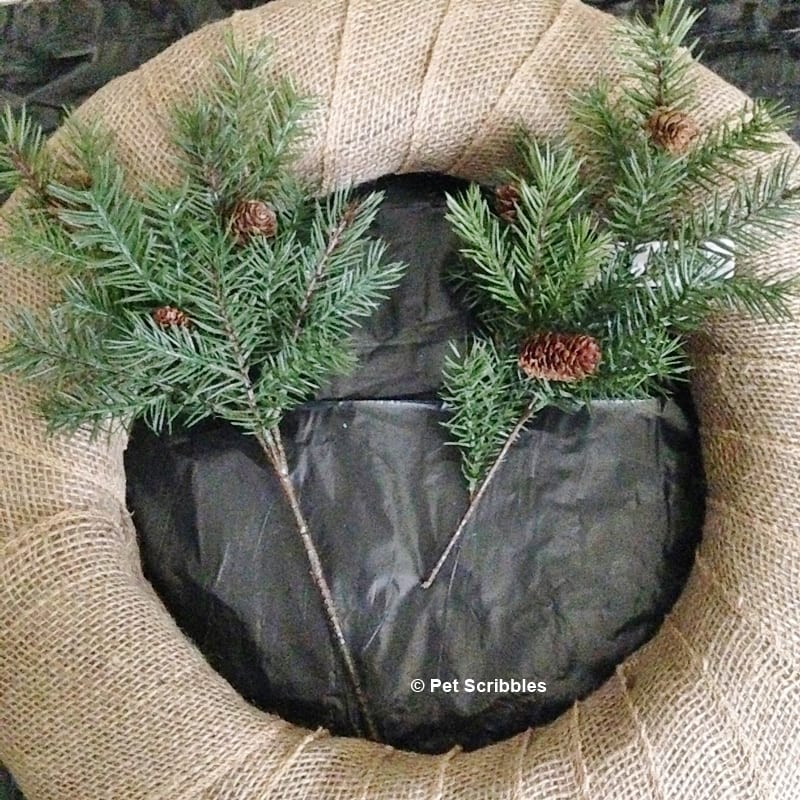
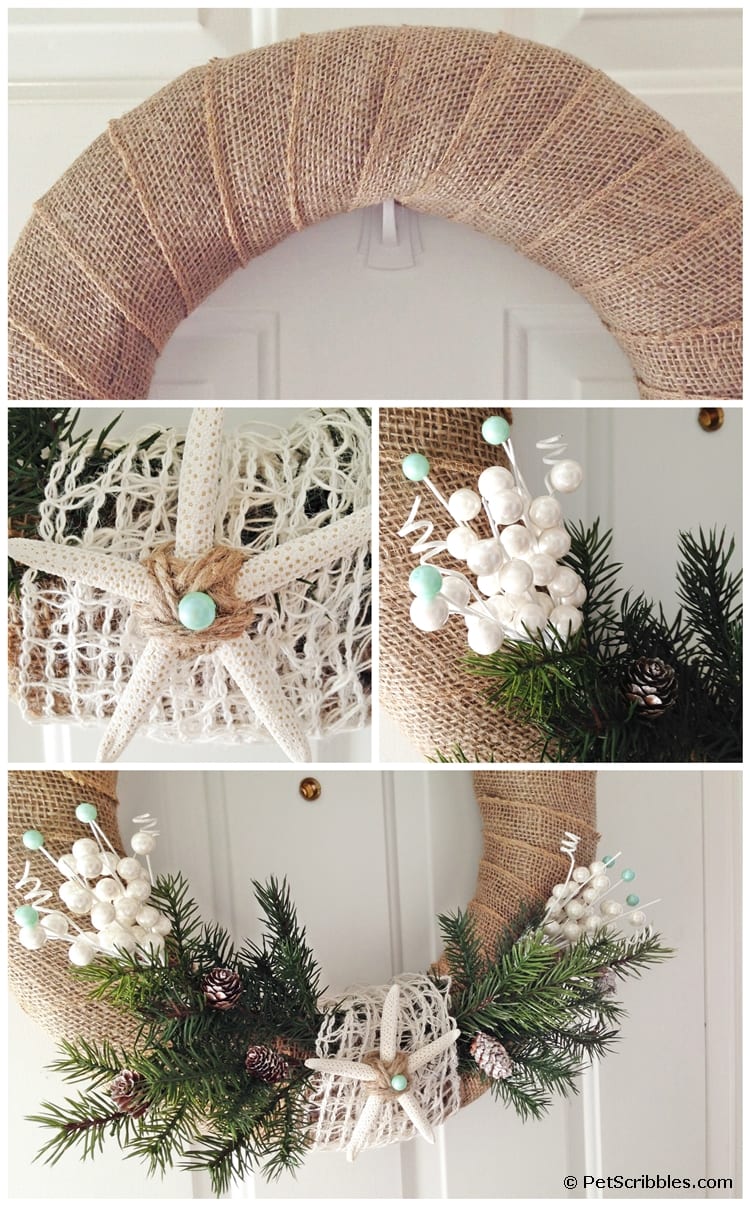
Don’t be afraid of cutting up any of the picks and stems either. I purchased one pine branch that had tiny pinecones attached, and split it in half so I’d have two almost-identical pieces. (See below.)
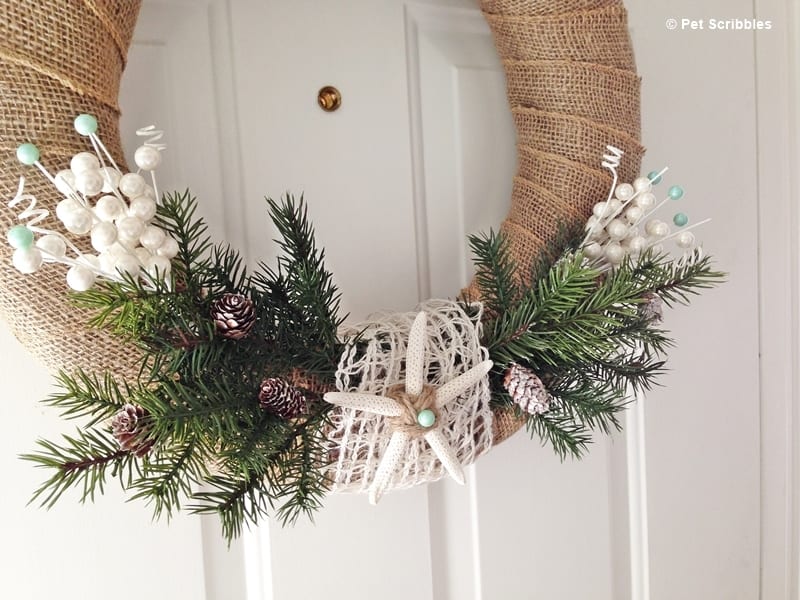
After playing around with a few ideas, I decided to have them be at the bottom of the wreath, with the ends of each branch facing in.
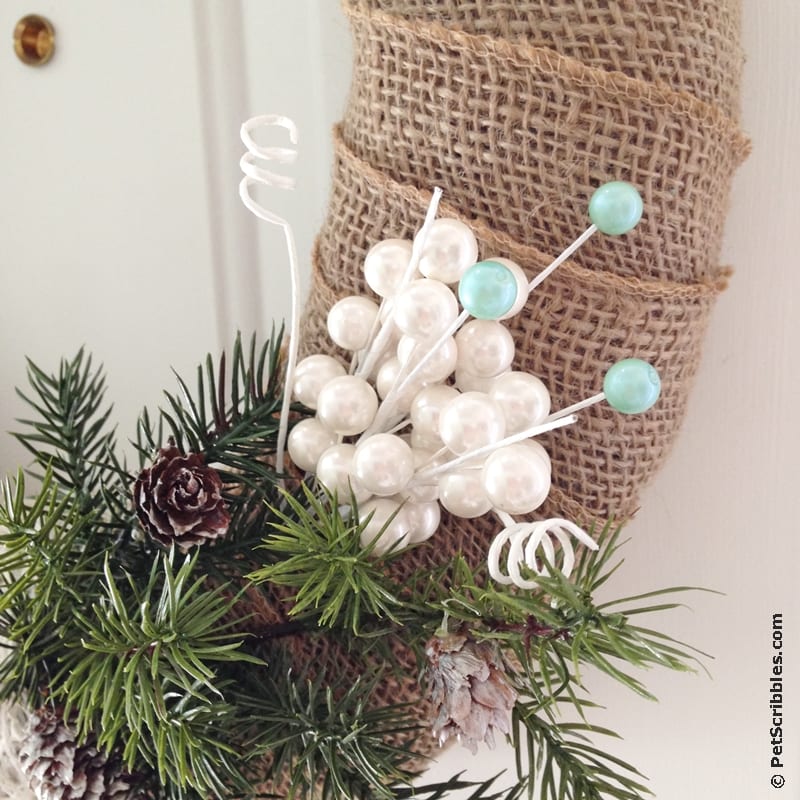
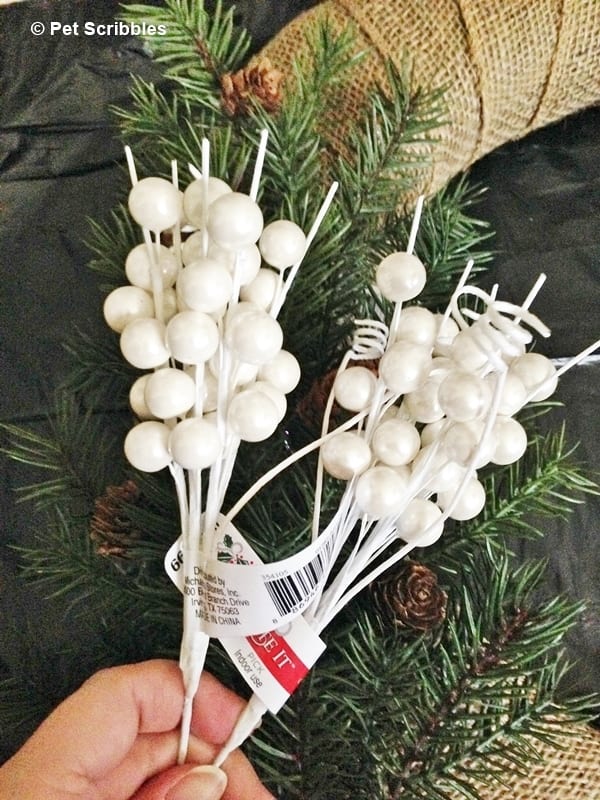
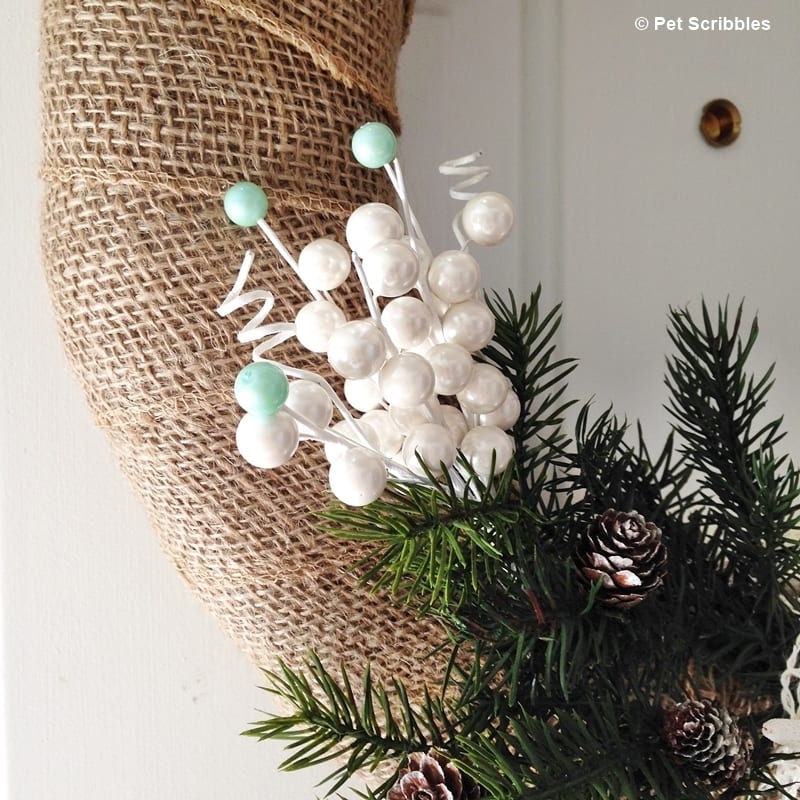
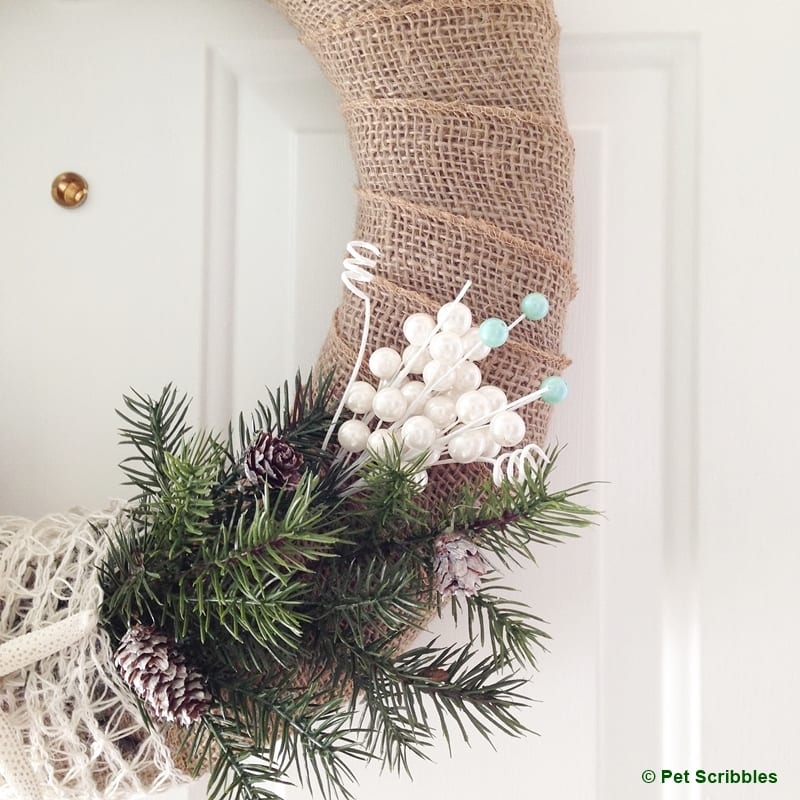
Step Six: Add the white picks to the wreath, among the pine branches. As these picks had sharp points, I was able to poke them through the burlap ribbon fabric directly into the wreath form. I placed the picks on the outer parts of the pine branches for a pop of bright, Winter-white color.
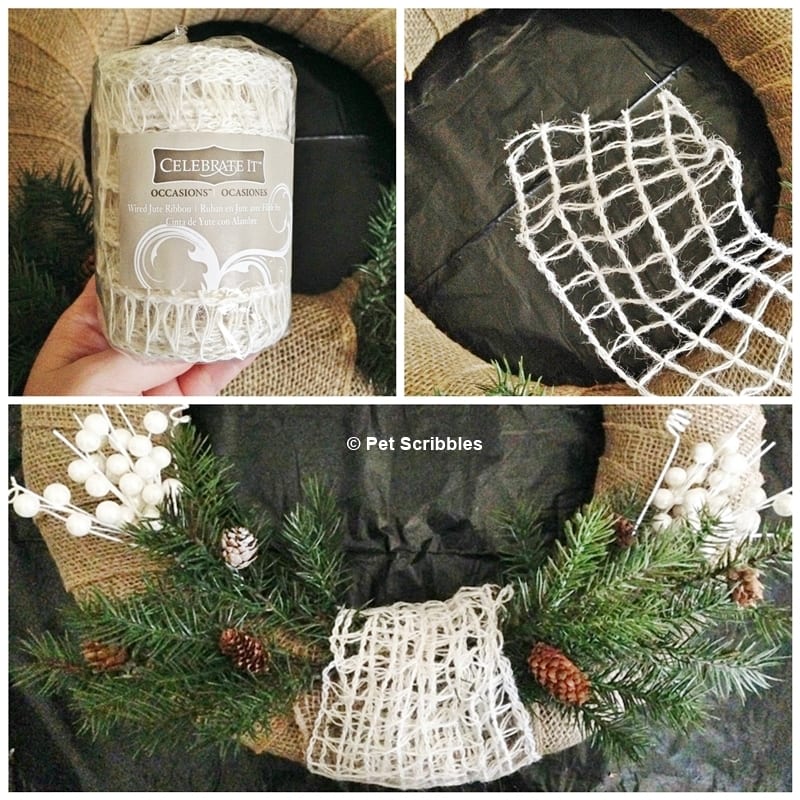
Step Seven: Wrap an open-weave, wired jute ribbon around the bottom center of the wreath several times, to both cover up the pine branch stems and to secure the branches as well. Attach with floral pins. This is an easy way to cover up the bits you don’t want to see!
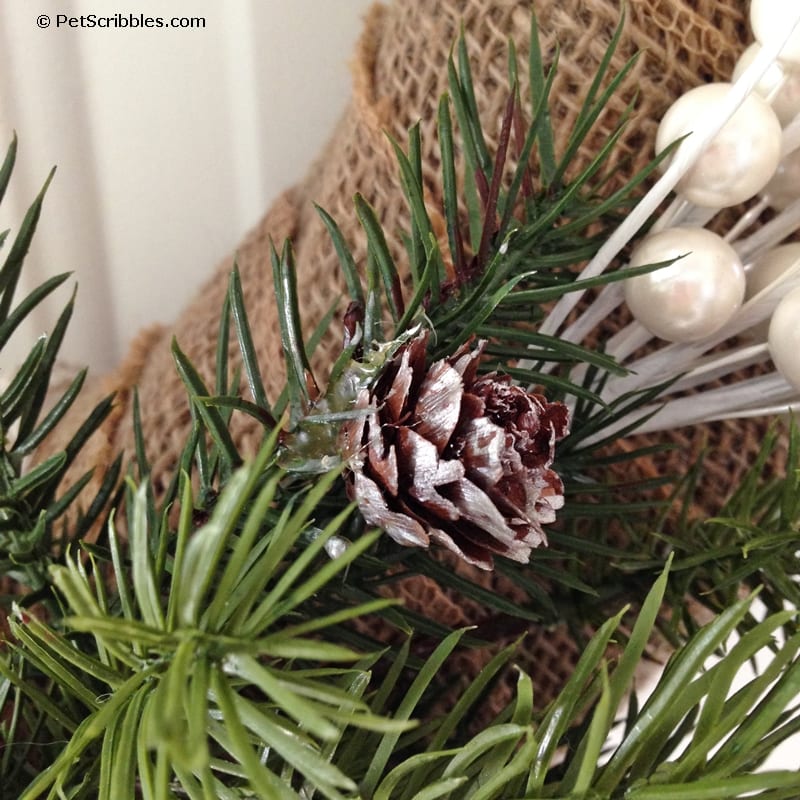
Step Eight (optional): Paint the pinecones to make them appear frosted. This step is optional, but as you can see in the previous photo — where I painted one of the tiny cones — it really makes them pop. I used a very light touch, barely covering the pinecones with a pearl-metallic glaze. (Glazes are more transparent than paints.)
- You can easily make a glaze — or a semi-transparent paint — by adding some water to craft paint. Add some water a little at a time, mix and then paint on a paper towel to see if you like the coverage.
- Another alternative is to just paint metallic, icy-looking paint here and there on your pinecones and/or branches. (The easiest way!)
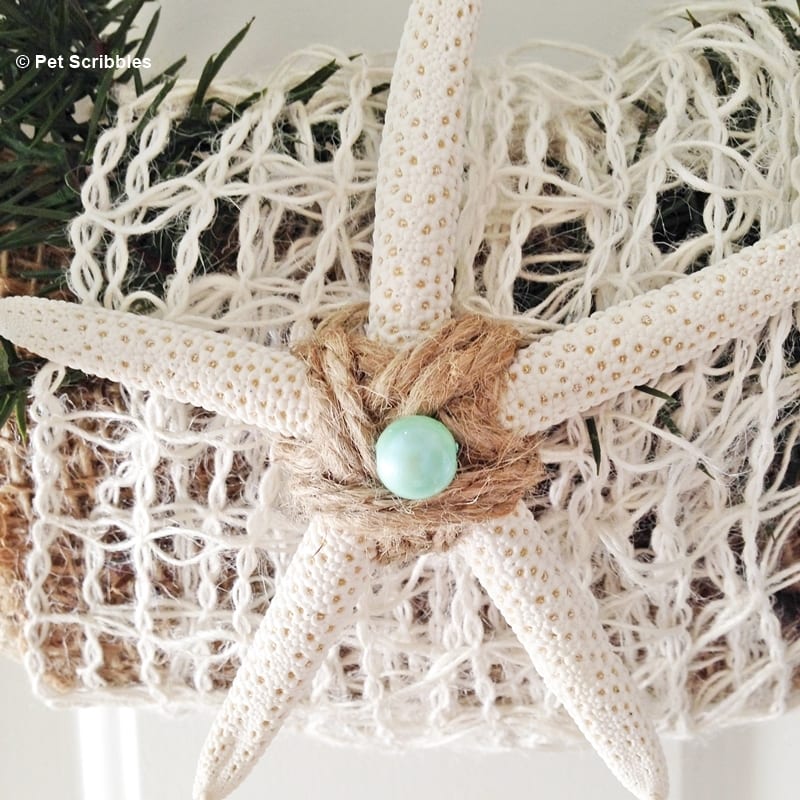
Step Nine: Add the starfish to the bottom center of the wreath, using floral pins to attach. Cover the floral pins with twine wrapped around the starfish.
I wrapped the twine around the center of the starfish a few different ways (and unwrapped it) until I liked the way it looked.
Figuring out how I wanted to wrap the twine around the starfish almost frustrated me. Almost.
But then I remembered that I can make this wreath however I want! (And that’s an important thing to remember whenever we’re making something!)
Step Ten: For a touch of coastal color, add some pale aqua beads to the wreath. I used a strong adhesive craft glue to attach one bead to the center of the twine-wrapped starfish (above), as well as three beads on each of the floral picks (below). Let dry in place before handling.
And that’s it!
Hang your simple coastal Winter wreath and enjoy!
Happy crafting!
~Laura
An older version of this tutorial first appeared on Create~Craft~Love as a guest post I wrote. This post has been completely updated for you here!

Love it Laura. Burlap and white are the perfect combo.
Thanks Kathy! You’re so right: this was my first time using this combination, and I love how it looks!