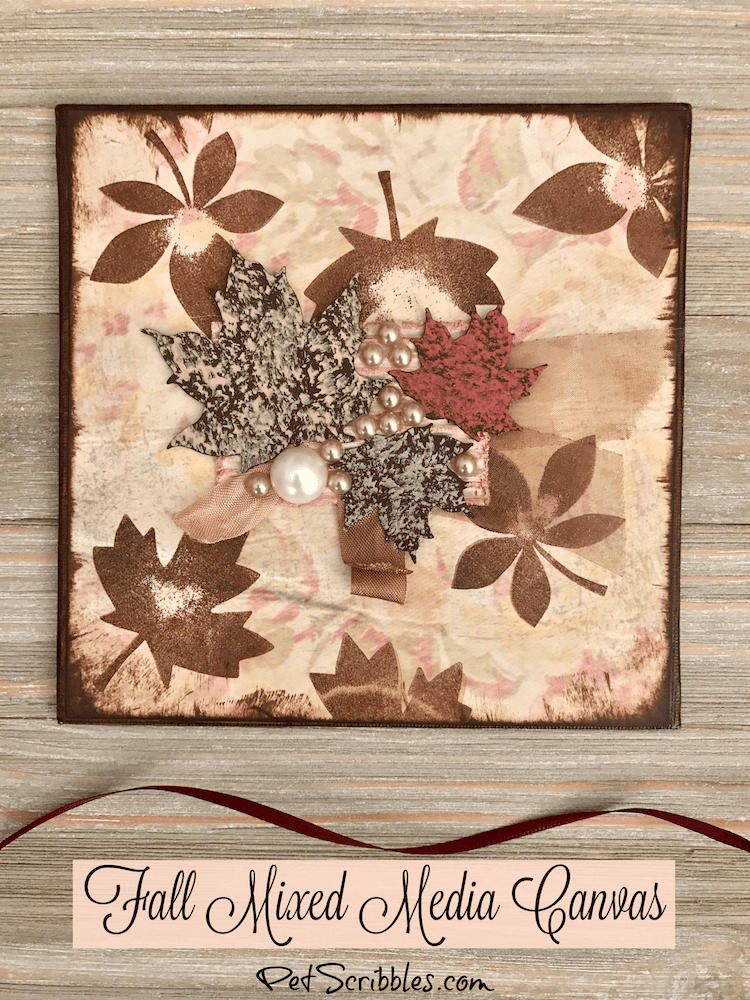
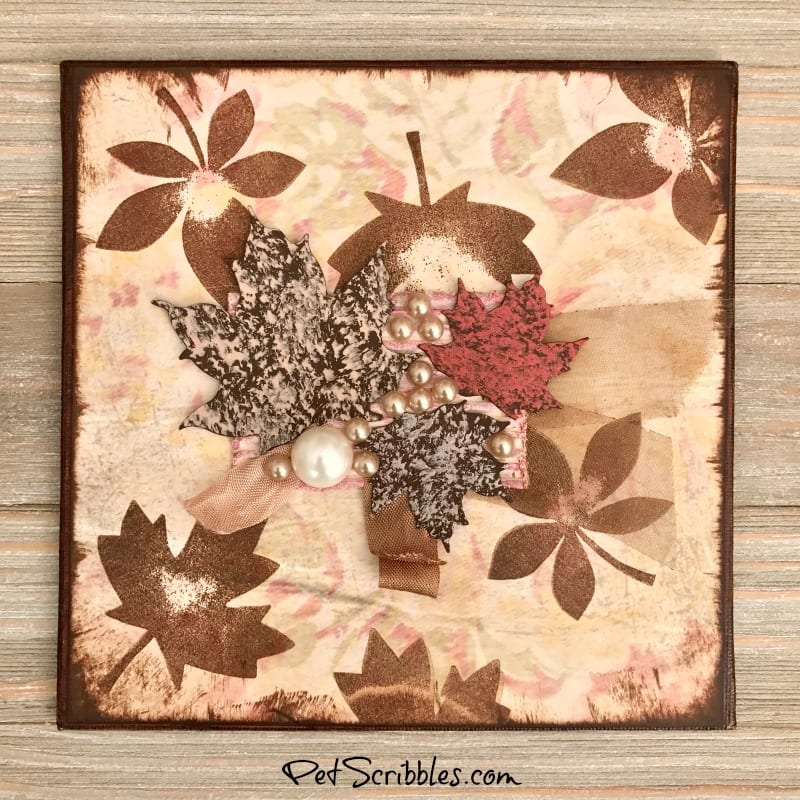
To make a Fall Mixed Media Leaf Canvas you’ll love, use favorite items like ribbons and trims, treasured paper scraps, or gorgeous cardstock you’ve saved! Don’t just save your special stash — use it and enjoy!
There’s something about the Fall . . .
It’s always been my favorite season.
We got married in the Fall.
We moved into our home during the Fall.
Gardening is more fun in the Fall, as the weather is cooler!
And of course I love creating Fall decorations too!
And that’s where today’s DIY comes into play . . .
Xyron and Paper Smooches
All this week, Xyron and Paper Smooches have teamed up to create fun projects. Our Xyron Design Team is sharing ours on the Xyron Facebook page, so make sure you click over to see!
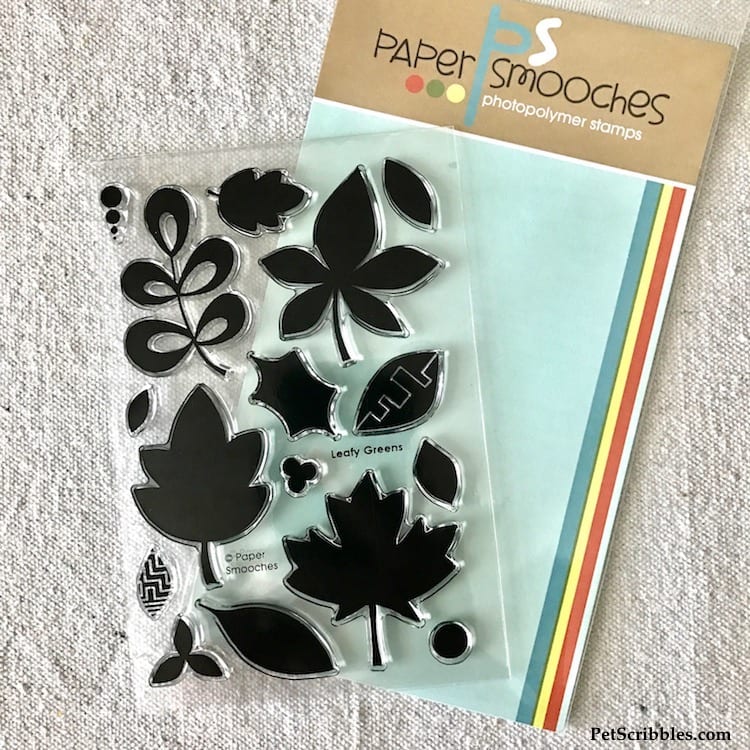
Here are the stamps from Paper Smooches — called Leafy Greens — that I chose for my Fall mixed media leaf canvas:
I love the different sizes, and that there’s even a holly stamp to use for the Christmas holiday season.
FTC Disclaimer: I’ve received products/compensation as part of the Xyron Design Team. This Fall Mixed Media Leaf Canvas, however, is 100% my own project! Some of the links in this post are affiliate links. I explain more here.
How to make a Fall Mixed Media Leaf Canvas you’ll love!
When gathering supplies to create something, take extra time to look through your stash of favorite embellishments, ribbons and trims, and decorative papers. Pull those items out that fit into your color scheme or themed idea for your piece.
Seriously: what are those favorite pieces you keep saving for that special piece you want to create some day?
Pull those out and use them!
When you include your favorite items into your artwork, you’ll love your finished pieces all the more.
That gorgeous vintage seam binding?
Sure it’s pretty in the ribbon scrap bin, but it will look even better when it’s added to your artwork!
Some pressed leaves you gathered on a recent walk? Use them!
Although I give you my step-by-steps below, use my tutorial as inspiration to create a Fall mixed media canvas that speaks to you.
Get the idea?
Use what you love!
Supplies:
- Xyron® Creative Station
- Xyron® Acid-Free Permanent Adhesive Refill Cartridge, 9″
- Xyron® Mega Runner
- Paper Smooches “Leafy Greens” stamps
- Acid-Free Blank Canvas Board, 6″ x 6″
- Decorative cardstock – Canvas Corp/7gypsies
- Corrugated cardboard – Canvas Corp/7gypsies
- Brown ink pad
- Acrylic stamping block
- Brown Sharpies marker
- Scissors
- Wax paper
- Metallic craft paints in 3 similar shades
- Craft paint in beige
- Small paintbrush
- Small stencil brush
- Tim Holtz Paper Distresser
- Rusty leaf shapes
- Ribbon scraps
This may seem like a lot of supplies, however most of these items are from my own stash. Spend some time looking at your own craft supplies and see what you can use!
Tutorial:
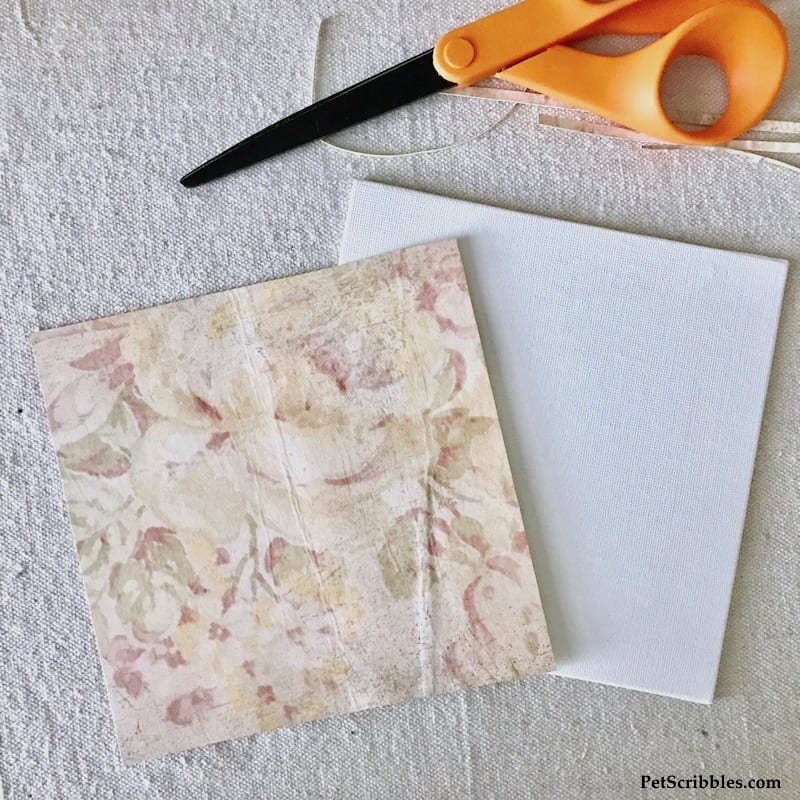
Step One: Measure and cut out decorative cardstock to fit onto the 6″x6″ canvas. Once cut out, trim a tiny bit off each side, so that the canvas will be visible along the edges.
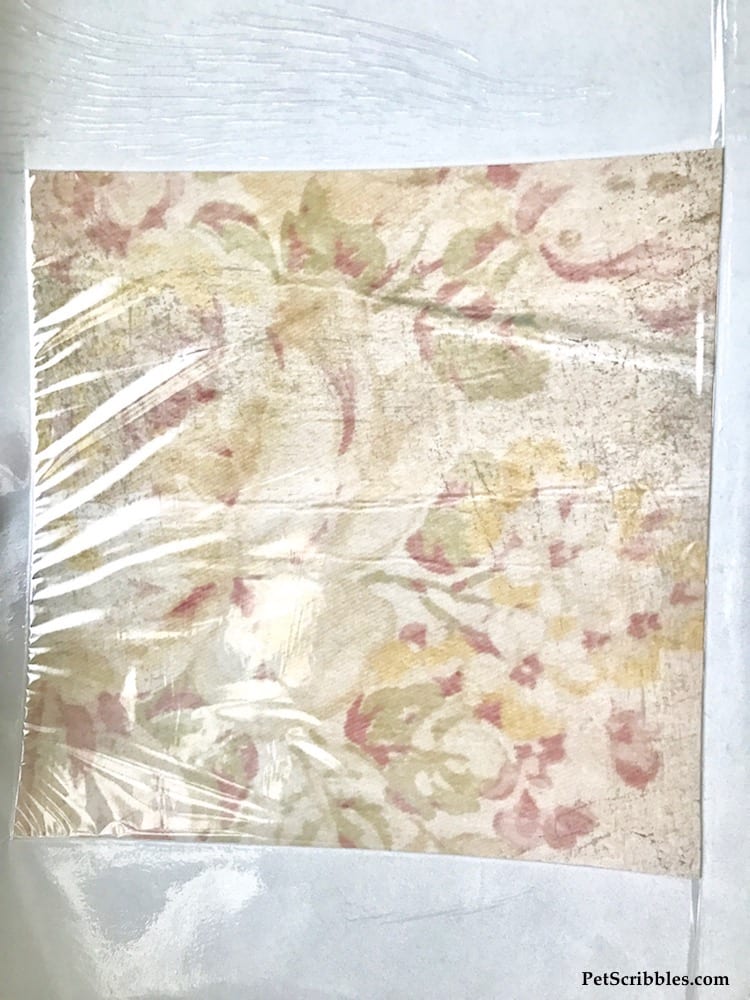
Step Two: Run the cardstock through the Xyron Creative Station to easily apply adhesive to the back.
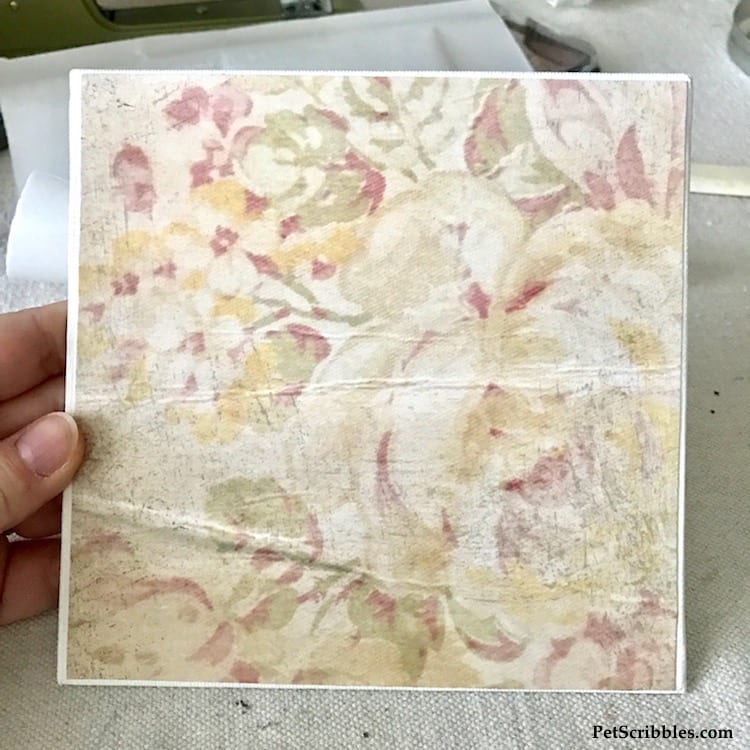
Step Three: Adhere the decorative cardstock onto the canvas. Smooth down with your fingers.
(Those wrinkles are part of the cardstock design. This cardstock is actually very smooth and one dimensional.)
This cardstock resembles old wallpaper, doesn’t it? Love this as a background!
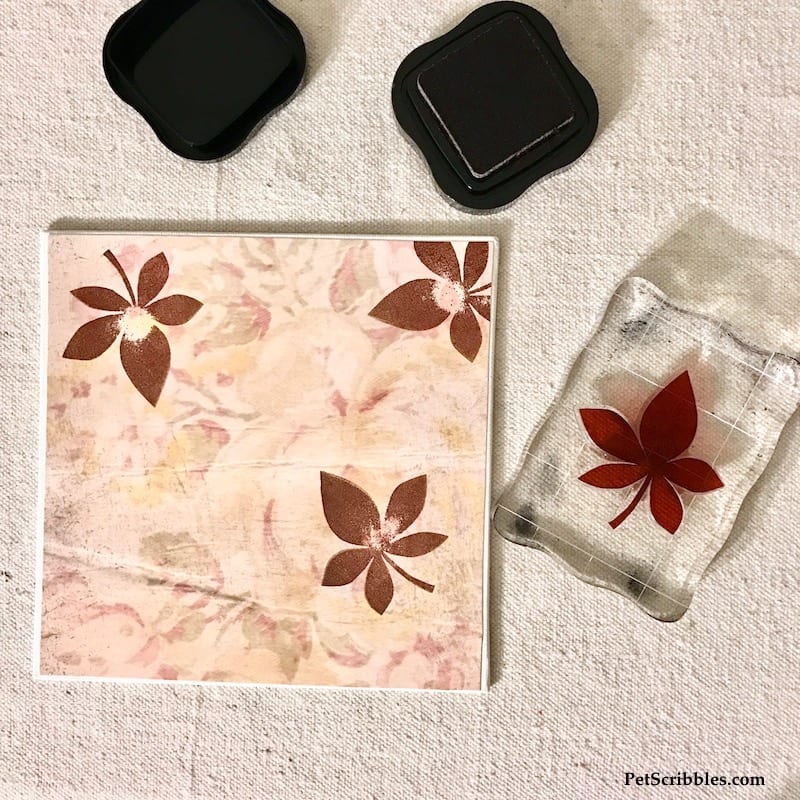
Step Four: Using a brown ink pad, stamp “Leafy Green” images from Paper Smooches onto the cardstock. Let dry.
I love the way the stamps look like they are becoming part of the cardstock design!
Step Five: Color the edges of the cardstock and canvas with the brown ink pad. For any parts that need to be touched up, use a brown Sharpie marker. Let dry.
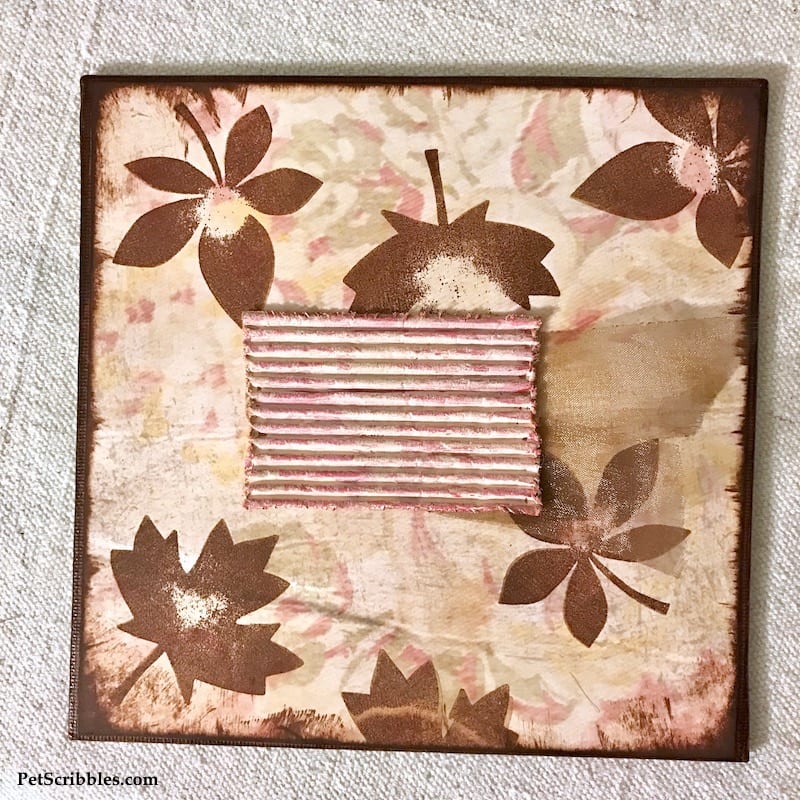
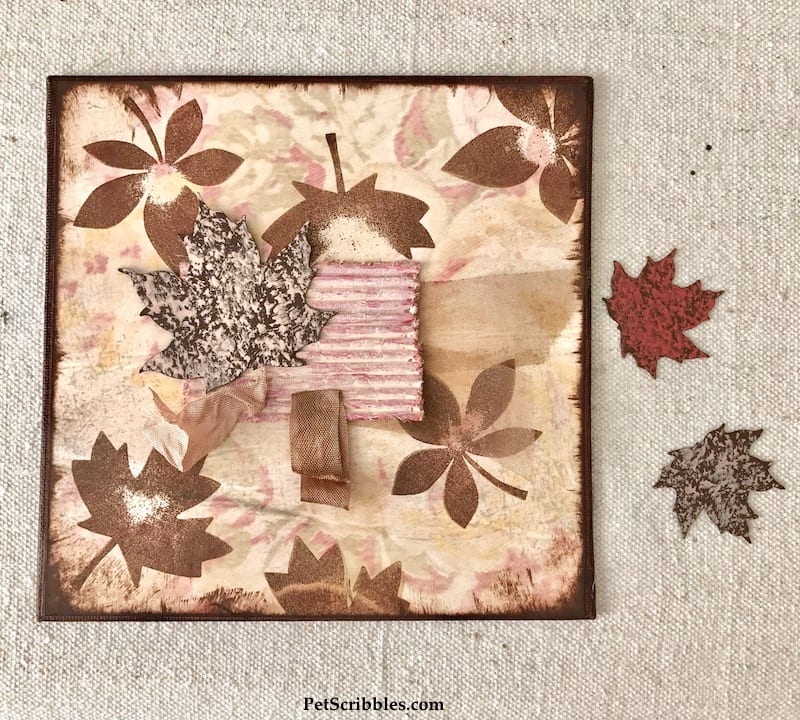
Step Six: Cut out a small rectangle of corrugated cardboard and distress the edges with a paper distressing tool.
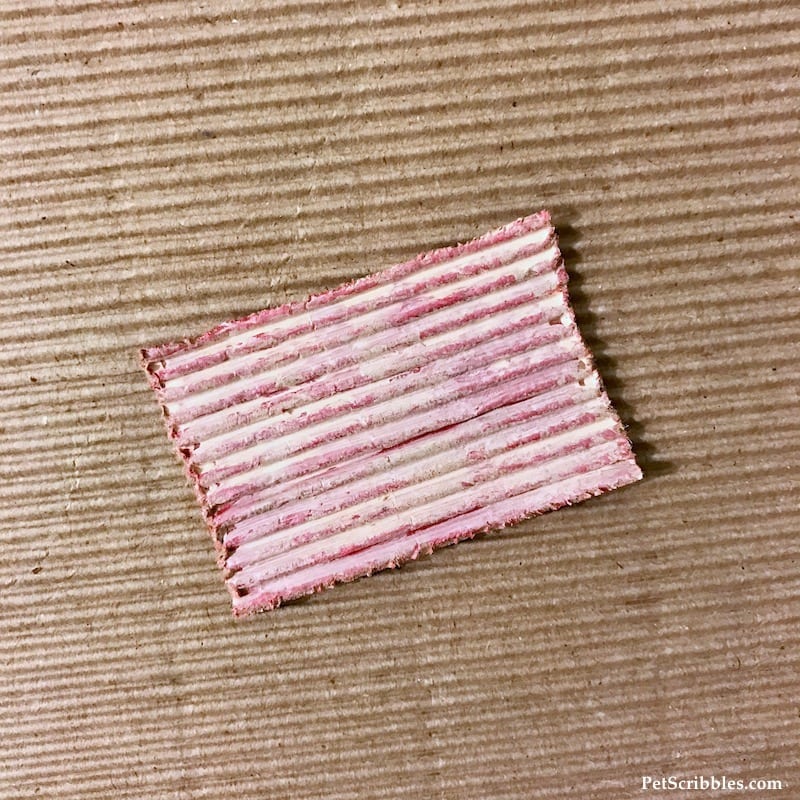
Step Seven: Paint the corrugated cardboard roughly — in other words: be sloppy! — in pink metallic paint, followed by beige craft paint. Let dry.
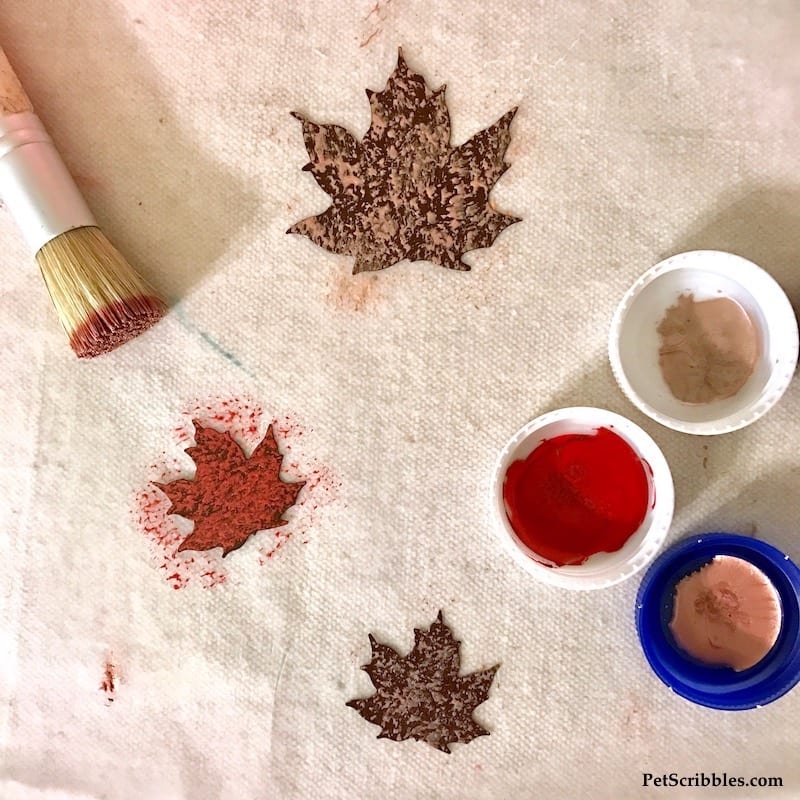
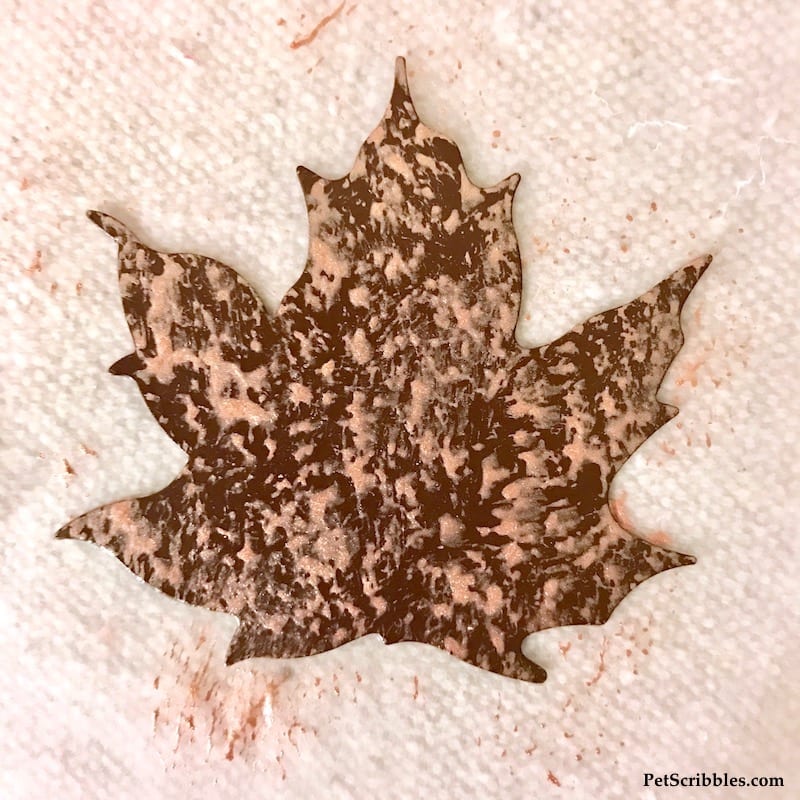
Step Eight: Using a stencil brush, gently pounce metallic craft paint onto each rusty leaf shape. Let dry.
I used three similar shades: rose gold, pinkish-red (used above on the corrugated cardboard) and a beige metallic color.
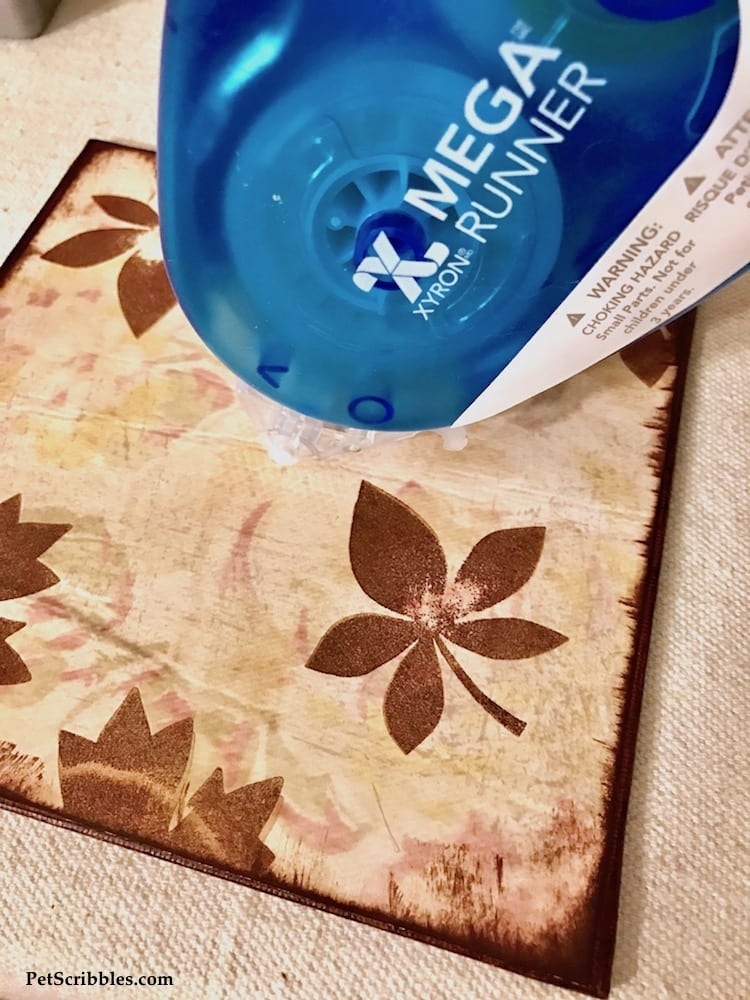
Step Nine: Fold a sheer ribbon scrap in half, then adhere it to the canvas using the Xyron Mega Runner.
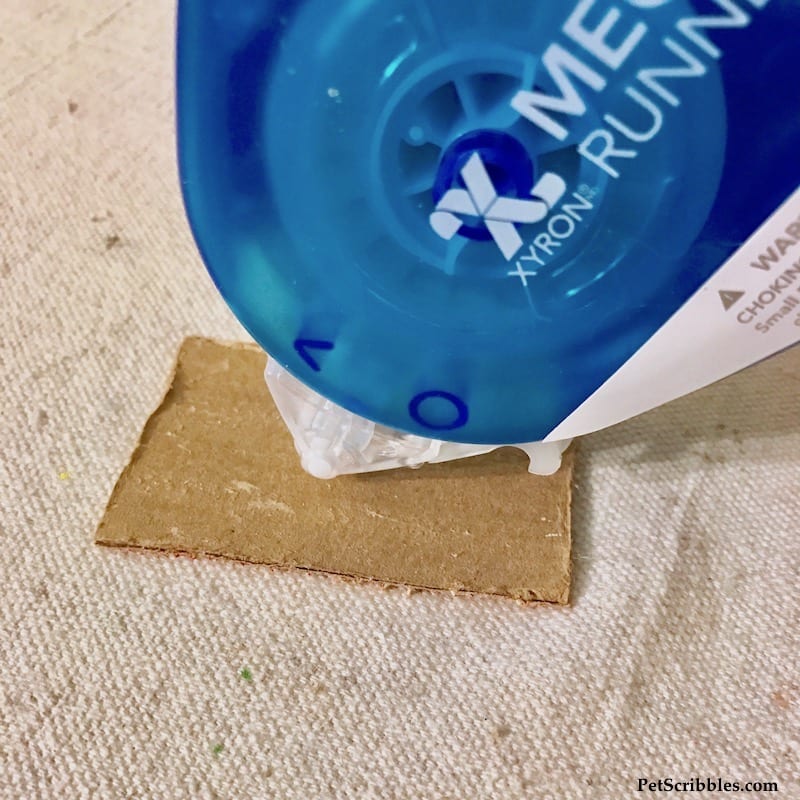
Step Ten: Apply adhesive to the back of the corrugated cardboard scrap with the Xyron Mega Runner, then stick it on top of the sheer ribbon scrap.
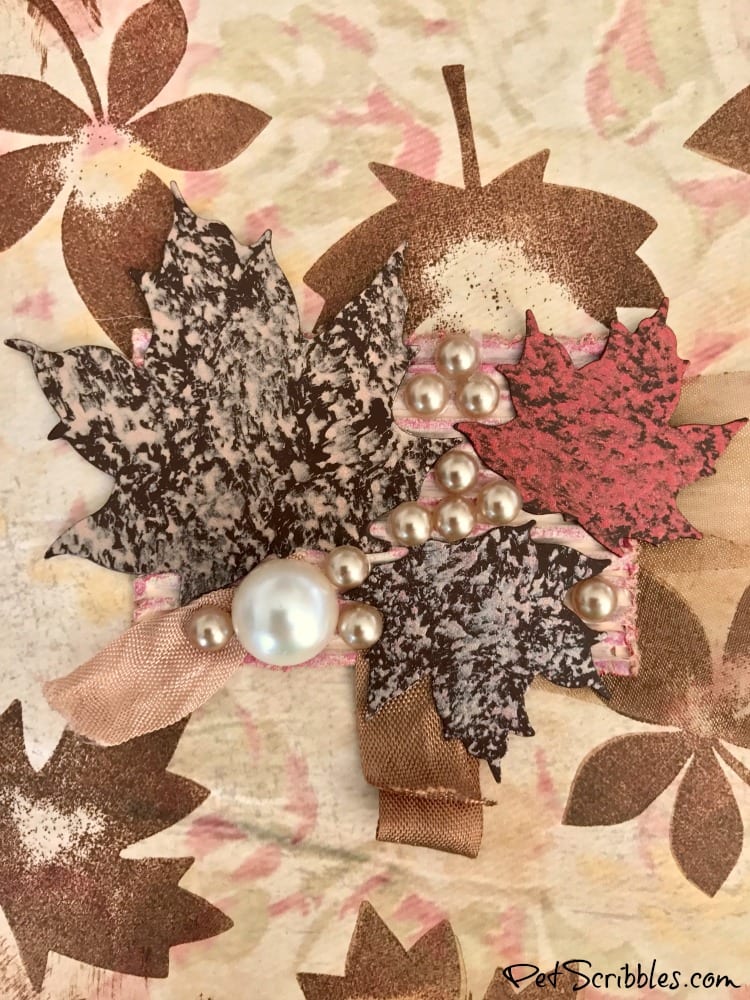
Step Eleven: Attach each of the rusty leaf shapes onto the corrugated cardboard, again using the Xyron Mega Runner, along with vintage seam binding.
Continue adding pearls any anything else that speaks to you.
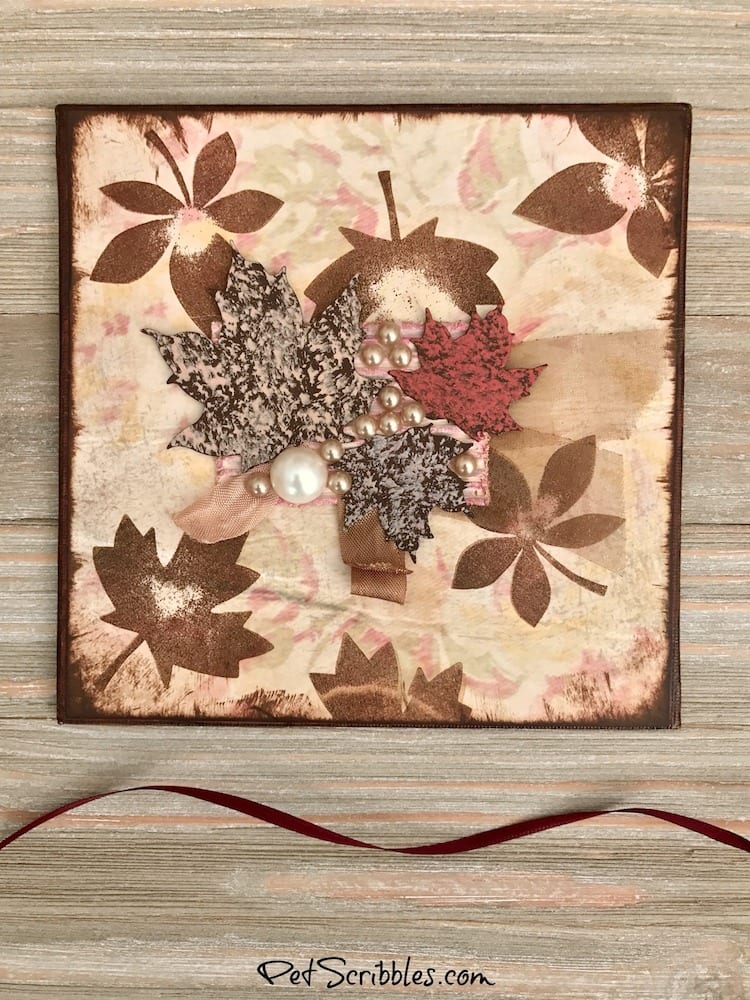
And that’s it!
I can’t wait to add this to our Fall decorations!
Happy crafting!
~Laura

This is something I would love to do but just don’t feel qualified to tackle it. Amazing, amazing, amazing.
Thank you Carolyn — however — you CAN do this! The words “mixed media” tend to make many a talented crafter hesitate, especially when it seems like there’s a lot of steps. But that’s one of the reasons I break my tutorials down into so many steps, so that nothing is taken for granted and every step is hopefully doable. 🙂 I’d love for you to try it, or something similar, and let me know how it goes, or if you have questions. 🙂
Oh my goodness!!! It’s amazing!!! Beautiful work!!!
Thank you so much Arianna! I really appreciate it!