Make a chic mini painted wood box centerpiece in about 15 minutes with this easy tutorial! This centerpiece idea is perfect for DIY weddings, for hostess gifts, or for your own home decor!
Today is Day 3 of Craft Lightning Wood Crafts week, a crafty blogger event I’m co-hosting with Angie of The Country Chic Cottage, and Carolina of 30 Minute Crafts.
A wonderful group of creative bloggers have come up with wood craft projects that can be made in 15 minutes, minus any necessary drying time.
Make sure you click over to see all of the really neat projects from Day 1 and Day 2, which are featured at the end of my own 15-minute wood DIYs! (I’m sharing all of Day 3’s projects below, after my tutorial.)
FTC Disclaimer: I’ve received products to try out in my role as a Plaid Crafts Ambassador. This mini wood box centerpiece, however, is 100% my own project! Some of the links in this post are affiliate links. I explain more here.
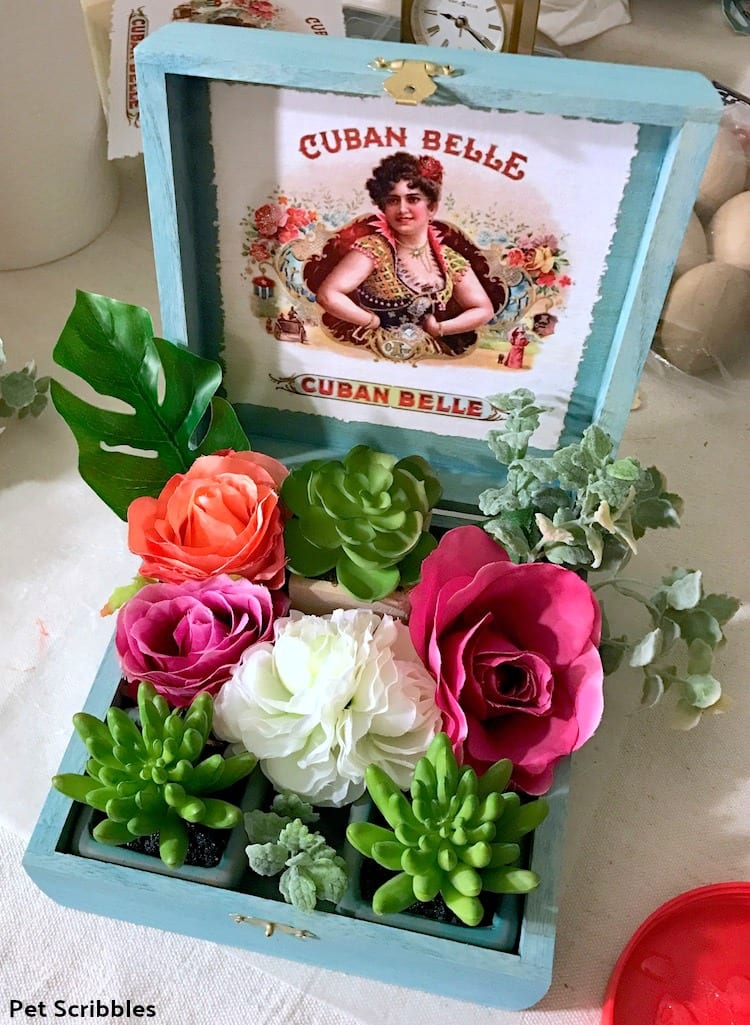
My custom cigar box centerpiece…
My inspiration for today’s project is this custom cigar box centerpiece I created for my step-mom-in-law’s birthday last month. I created three of these centerpieces for her surprise party and they were a huge hit! She came to American from Cuba as a little girl, so of course I had to use a vintage cigar box image and vibrant colors!
I had leftover supplies from making these cigar boxes, including extra silk flowers, so I decided to create a miniature centerpiece.
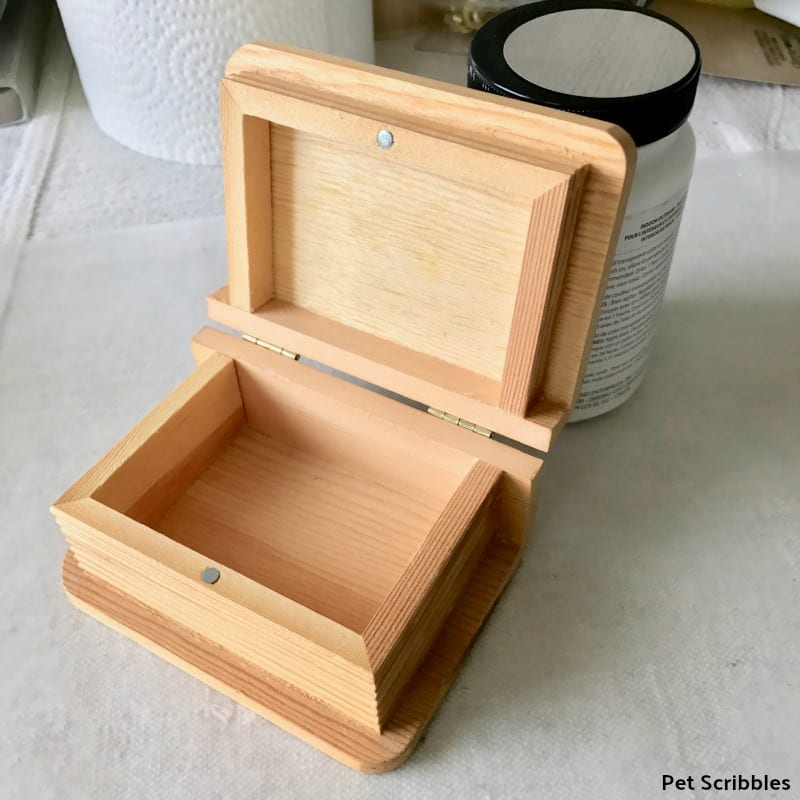
I found this unfinished wood box at the craft store for a whopping $1.19! It’s a perfect size to hold a large flower bloom.
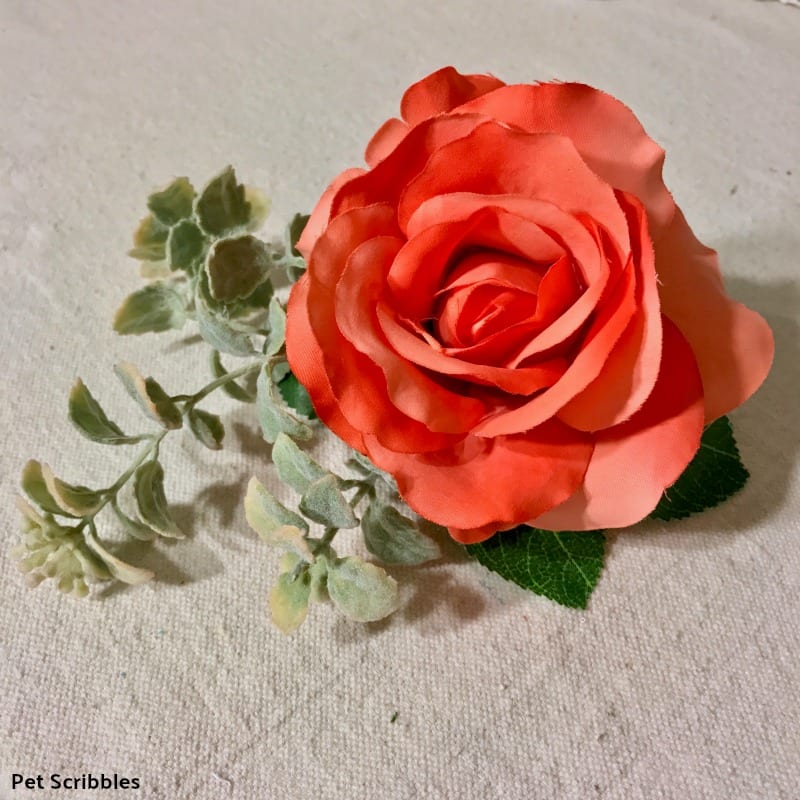
Here’s the silk flower I’ll use for this centerpiece:
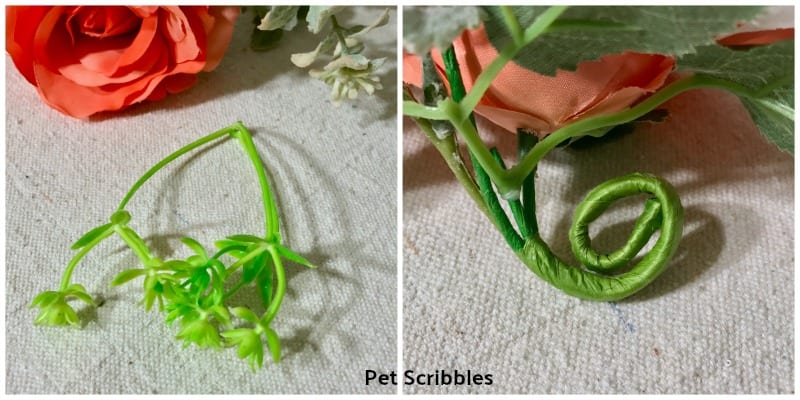
I found these flowers at Michaels. I removed the plastic leaves which I didn’t like (below left), then curled up the stem to make it easy to lay inside the box.
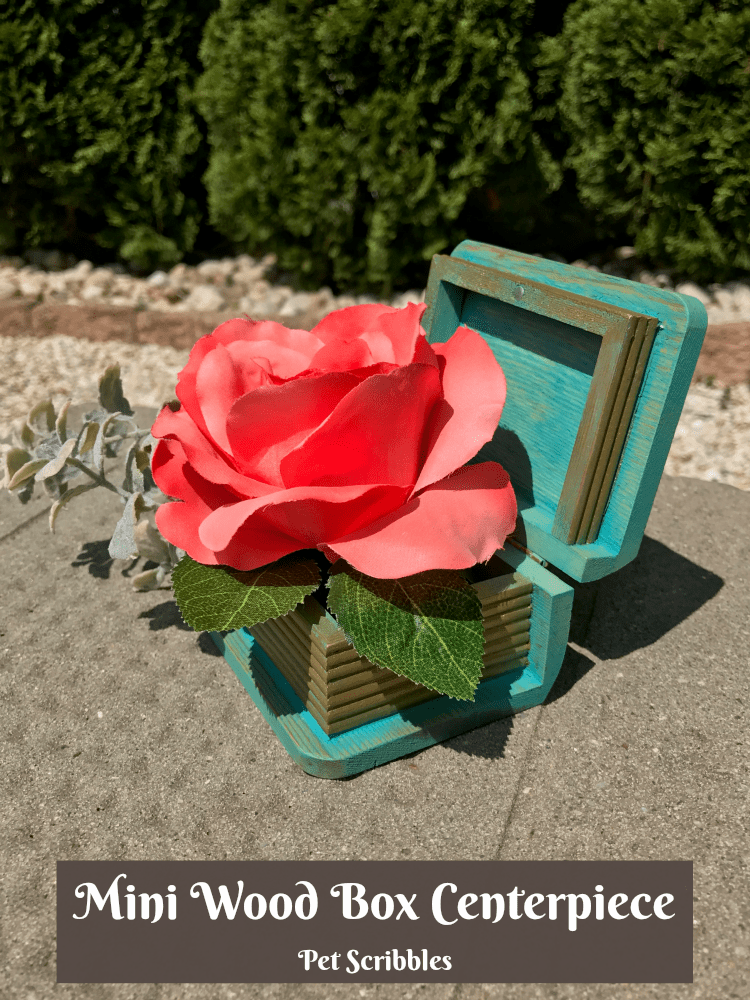
Mini Wood Box Centerpiece
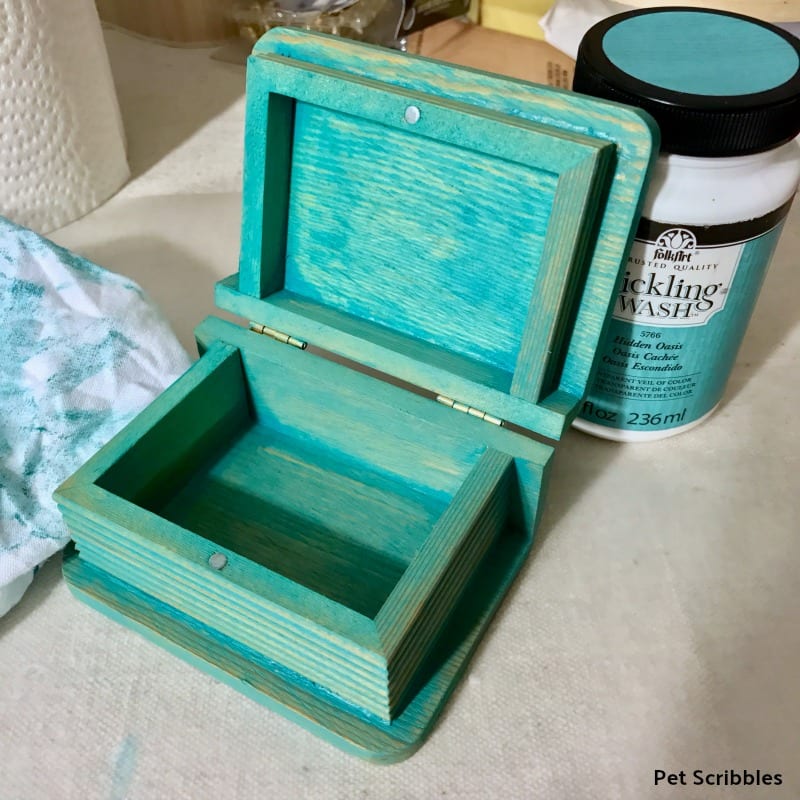
Just as I did with the large cigar box centerpieces, I quickly painted two coats of FolkArt Pickling Wash on the outside and inside of this wood box. (I used the color Hidden Oasis.)
Helpful tip: Pickling Wash is a great finish to use when you want to color wood quickly, as it absorbs into the wood fast!
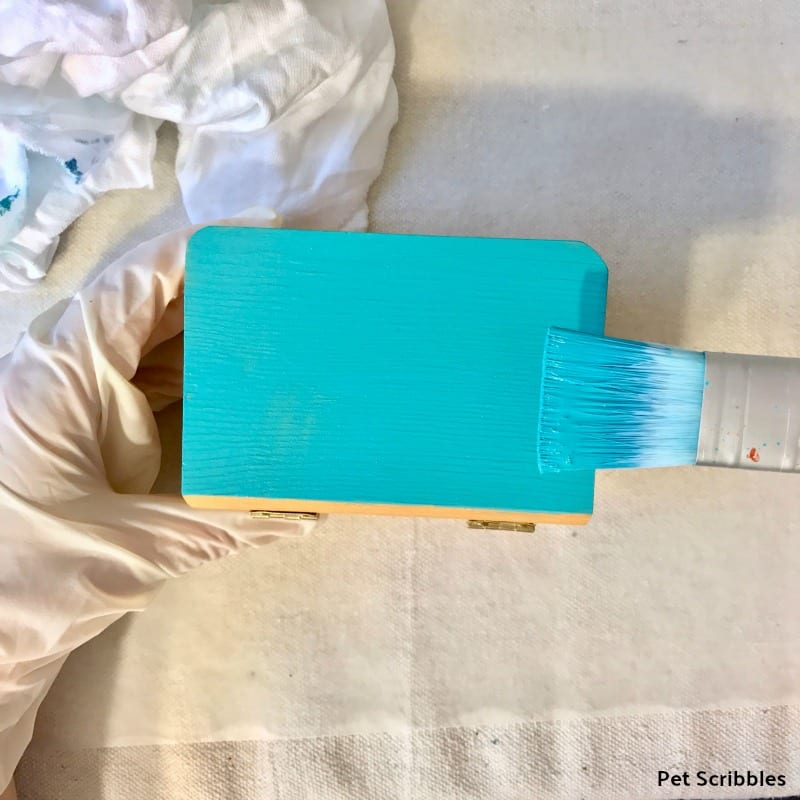
First, paint a small section of the box with the pickling wash using a small paintbrush.
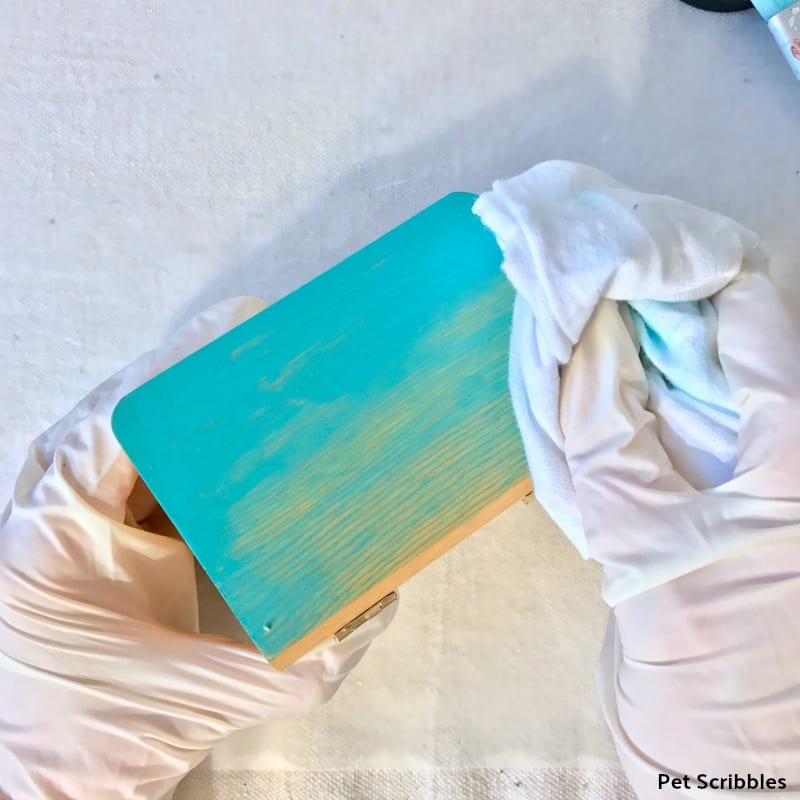
Next, immediately wipe off the pickling wash color with a lint-free cloth.
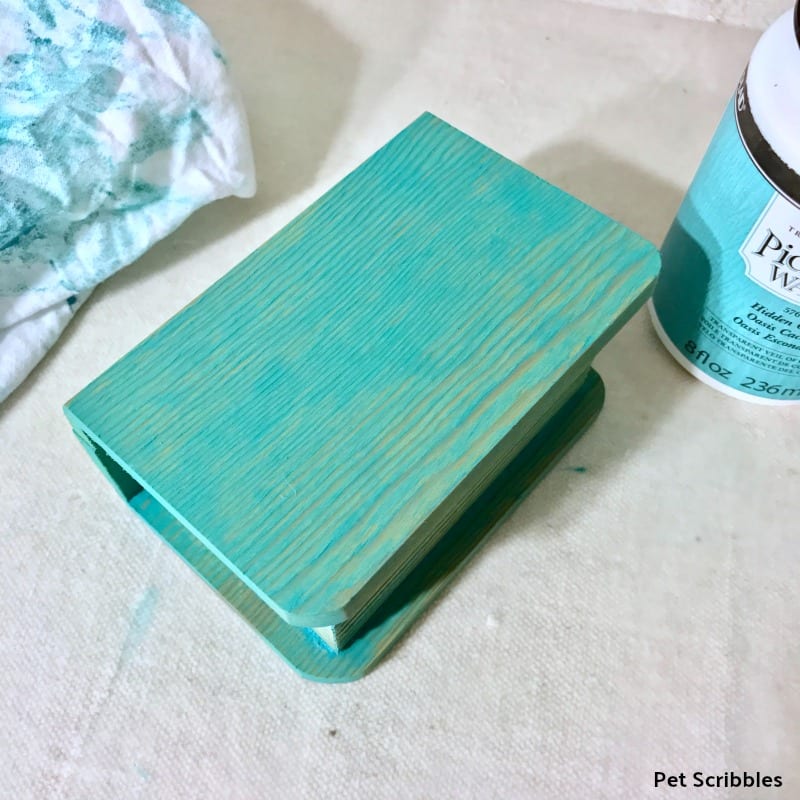
What is left is a beautiful washed wood effect.
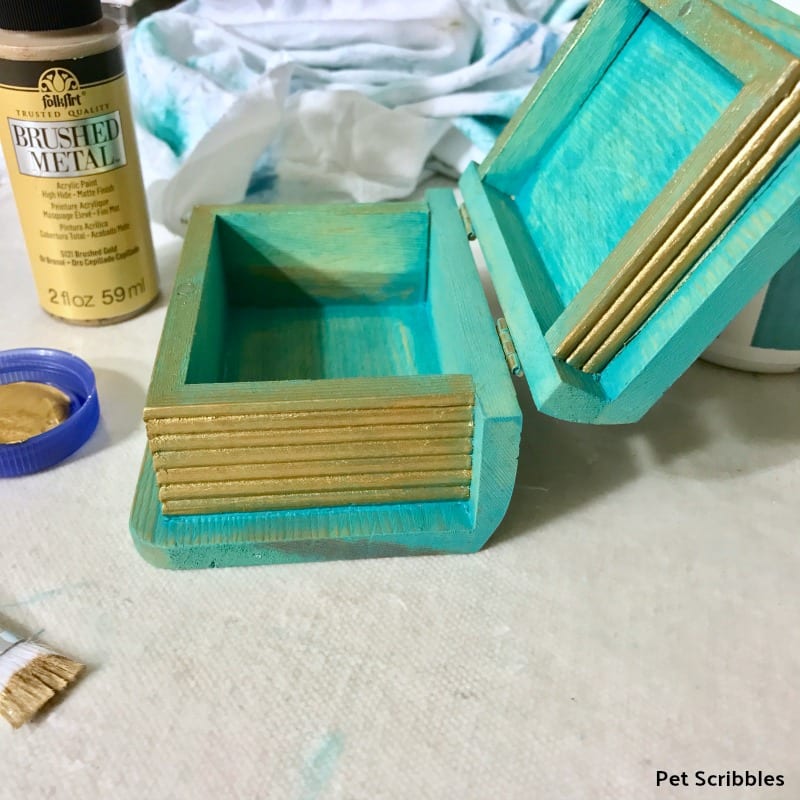
To give this wood box centerpiece some pizazz, I brushed on a rough coat of FolkArt Brushed Metal using a small paintbrush. (The color I used was Brushed Gold.)
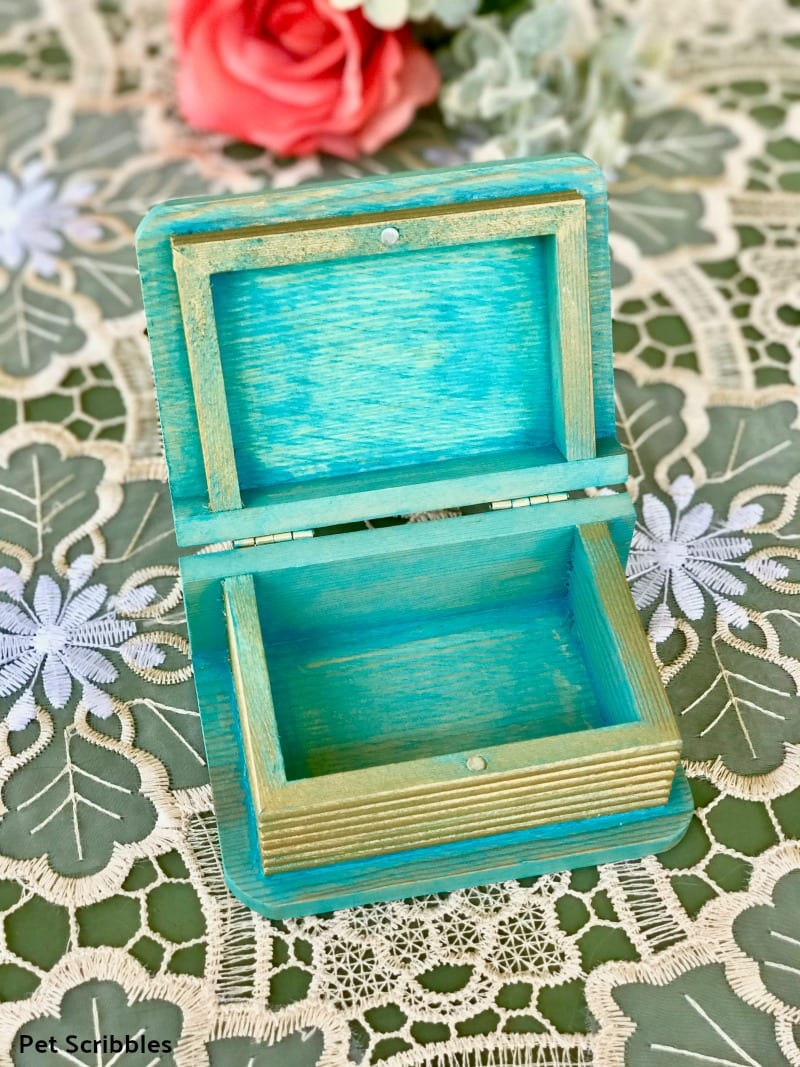
I added the metallic paint to the inside edges of the box too.
Let everything dry well, before adding your flower bloom.
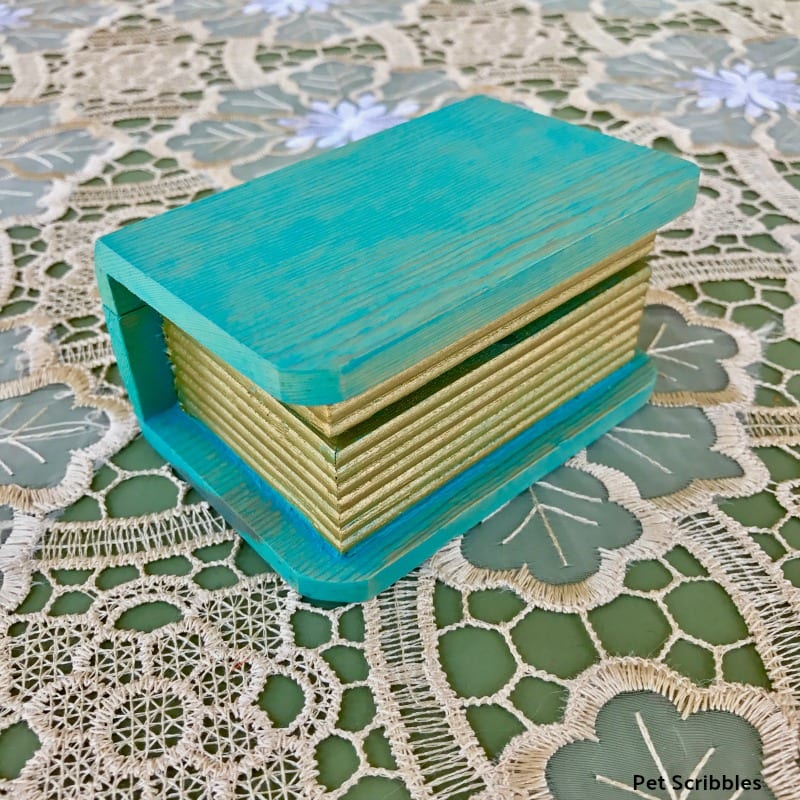
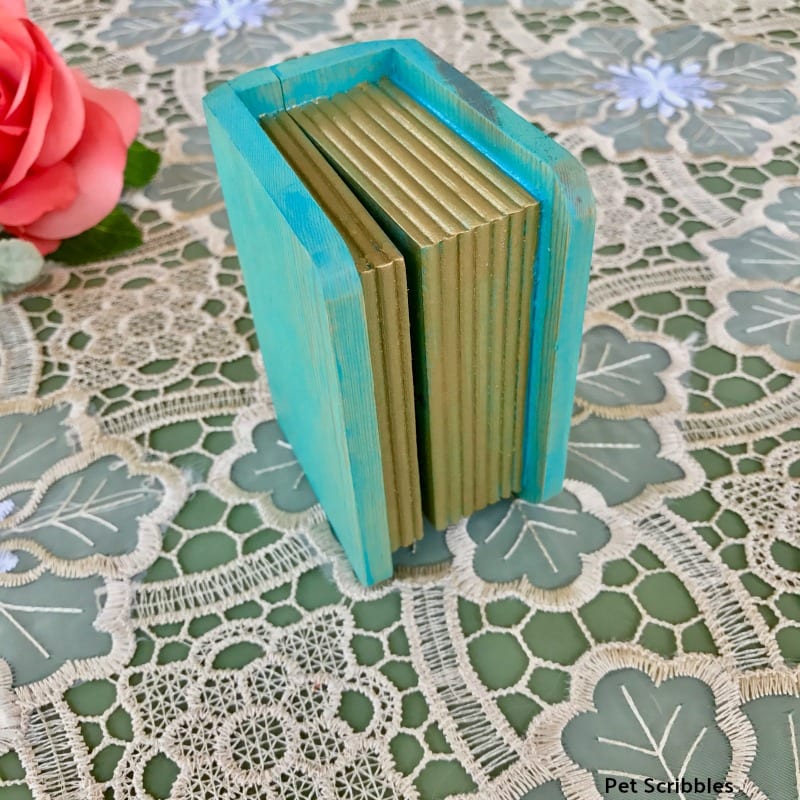
When the box is closed, it looks like a miniature book box, doesn’t it?
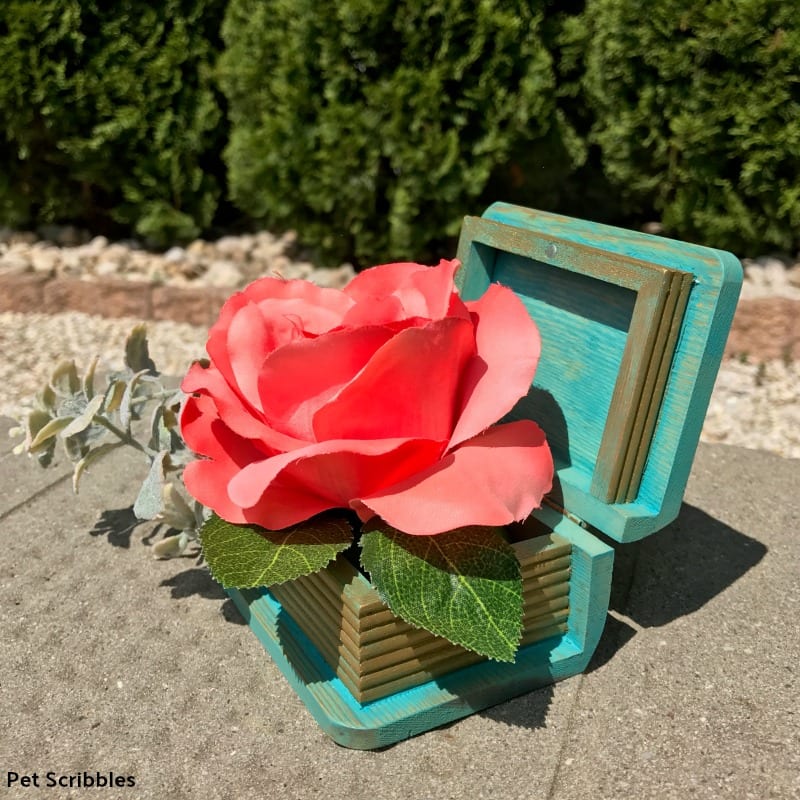
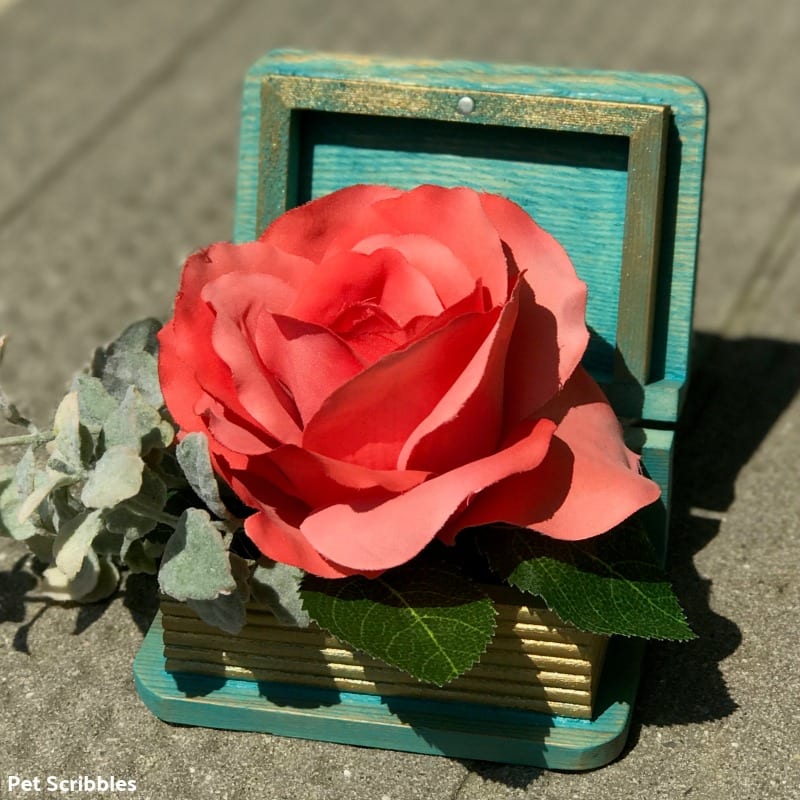
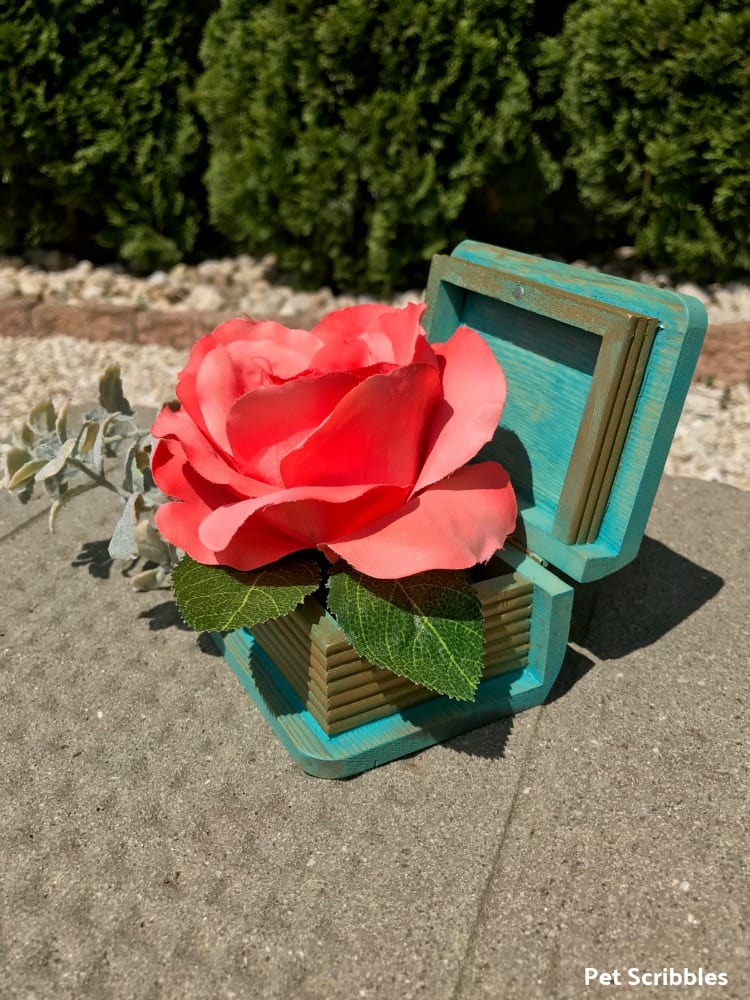
Once the box is dry, place a pretty silk flower bloom inside!
That’s it! You’ve created a pretty wood box centerpiece in 15 minutes!
I love how quickly this project came together!
I can picture these at each place setting for a wedding reception dinner, with the box colors matching the wedding colors. Or, several of these placed up the center of a long table. So chic!
More 15-Minute Wood Crafts!
Check out these amazing wood crafts by my crafty friends, and make sure to click on each link for the step-by-step tutorials! Don’t forget to pin your favorites!
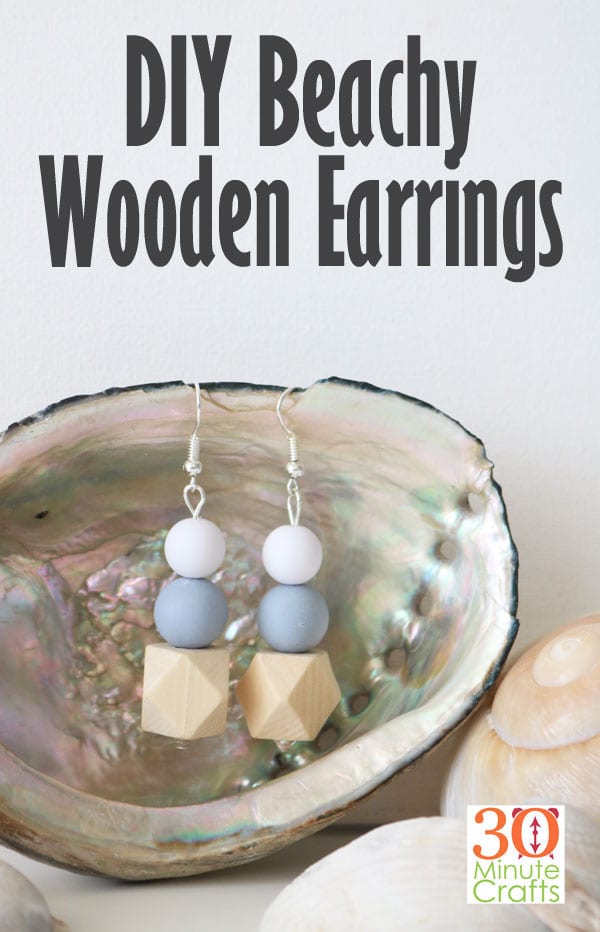
DIY Beachy Wood Earrings by Carolina of 30 Minute Crafts
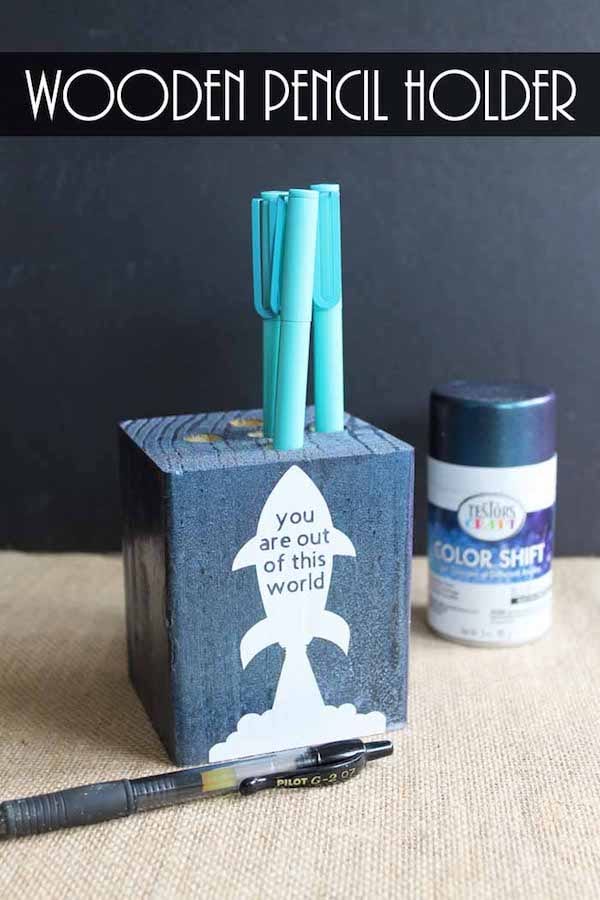
Wooden Pencil Holder for Father’s Day by Angie of The Country Chic Cottage
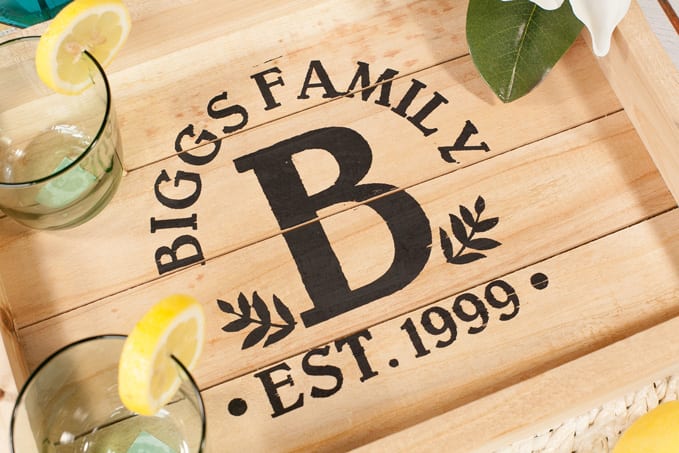
How to Curve Text in Cricut to Make Monogram Signs by Paula of Frog Prince Paperie
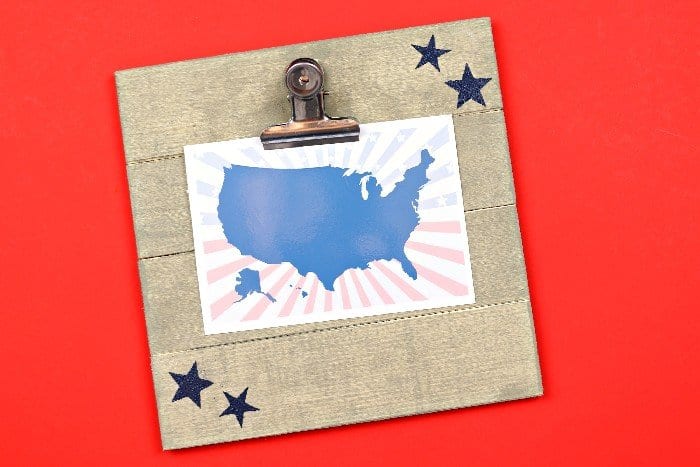
15 Minute Americana Clipboard by Jessica of Mad in Crafts
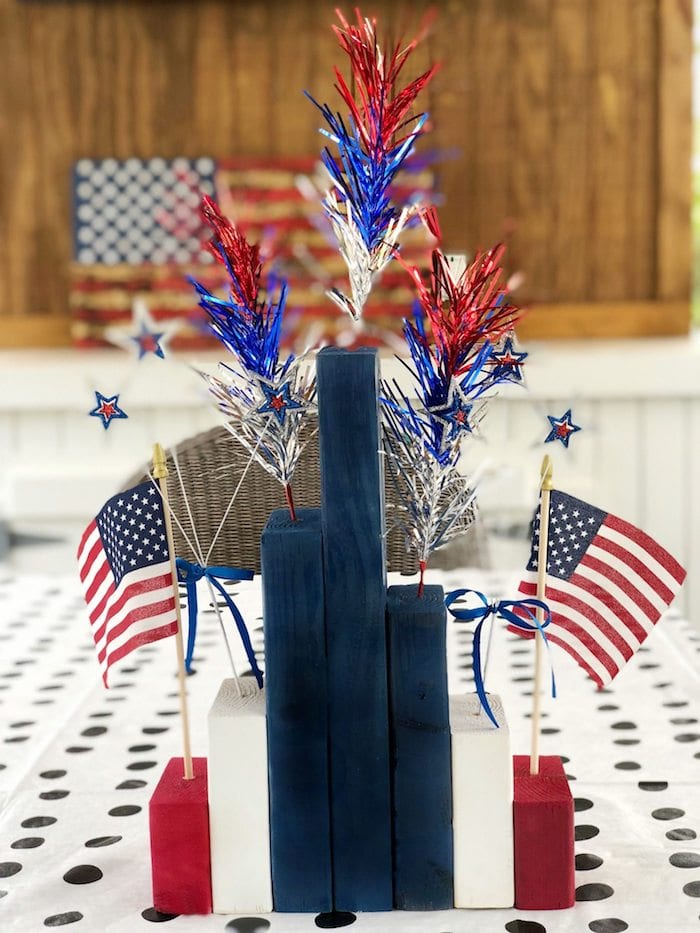
Easy Scrap Wood Patriotic Centerpiece by Debbie of Refresh Restyle
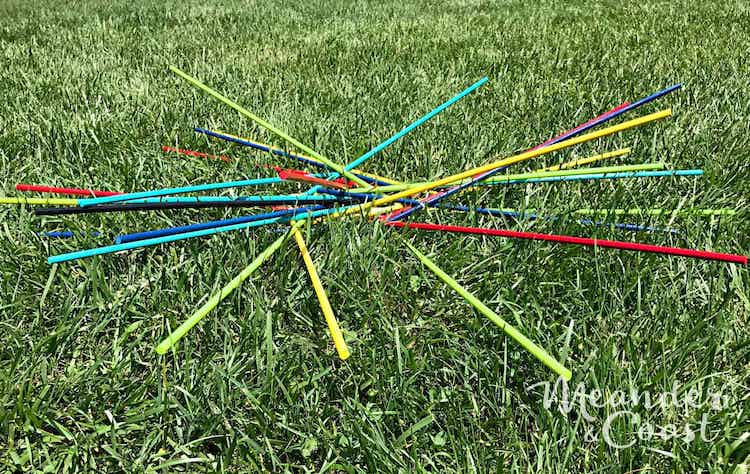
Make a Pick Up Sticks Giant Outdoor Game by Carla of Meander and Coast
Upcycle Karate Break Boards into Wood Signs by Marie of The Inspiration Vault
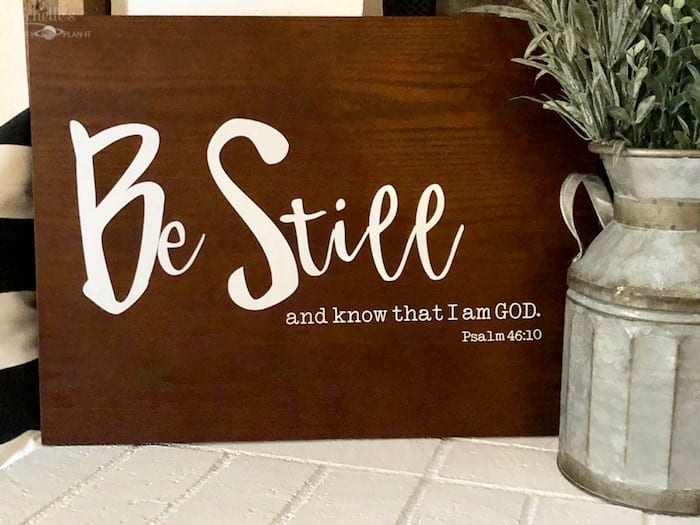
How to Make a Scripture Sign by Michelle of Michelle’s Party Plan-It
Are you inspired to set aside 15 minutes to craft?
I hope so!
Stop back tomorrow for Day 4 of our 15 minute wood craft ideas.
Happy crafting!



Gorgeous as always Laura!
Why thank you Angie!
Such cute boxes!