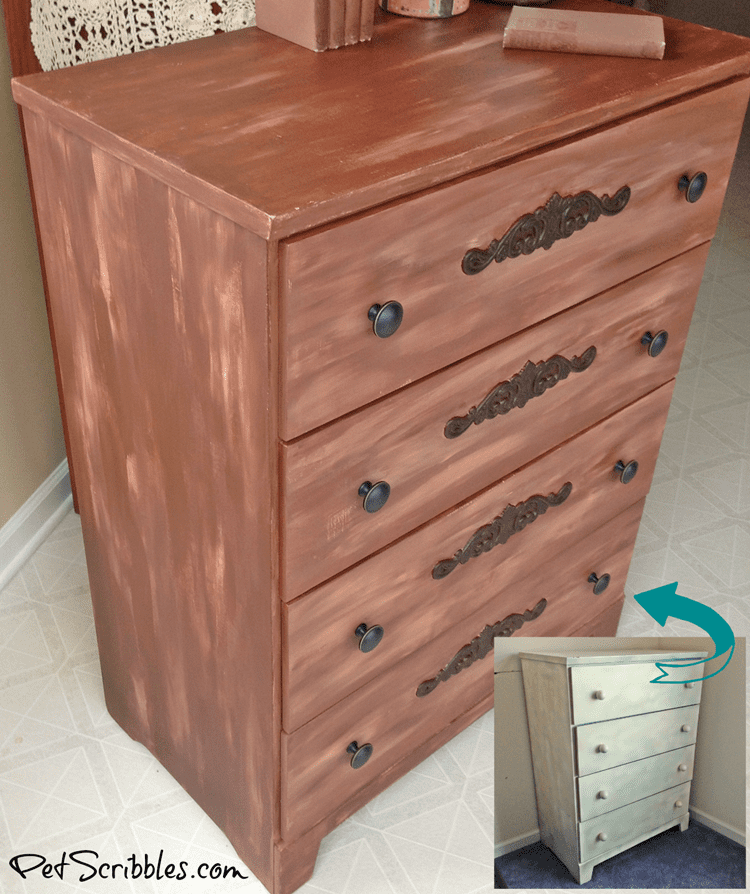
Today I’m sharing my How to: Charming Rustic Dresser Makeover, using a classic thrift store dresser in need of an update.
Special thanks to DecoArt for sponsoring this furniture makeover and tutorial.
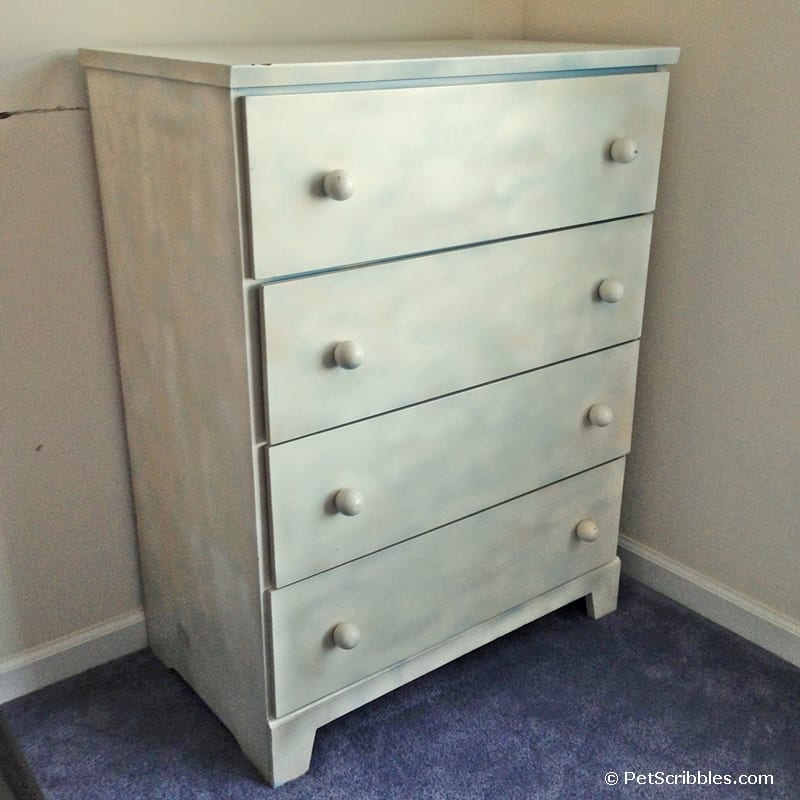
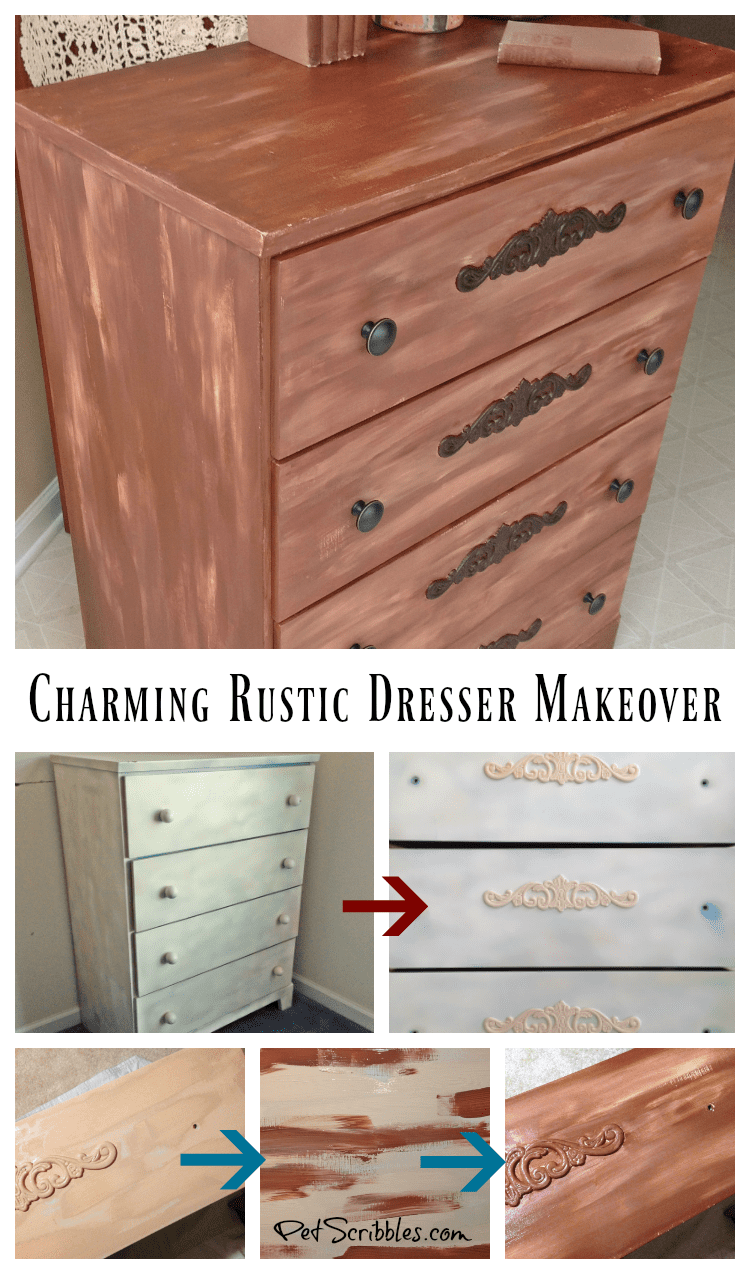
Here’s the original dresser below. It was painted and repainted many times over its long history.
The bones of the dresser were still good, it just looked ugly!
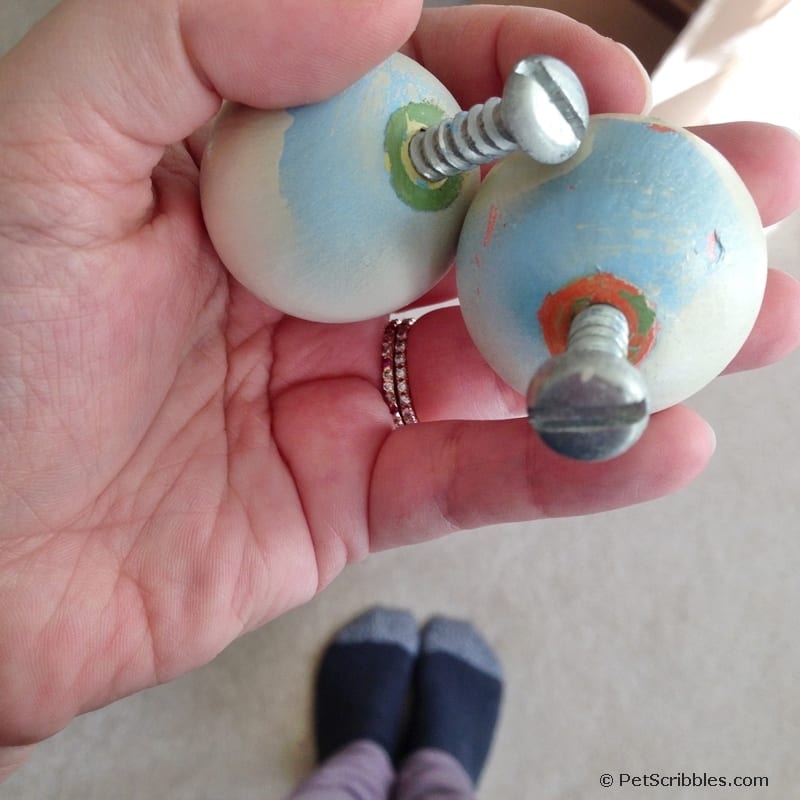
Where you could really see all of the different paint layers was on the drawer knobs:
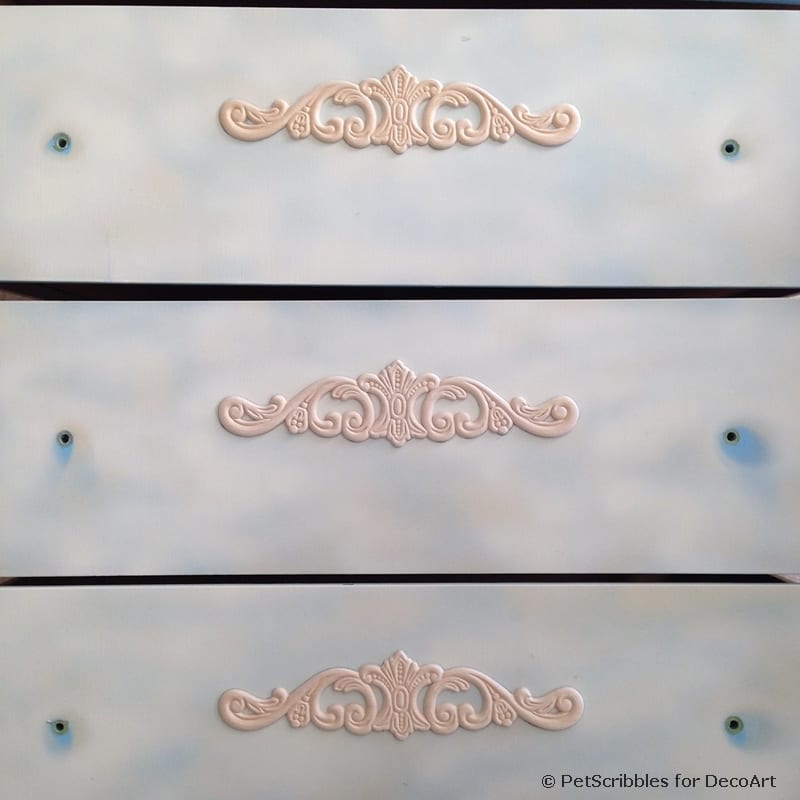
After removing the old knobs, I added decorative unfinished wood embellishments to the front of each dresser drawer.
Adding wood embellishments — also called wood appliques or wood flourishes — is an easy way to update an old dresser. I glued them on with E6000, waiting 24 hours, and then began painting!
Helpful tip: I purchased my wood embellishments at Home Depot here.
Layering chalky finish paint . . .
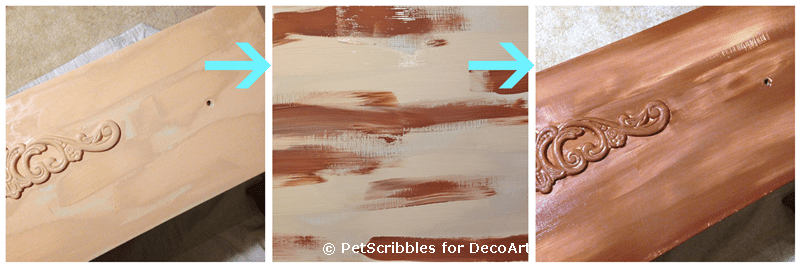
I used two chalky finish paint colors on this dresser to give it a rustic-looking makeover: Americana Decor Chalky Finish Paint in Heirloom (a peachy-tan color) and Rustic (a warm brown shade).
To recreate this look, I layered the two chalky finish paint colors over each other. In some cases the two colors of paint were still wet, so they blended together, while other spots were already dry before adding the next paint color, so the two colors were more distinct in those areas.
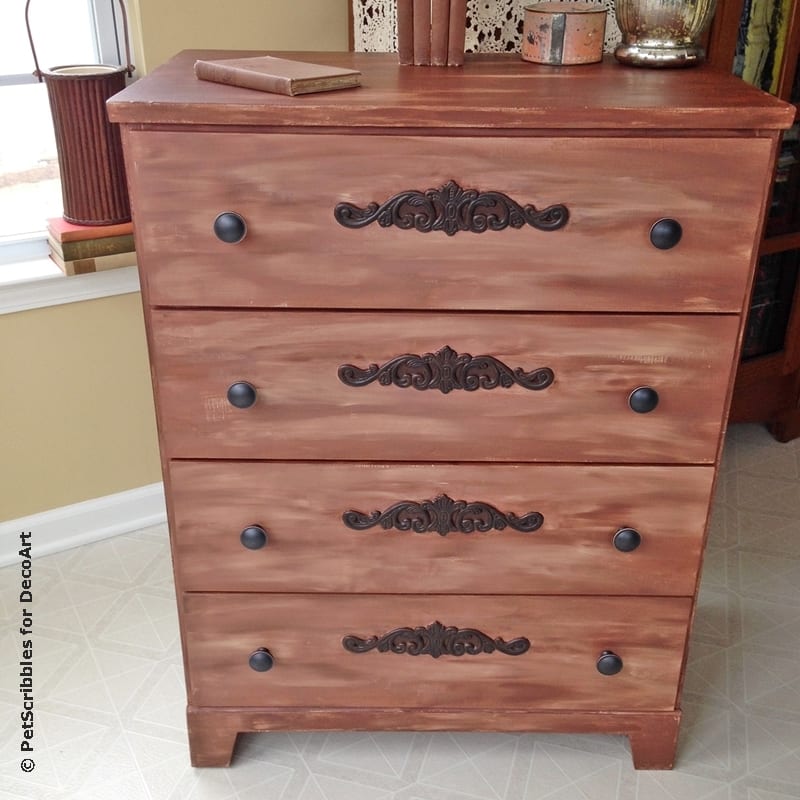
I wanted the new flourishes to match the new knobs I had purchased which had an oil-rubbed bronze finish to them. I think I got pretty darn close!
Then all that was left to do was add a coat of varnish over everything for durability.
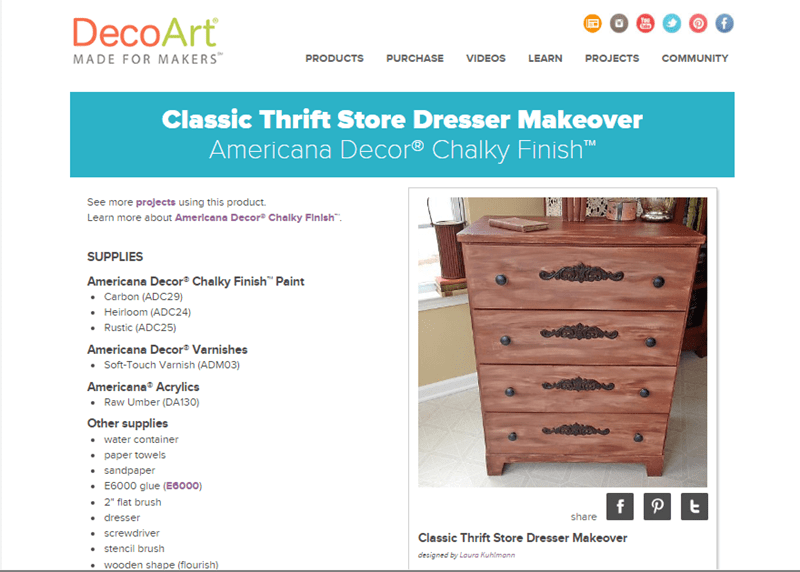
You can see my complete tutorial — including all supplies used and step-by-step pictures — over on DecoArt’s website!
(I share how I painted the flourishes to match the oil-rubbed bronze knobs there too.)
Either click on the image above — or — click on the link below!
Classic Thrift Store Dresser Makeover
For more of my furniture makeovers — just click on any of the Related Posts below!
Happy crafting!
~Laura

A job well done!