I’ve been fortunate in my journey as a craft blogger to meet a lot of talented people along the way.
Jen Goode is one of those talented people!
If you’re unfamiliar with Jen’s work, you need to check out her design website. Once there, you can find links to her blog, and also a list of products you can find that feature her wonderful designs that other companies have licensed.
This gal is talented indeed! But more importantly? She is a fun, down-to-earth, crafty soul!
And quite generous:
Jen has designed a set of Halloween printables that she is making available to everyone for free! You can download an array of Jen’s Halloween art to use in your own Halloween crafting!
Whether you need fun printables for a Halloween party or to use in your decorations and crafting, Jen has you covered with several themed sets! (There’s a link at the bottom of this post to Jen’s printable goodies!)
I’m one of the lucky bloggers participating in a fun blog hop this week, featuring all of these printables! It’s a crafty way for you to get lots of inspiration on how to use these printables!
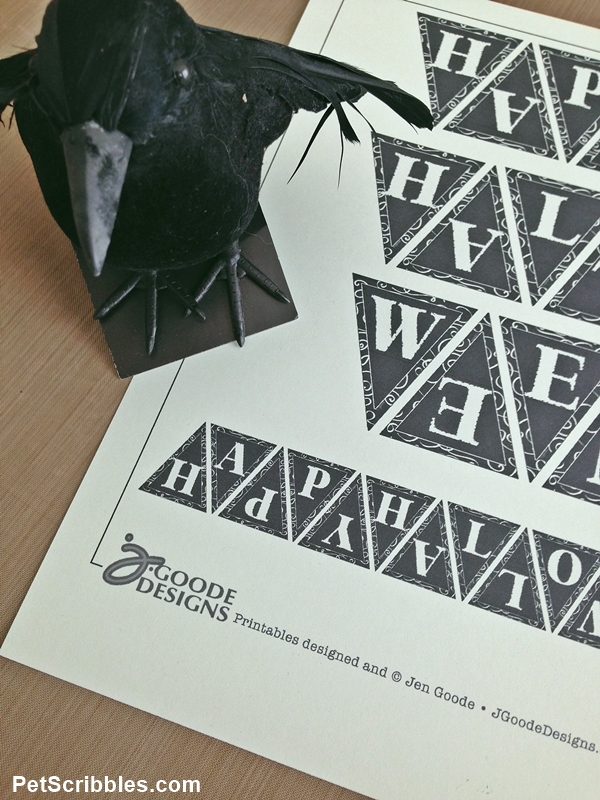
I chose to use Jen’s Halloween Mini Sign Banner printable, As you can see in the image below, you get two different sizes of “mini” Halloween banners on one sheet.
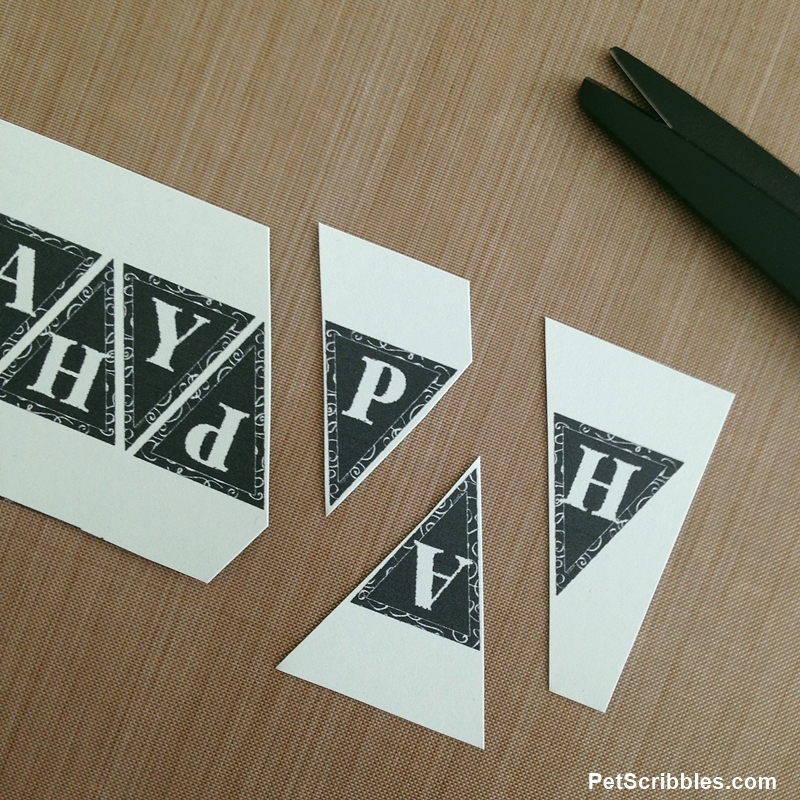
To make easy cuts, use a good pair of scissors, and cut just outside the lines of each triangle.
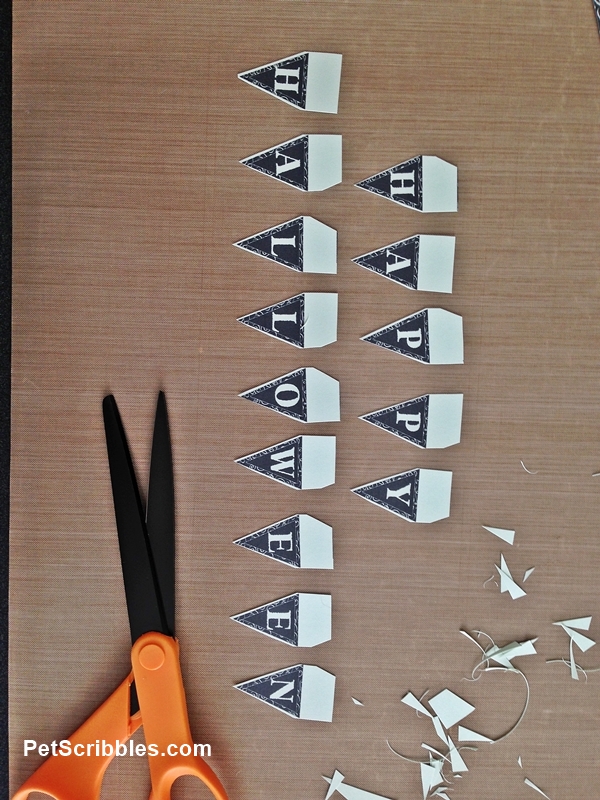
Here’s what you’ll have when everything is cut out. Notice I kept a large edge to use as a flap. It’s my way to keep the banner part of this project easy-peasy.
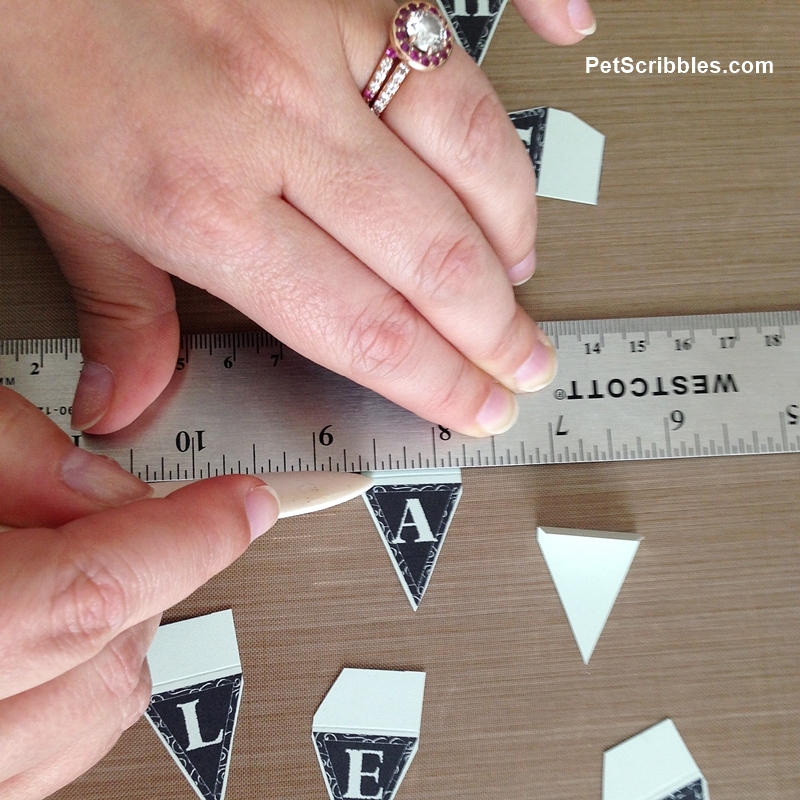
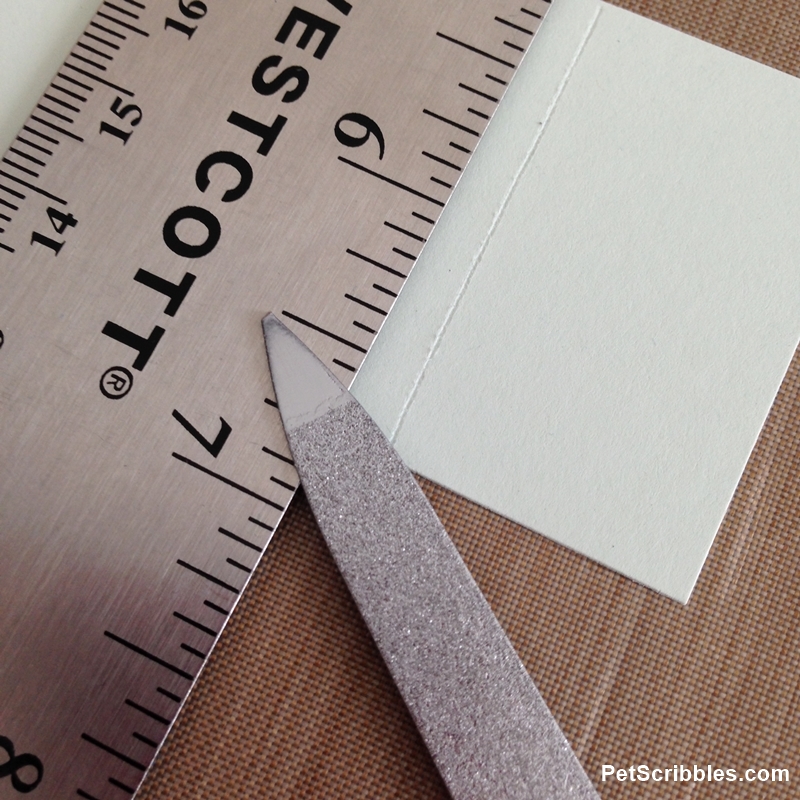
Use a bone folder or scoring tool to score a line just above each small triangle as shown below. Scoring makes folding super easy.
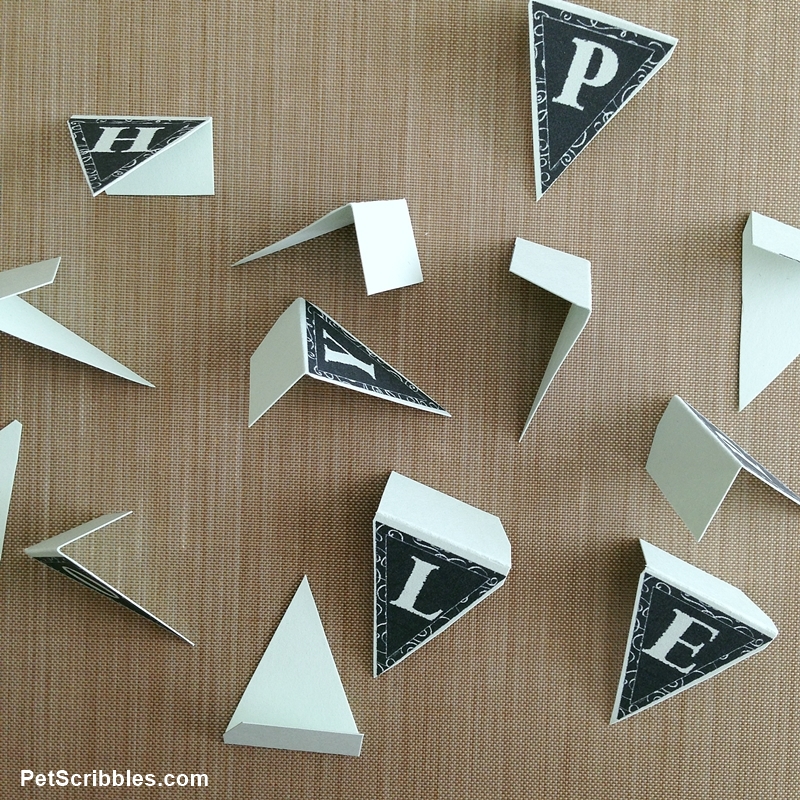
Fold over all the flaps along the scored lines.
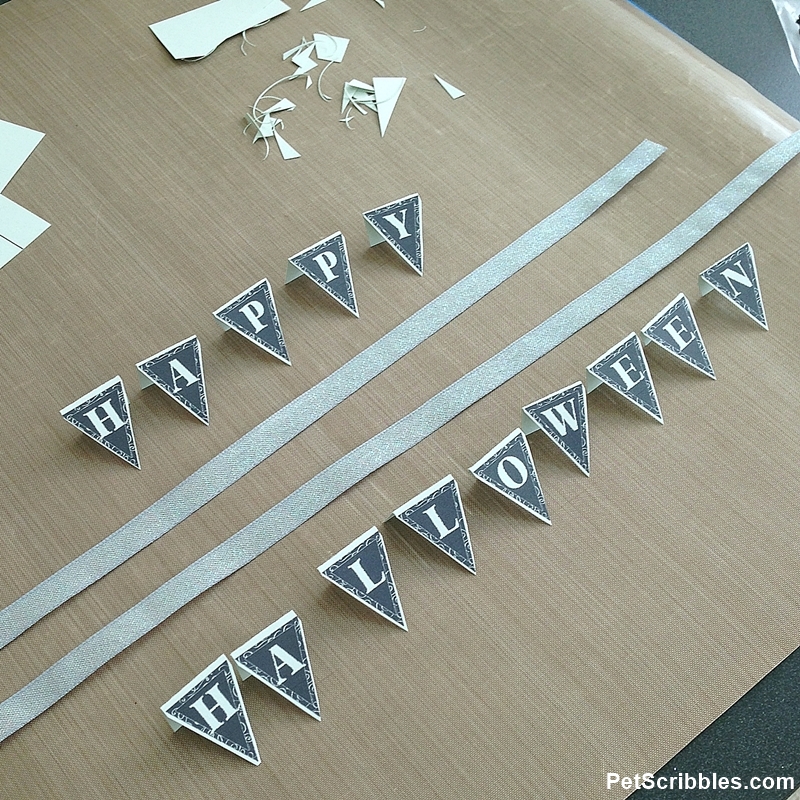
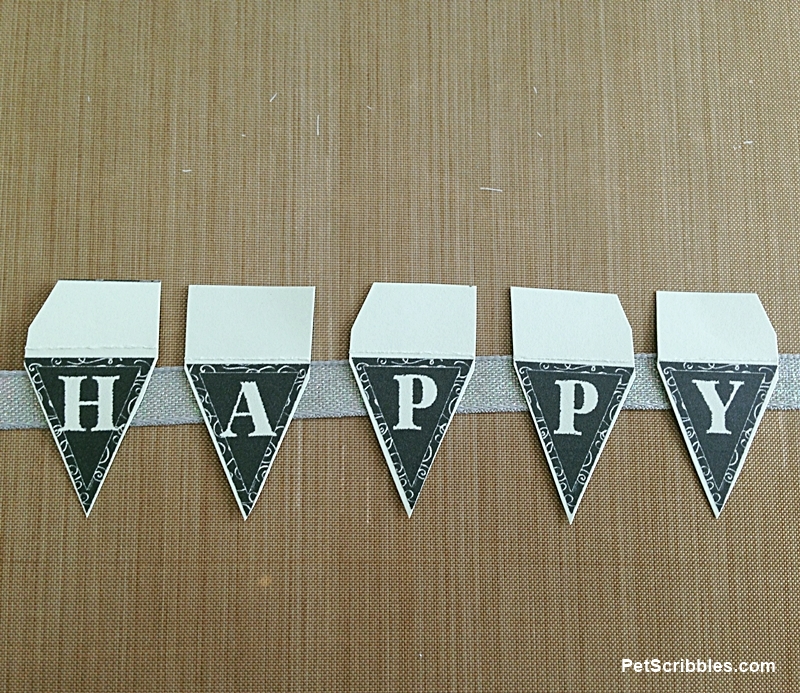
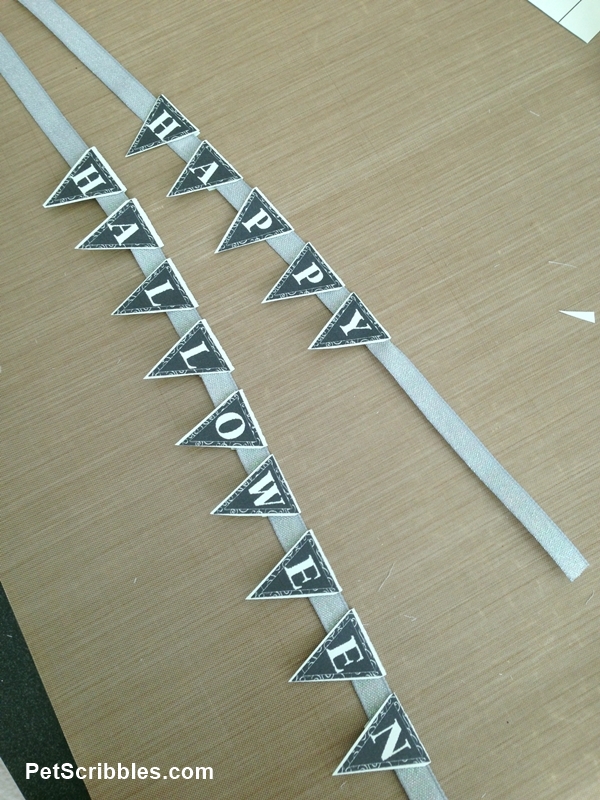
Measure out some ribbon and play with placement of each triangle. I chose to use two ribbons, in order to split up the “happy” word from “halloween,” but you can put them all on one ribbon too.
Make sure to leave extra length on each end of the banner, so you have enough ribbon to work with, whether you will tie the edges to something, or glue it, etc. You could also use twine for a more rustic look!
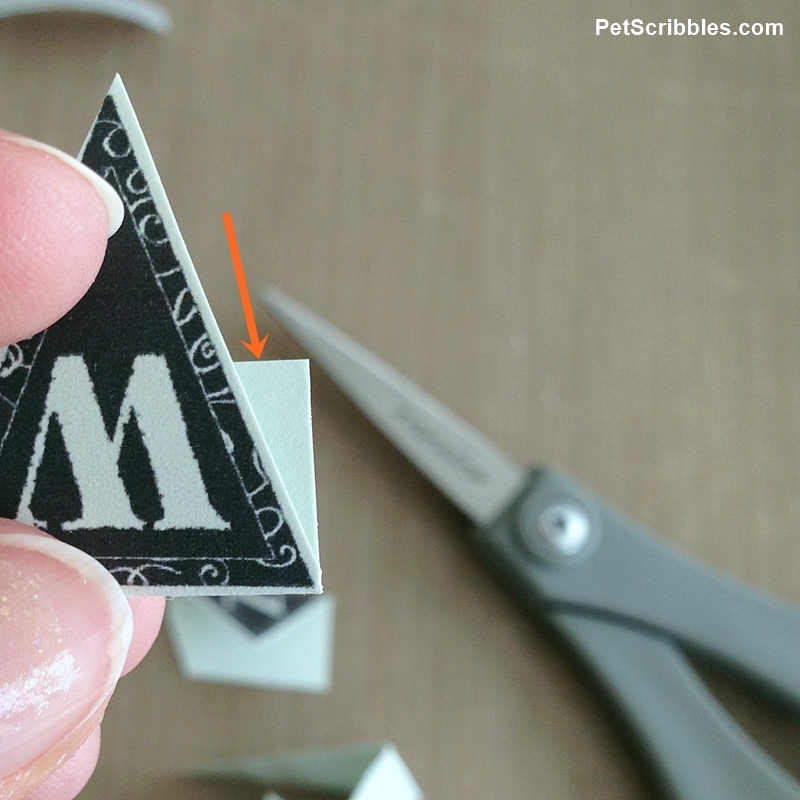
When you fold the flaps over, you’ll notice the flap edges need to be trimmed. (See the arrow, below.) This is something you’ll probably want to trim before the next step.
Unlike me, who did it the hard way and trimmed the edges after they were attached to the ribbon. Learn from my mistakes people!
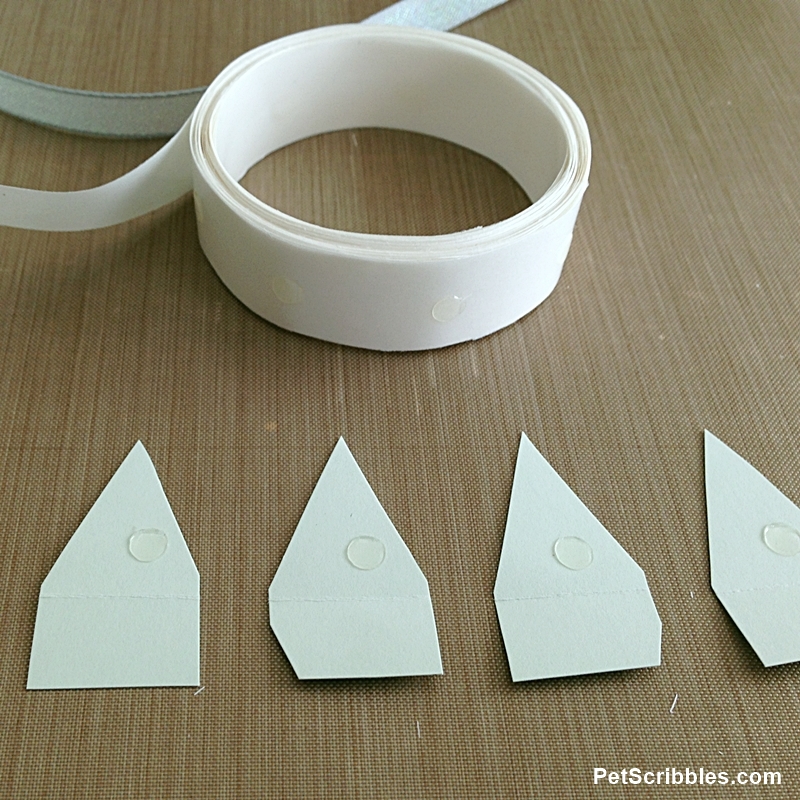
Use mini glue dots to secure each triangle to the ribbon.
I put one glue dot on the back of each triangle…
…and stuck them onto the ribbon and pressed into place.
Then I put another glue dot onto the back of each “flap” and folded it over to stick to the other side of the ribbon.
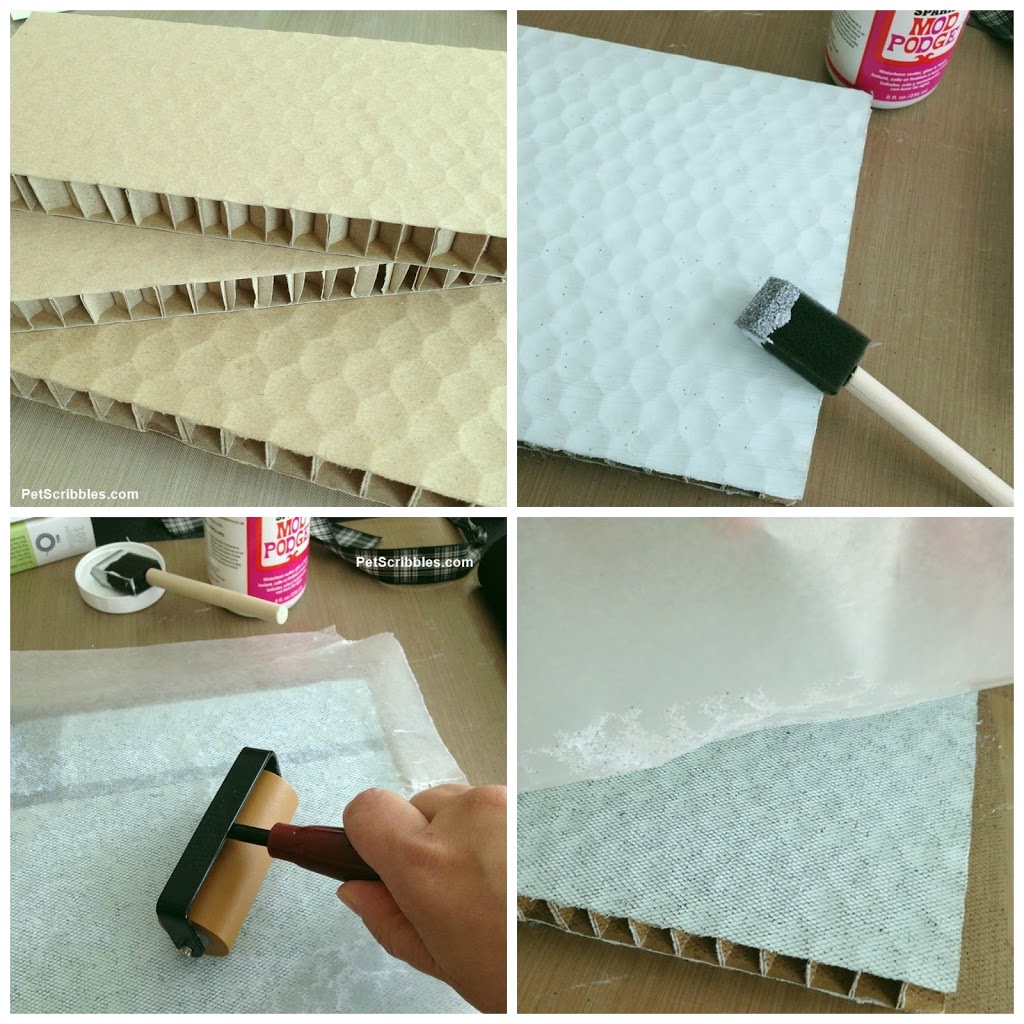
Next, I grabbed a piece of corrugated cardboard from my IKEA packaging stash. Yes, I’m a hoarder, and keep the cardboard pieces. They come in handy for art projects and crafting.
I painted one coat of craft paint in a matching mint green color and let dry. (below: top left)
I brushed on some Sparkle Mod Podge. (below: top right)
I put some glittery black tulle netting on top of the wet Mod Podge, then brushed another layer right over the netting. To make sure the glue gets into all the nooks and crannies, put wax paper over your project and smooth out with a brayer. (below: bottom left)
Slowly lift up the wax paper, which shouldn’t stick to your project. (below: bottom right)
Here’s where I stopped taking pictures, as I was so engrossed in what I was creating! This is such a fun project!
Here’s what I did, even though there’s no pics to show you . . .
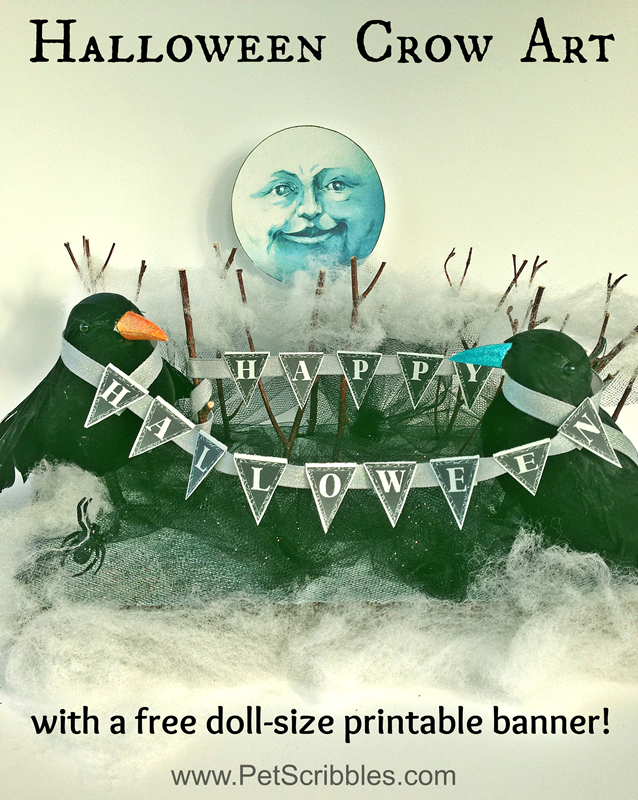
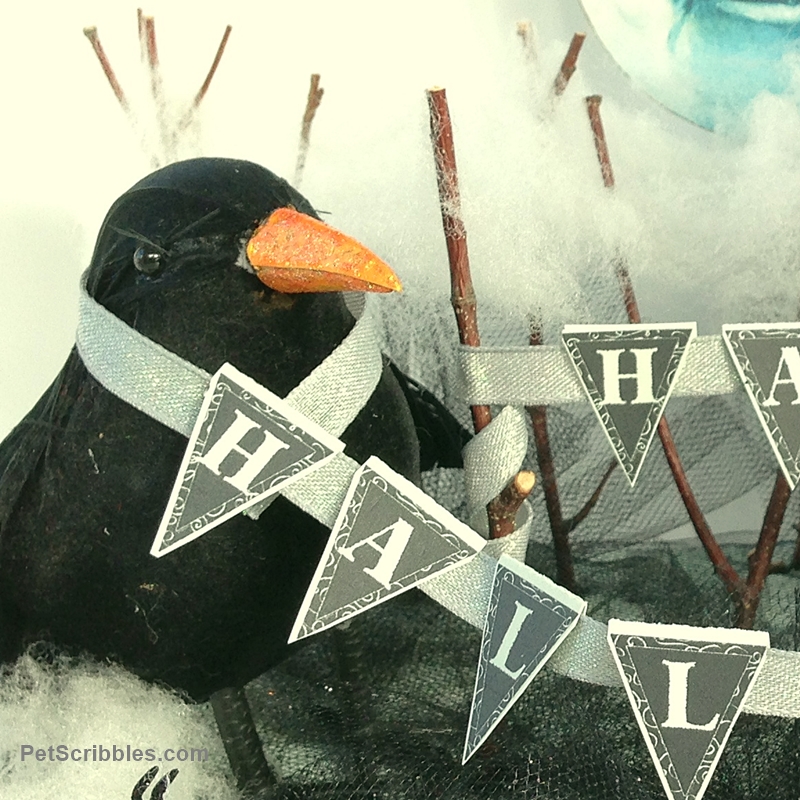
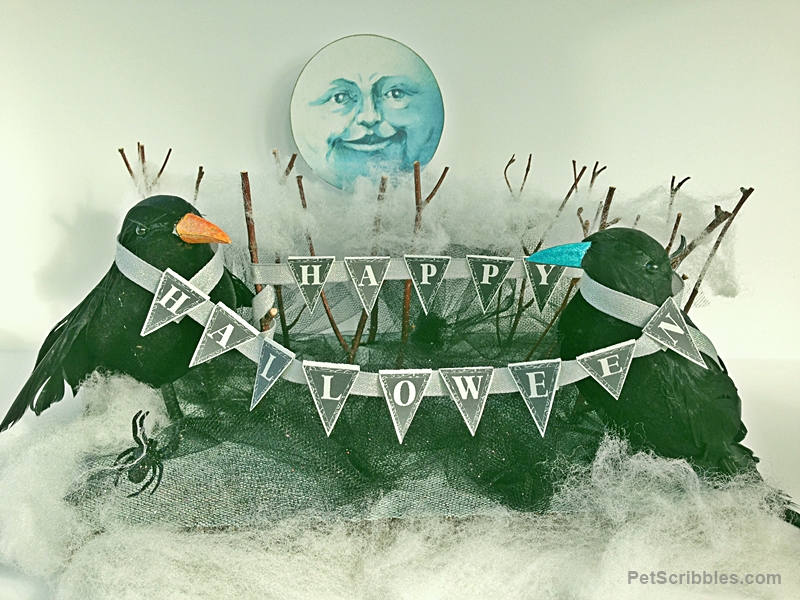
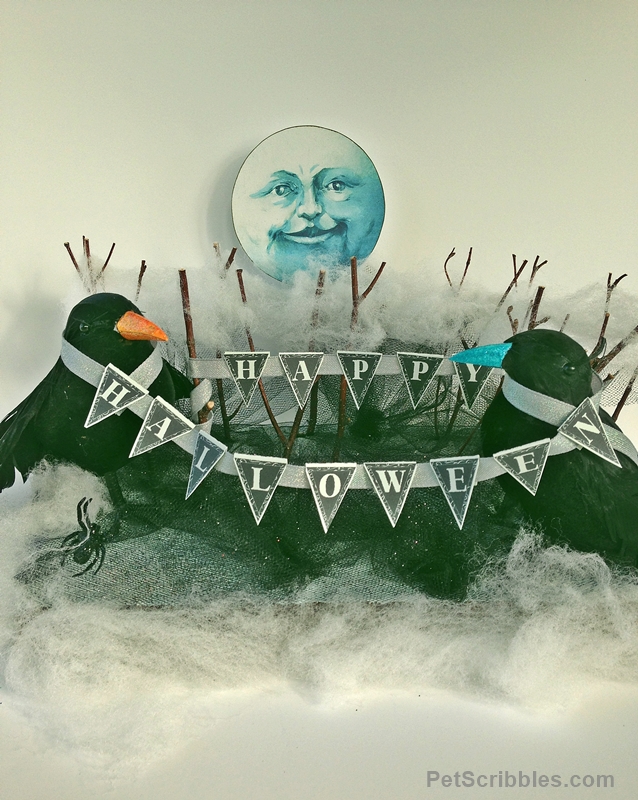
I painted each crow’s beak with craft paint and then added a matching layer of glitter paint on top.
I bunched up more black tulle and (using tiny straight pins) attached it to the base here and there.
I stuck little twigs in different spots – which punched easily through the netting and corrugated cardboard – and added some white craft “spider webbing” that I bought at the craft store. I used the webbing to create a misty, foggy, effect.
The crows came with wire on the bottom, which easily poked through the cardboard base as well.
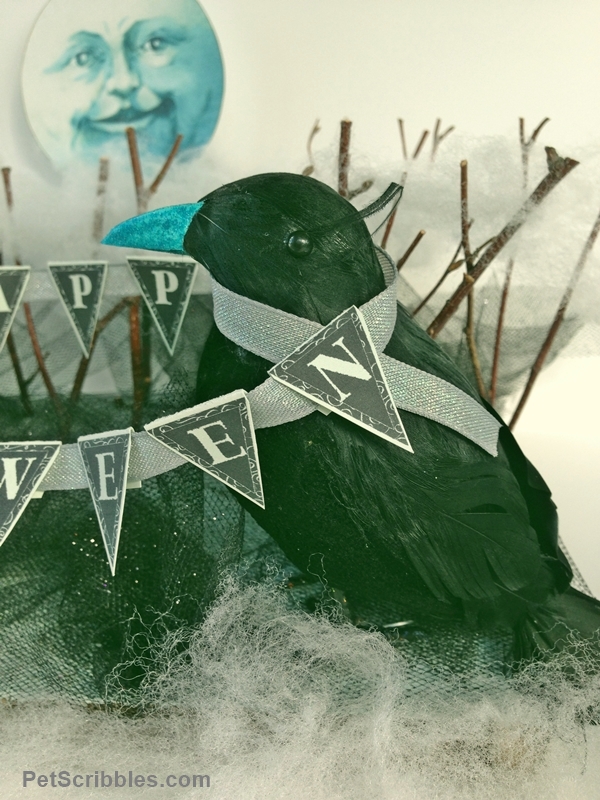
I used mini glue dots to wrap the banner edges around two twigs, and then used tiny straight pins to attach the ribbon of the longer banner around each crow.
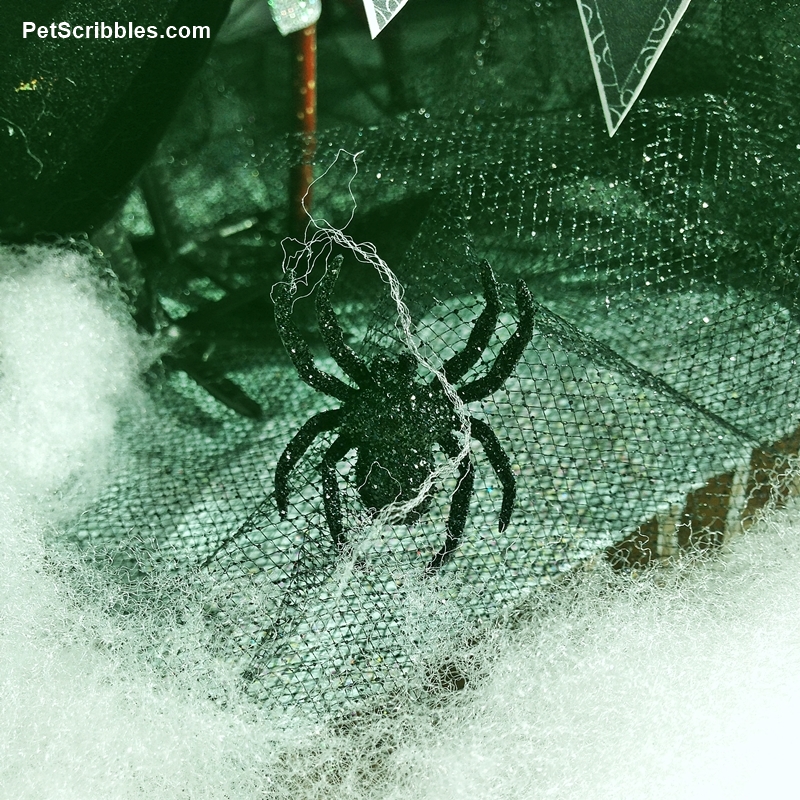
I added a glitter spider, complete with his own strand of web. Maybe he spun all of the strands into the misty fog.
A vintage image of the moon was the finishing touch.
I had so much fun making this project! That’s what this kind of creating is all about: having fun. There are no mistakes. “Should have done this or that” is not allowed.
Now it’s your turn to get crafty!
Click here to go directly to Jen’s blog where you can see *and download) all of the free Halloween printables.
And to see what my fellow crafty bloggers have created, just click on the box below. All week there will be new projects featured!
~Laura


This is such a great art piece, I love how you combined the banner art with the crows. Thank you so much for participating this week and sharing your talents with all of us!
Thank you so much Jen! And…thank you as well for creating such a fantastic collection of Halloween printables too. It wasn’t easy deciding which one I was going to use for this blog hop!