This easy no-sew felt heart garland can be put together with packaged red felt hearts, adhesive glue dots and vintage-looking scrubby cotton yarn from the craft store!
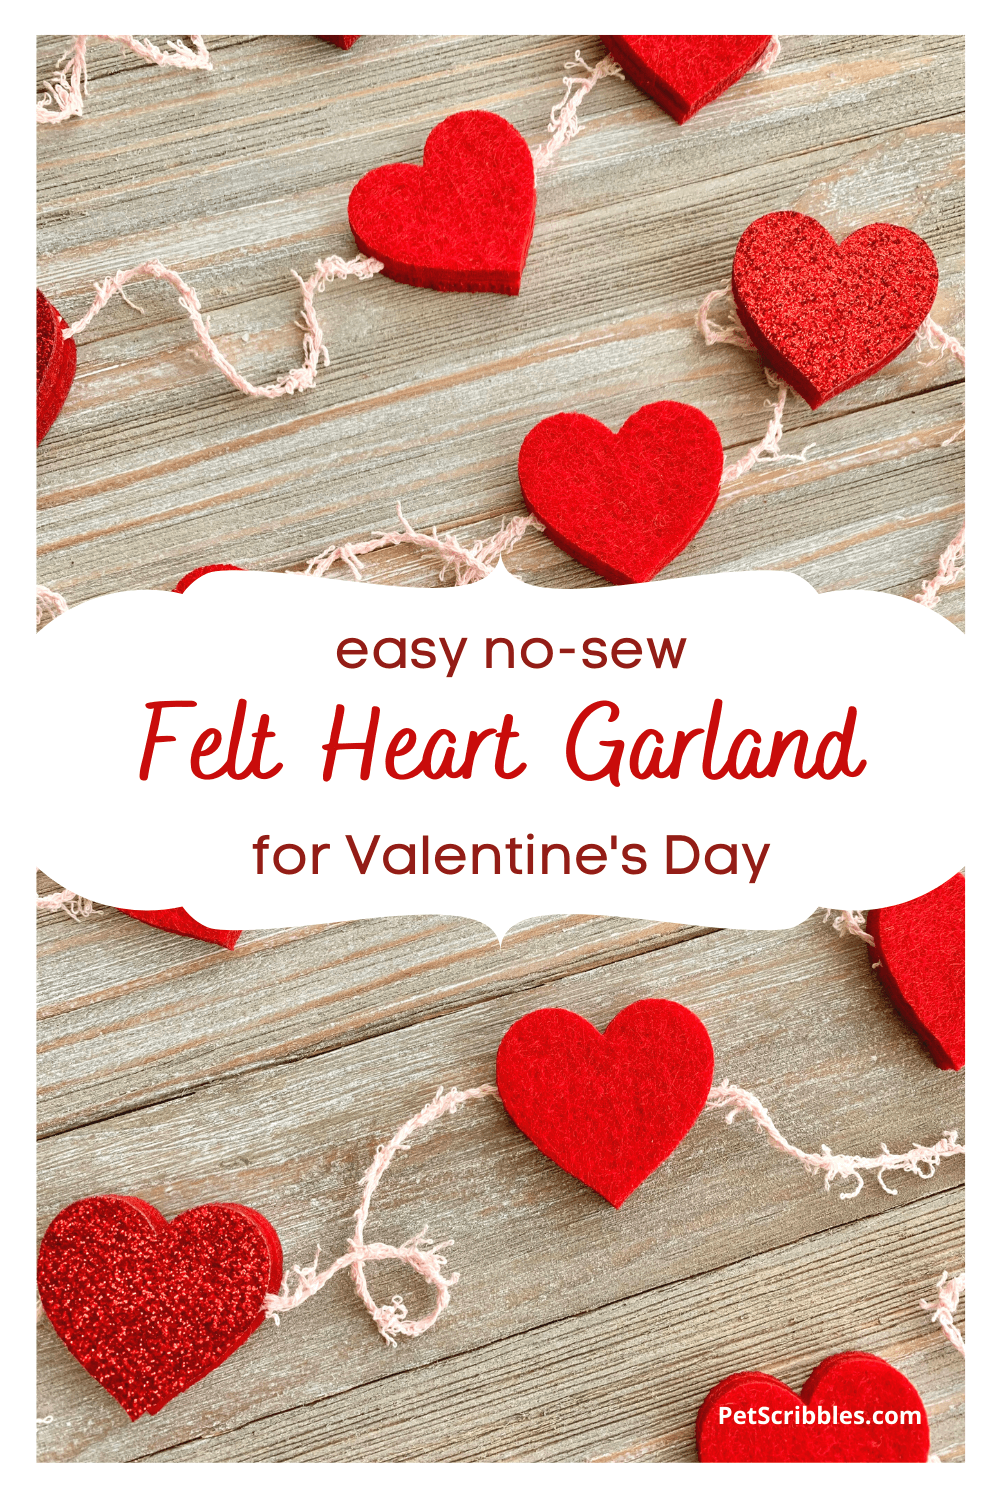
I’ve seen so many pretty felt heart garland tutorials this year on Pinterest, but I feel like each one requires at least some sewing.
I wanted to created something much easier, so I came up with this easy no-sew felt heart garland instead!
It all begins with red felt hearts. I found mine at Michaels.
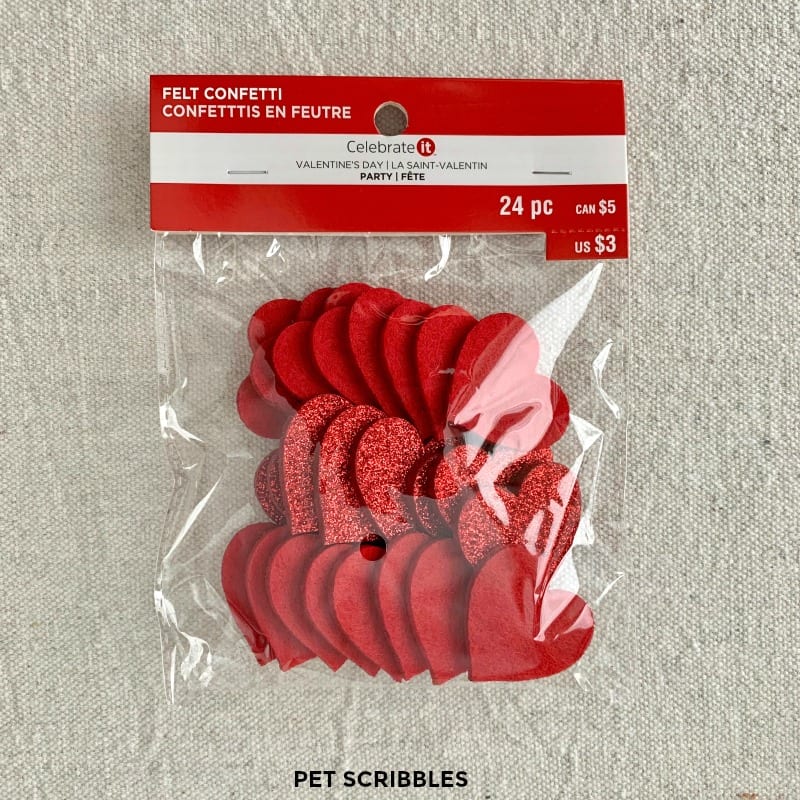
The package contains 24 hearts: 8 red glitter hearts and 16 red felt hearts.
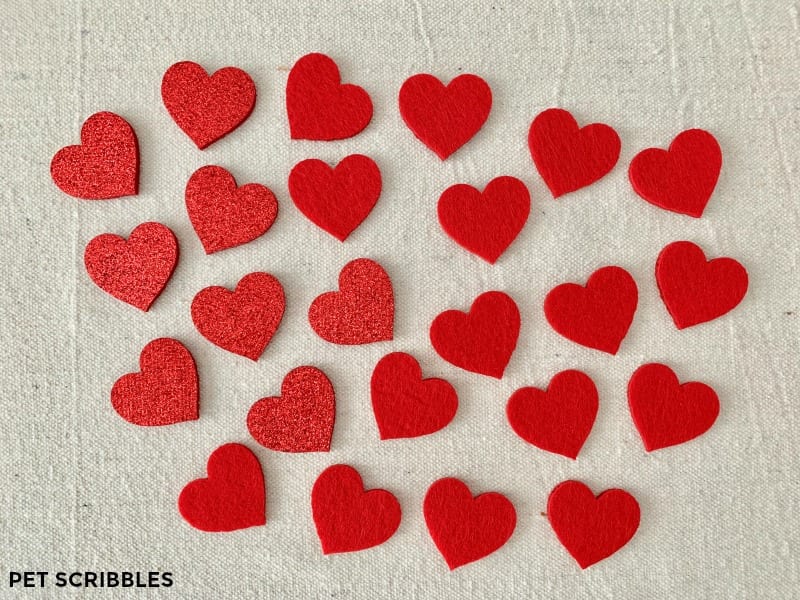
The glitter hearts are also felt, and even better for me: these glitter hearts didn’t shed one tiny speck of glitter!
You’ll love how easy this is to put together!
Similar felt hearts on Amazon!
I found these hearts on Amazon in a larger quantity package:
These are slightly larger than the ones I use in this project. But the thickness of them is ideal for this garland!
Helpful tip: If you purchase a package of 100 felt hearts, they will make 50 hearts for your garland, since you will be using glue dots to attach them back-to-back to each other. This way, the garland is pretty from all sides!
Supplies for No-Sew Felt Heart Garland
- Felt and Glitter Hearts — Michaels or Amazon
I don’t see the ones I used anywhere on Michael’s website unfortunately, but I found similar ones — including these on Amazon. I’ve also highlighted a few additional options from Amazon below. - Scrubby Cotton Yarn, Peachy Pink — Red Heart
- Metal Ruler with non-slip base — Westcott
- Craft Dots — Glue Dots
- Scissors — Fiskars
Easy No-Sew Felt Heart Garland Tutorial
First, open your packages of red felt hearts and sort them out to see what you have.
This is especially important if you purchased one of the packages from Amazon (above) that have multiple colors and/or sizes.
I doubled up my hearts. I want my garland to be pretty from the front and back, so these hearts are going to be glued back-to-back.
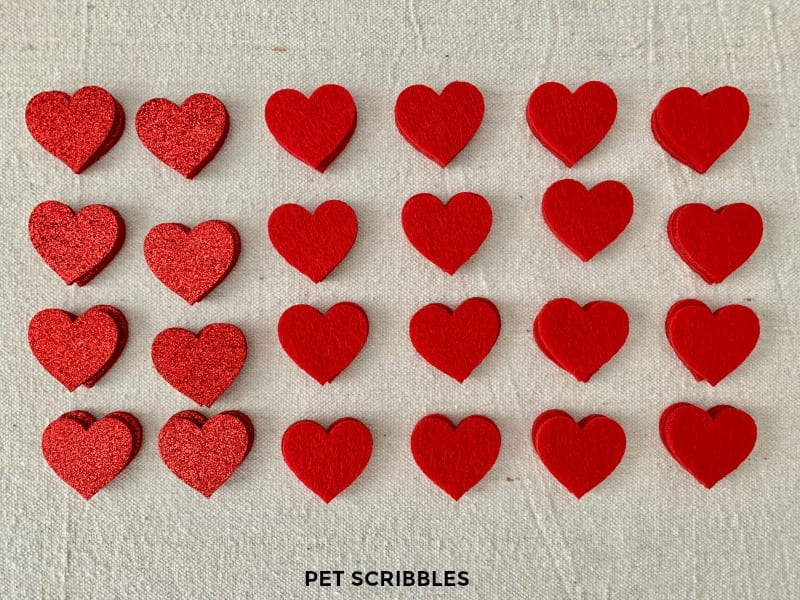
Next, determine the arrangement for the garland, if the hearts are different colors, patterns or textures.
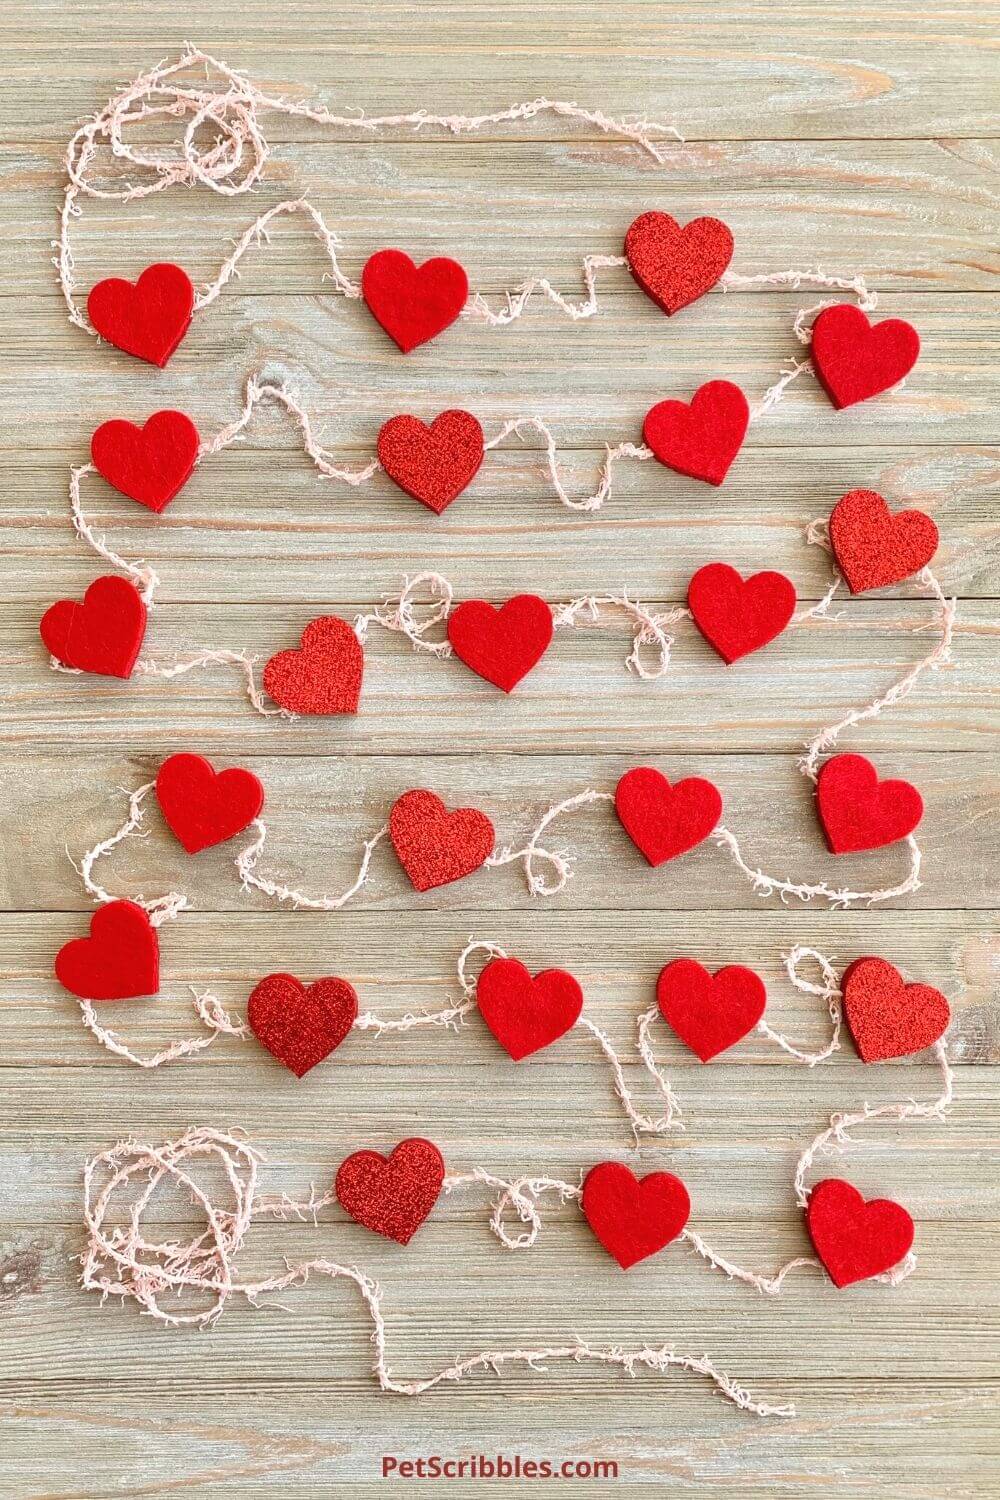
I am doing two felt hearts, followed by one glitter heart, followed by two felt hearts, then one glitter heart, and so on.
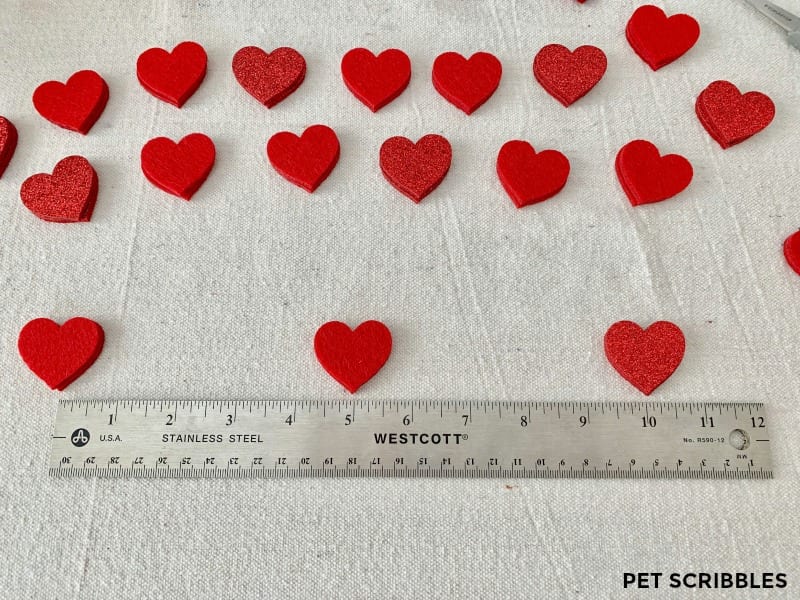
Using a ruler, measure out how far apart you want your hearts to be from each other.
I’m spacing each heart five inches apart on the garland.
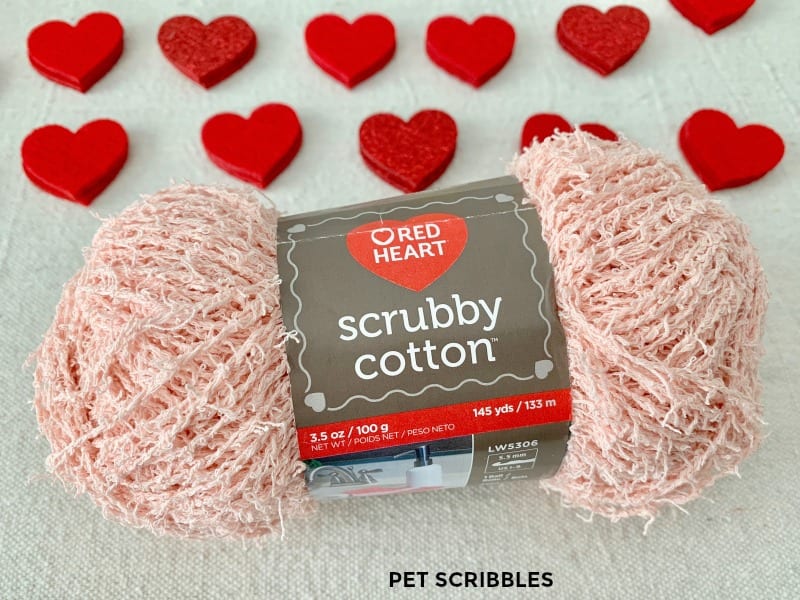
Unravel a good amount of yarn — way more than you’ll need — for your garland.
I love this cotton scrubby yarn. It looks almost vintage for my easy no-sew felt heart garland! (Plus it comes in many different colors, if pink isn’t your thing!)
I normally measure out 24 inches to start at one end, for hanging purposes, before I begin attaching the hearts. (You can always cut off any extra later.)
Attach the felt hearts to each other with Glue Dots, with the yarn sandwiched in between them.
Helpful tip: Even if the hearts you purchase already have adhesive on the back of each one, I would still use Glue Dots to make them extra secure.
Add a Glue Dot to the inside of a heart, then place the yarn over it and gently press down.
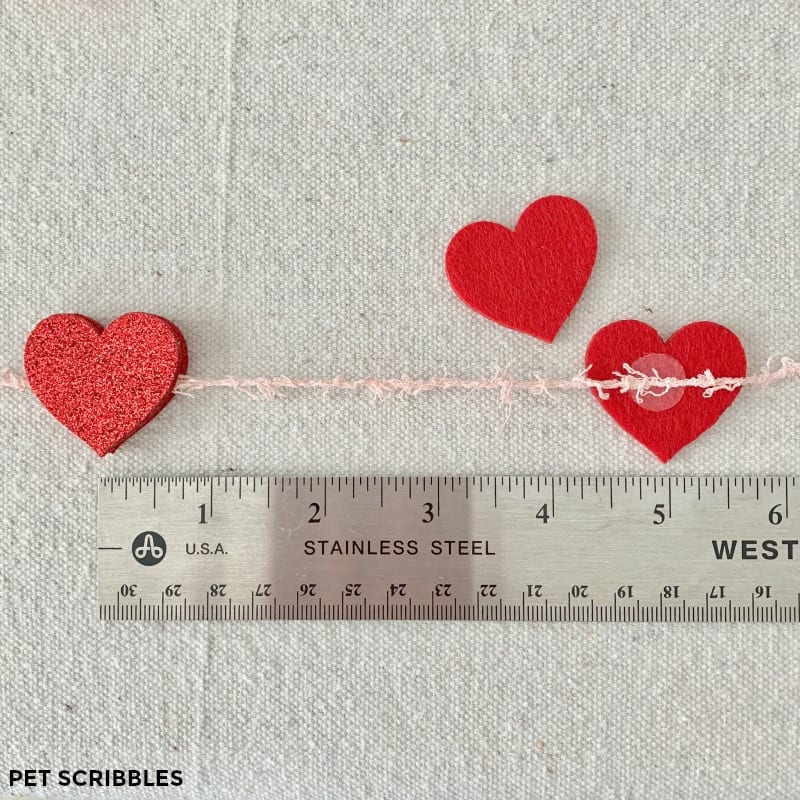
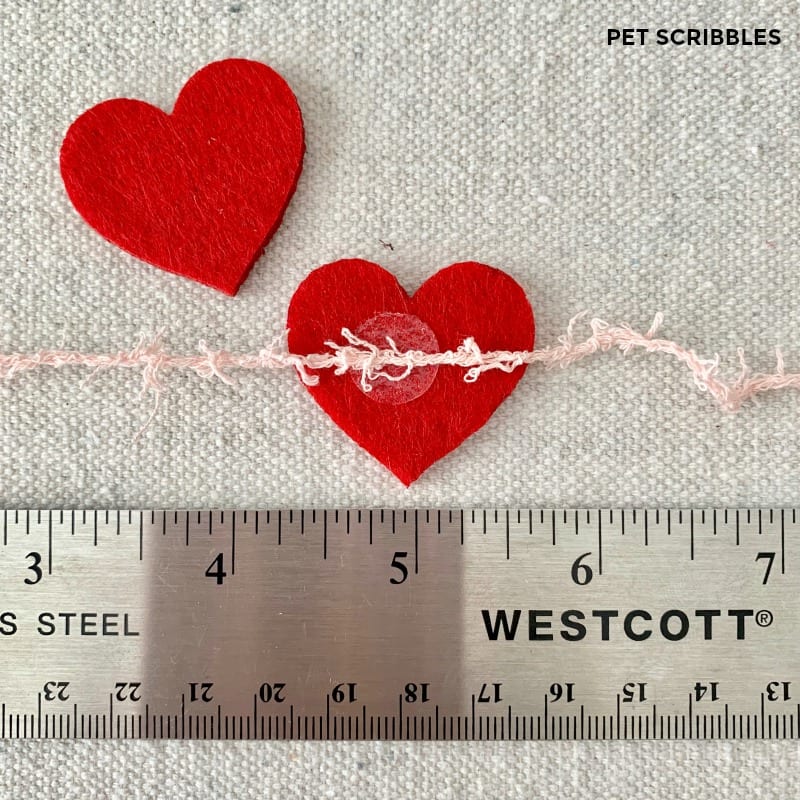
Then, add a Glue Dot to the other heart (on the inside as well) and sandwich the two hearts together over the yarn.
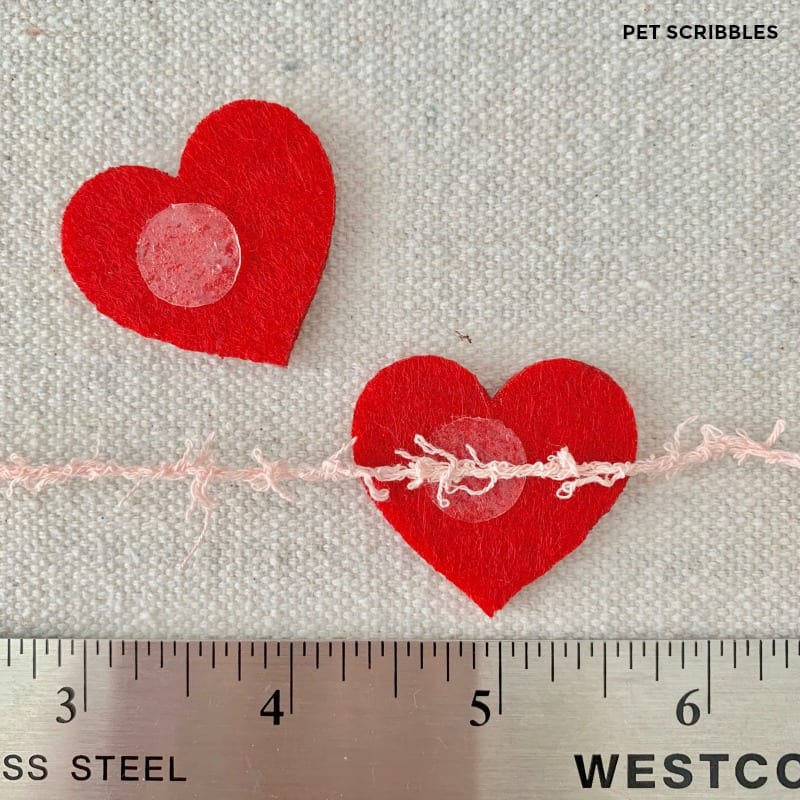
You want each heart to have a Glue Dot on it, so that they strongly stick to each other with the yarn in between.
Continue in this manner, using the ruler as your guide, until your garland is complete.

This can be made rather quickly, and the end result is very sweet!

The mix of textures and color makes me smile!
Finished Easy No-Sew Felt Heart Garland
I love the contrast of the bright red felt and shiny red glitter with the pale pink shabby yarn.

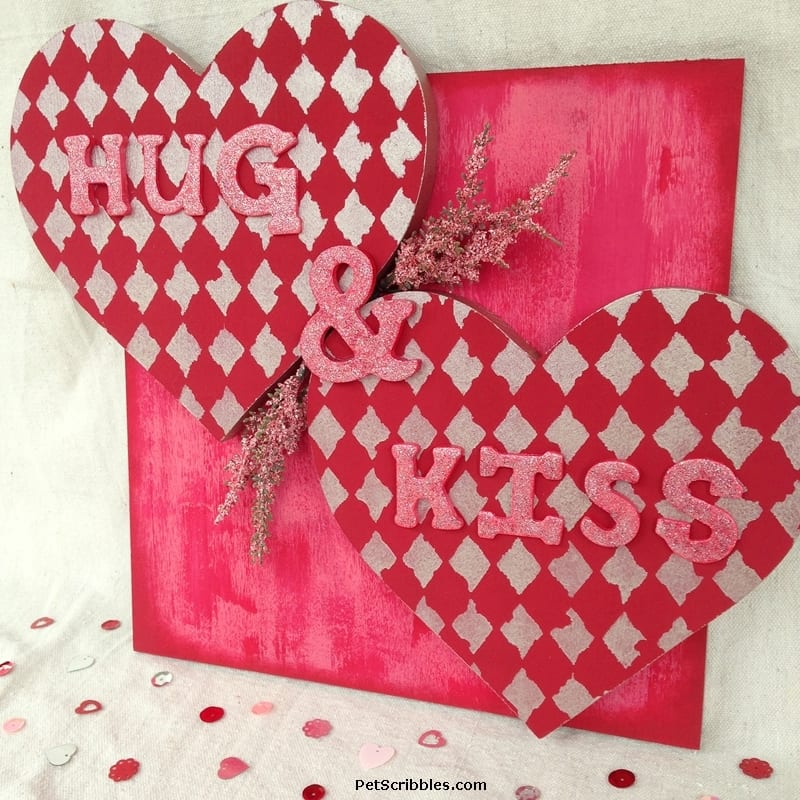
Make This Hug and Kiss Valentine’s Day Wall Art!
Here’s another fun project for you!
The hearts and the square are unfinished wood pieces. Paint and stencil them, then glue it all together! Add chipboard letters of your choosing, and cover them with glitter paint!
Hug and Kiss Wall Art Tutorial
Check out more Valentine’s Day projects below, under the “More from my site” section!
You can also check out my Valentine’s Day section of my website!
Happy crafting!

Leave a Reply