— continued from previous page —
Step Four: Cut out vintage images to use.
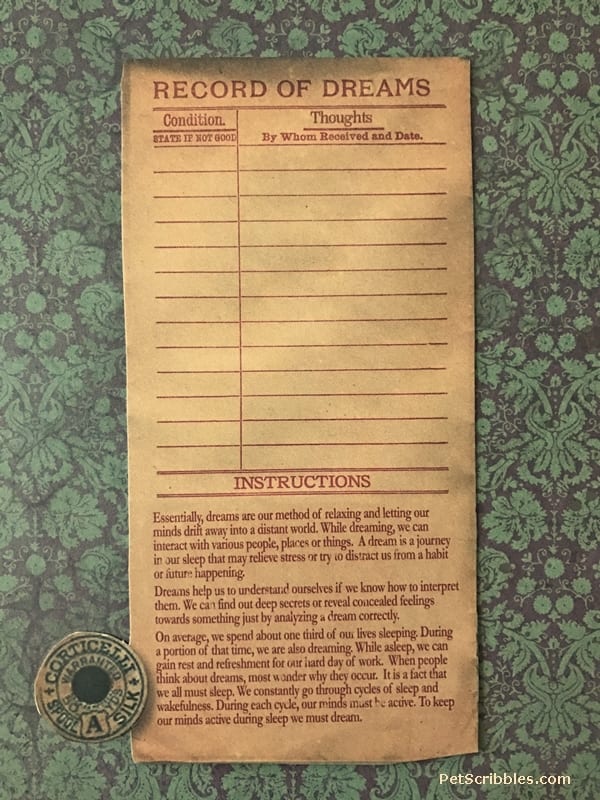
I used images from the 7Gypsies “Ordre du Jour” mixed media paper pad, including this one that I just love:
I usually end up gathering together more images and embellishments than I will use. It’s much easier to have more to choose from than less! I chose several images that ended up not making the cut — pun intended — and will save those for future projects!
Step Five: Begin assembling your mixed media piece.
My apologies for not photographing each item added to the canvas as it was added to the canvas. I got so wrapped up in creating it, which is a good thing!
I was completely lost in the enjoyable process of putting everything together.
So.
What I can do is show you the final piece — and then show you close-up images and explain what is what.
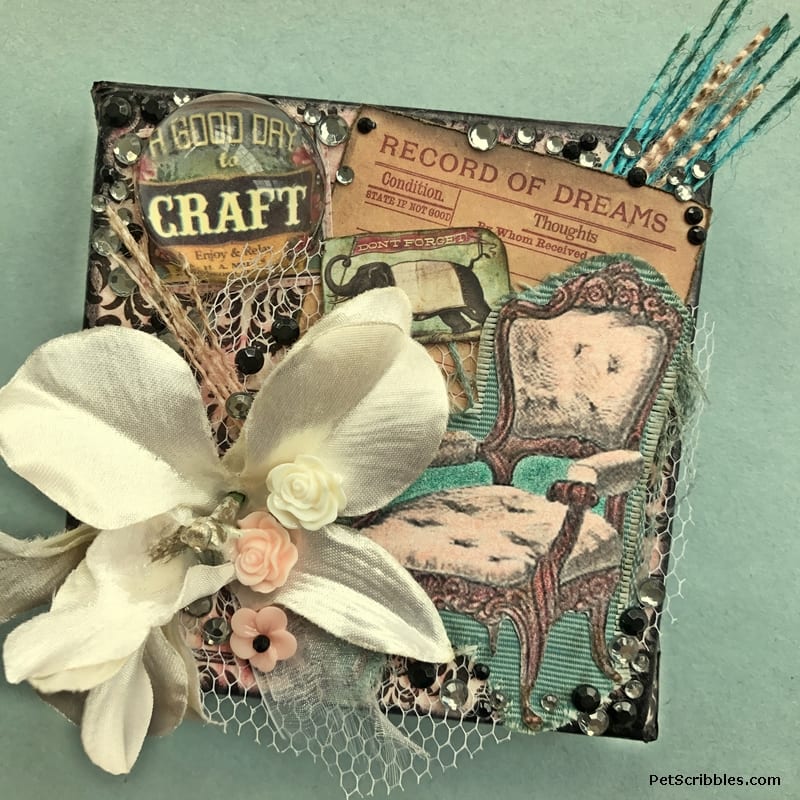
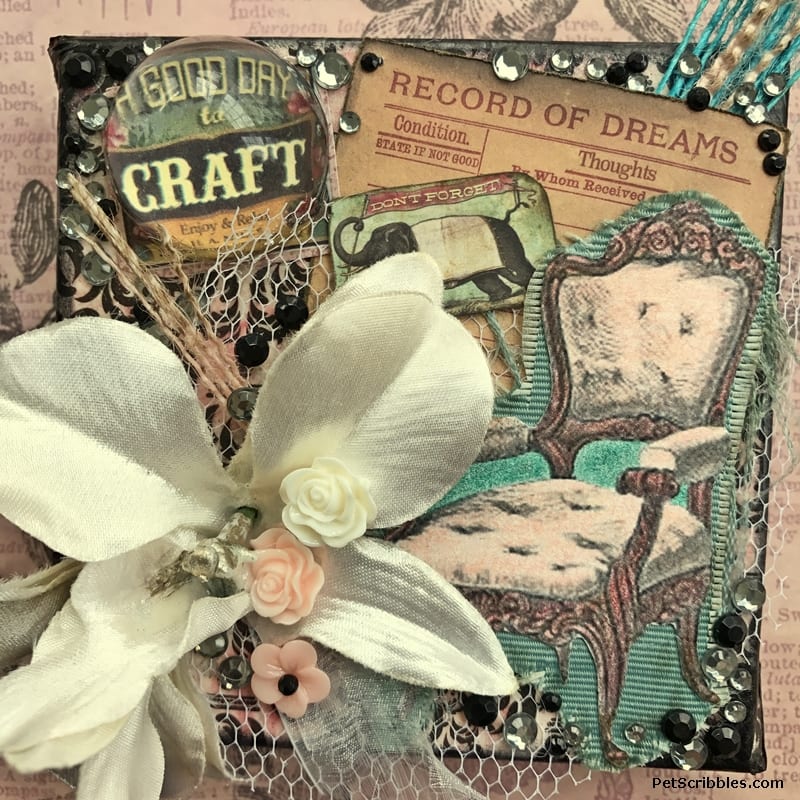
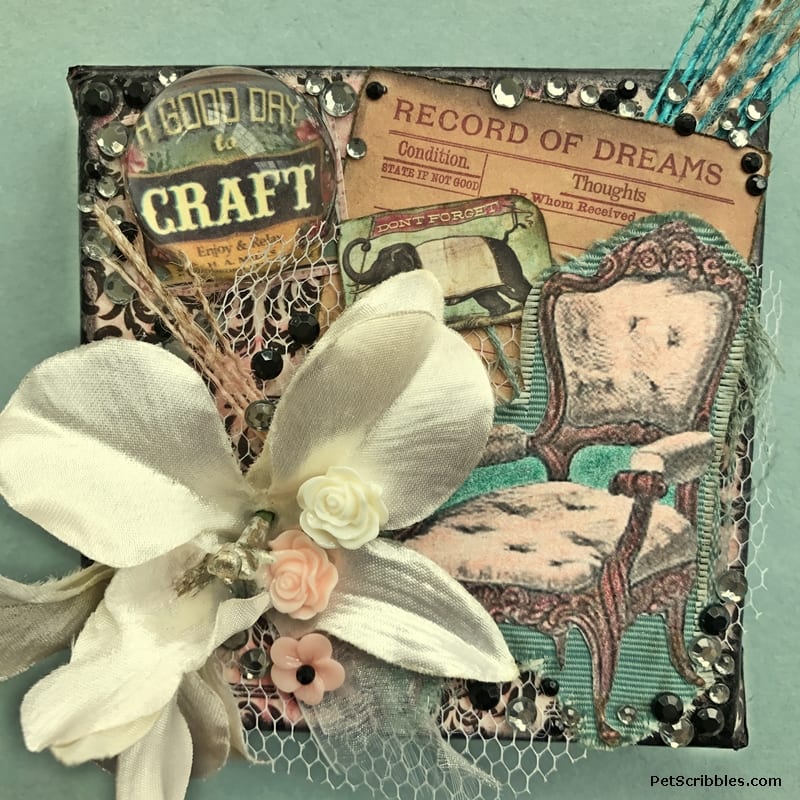
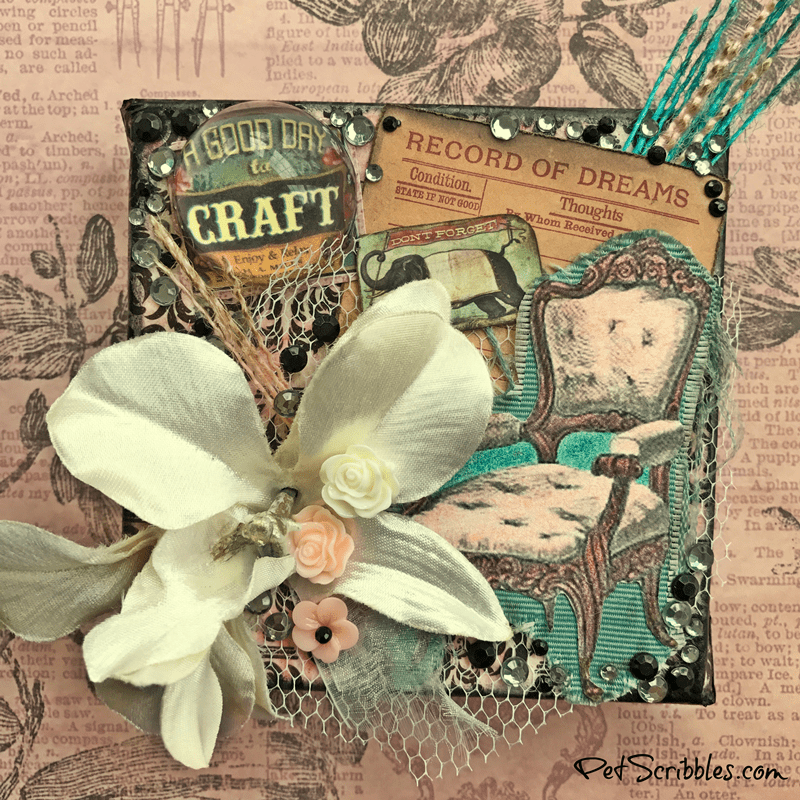
Here’s the final piece, which I decided to call Don’t Forget To Dream . . .
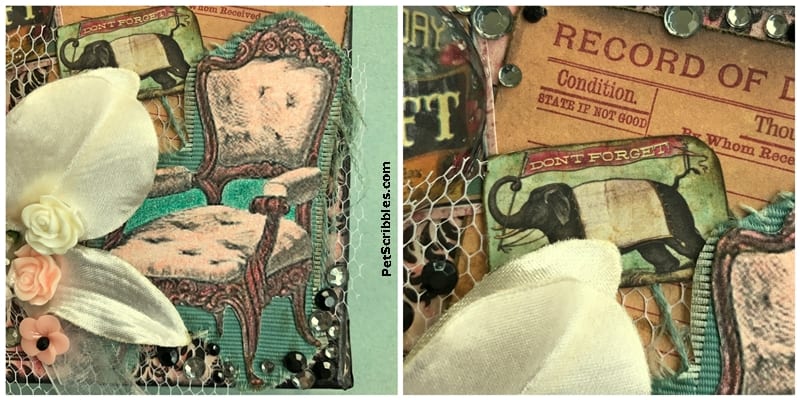
Below left: The chair was attached to wide grosgrain ribbon using my Xyron Creative Station Lite. Then I frayed the edges and inked up the ribbon with some Distress Ink in Frayed Burlap.
Below right: Just above the chair, more images were attached (again with the Xyron machine). I loved adding the “Don’t Forget” image on top of the “Record of Dreams” because I often remember my dreams!
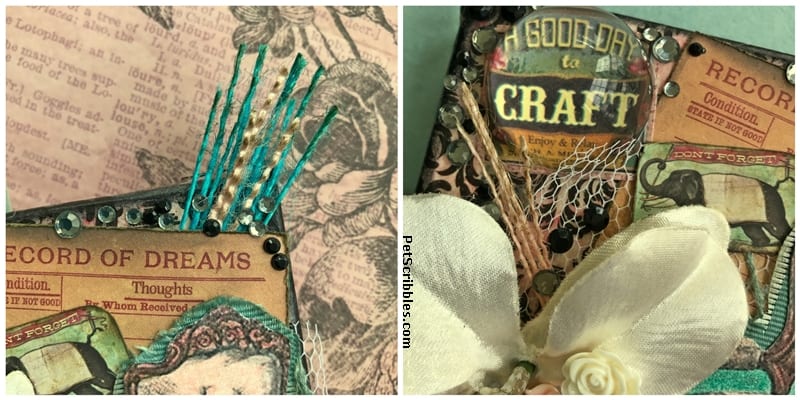
Below left: I removed individual strands from aqua and pink burlap scraps and stuck them underneath the “Record of Dreams” tag. Once they were secure, I lightly rubbed Distress Ink in Frayed Burlap on them.
Below right: I loved the “A good day to craft” image I cut out, but wanted it to pop more, so I glued an acrylic magnifying cabochon from my own craft stash. You can also see more pink burlap strands, also distressed with the Frayed Burlap ink, sticking out of the flower petals.
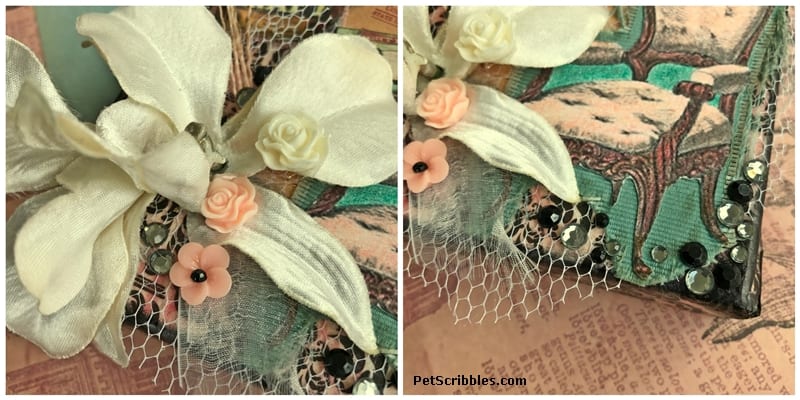
Below left: I used two silk flowers from my craft stash. One I pierced through the canvas and the other I glued down. Then I attached plastic rose embellishments with glue. I liked the “clean” look of the silk and plastic flowers, compared with everything else being distressed.
Below right: A scrap of white tulle netting was glued underneath the flowers, along with a sheer ribbon scrap, which I purposely frayed.
I attached black and gray adhesive gems in different sizes all over the edges of the piece. I also stuck them semi-hidden underneath the flower petals too. Everywhere you look there’s something of interest.
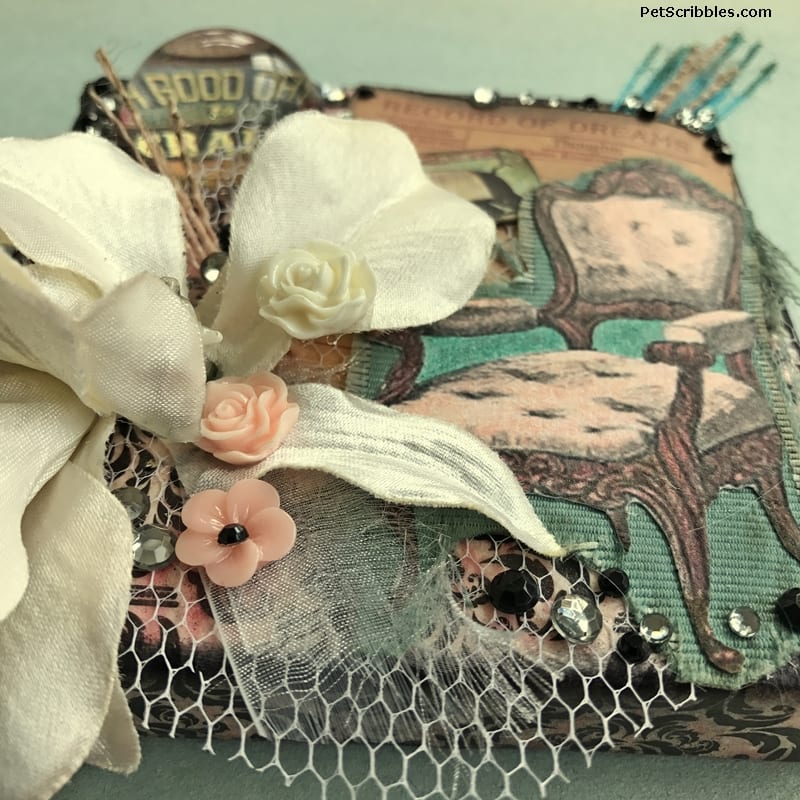
Below: I took this picture so you can see how all of the elements look from a 3D perspective. Nothing flat here!
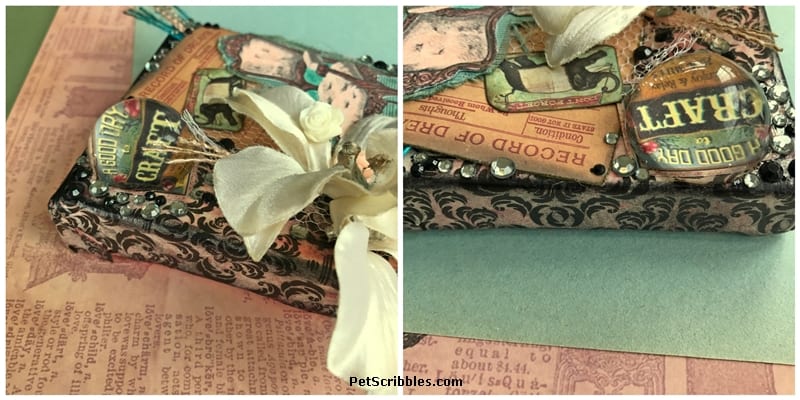
Below left and right: Two shots so you can see how the sides look. I distressed them slightly using a StazOn permanent black ink pad.
And there you have it!
When I started out, I thought I’d end up keeping much more of the painted/decoupaged paper showing, but once I got going with an idea…that was that.
It’s challenging working in a small 4″ x 4″ area, but I had so much fun creating this. I’m sure you’ll be seeing more of this size from me!
And remember: don’t forget to dream!
Happy crafting!
~Laura

Such fun! Love your colors and layers!
Thanks so much Jean! I really appreciate it!
Your 4 X 4 is stunning! I love all the elements that you encorporated into your piece. The tulle, flower, gems and the whisps of burlap….Perfection! Love!!!
Wow! Thank you Donna! I’m in awe of your creations, so I’m blushing right now!