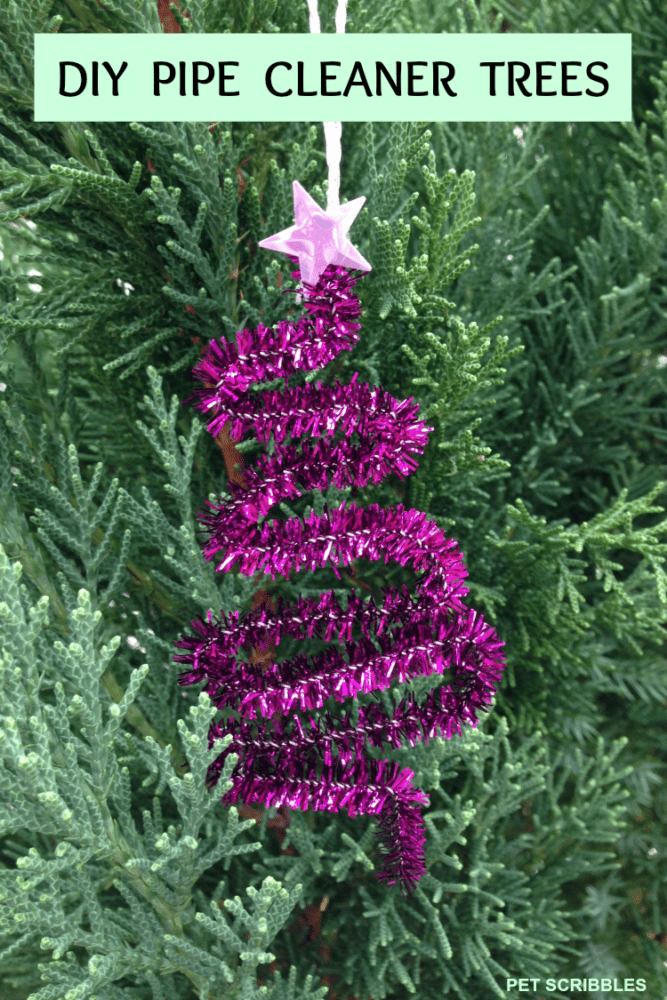
You can make these tiny pipe cleaner trees in under 15 minutes, then embellish them to use as gift tags or tree ornaments! A fun kids craft too!

Once you make your first pipe cleaner tree, I guarantee you’re going to quickly make a zillion more because they are just that easy!
This is a fun project for kids too, especially when they see their creation hanging on your Christmas tree, attached to a present or as part of a teachers gift!

Supplies needed:
Pipe Cleaner Trees Tutorial
Here’s how:
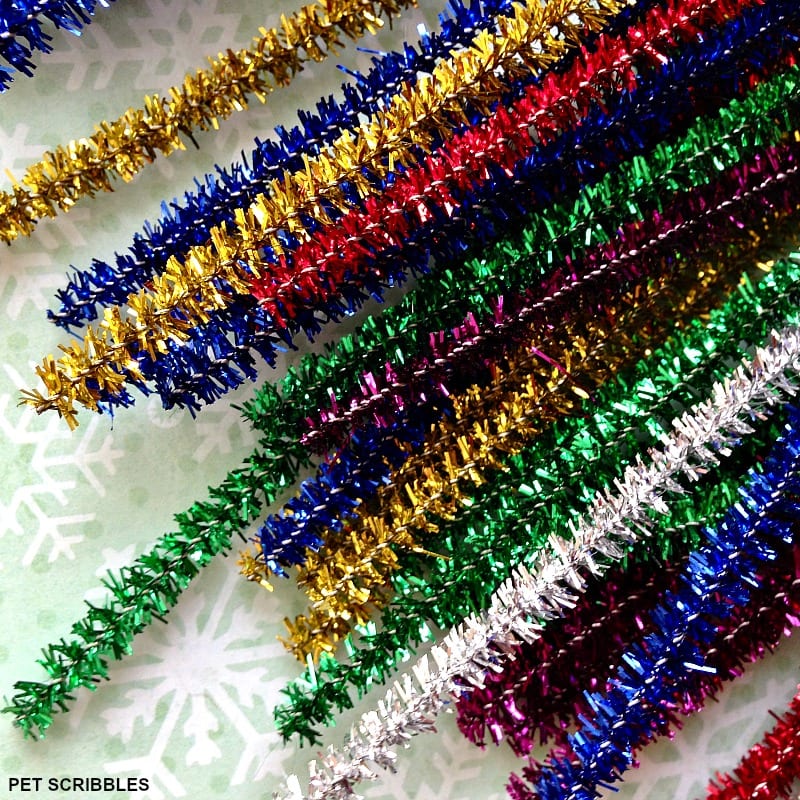
Start with pipe cleaners, of course! I used these sparkling tinsel-looking pipe cleaners. They catch the lights on Christmas trees nicely!
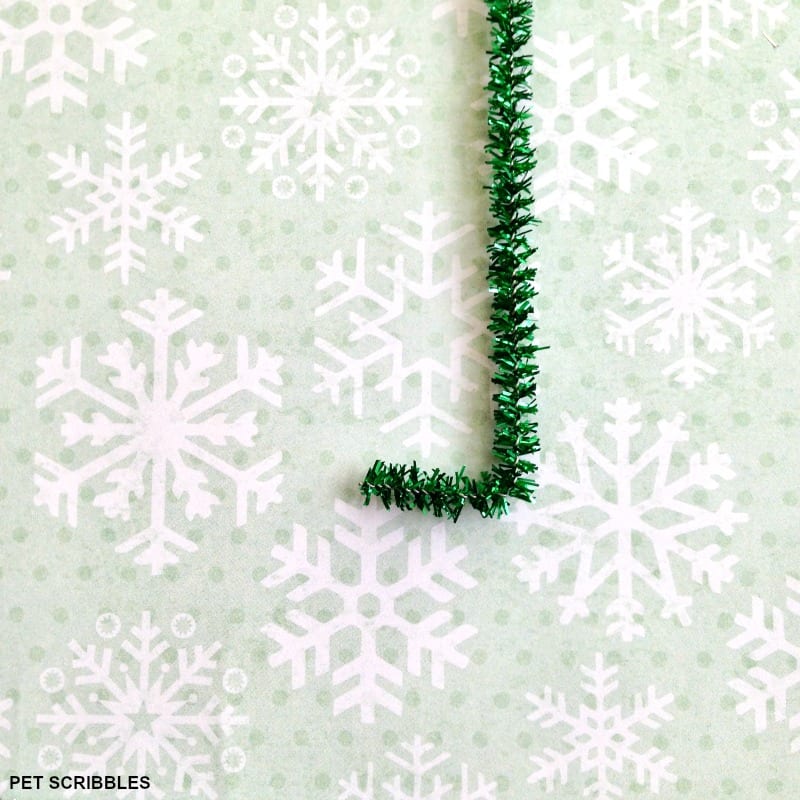
First, bend a small piece at the bottom, in a right angle as shown. (Right angles? Now I’m having geometry flashbacks!) This little piece will become the tree’s trunk.
Now rotate your pipe cleaner to the left, so that the tree trunk is pointing down. Begin bending and shaping the tree in a zig-zag pattern. The tree trunk should be centered below the bottom zig . . .

. . . and each subsequent zag (as you go up the tree) should be slightly smaller than the one below it.

When you get to the top, take the last tiny end piece and stick it straight up, mirroring the tree trunk at the bottom.

And that’s the basic way to create your pipe cleaner trees!
What happens if you don’t like the way your tree turned out?
Just start over!
That’s the beauty of pipe cleaners: you can bend and unbend them multiple times.
Add a “star” to your pipe cleaner trees!
You can decorate your little trees with sequins, buttons, jingle bells, beads, or any other embellishments you can dream up.

I used a gold jingle bell, a silver-gray button, and a silver jingle bell as my tree toppers on the gold, green and blue trees . . .

. . . and I used vintage sequins on the silver and purple trees, plus a vintage green button on the final silver tree.

How to attach the tree toppers:
It’s super-easy to attach your tree toppers using mini glue dots.
Even easier? For the jingle bells and vintage button, I just had to slide the pipe cleaner tree top through the backs of each.
I told you this was super easy and fun and quick — all those good things!

Add an ornament hanger using baker’s twine.
To attach a hanger, I used baker’s twine to make a loop, then attached the knotted part to the same glue dot I used to attach the tree topper. Snip off the excess ends once attached.
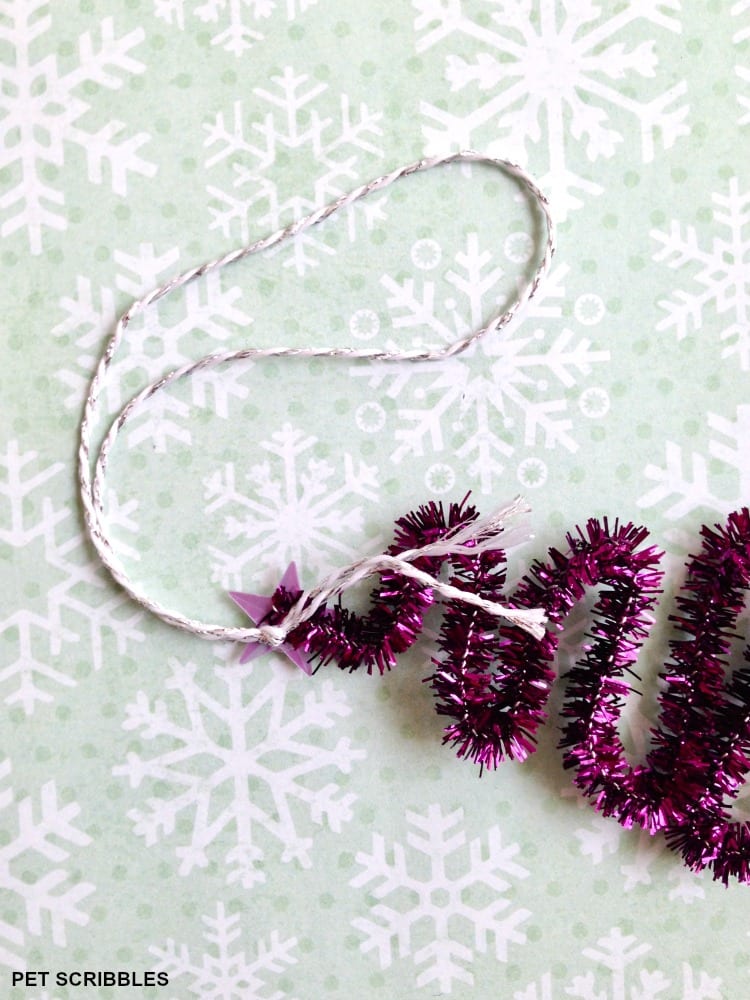
For tree toppers like the jingle bells or any beads you might slide onto the tree top, just tie a piece of baker’s twine around the top of the tree, then slide the embellishment over the baker’s twine onto the tree. Easy!

You can make a lot of these trees in a short amount of time!
Each pipe cleaner tree can be used as an ornament or an embellishment on wrapped presents and wine bottles.
Add them to neighbor gifts, hostess gifts — you get the idea!
More 15 minutes (give or take) holiday crafts to make!
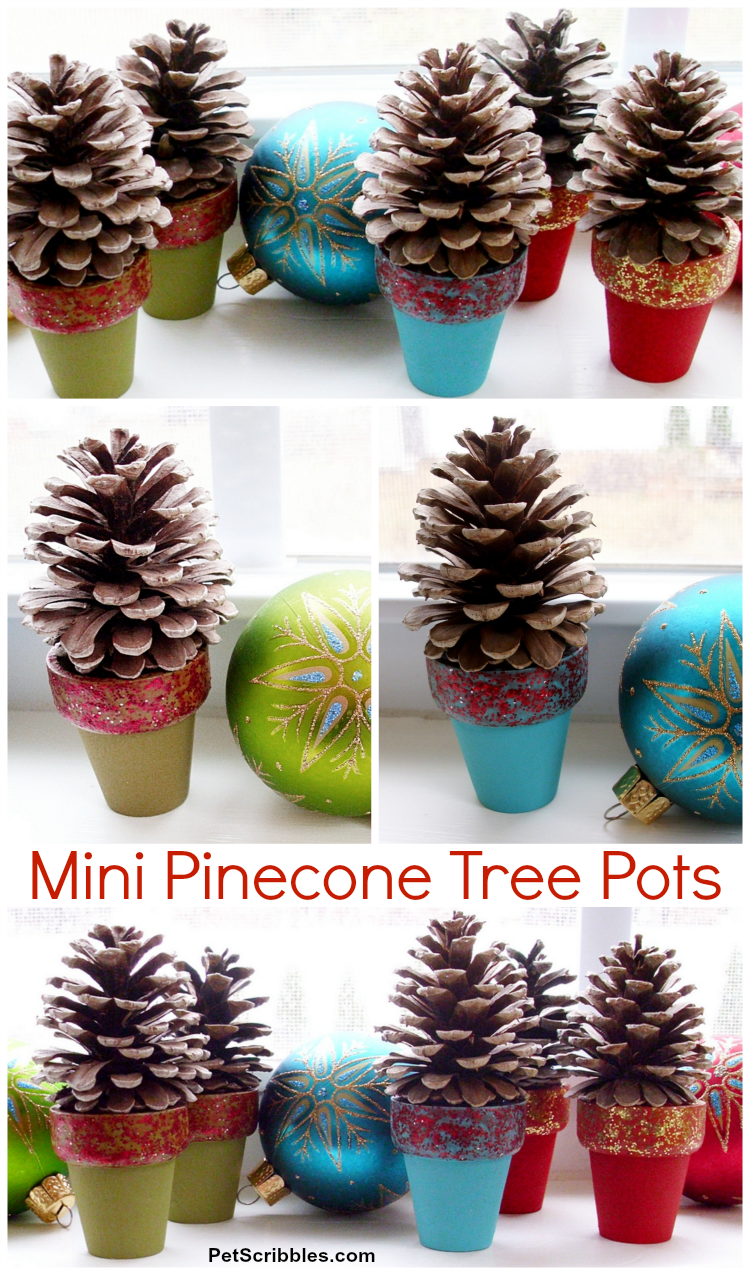
Mini Pinecone Tree Pots
Rustic Jingle Bell Ornament

Happy holiday crafting!
