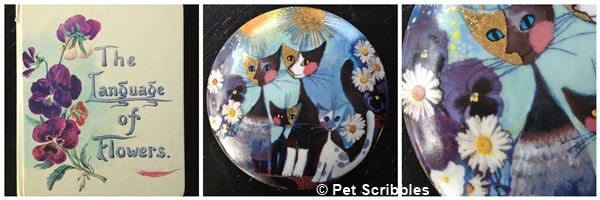
I’m a passionate gardener, and passionate about vintage images. Combine the two and I’m in heaven! Displayed in our library are a few of my favorite things . . .
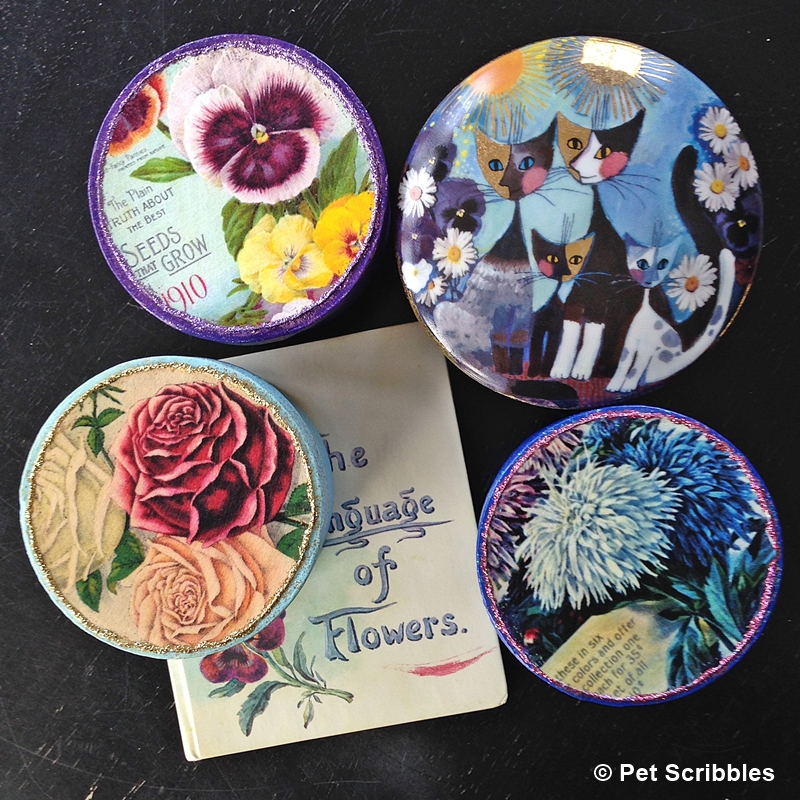
A vintage book about flowers with pansies on the front…and a cat-themed porcelain box (also with pansies) that my husband gave to me by Rosina Wachtmeister, one of my favorite artists.
Pansies are also one of my favorite flowers. You can read why in this loving tribute I wrote about our cat Matisse in 2012: Our cat was a pansy. Here’s why.
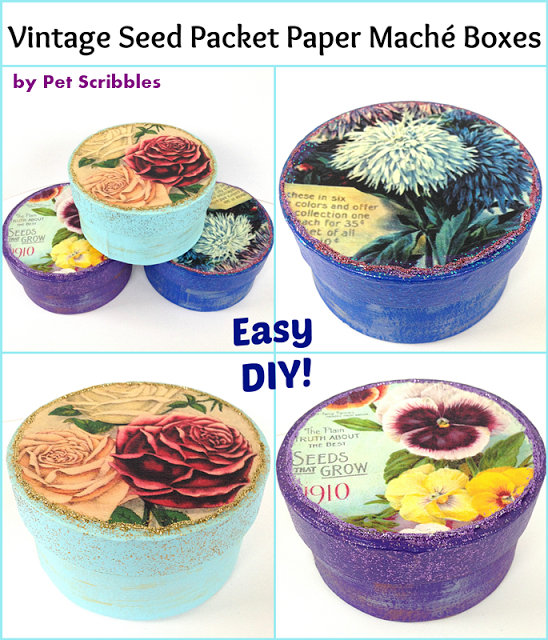
Using all of this as inspiration, I made a set of boxes featuring vintage seed packet images. I made three of these, but you can make just one – or several – using this same tutorial.
FTC Disclaimer: Some of the links in this post are affiliate links. I explain more here.
Supplies:
- Paper Mache boxes
- FolkArt Craft Paints (I used two shades of blue and a purple color)
- Martha Stewart Metallic Craft Paints (I used silver, gold, and bronze)
- Martha Stewart Glitter Paints (in colors that coordinate with the paints)
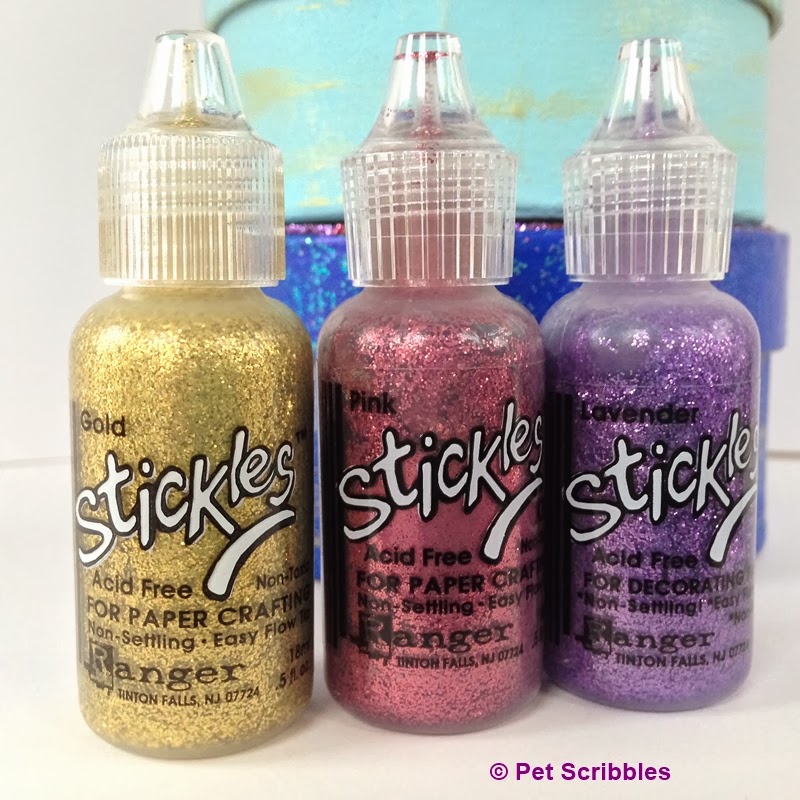
- Stickles Glitter Glue (in colors that coordinate with the paints)
- Vintage seed packet images (I found mine via a Google search)
- Antique Mod Podge in matte
- Mod Podge Clear Acrylic Sealer in matte
- Tim Holtz Paper Distresser
Let’s begin!
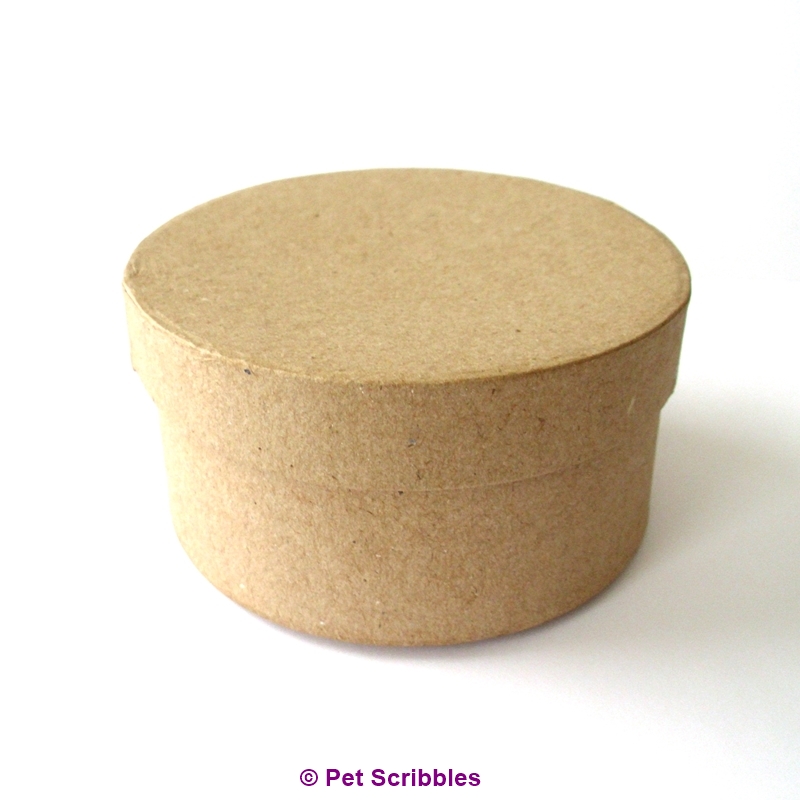
A simple paper maché box, nothing fancy:
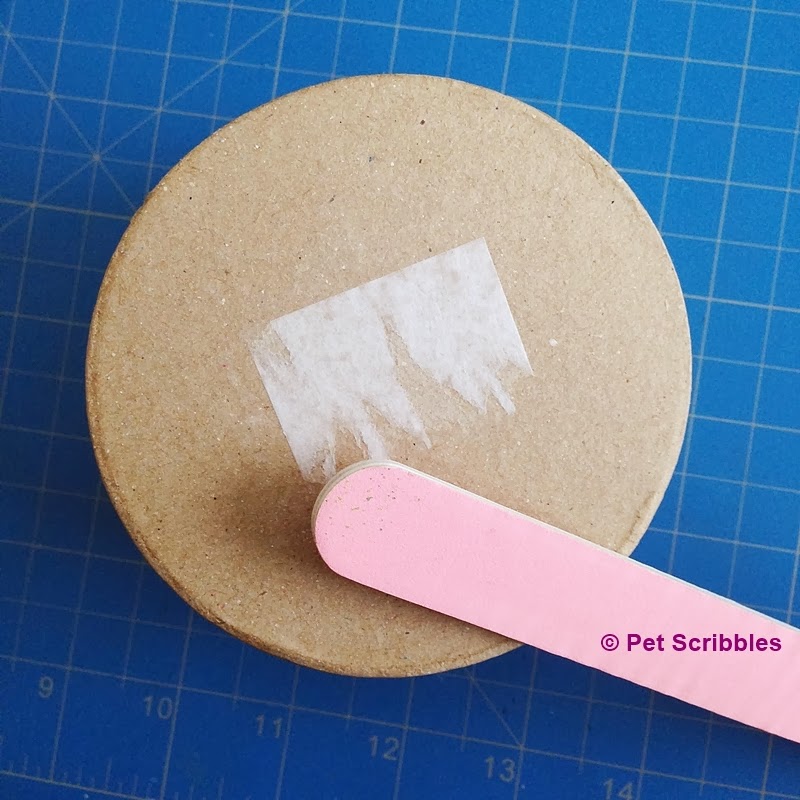
Step One: Remove the label from the bottom of the box: i.e. the label that will not come off no matter how carefully you try to take it off! I use an emery board to sand down what’s left of those labels, once I can’t get any more off with my fingernails. High tech, I know!
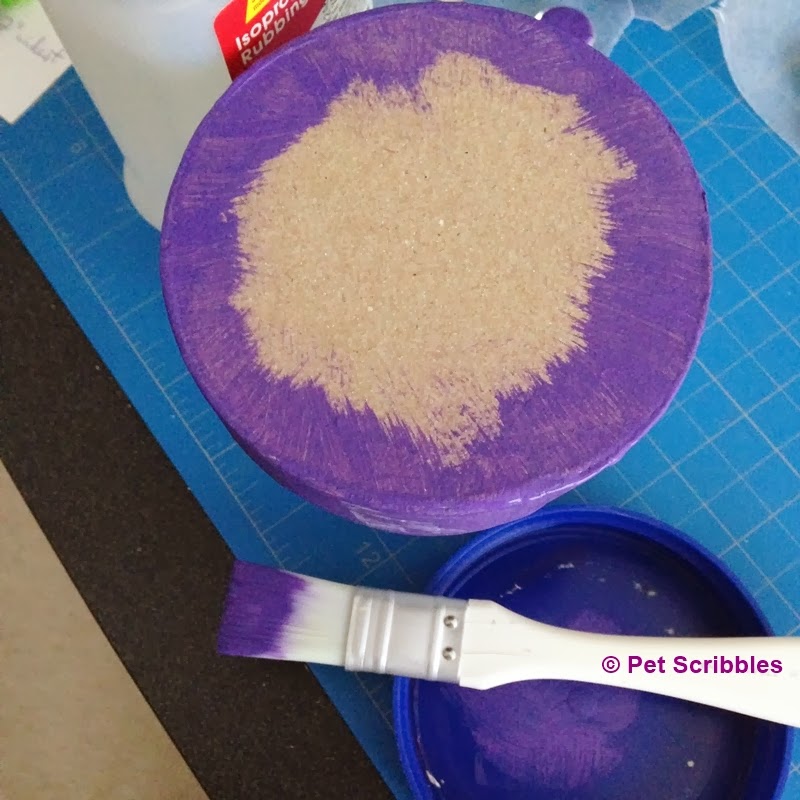
Step Two: Paint two coats of your chosen colors onto each box and lid. The paint dries super quickly on paper maché, so this step goes fast.
No need to paint the lid all the way, as we’ll be covering it up with a vintage seed packet image.
Let dry.
Step Three: Paint the side and outer top edges of each box lid with a matching glitter paint. I used gold glitter paint on the light blue box, blue glitter paint on the darker blue box, and purple glitter paint on the purple box. Just one coat is needed for some extra sparkle! Let dry.
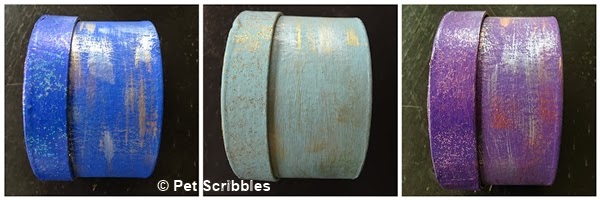
Step Four: Take your boxes (minus the lids) and dry brush some metallic paint onto various spots. I used silver and gold paint on the two blue boxes, and silver and bronze paint on the purple box.
To dry brush – dip your paint brush into the paint, remove most of it onto a paper towel, and then gently paint little strokes and dabs. You want hardly any paint at all on the brush, as you gradually build up color where you want it.
Let dry.
Here’s what the boxes look like so far, with their painted and glittered lids, and the painted sides . . .
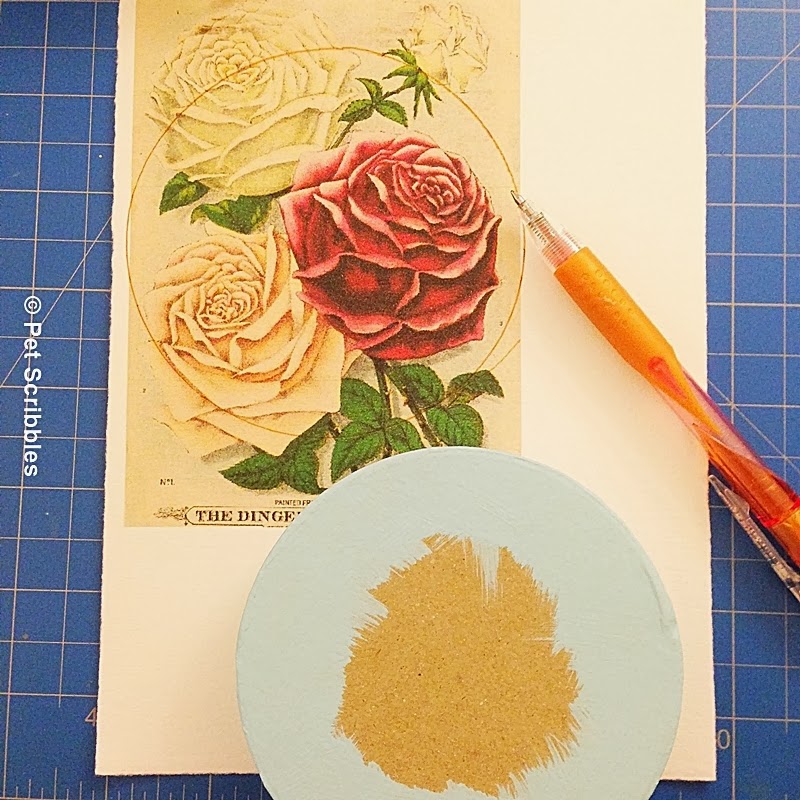
Step Five: Print out your vintage images onto paper of your choice. I used a medium-weight cardstock that had a slight texture.
Note: Depending on where you get your images from, you will need to play around with the sizing a bit when printing out, in order to make the images cover most of the box lid.
Step Six: Spray both sides of each image with acrylic sealer and let dry.
Step Seven: Eyeball where you want your images to be, then trace the lid over each image. Cut out the circles slowly – about 1/4″ (inches) inside the circle you traced – with sharp scissors.
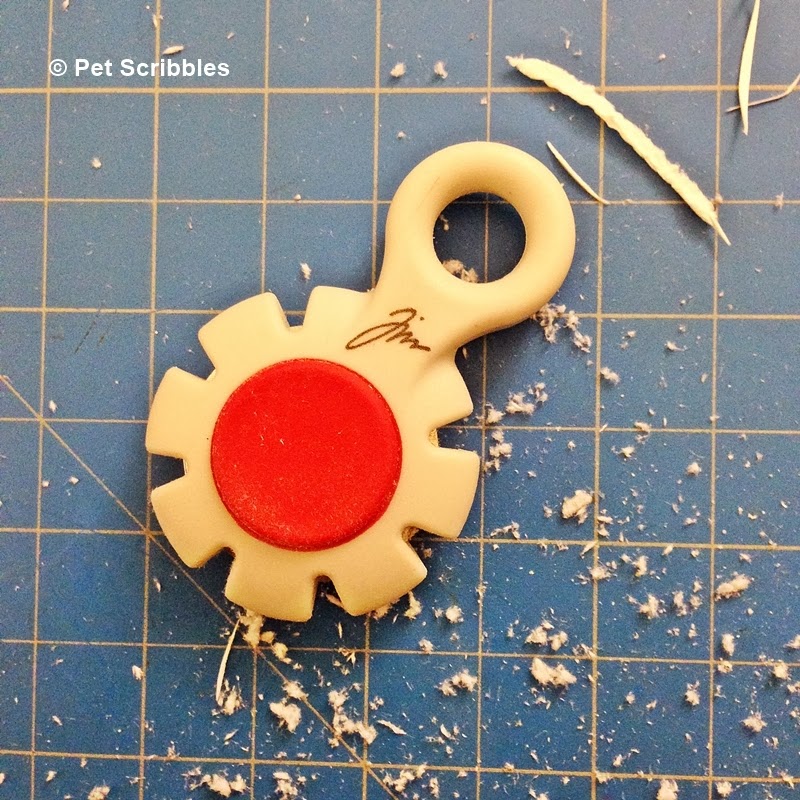
Step Eight: Distress the edges of each circle. You can do this step in many ways, using the emery board mentioned above, or a sanding block.
I use a little tool that has become one of my favorites: the Tim Holtz Paper Distresser! It has seriously changed my life. Ok, too dramatic. It can (and does) change the look of paper easily. Love, love, love!
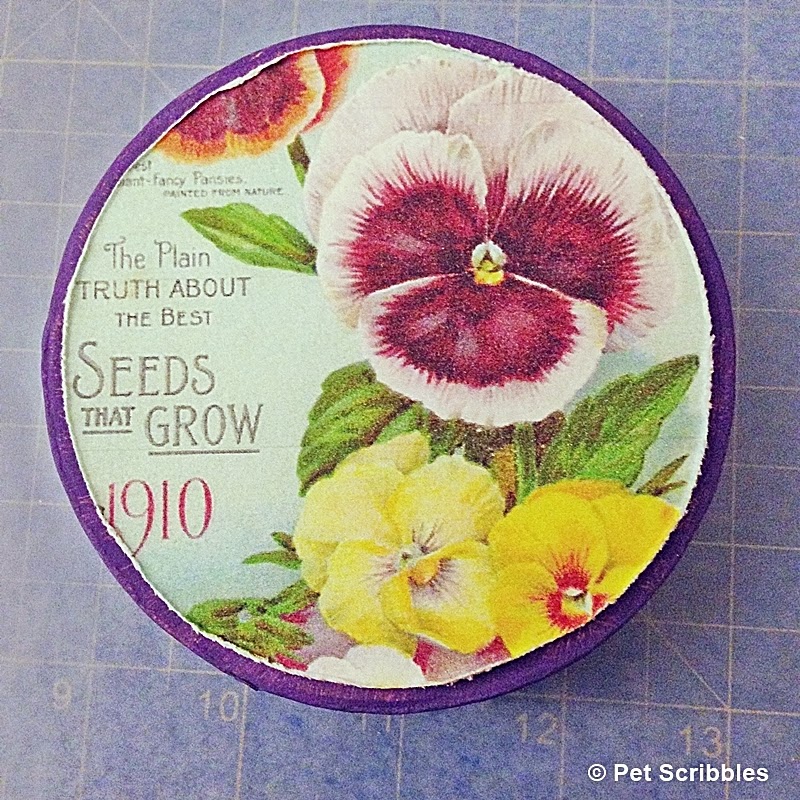
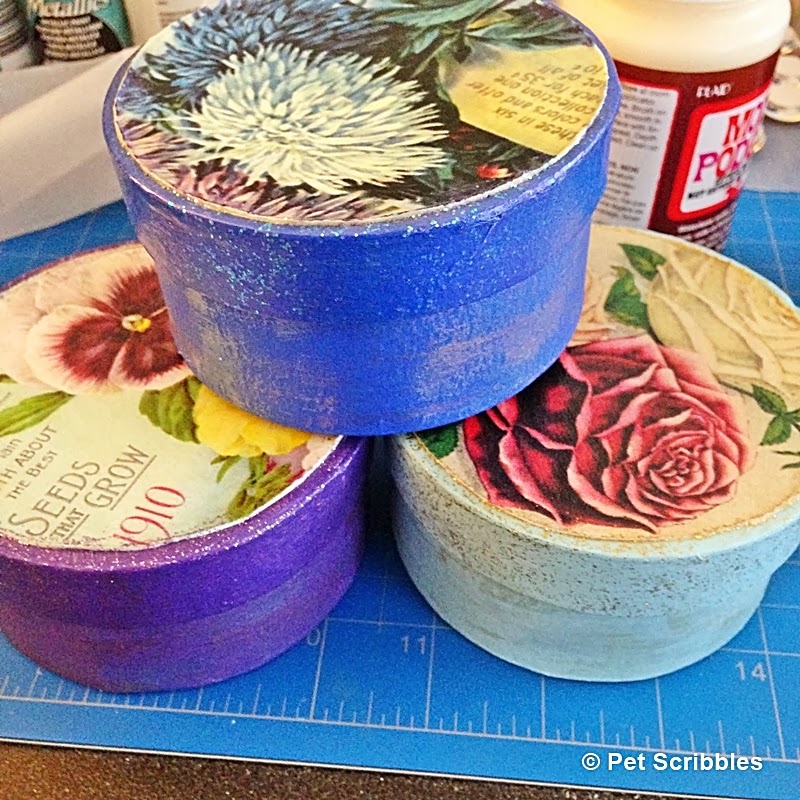
Step Nine: Decoupage the images onto each box lid, using antique Mod Podge. Set aside to dry.
Here’s what they look like so far . . .
You could leave your boxes like this, as they have a nice subtle sparkle around the outside edge of each vintage seed packet image, but I like to take it a step further just to give them a more finished look.
Step Ten: Outline the edges of each image on top of the box with matching glitter glue.
I love using Stickles glitter glue for this purpose because of the tiny applicator tips which make it easy to apply tiny lines of glitter exactly where you need them.
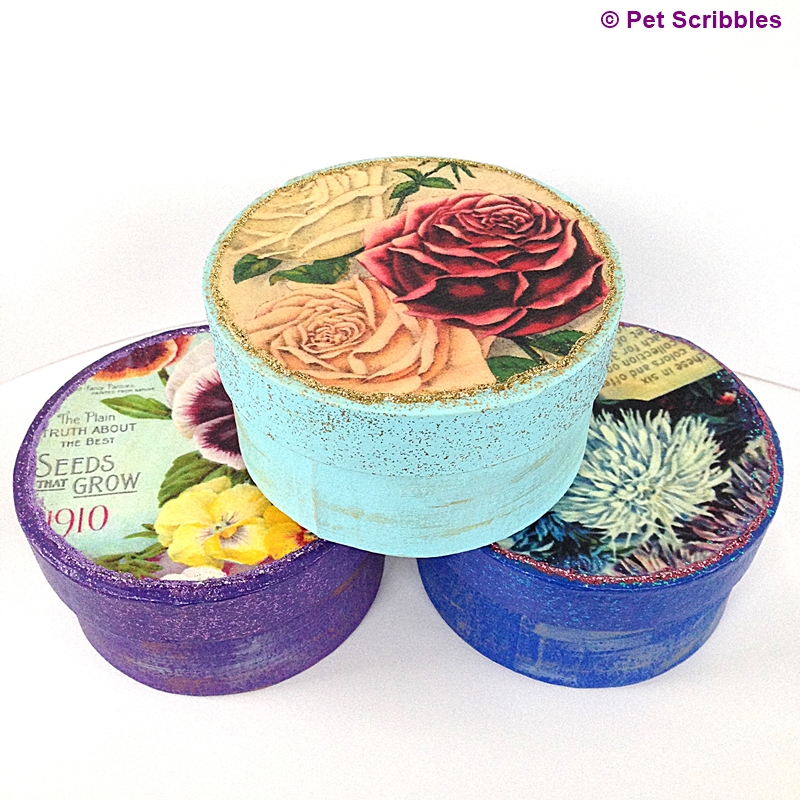
Let dry. And that’s it!
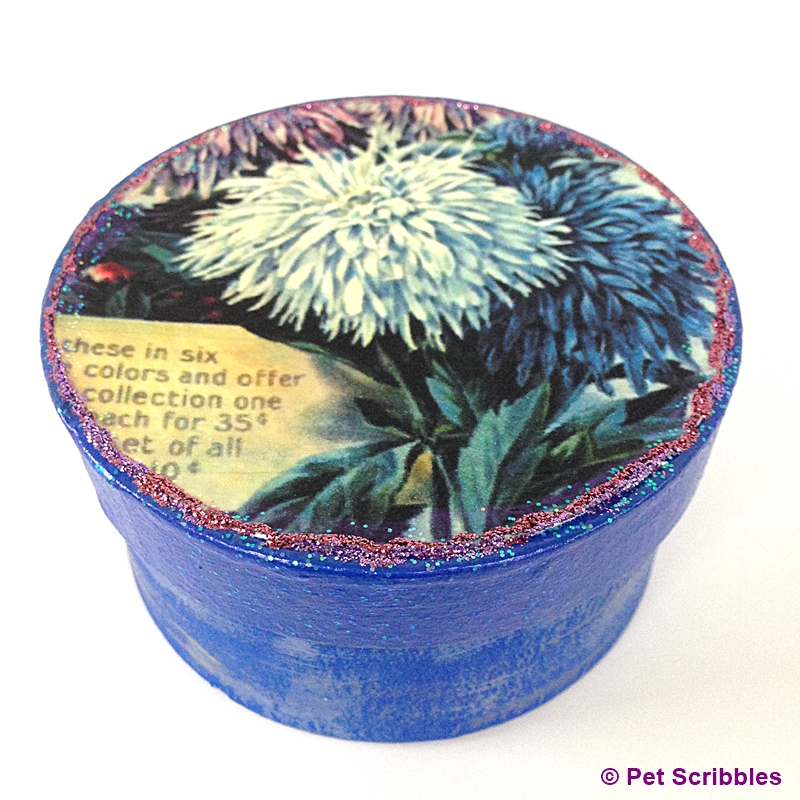
Asters vintage seed packet paper maché box . . .
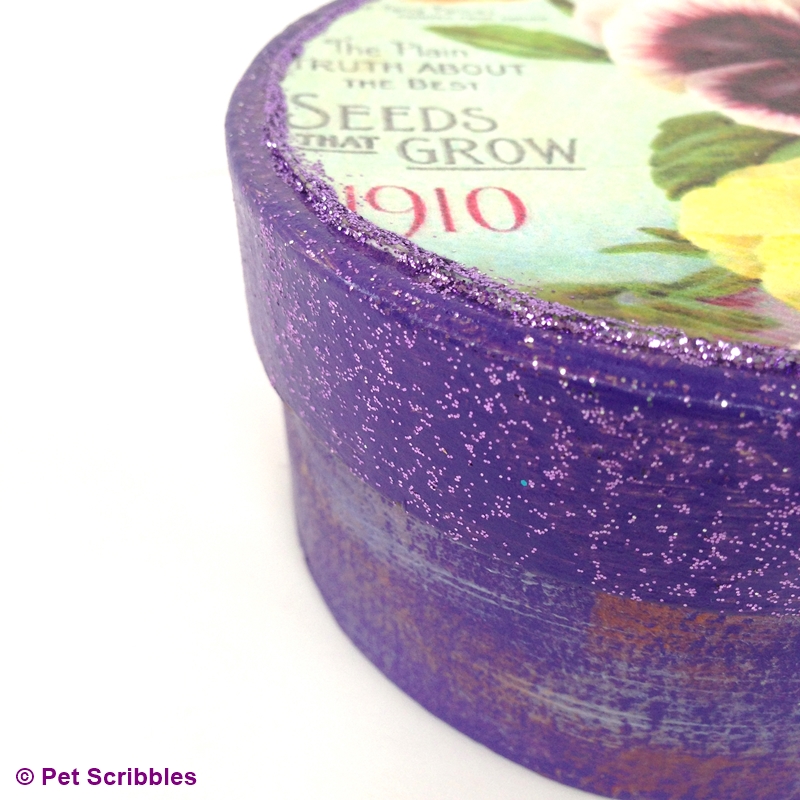
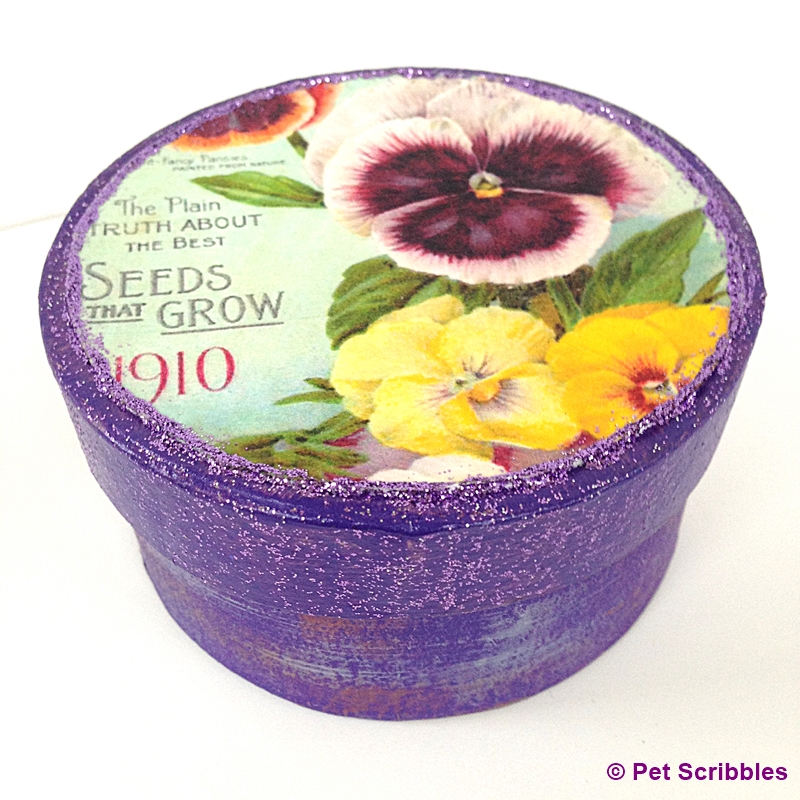
Pansies vintage seed packet paper maché box . . .
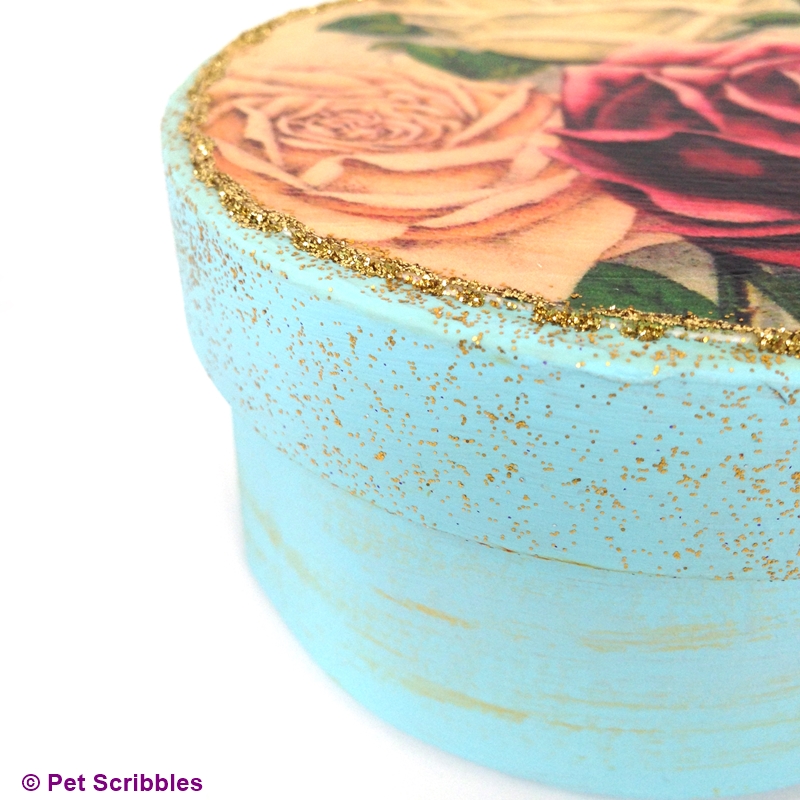
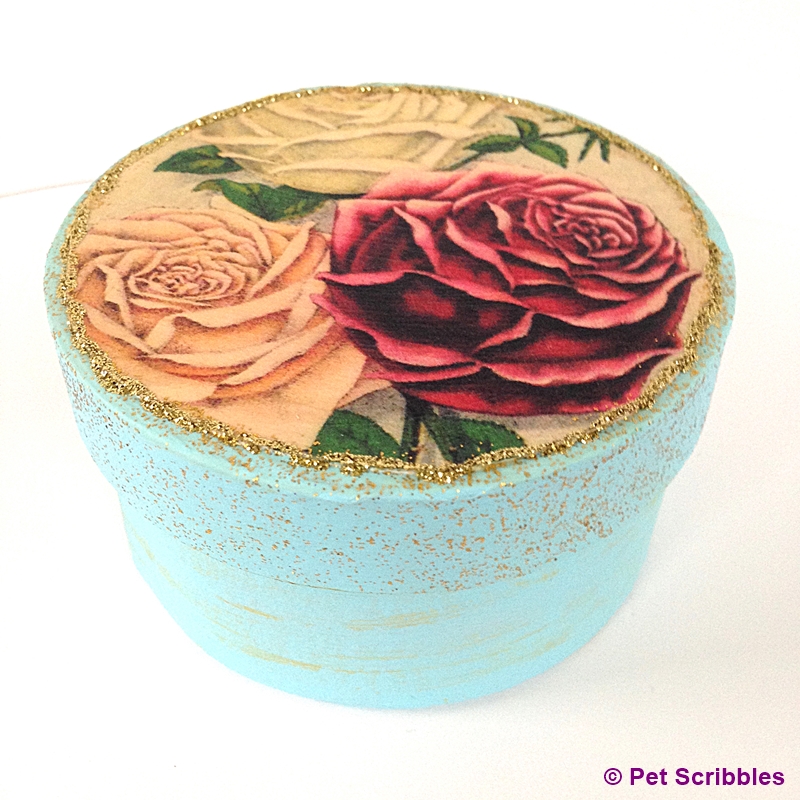
Roses vintage seed packet paper maché box . . .
Any gardener would love receiving one of these as a gift. You could put a little sweet something inside each one, maybe a small sample size of luxuriously moisturizing hand lotion, as we gardeners need to pamper our hands!
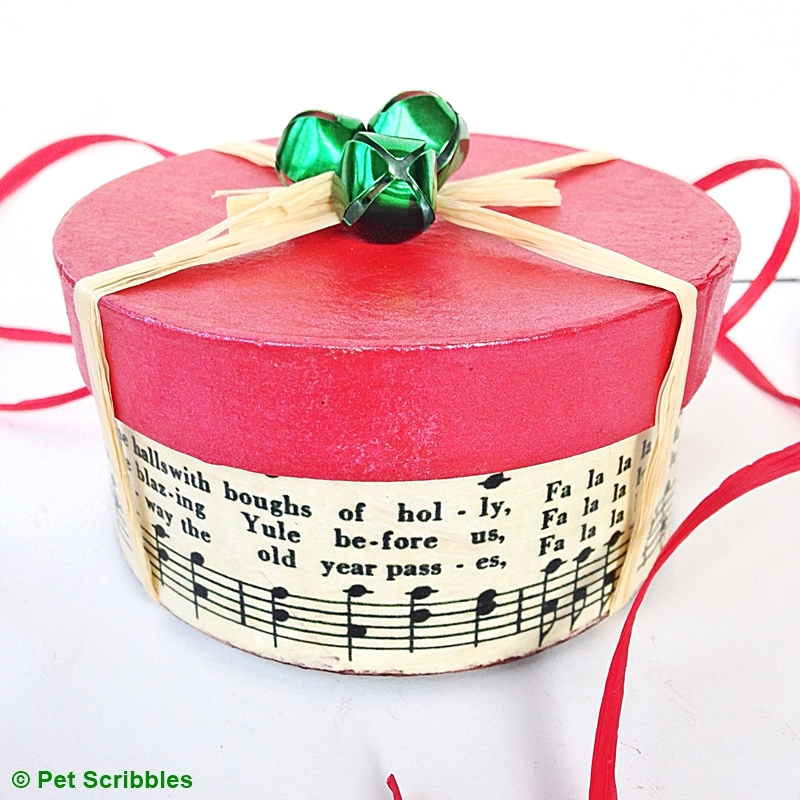
And if you want another example of an easy-to-make gift box – one that only takes 15 minutes to make – check out my tutorial to make this Holiday Gift Box . . .
Happy crafting!

Gorgeous and what a wonderful way to also gift some special seeds. My father in law is a big gardener. Thanks for the idea!
Thank YOU Carol, for the awesome idea to gift some seeds with these boxes! 🙂
What a fun project. I love the vintage seed packets and the addition of the glitter edge. This is great little gift and gift package combined. Thanks for sharing your how to. Have a lovely week!
You’re welcome, Wanda! Glad you love the glitter edges like I do!
I love these! I think my gardener guy would like them. I could use manly colors. Pinning! ~Jeanette
Thanks Jeanette for the awesome idea to use manly colors for men’s gifts! And thank you for sharing, too! 🙂