It’s time for another round of Crafty Hangouts, which are short Google Hangout videos showcasing how to craft with a particular product or crafty supply.
This month’s theme is all about mason jars, and I want to give a shout out to the Ball Corporation for sponsoring this month’s Crafty Hangouts and providing us with their awesome mason jars to craft with!
My favorite Ball mason jars are the blue ones from their Heritage collection, although I can’t wait to get my hands on the new green jars!
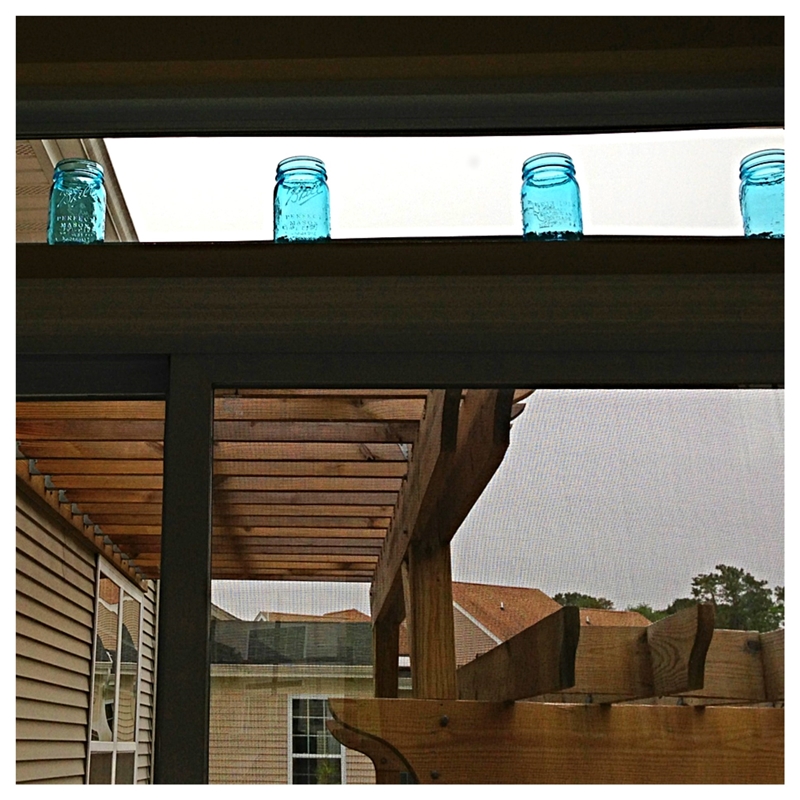
We have the gorgeous blue ones in our transom window above our patio doors:
I love how they capture the light, almost like stained glass!
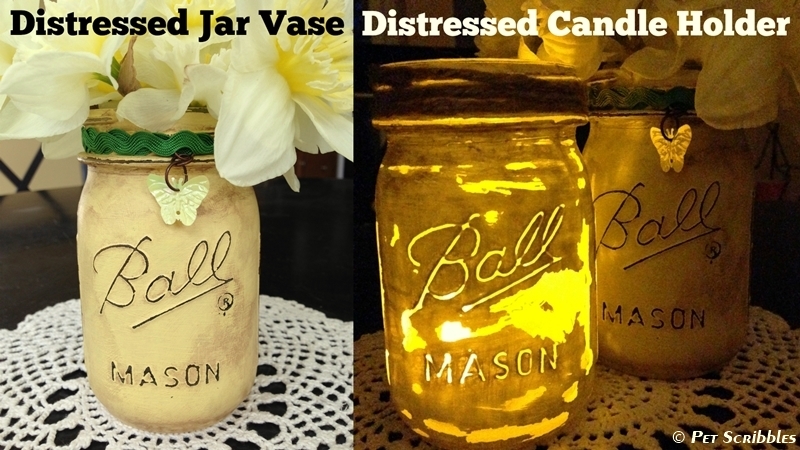
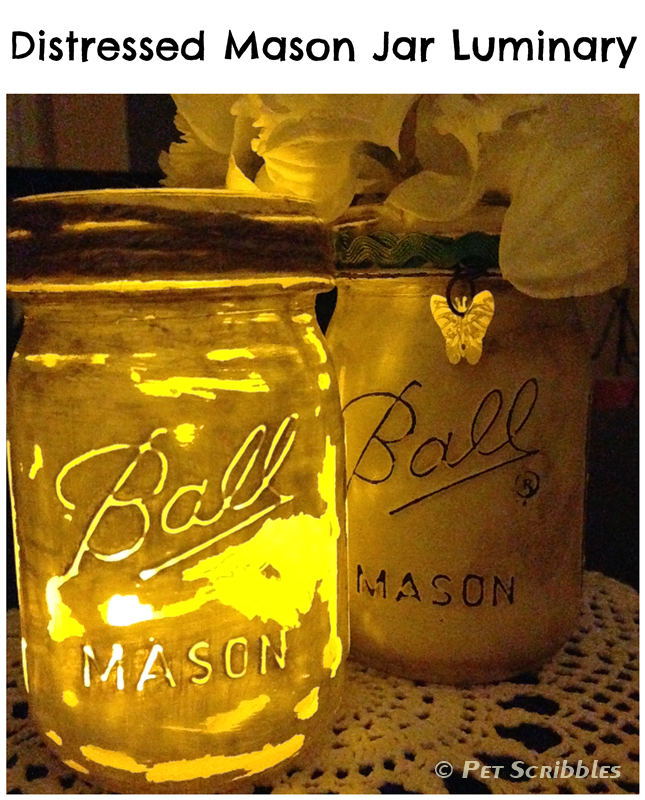
Here’s my Distressed Mason Jar Vase and Distressed Luminary:
Supplies used:
Ball Mason Jars
Americana Decor Chalky Finish paint in Delicate
Americana Decor Clear Wax
Dazzling Metallics in Renaissance Brown
Paper towels
Paintbrushes (medium and small)
Stencil brush
Clean white rags
Recycled plastic jar lid
Toothpicks
Distressed Mason Jar Vase and Distressed Luminary DIY Video:

Distressed Mason Jar Vase and Distressed Luminary Photos:
These photos are meant to complement the video. (Parts of the video are grainy and hard to see the details, so scroll through these photos to better see what I did.) And yes, a new web camera is on my list to buy!
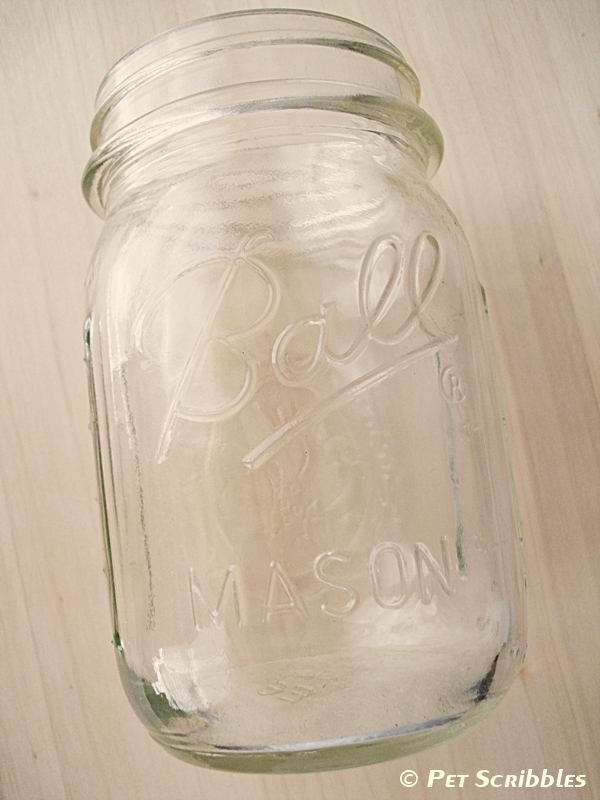
I started with a pint-sized Ball mason jar:
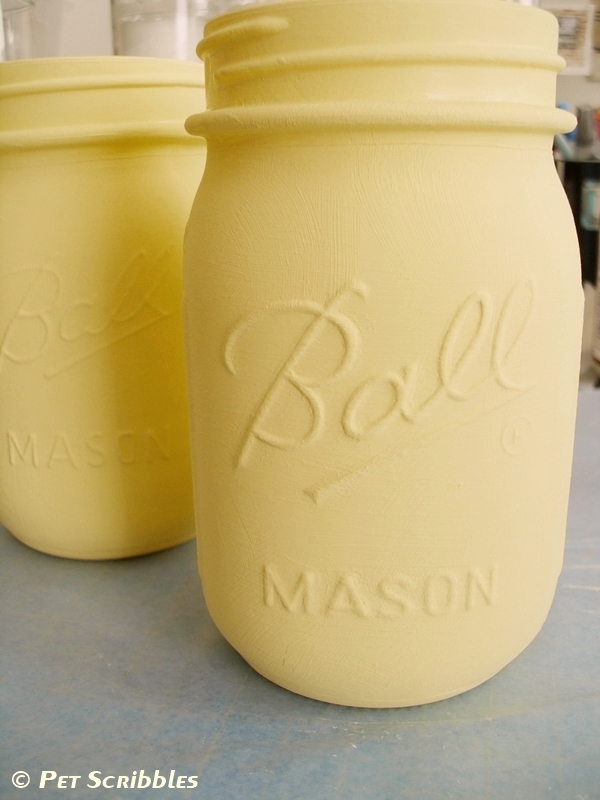
You could easily stop at this point, as the mason jars look so pretty and sunny!
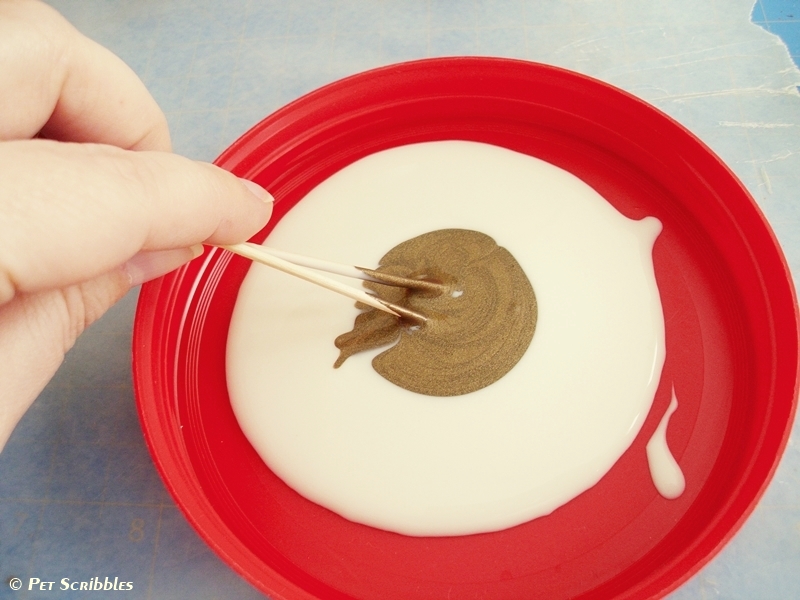
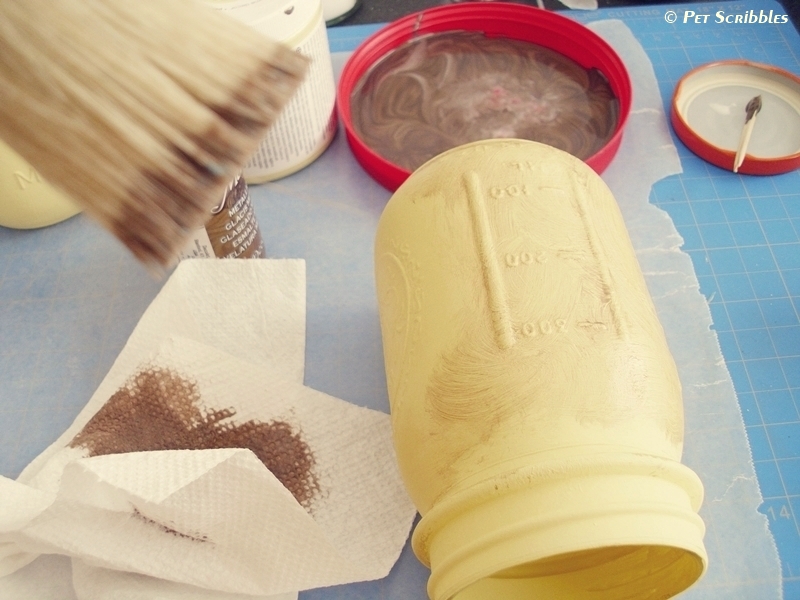
I wanted to distress them further, so I decided to mix up some clear wax with a metallic glaze:
I just used a couple of toothpicks to gently combine them:
As my favorite waxing brush was too big for this mason jar, I used a stencil brush to apply the wax mixture.
This photo, below, shows the wax I just rubbed onto part of the jar. My next step will be to wipe off that wax using a clean white rag, more in some areas, wiping less off in others. This will help with the distressed look I’m going for.
I used the paper towels to remove a lot of the wax from the stenciling brush before I wiped it onto the jar. You want to start with a little wax and build up, versus glopping it on heavily. (Technical terms!)
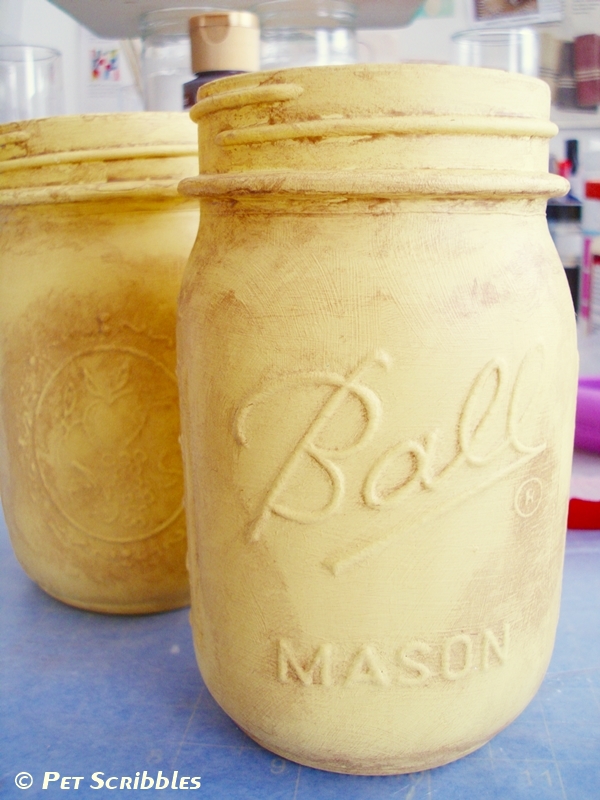
Here’s what the jars look like after the wax was applied and rubbed off:
Again, you could stop at this point, and have a lovely distressed mason jar.
But I went further… yes, I love distressing things!
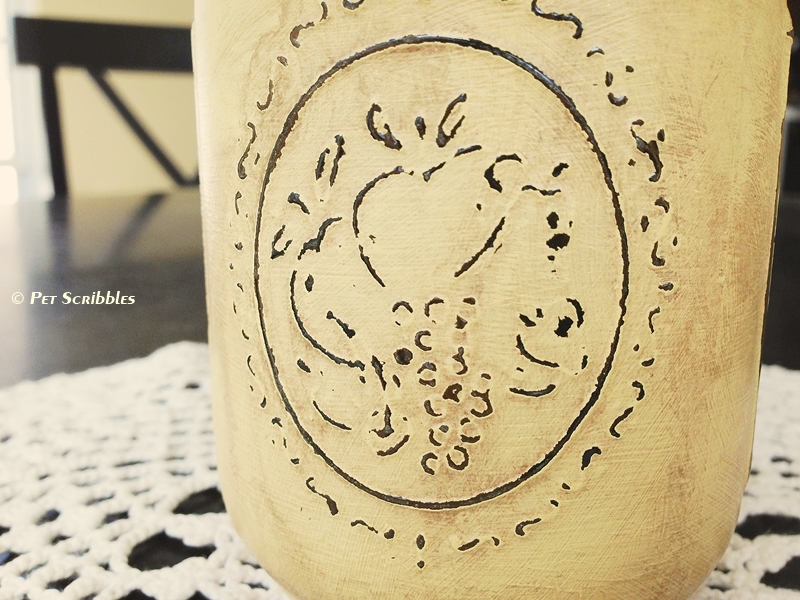
I sanded off the raised painted areas carefully, so that the words would “pop” out as well as the other raised elements of the jar.
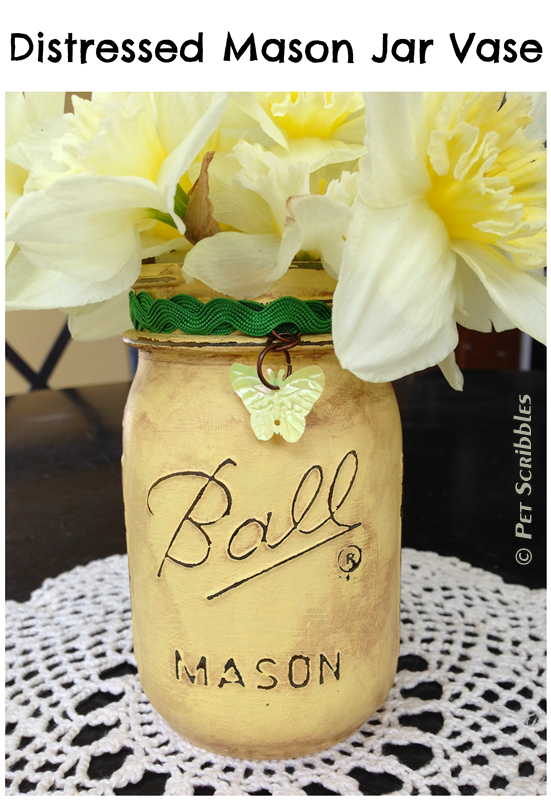
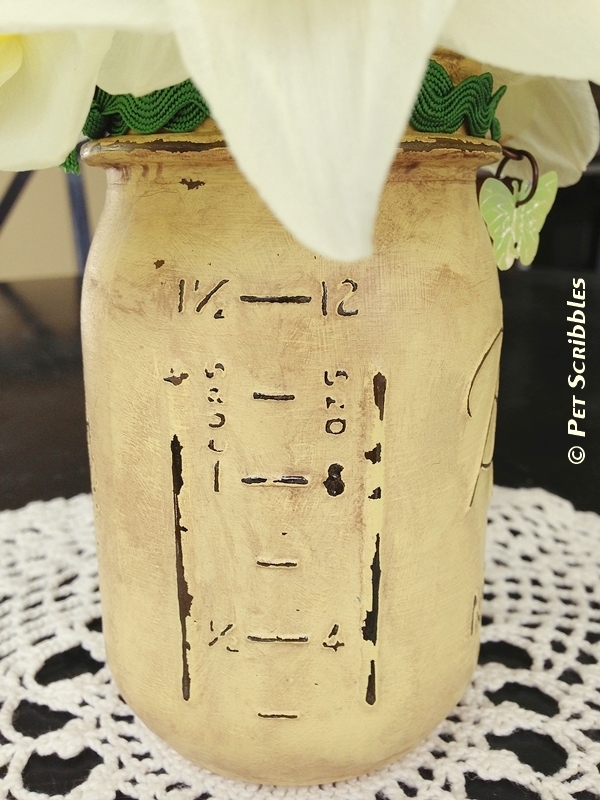
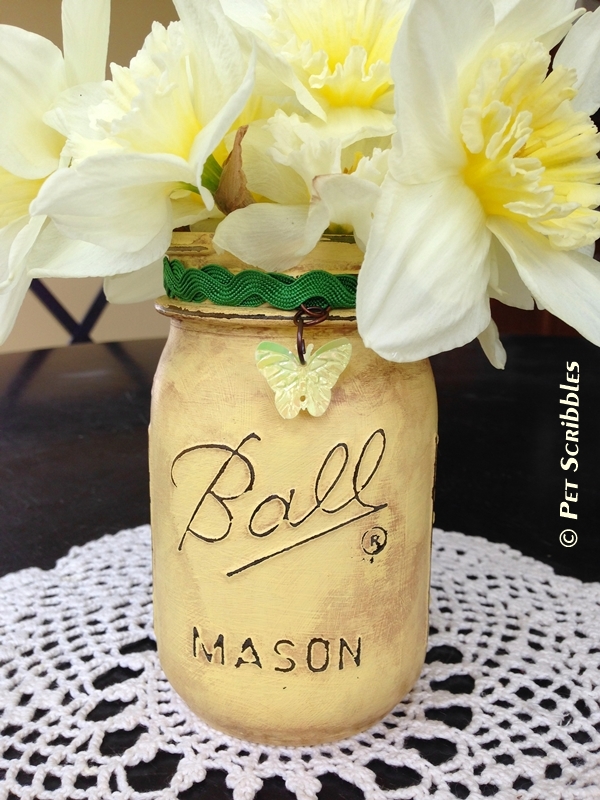
Here’s the completed jar:
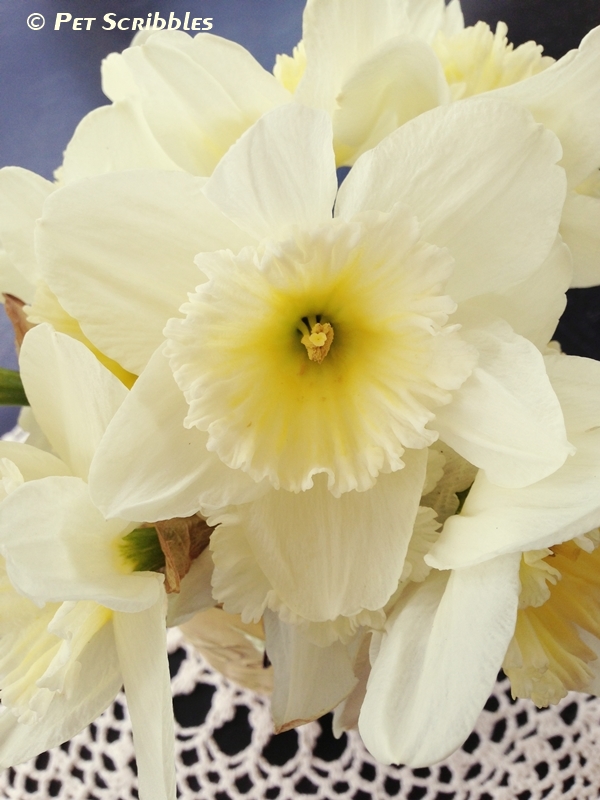
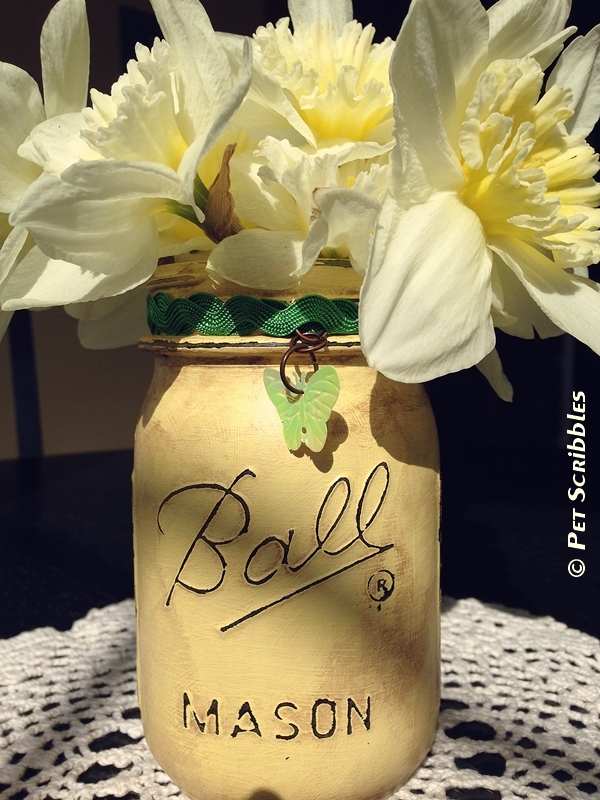
The perfect vase for some just-picked Daffodils from our garden!
And I couldn’t resist this picture in the early evening as the sun was setting:
To make the candle luminary, I sanded much more of the paint completely off the jar, so that candlelight could shine through here and there:
I love the two different looks you can create just by the amount of sanding done on each jar!
And make sure you watch the video above, as I explain an easy tip for sanding the letters when you don’t want to have any of the other paint come off!
If you have any questions, let me know in the comments!
Happy crafting!
~Laura




Laura, this is GORGEOUS! REALLY REALLY BEAUTIFUL! You nailed it, girl… a new technique you created and it looks amazing! xo
Thanks so much Malia! 🙂
Laura,
Could you please tell me what kind of wax you used? I could not make it out in the pictures.
Thank you and they are beautiful!!
Thanks for asking Tawn! I used Americana Decor Creme Wax (Clear) by DecoArt. And then I mixed in a little metallic glaze, also by DecoArt. You can find the Creme Wax online via ConsumerCrafts.com or HomeDepot.com. The wax is also sold in Michaels craft store too. 🙂