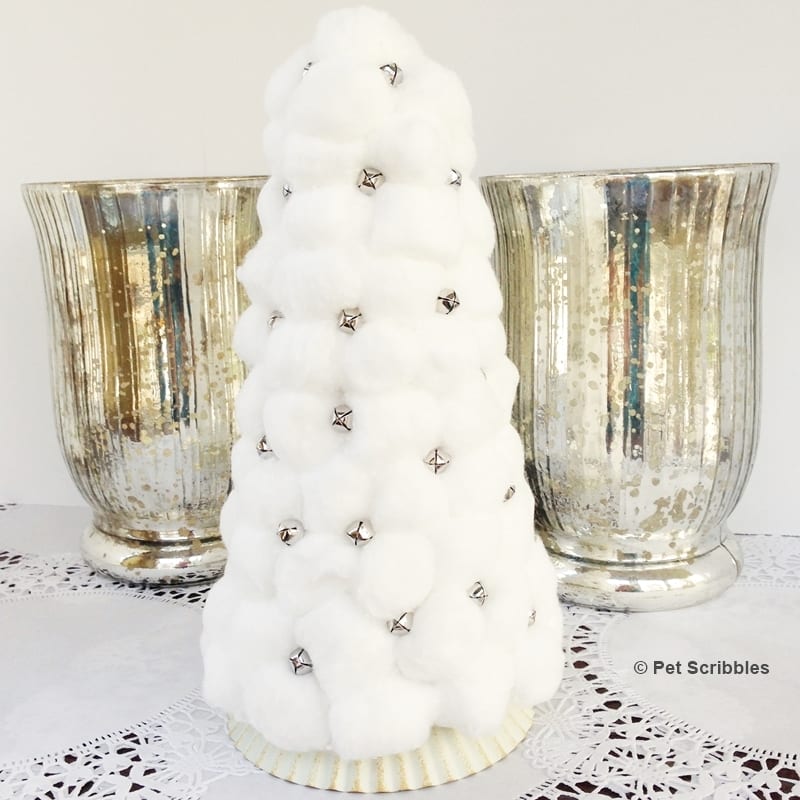
How to make a cotton ball and jingle bell Christmas tree, using a Styrofoam cone, cotton balls, small jingle bells and strong glue. An easy and fun DIY!
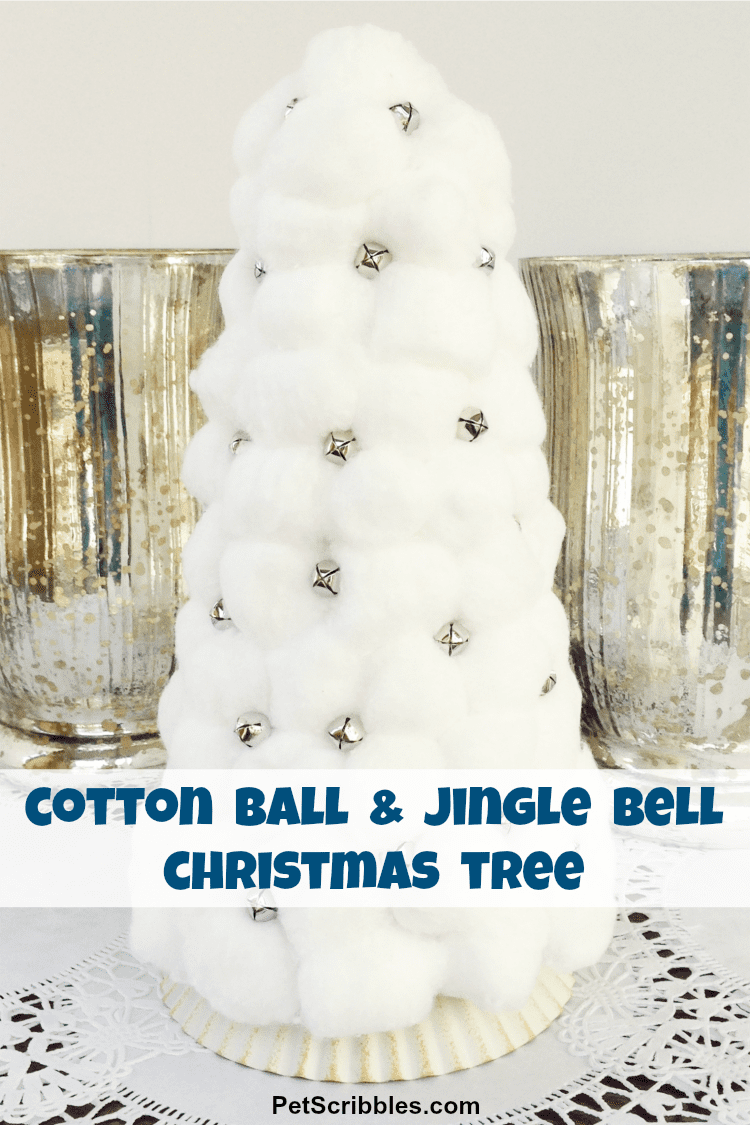
Today I’m sharing how I made my cotton ball and jingle bell Christmas tree, based on a wonderful craft from my favorite holiday book Creatively Christmas: Inspired Yuletide Décor by Jennifer Rizzo.
Jen Rizzo is one of my favorite bloggers, and I couldn’t wait to purchase her book when it came out a few years ago.
I wasn’t disappointed: the craft projects she shares are easily doable, and beautifully done.
Today’s DIY project is from the book: a cotton ball and jingle bell Christmas tree cone!
I had these Styrofoam cones sitting on my craft shelf. I had painted them brown for another project idea that I never got around to.
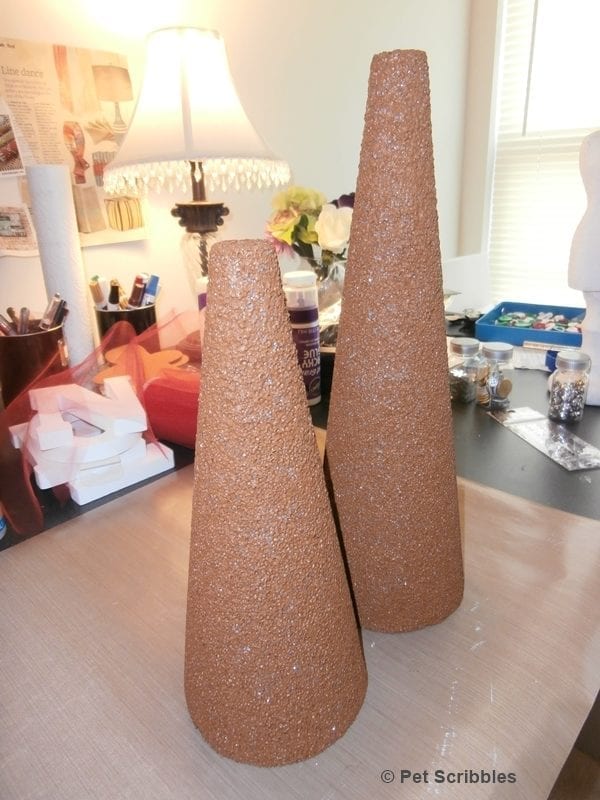
So I thought, “Why not make one of these into a jingle bell Christmas tree? (Jen used cardboard cones for these trees in her book.)
Note: You do not need to paint the cones for this project at all. Just start with the cotton balls!
Cotton Ball and Jingle Bell Christmas Tree
Supplies:
- FloraCraft Styrofoam cone
- Aleene’s Turbo Tacky Glue
- Aleene’s Fast Grab Tacky Glue
- Cotton balls
- Jingle bells (small size)
- 2 recycled plastic jar lids:
- one to hold glue
- one to rest the cone on so it turns easily while attaching cotton balls
- Tin candle plate (optional)
You can find basic cotton balls just about anywhere, especially dollar stores. I purchased the largest size I could find, as I wanted big, fluffy-looking trees.
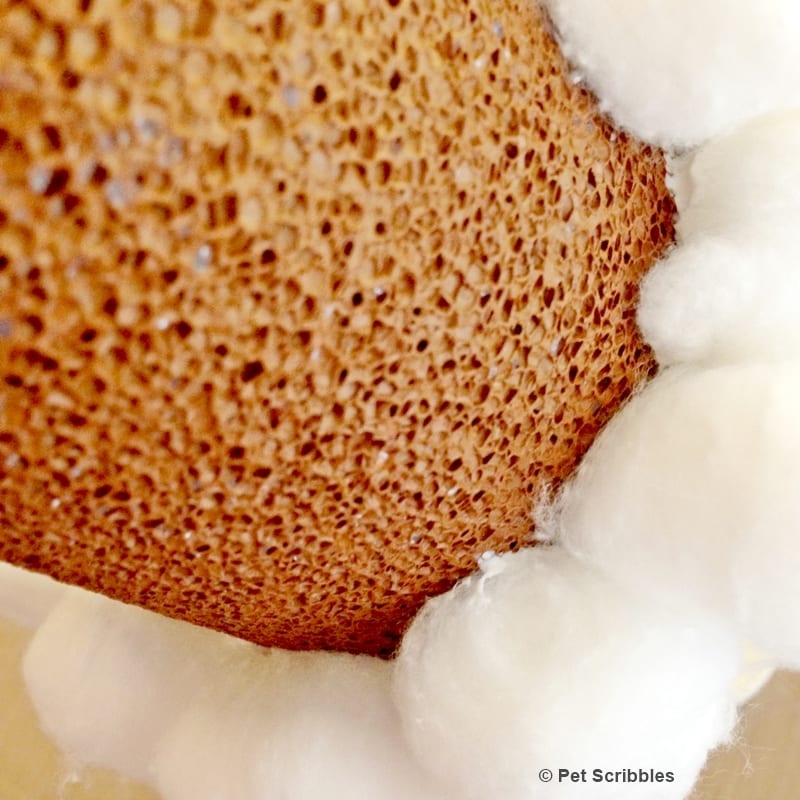
First, adhere the cotton balls to the Styrofoam cone.
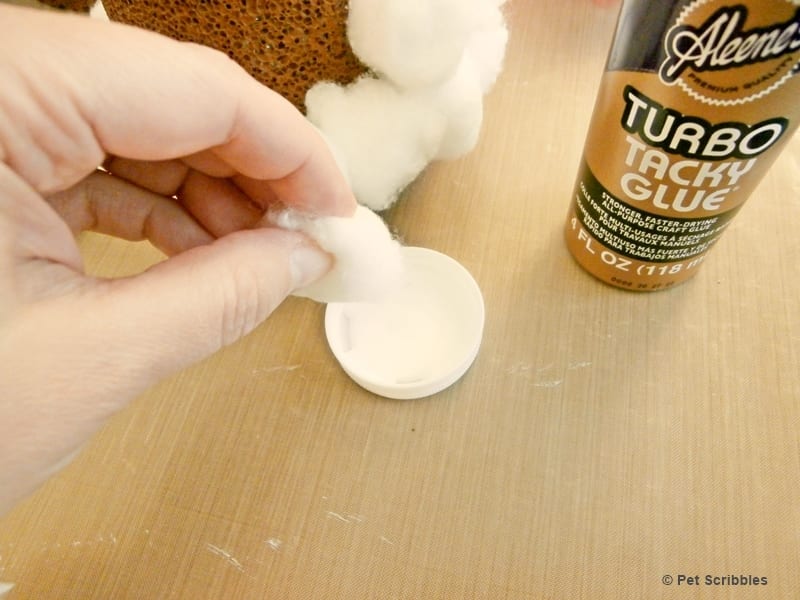
To securely glue the cotton balls to the cone, I used Aleene’s Turbo Tacky Glue. I squeezed a good amount of the glue into a recycled plastic lid, then dipped each cotton ball lightly to coat part of one side in glue, then pressed that side onto the cone.
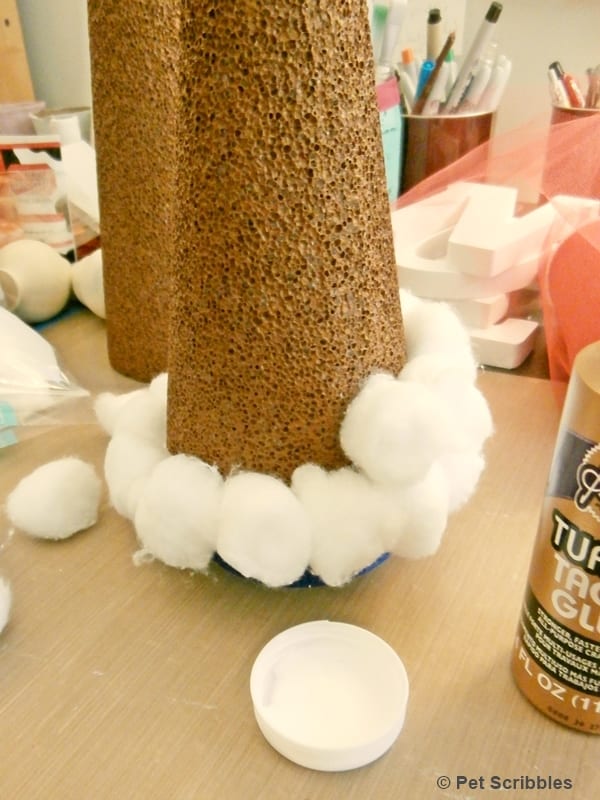
I started attaching the cotton balls around the bottom of the cone, then worked my way up.
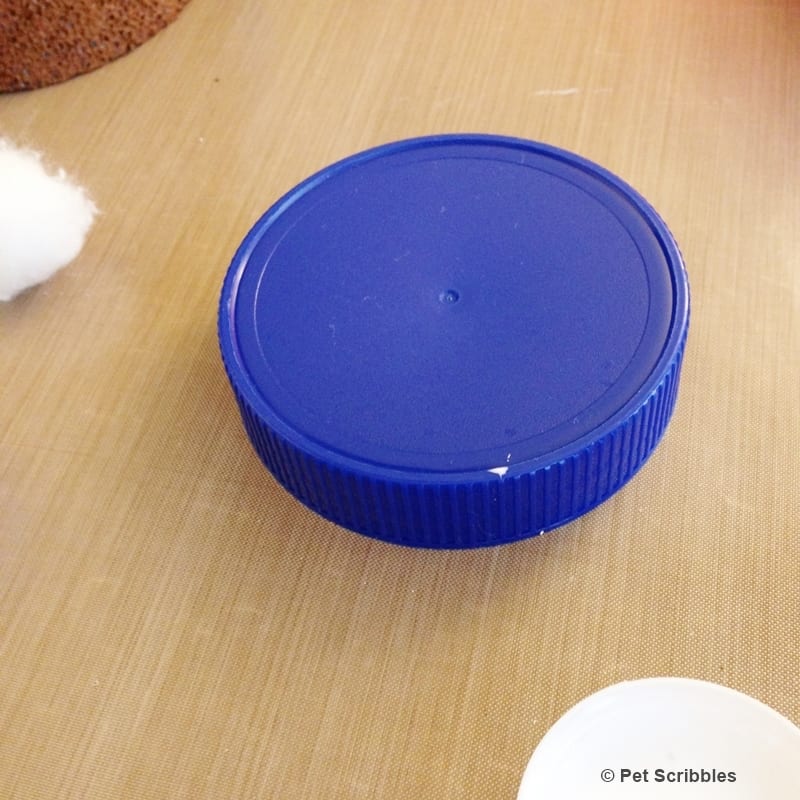
Once I had the bottom layer of cotton balls attached, I put the cone on this blue jar lid. I normally keep these lids to hold paint and beads, but they also work great as crafting pedestals.
You can turn whatever you’re working on without getting any glues or paints on your fingers as you work.
Next, attach the jingle bells to the cotton ball tree.
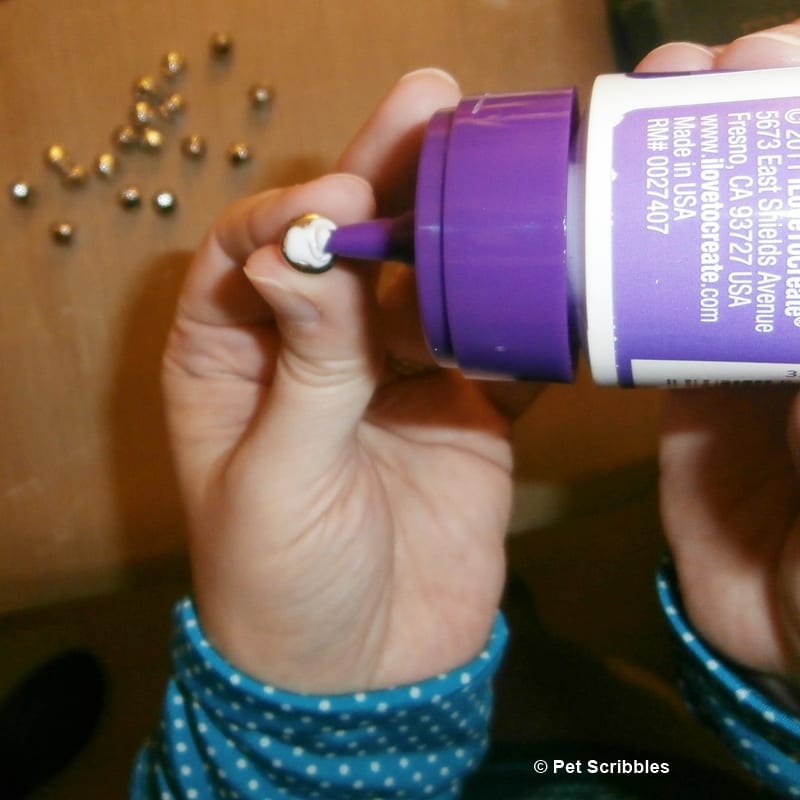
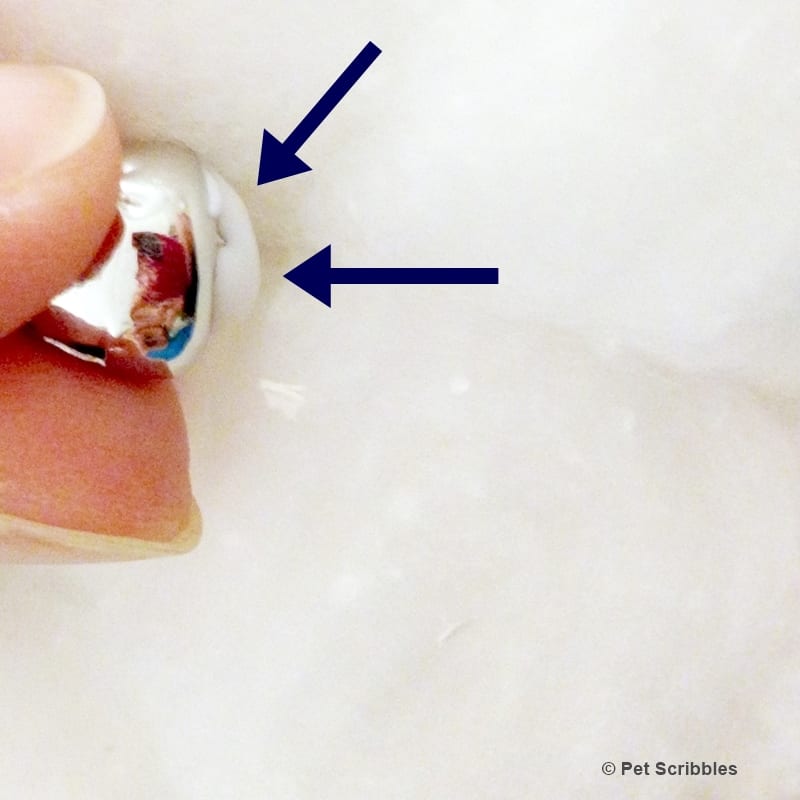
This step was easy to do using Aleene’s Fast Grab Tacky Glue, as it’s formulated to grab and attach difficult surfaces. I applied glue to the underside of each jingle bell . . .
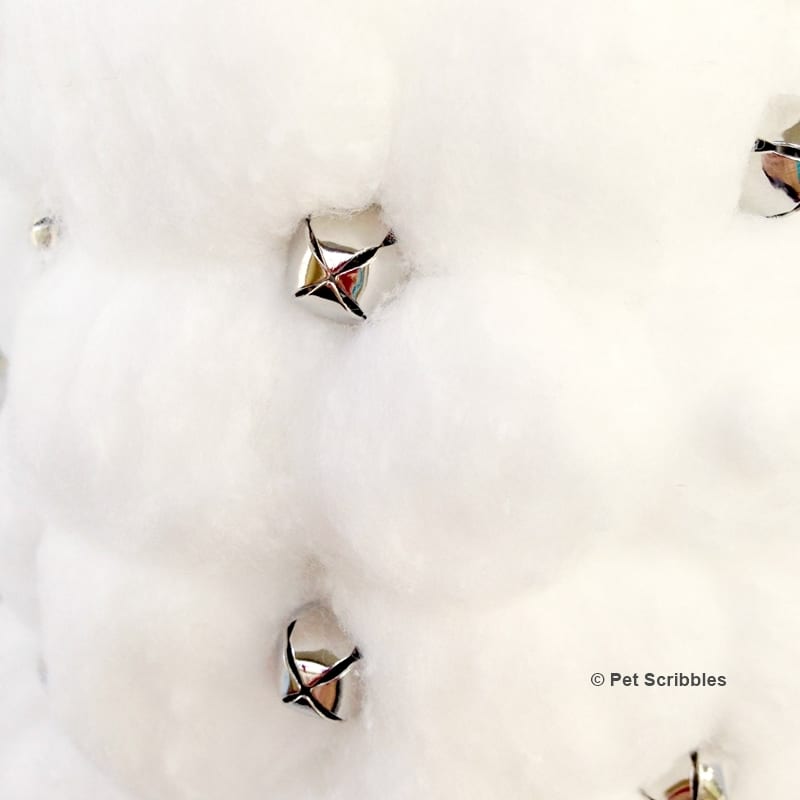
Then I pressed each jingle bell (glue side toward the tree) in between the cotton balls, in one of the many nooks and crannies on the tree.
The glue adheres quickly and the jingle bells stay exactly where you put them.
Add an easy jingle bell Christmas tree skirt.
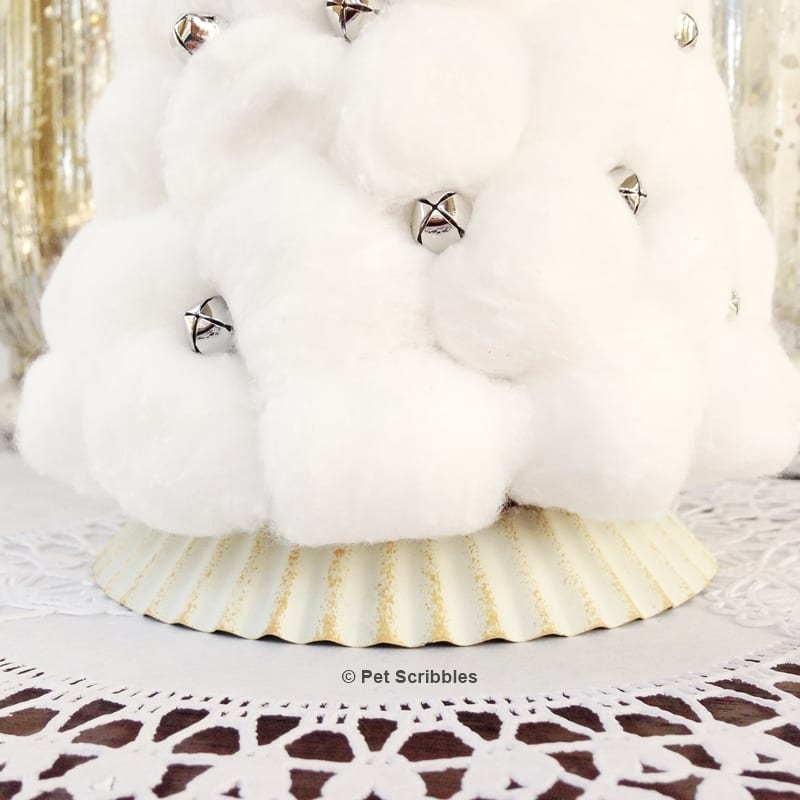
I used a tin candle plate that I purchased from ConsumerCrafts.com as the base. Just turn the tin upside down for an instant tree base that resembles a tree skirt. A nice rustic touch!
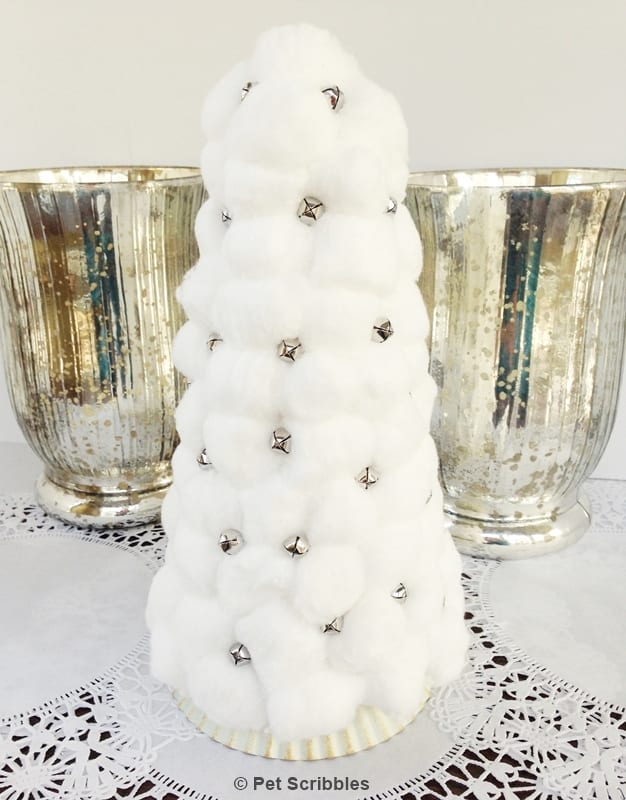
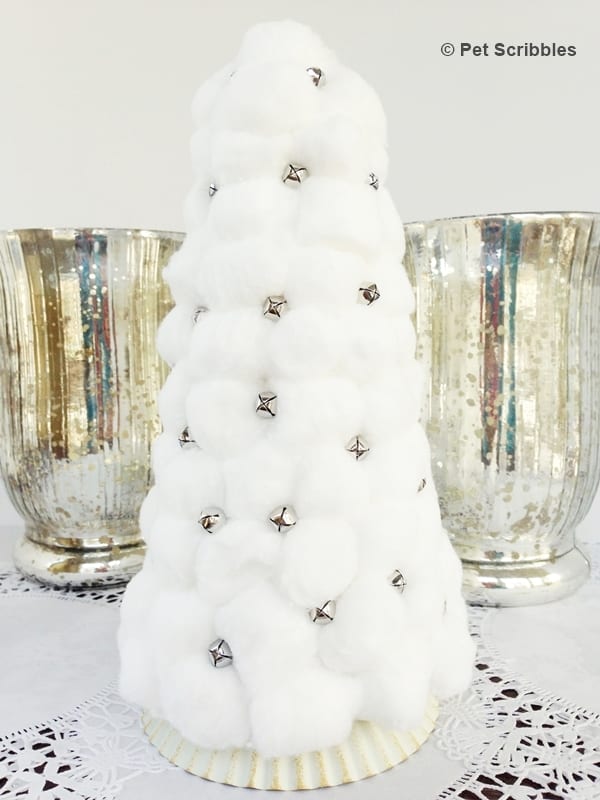
Before you know it, you have a pretty Christmas tree for the holidays, and a pretty Wintertime tree to enjoy too!
This tree is so pretty next to my mercury glass vases . . .
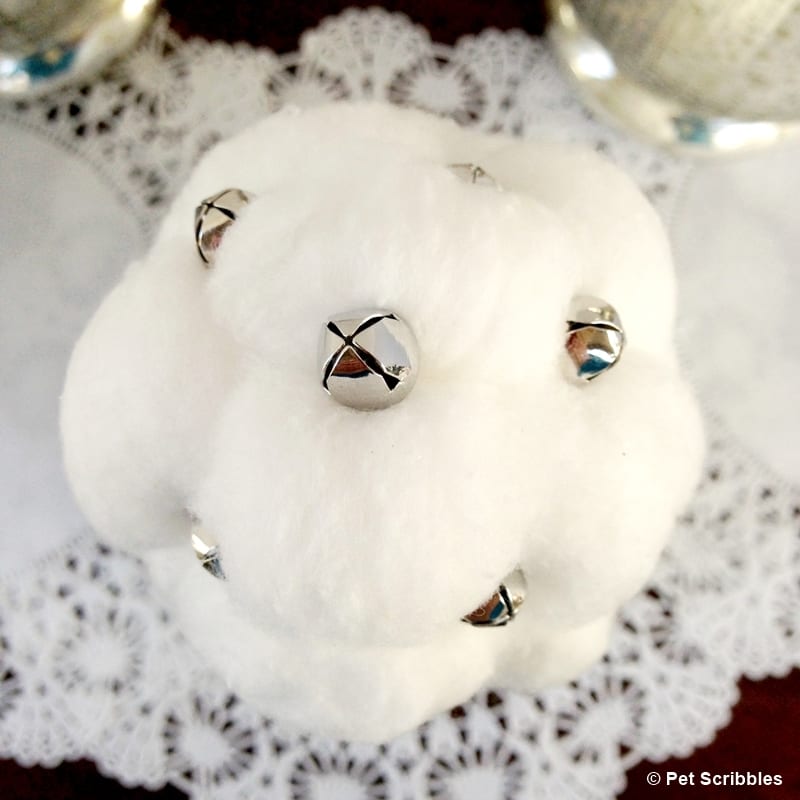
I love the jingle bells all over the tree, even on top . . .
This tree is perfect for a White Christmas theme!
If you’re interested in taking a peek at the Creatively Christmas book by Jennifer Rizzo, simply click below (Amazon affiliate link):
Once you click on the Amazon link, you can click on the “Look Inside” to get a preview and see some of the projects and holiday decorating inspiration photos from her own home.
What did I make with the other Styrofoam cone?
I made a fun Santa hat using festive sheet music that I “antiqued” with Antique Mod Podge which instantly made the music look vintage! Adding cotton balls to the base and top plus some colorful jingle bells finished it off nicely!
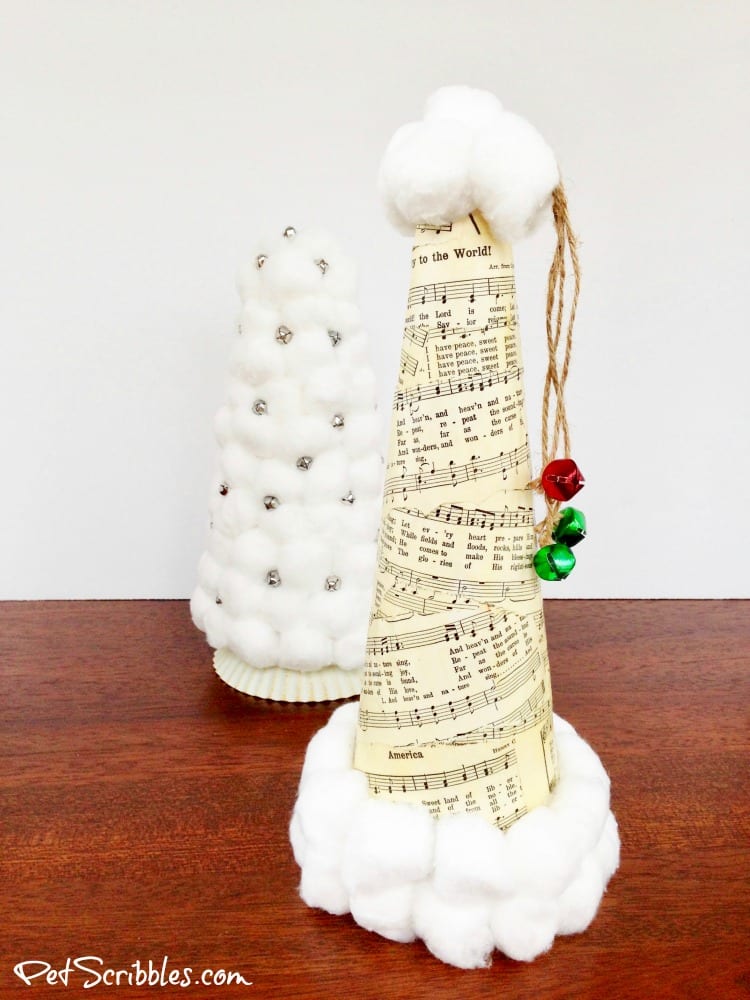
Here’s how I made it: Sheet Music Santa Hat Cone
Happy holiday crafting!


