Here’s a quick makeover of a vintage Christmas Santa boot decoration. It’s super-fast to do, yet it took me years to do it. Ever have that happen?
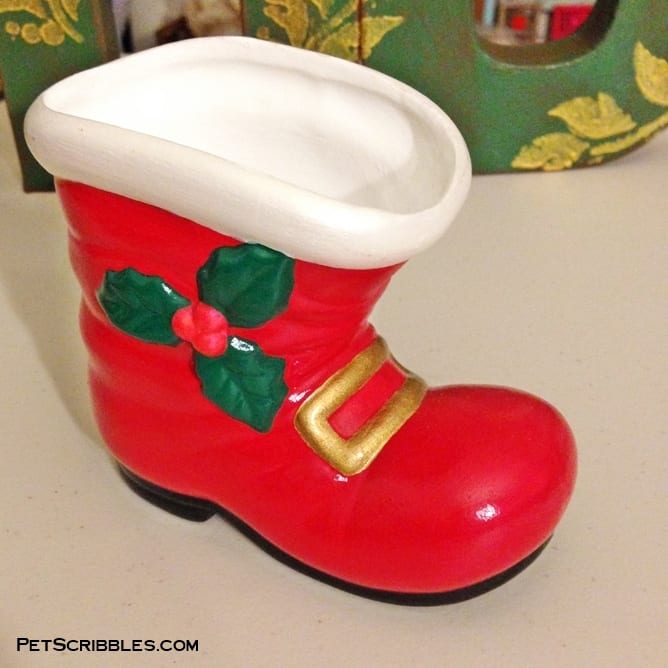
It all started with this Santa boot I picked up at a neighborhood yard sale years ago. As soon as I spotted it, I knew I wanted to give it a White Christmas-themed makeover.
And then life happened… and my husband loves traditional red and green Christmas decorations… so this little boot began appearing each year as is.
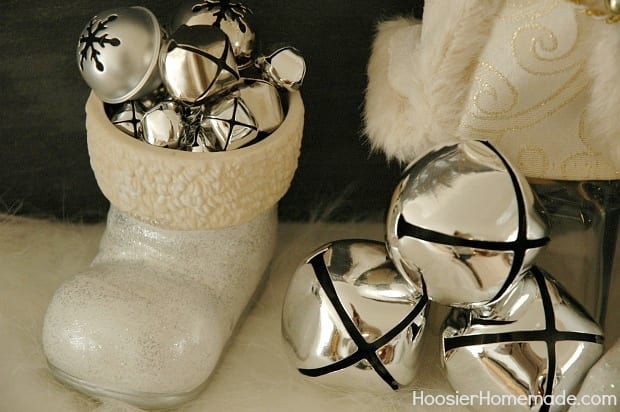
Until I saw this gorgeous boot in a post that my blogging friend Liz – from Hoosier Homemade – shared on Hometalk last year:
It was as if choirs of Christmas angels began singing in the background, because I found my inspiration for the book makeover!
And then life happened.
Again.
And another year came and went.
This year when I unpacked the Christmas decorations, I took this boot and put it front and center on my craft table.
And I finally spent an enjoyable afternoon giving this little guy a White Christmas transformation!
Whoo-hoo! I love how it turned out – plus how easy it was!
FTC Disclaimer: Some of the links in this post are affiliate links. I explain more here.
Supplies:
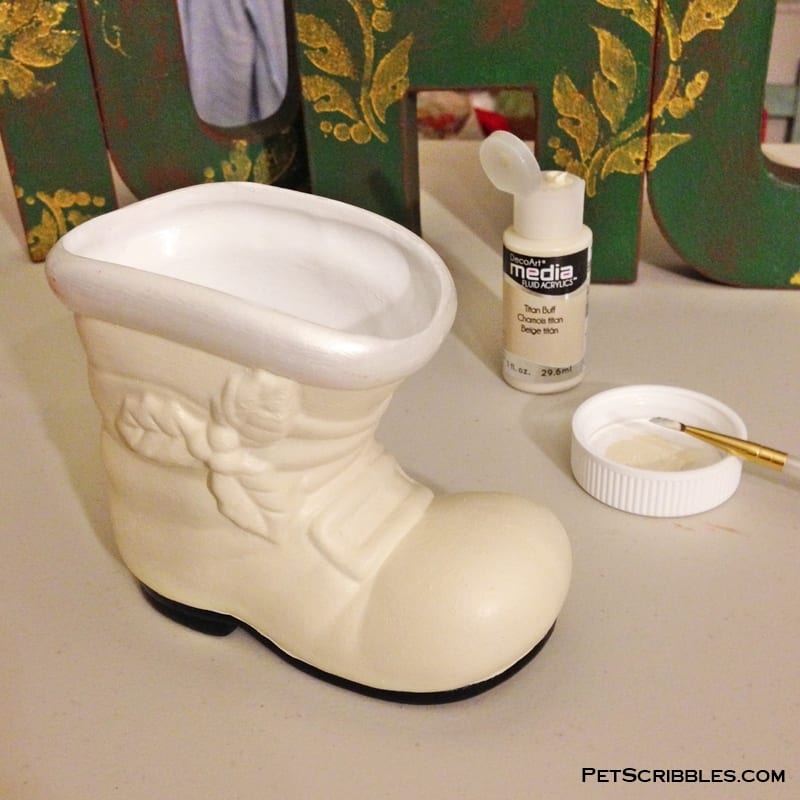
- DecoArt Media Fluid Acrylic in Titan Buff
- Stickles Glitter Glue in Copper, Diamond, and Patina
(Patina has been discontinued, but Ice Blue is pretty close in color.) - Small paint brush
- Plastic lid
- Wax paper
- Straight pin
Step One: Paint the boot with two coats of Titan Buff. Let paint dry in between coats.
I chose not to paint the top of the boot — the white cuff — as I loved the color as well as how it looked with a few scuffs here and there. I kept the bottom of the boot black as well.
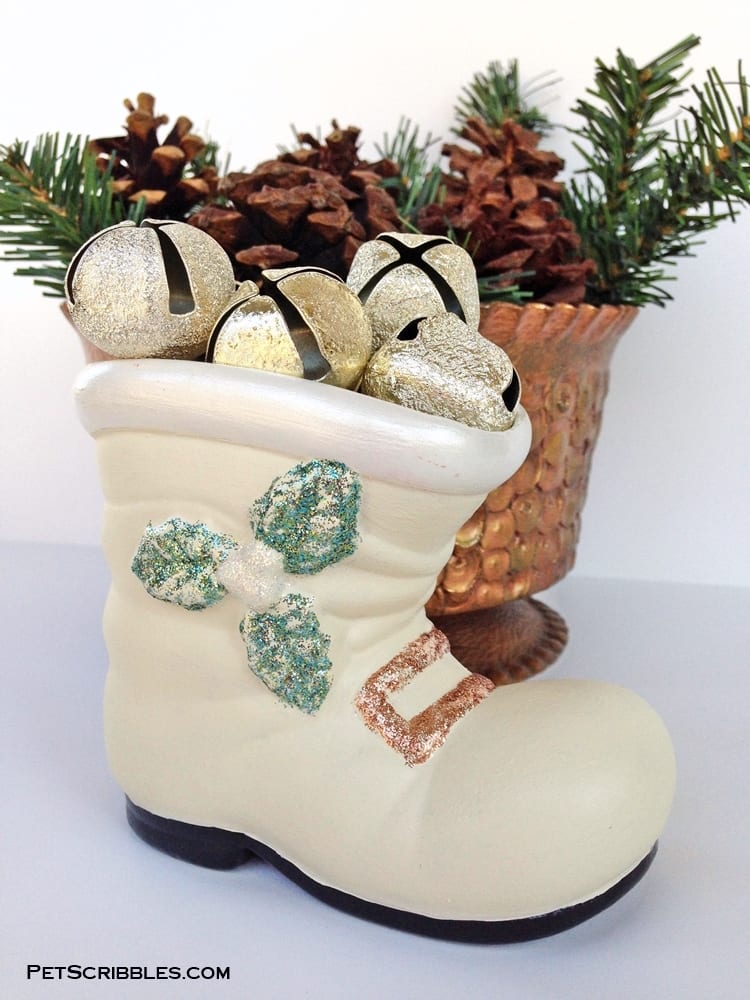
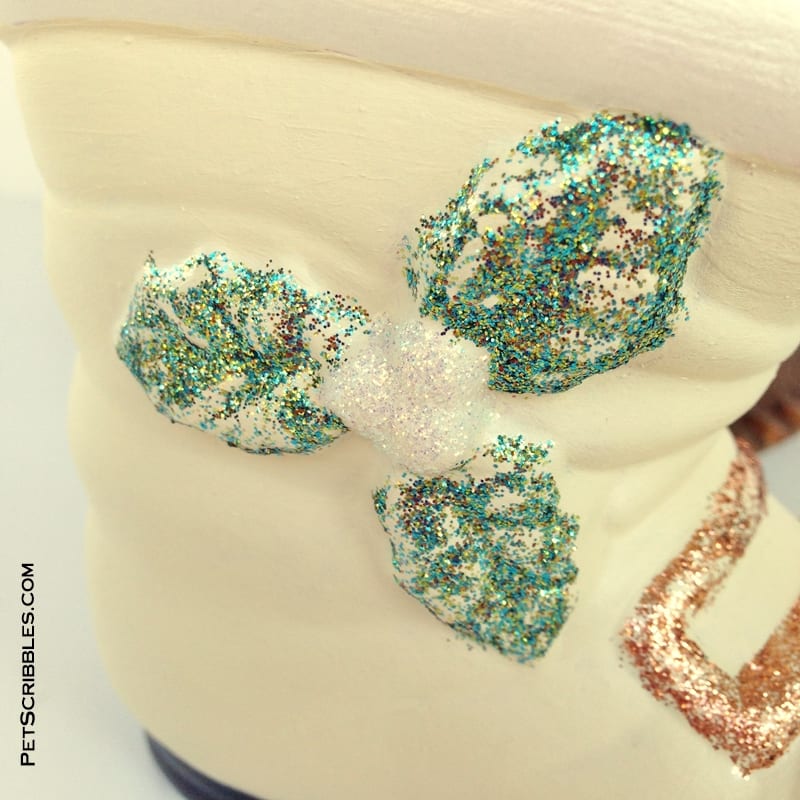
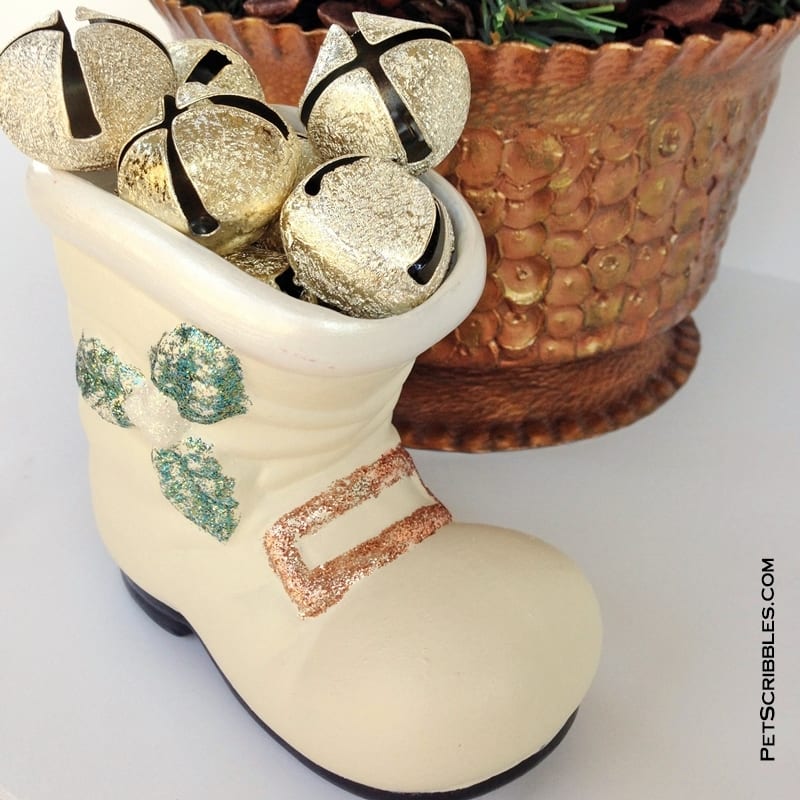
Step Two: Paint any detail work using glitter glue in colors of your choice. I chose Copper for the boot buckle, Patina (a blue-green) for the holly leaves and used Diamond (crystal white) for the center berries. First I squirted on a tiny amount of the glitter glue, then spread it around with a small paint brush until I liked the look. Let dry.
Helpful Tips:
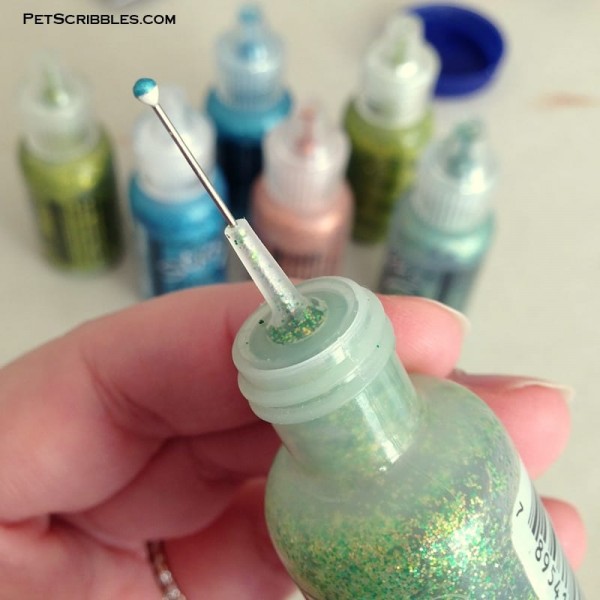
- Use a straight pin inserted into the tip of the glitter glue bottle to move any possible dry glue out of the way.
- Always test the flow of the glitter glue first on scrap paper, so there’s no surprises on how much squirts out at once.
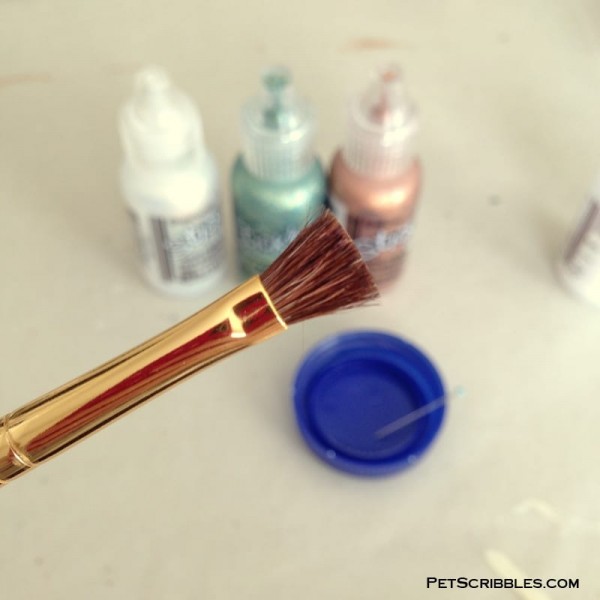
- If the glitter glue you’re using has a wider nozzle, squeeze the glue into a plastic lid first, then apply to the boot with a small paint brush. (Safer that way to avoid messes!)
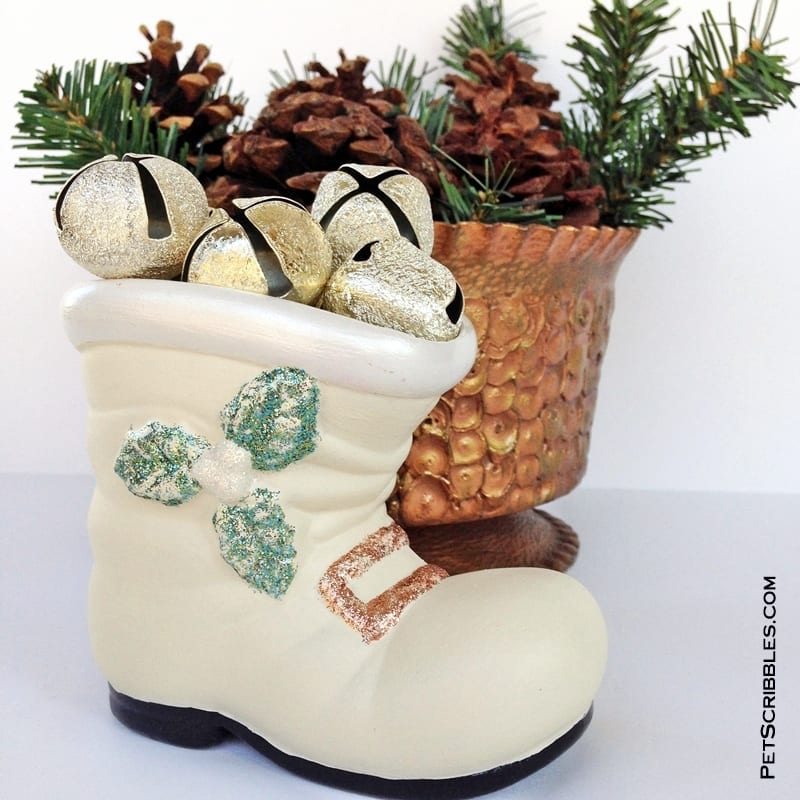
The “new” vintage Santa boot!
Of course when I showed my husband, he asked why I changed the boot from red and green. After explaining myself, he asked why the berries weren’t red. (And he may have a point, not sure if the berries should be red…)
My husband prefers traditional red and green colors for Christmas decorations, while I like to add pops of teal, white, ivory and metallic colors into our holiday decor. And whenever I mention to him that I’d love to do a more “white” Christmas, I think he wants to reach for the Egg Nog!
(You can see more of my White Christmas decorating ideas at the end of this post under Related Posts.)
Happy holiday crafting!
~Laura

Looks awesome! I love this idea!
Thanks Donna! And I used glitter too – even though it’s in the glue! LOL
So cute! Love the extra touches you added!
~Liz
Thanks Liz! And thanks for the inspiration for this project too! 🙂