You can make your own miniature fairy garden mushrooms using acorn caps and twigs from your yard! I was inspired by the new book Crafting with Nature, which is my new favorite gardening and crafting book.
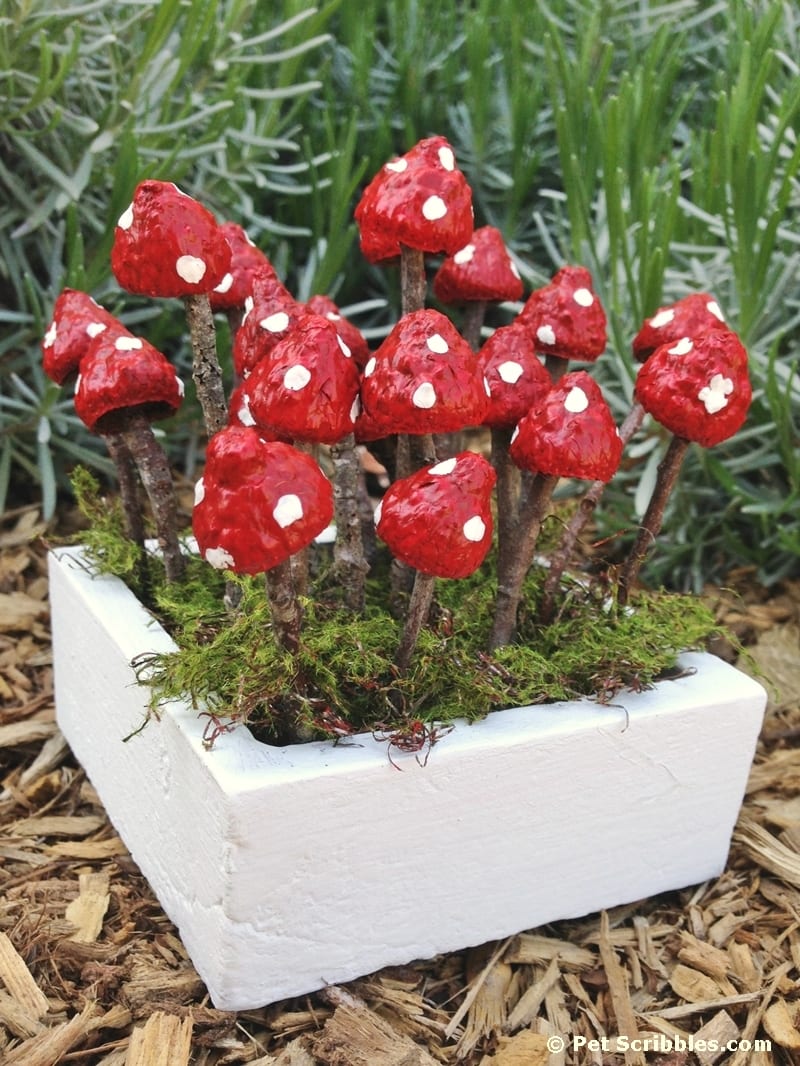
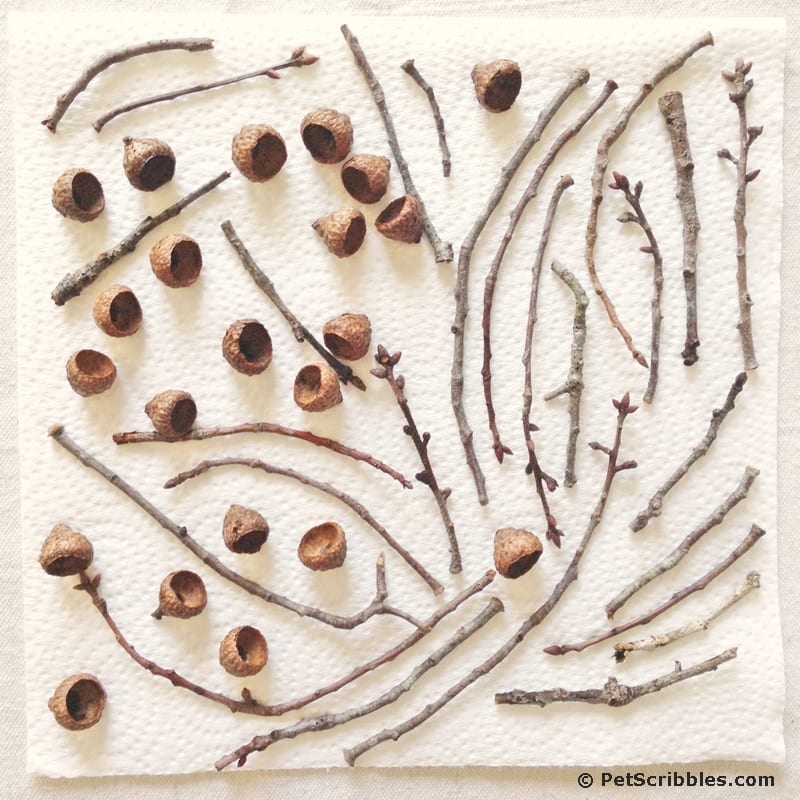
The first thing I did was to gather acorn caps and twigs from our backyard. We had a crazy amount of acorns fall all over southern New Jersey last Fall into Winter, because of what’s apparently called a mast year for oak trees.
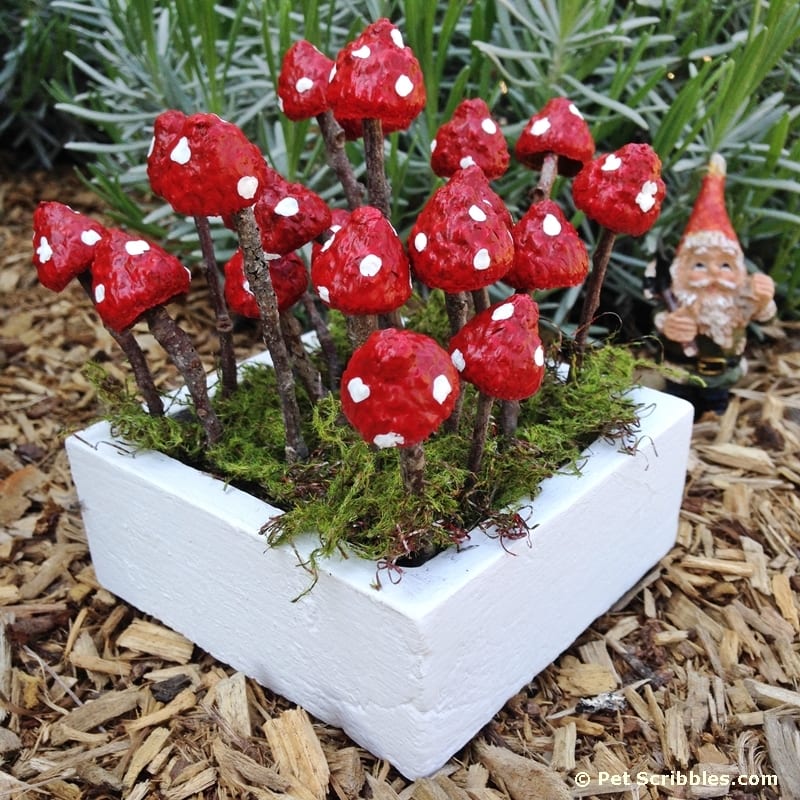
Charming fairy garden mushrooms from acorns and twigs!
Note: Some of the links in this post are affiliate links. I explain more here.
Supplies:
- acorn caps
- twigs
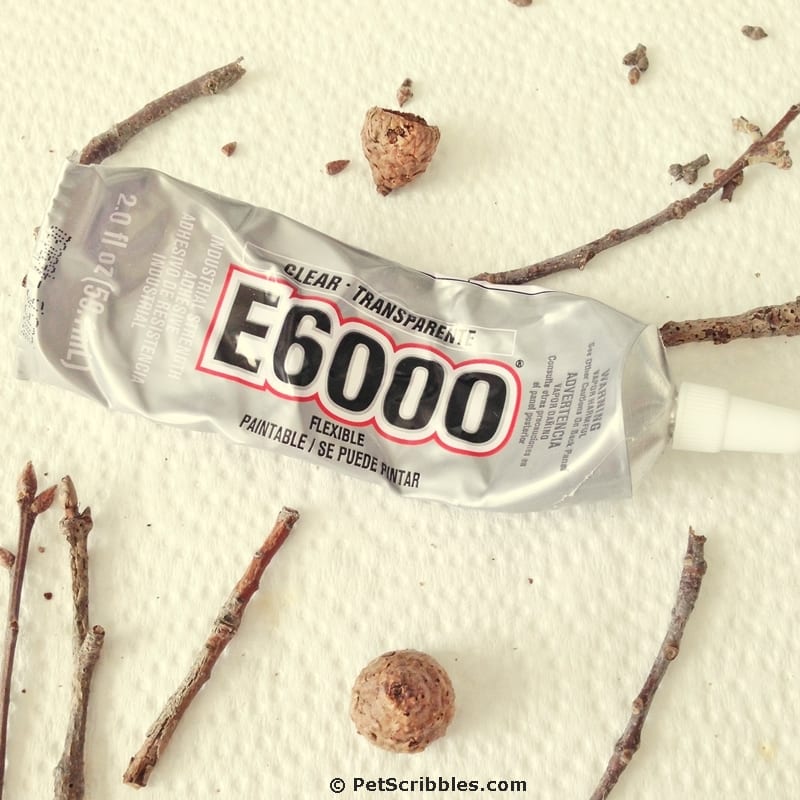
- strong adhesive (I used E6000)
- outdoor craft paint (I used Patio Paint from DecoArt in Geranium Red and Cloud White)
- scissors
- craft or floral moss
- small container with foam insert
- small paintbrush
- recycled caps to hold paint
- recycled packaging foam blocks
- straight pin
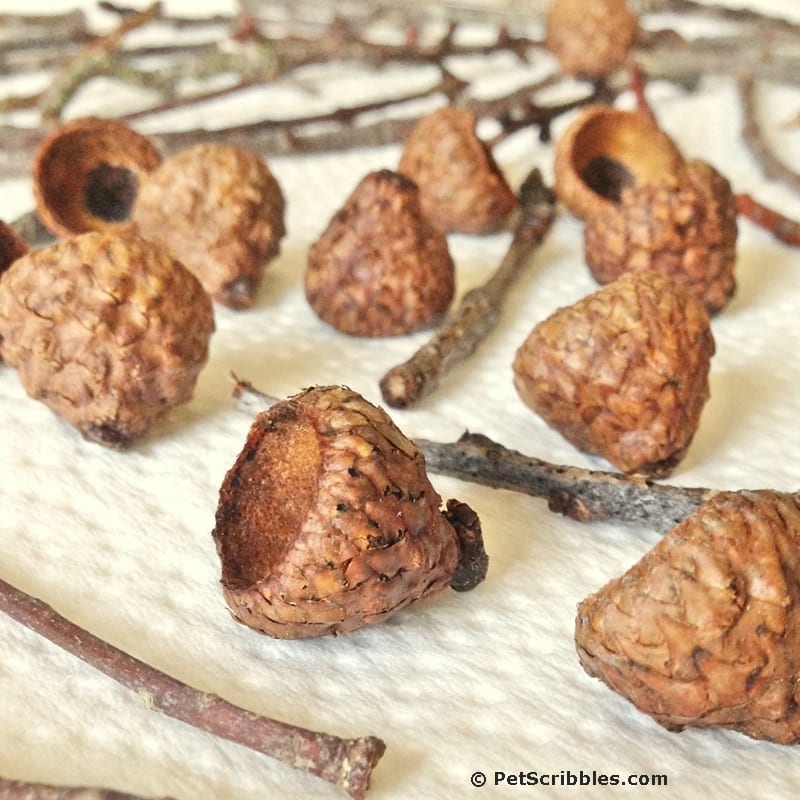
Step One: Wash the acorn caps and twigs in soapy water and let dry completely on a paper towel.
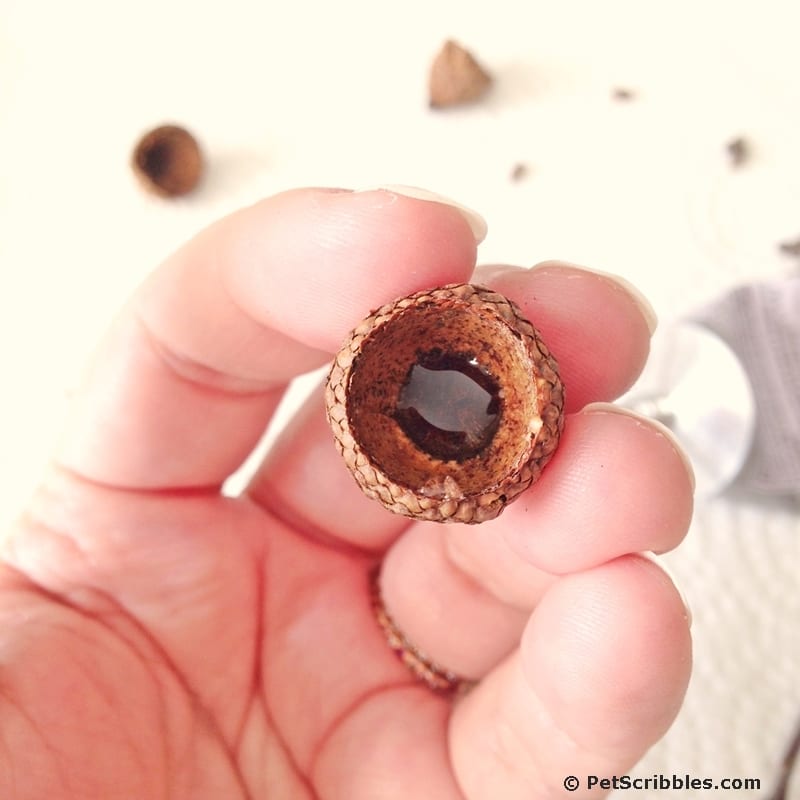
Step Two: Place a few drops of strong adhesive on the inside of an acorn cap.
I like to use E6000, especially for any projects that will be outdoors. (Use in a well-ventilated room or craft outside on a nice day!)
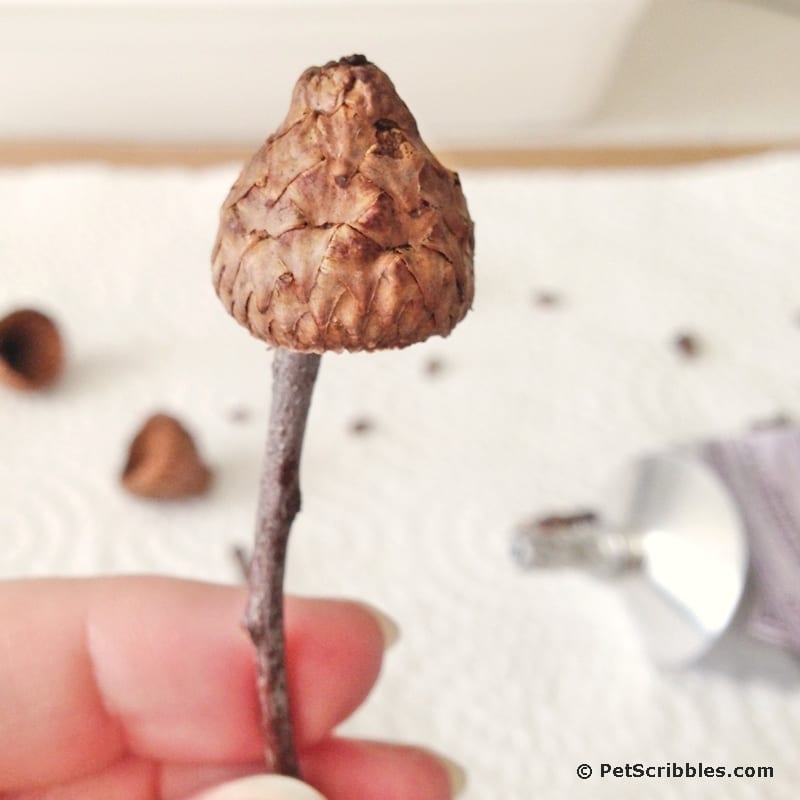
Step Three: Take a small twig and insert it into the acorn cap, so that the tip is in the glue. Hold it in place for about 30 seconds.
Step Four: Turn the acorn cap and twig (now bonding together) carefully upside down. (Or rightside up, depending on your view!)
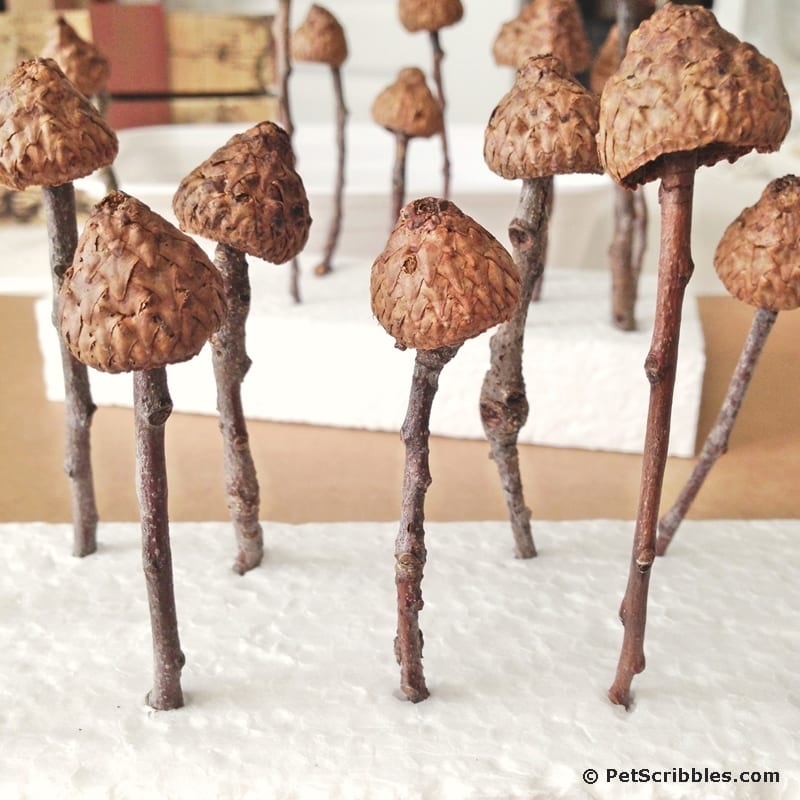
Step Five: Carefully stick the bottom of each twig into a block of foam packing material or floral foam.
(If you don’t have any foam blocks in your stash, you can purchase them on Amazon — or — try asking your local electronic or appliance store if they have any extra foam packaging left over from unpacked appliances.)
Step Six: Repeat the above steps for all of your acorn caps and twigs.
If you want the look of natural mushrooms, you can stop right here! You’re finished!
I love this look!
But I decided to take it one step further and paint them. I used outdoor paints to withstand the elements, just in case I decide to leave these fairy garden mushrooms outside.
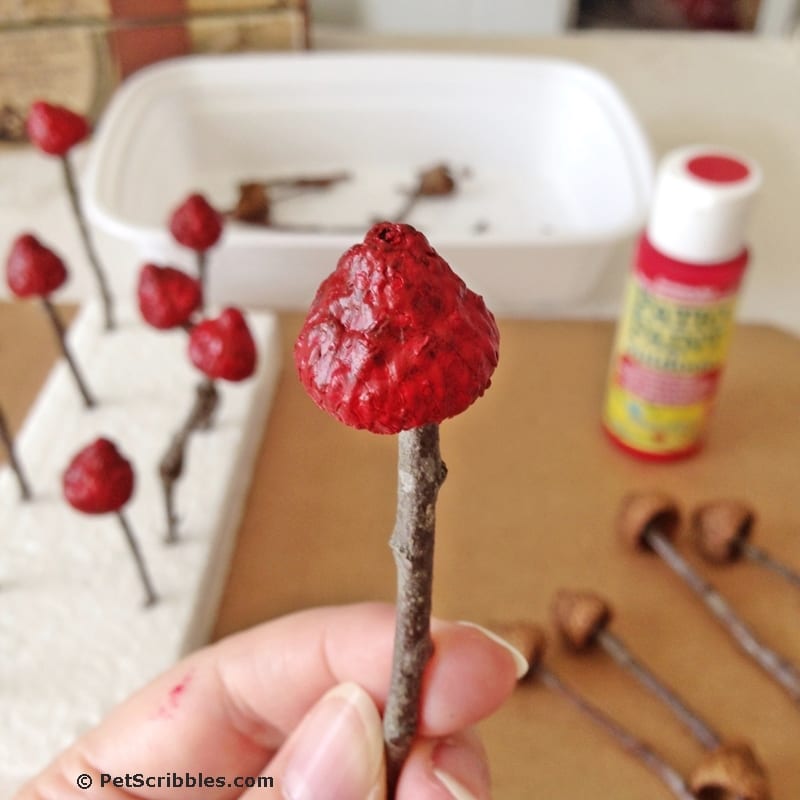
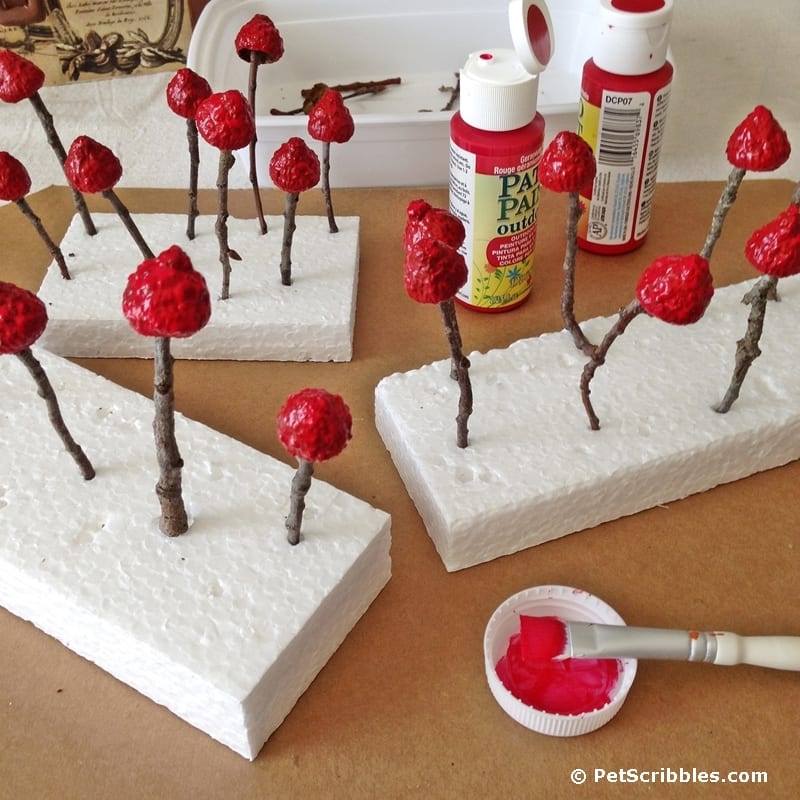
Step Seven: Using a small paintbrush, apply two coats of red paint onto each acorn cap, letting the first coat dry before applying the second one.
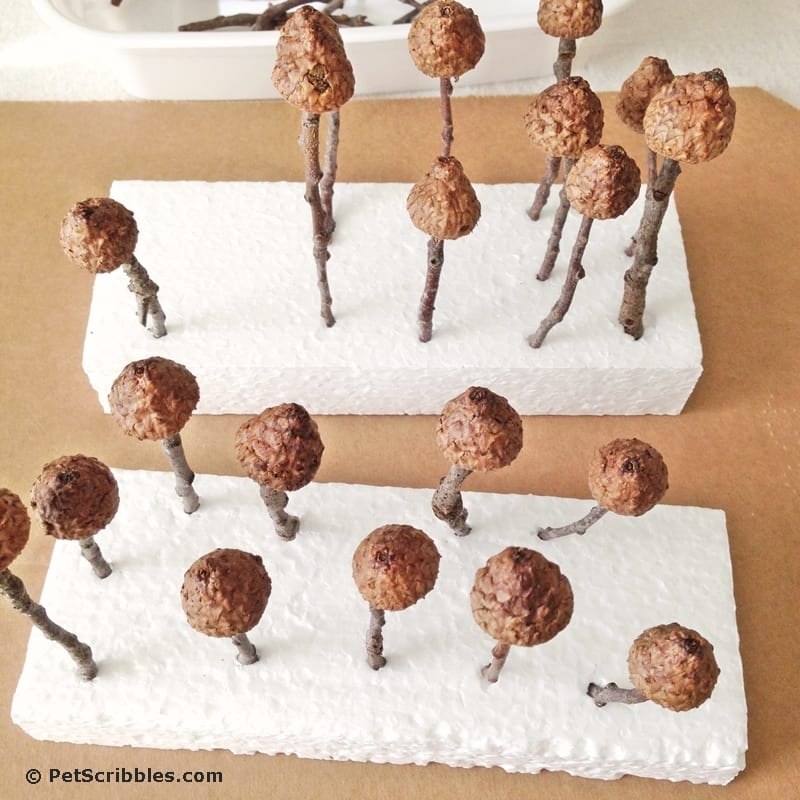
Step Eight: Repeat Step Seven for the rest of your miniature mushrooms, sticking each one back into the foam blocks to dry.
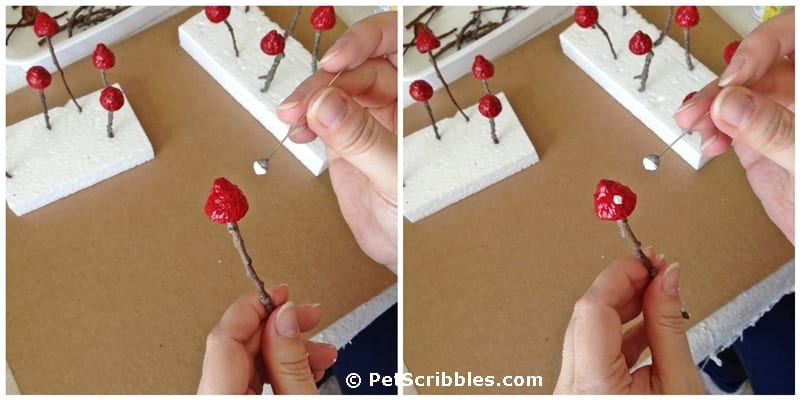
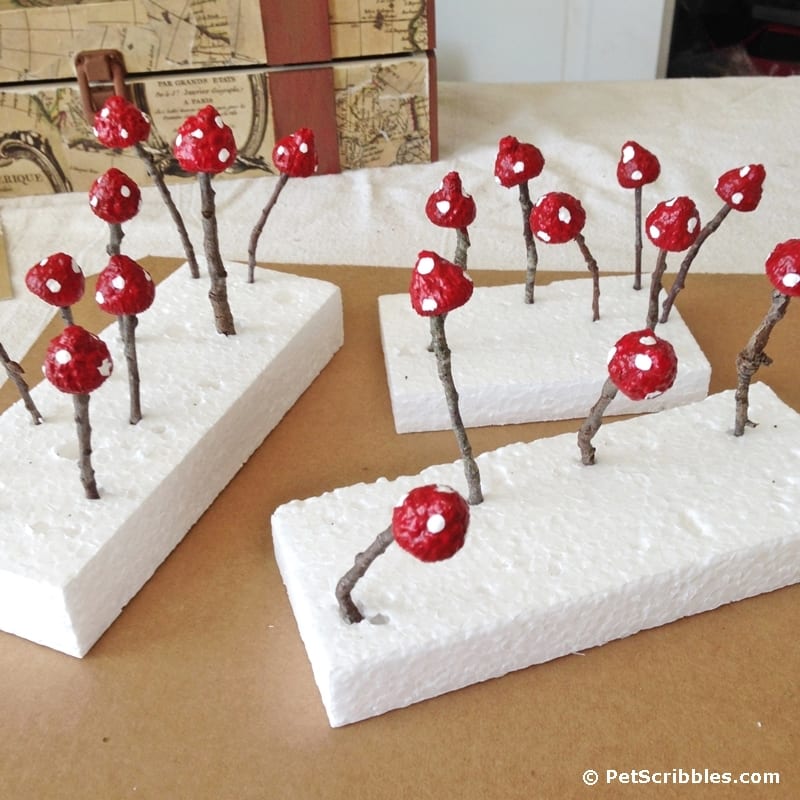
Step Nine: Using a straight pin that has a tiny ball on the end of it, apply white dots of paint here and there on each red acorn cap.
Again, stick them back into the foam blocks to let each one dry.
At this point, I was getting so excited for them to hurry up and dry so that I could come up with a cute display!
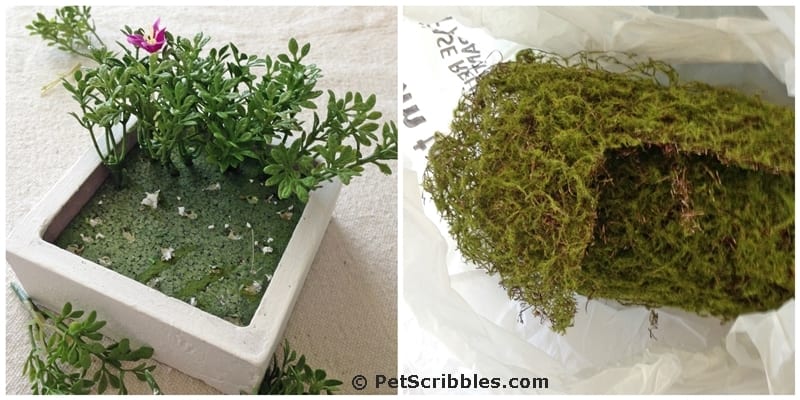
I had previously purchased a small fake planter that had a foam base already inside. It came with fake greenery to use in a fairy garden. I just ripped out the greenery to save for another project, and covered the top with craft moss that comes in a roll. You roll it out and cut off what you need. (Make sure to keep moss inside of a bag, as this stuff gets messy when you’re cutting it!)
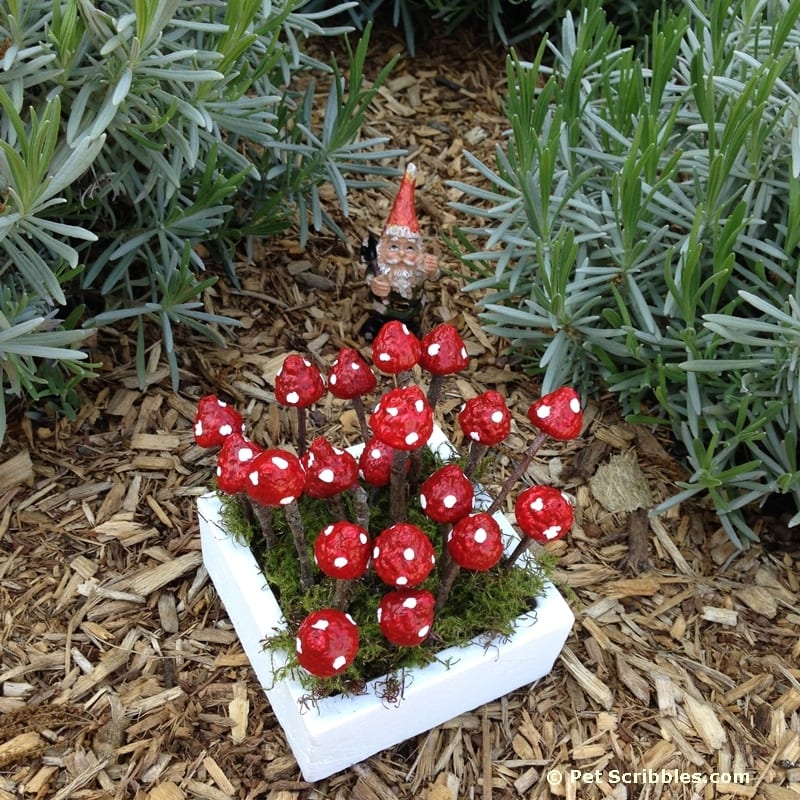
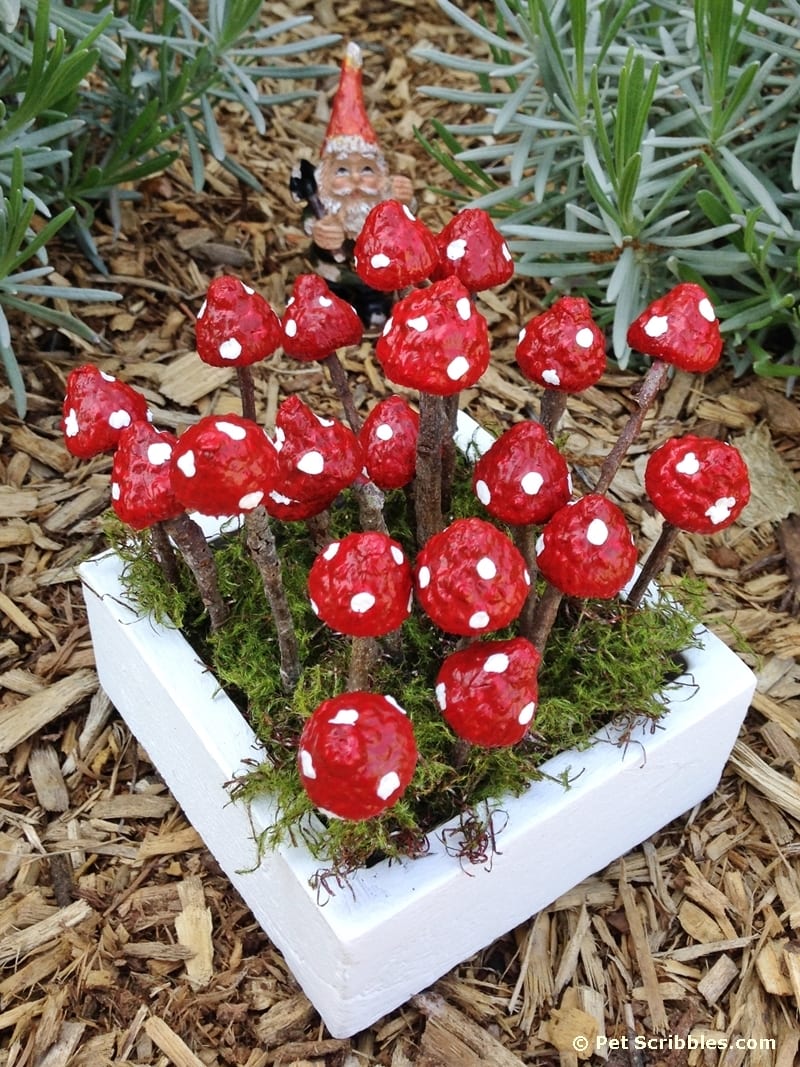
I made 20 fairy garden mushrooms and love how they look “planted” all together!

Oh look: a sweet little fairy gnome just came out of the lavender to check them out!
Let’s take a closer look . . .
Crafting with Nature
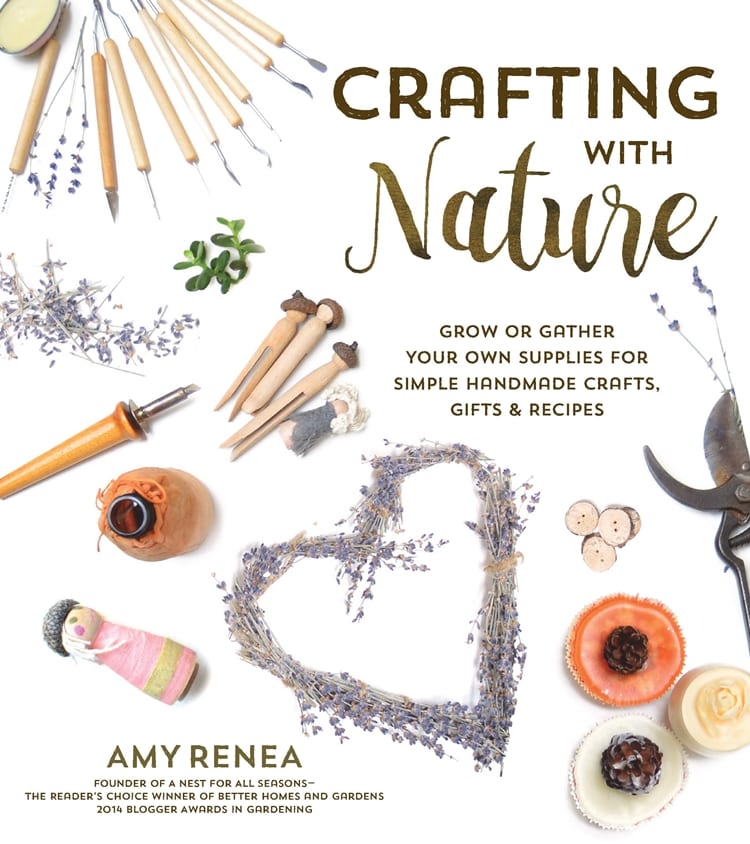
I got the idea for the fairy garden mushrooms from my friend Amy Renea’s new book Crafting with Nature! Amy wrote the book and took all of the photos in the book. And did the crafts. And grew the plants. She’s like my idol right now!
If you enjoy what I do here on Pet Scribbles, you will adore what Amy does over on her blog A Nest for All Seasons, so I encourage you to click over!
- Amy’s Crafting with Nature book captures my two loves: crafting and gardening!
- Amy has wonderful ideas for planting things you can later craft with, and for crafting with things you can find in your garden or backyard.
- Amy’s photography is a wonderful part of Crafting with Nature, as the photos are crisp, close up so you can see the details, and most importantly her photos are very inspiring.
I spent the past month pouring over this book, and you can bet I’ll be making more projects inspired by this book.
I seriously love this book, mainly because it’s the first time I’ve seen crafting and gardening combined and intertwined so effortlessly.
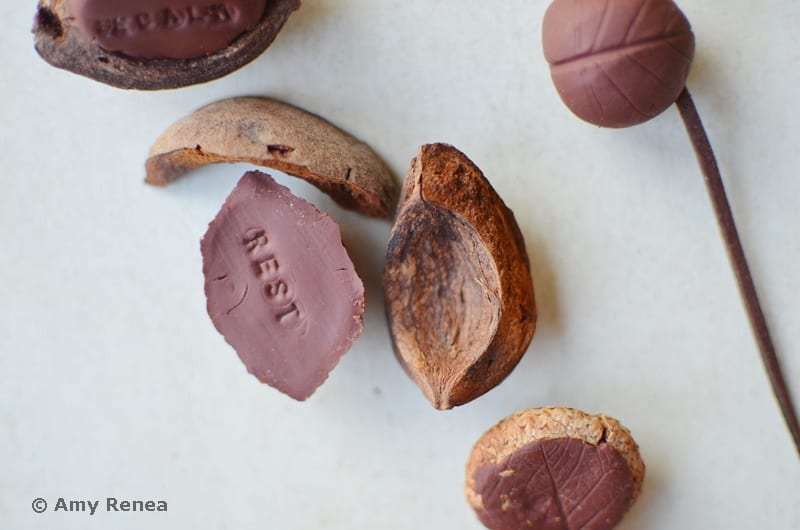
For example, Amy gives you the step-by-step process to make clay jewelry pieces using seed pods and nuts as your molds. Then she shows you how to imprint words onto them.
This is such a wonderful handmade gift idea. I could picture these little guys on each place setting at a Thanksgiving table. Or string one or two on a leather cord and you’ve got a beautiful necklace.
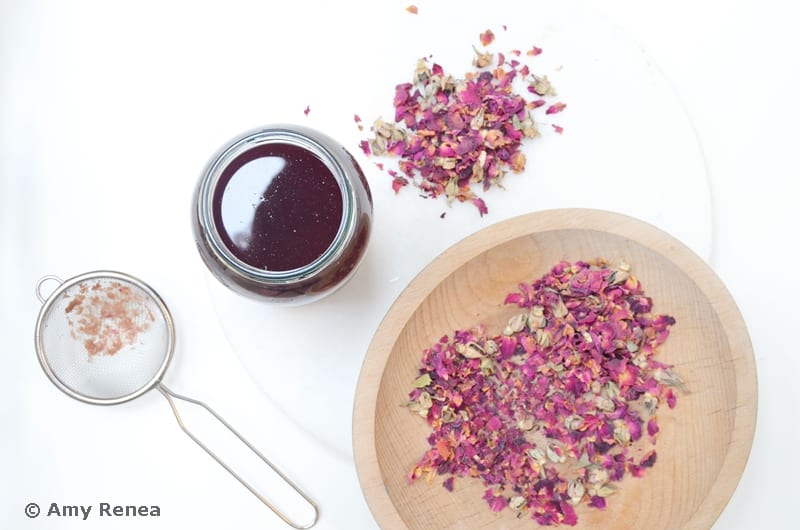
Amy uses roses from her gardens in many DIY recipes found throughout the book, such as making a rosewater face toner, creating a healing rose infusion and salve, and crafting rose beads for jewelry.
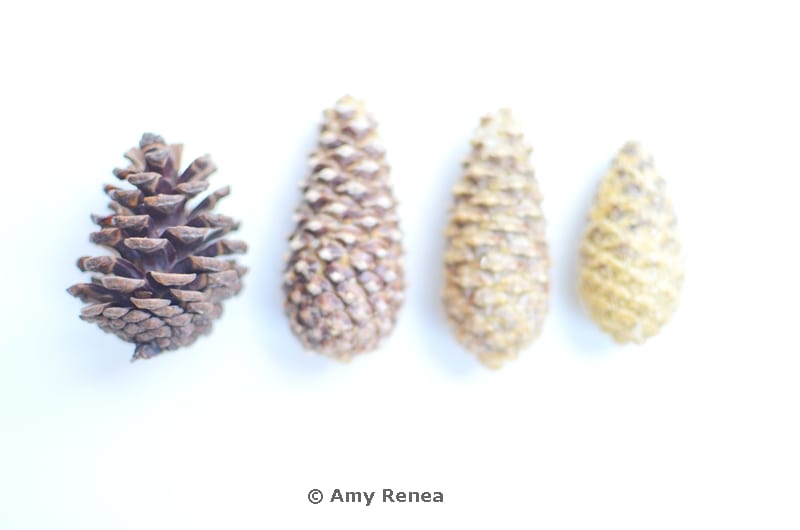
And I’m so intrigued by how she bleached pinecones for a pretty holiday display:
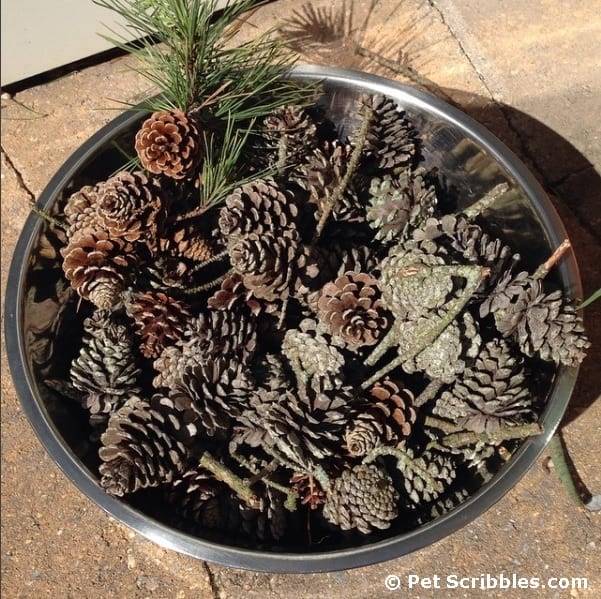
I have a large bowl filled with pinecones I gathered during the Winter that will be perfect for this DIY!
Which reminds me, I think my husband wants that bowl back.
Because of course I grabbed the best mixing bowl from the kitchen without realizing it!
(My husband is an awesome cook, while I look at a mixing bowl and obviously think it’s best use is for gathering pinecones!)
But I digress!
I hope you’ll make some fairy garden mushrooms, and I also hope you get more inspiration for crafting with nature by visiting Amy’s blog A Nest for All Seasons, and following her on Facebook and Instagram.
And definitely pick up a copy of Crafting with Nature! If you love gardening and crafting, I swear you will love this book as much as I do!
(Click on the affiliate link above to read more about the book on Amazon.)
Happy crafting and gardening!
~Laura


“…which reminds me….I think my husband wants that back”. ???????????? made me laugh out loud! I do things like that all the time. Thanks for featuring Crafting With Nature Laura! The mushrooms are ADORABLE!!
These are super adorable and with the fairy garden trend right now, PERFECT!
It looks like the Gnome is giving them a thumbs up also!
Great idea!!!1