Try chalk paint on plastic pots for an easy makeover that you’ll love, especially if you match the paint to your home decor!
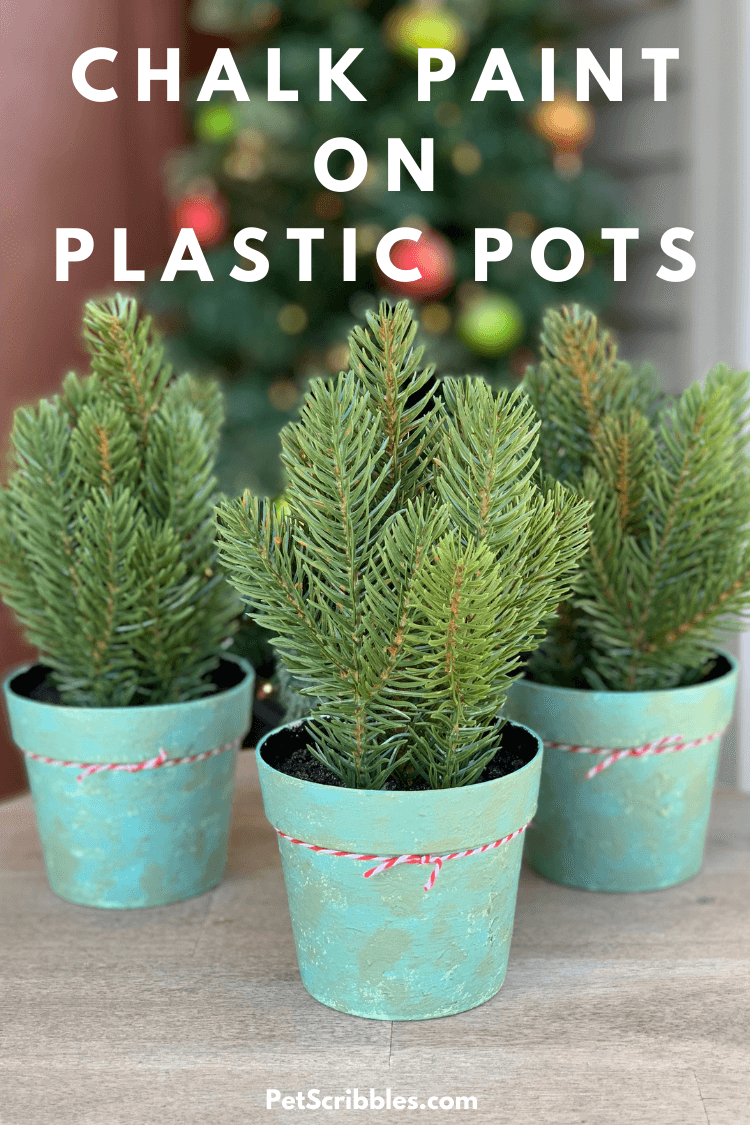
I found my set of plastic plant pots at our local Walmart.
Each one is $5 and I love the quality. They are heavy, sturdy, and the fake dirt inside is solid.
The evergreen plants look very real too! Upon checkout, the cashier stuck her finger into one of the pots to see if they were real, so they definitely look good!
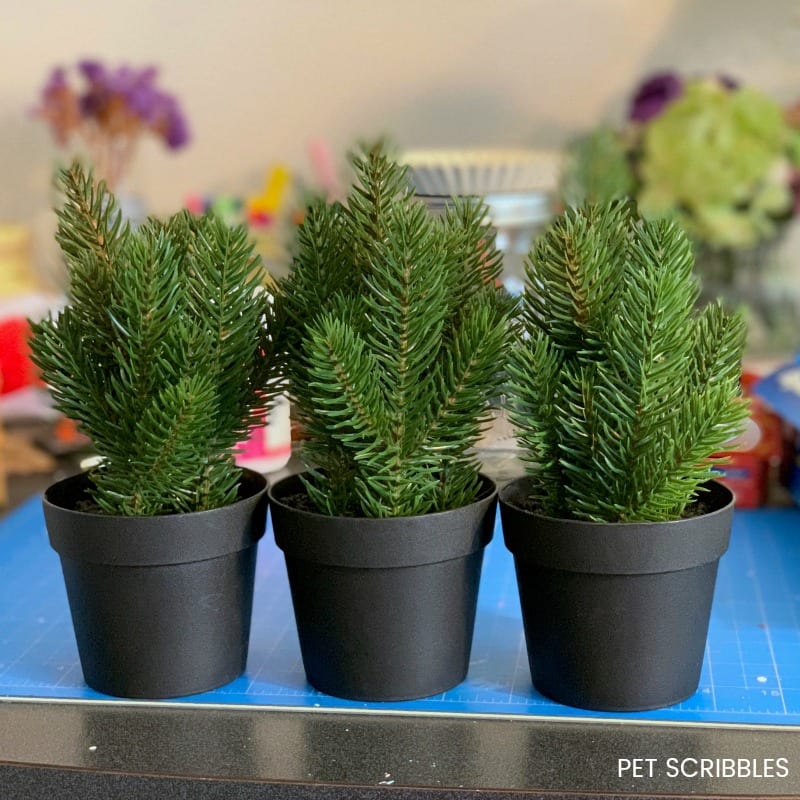
Where to find plastic plant pots
What is key to look for, when shopping for these, is the basic plastic pot.
These are the kind of plastic plant pots that are meant to stick into a decorative planter, usually in another material such as galvanized steel, ceramic, or terra cotta.
You can save money by applying chalk paint onto the plastic pots and give them an amazing makeover!
I’ve found a few other places that also sell similar plastic plant pots with realistic plants in them, in addition to Walmart.
Amazon has quite a few, as does IKEA. And don’t forget to look at your area craft stores and home improvement stores too. Scout around and you can find some gems, just like I did!
Supplies for Chalk Paint on Plastic Pots:
Good to know: I often link the supplies I use directly to Amazon, so that you can 1) see what the items look like; 2) read the reviews there; and 3) easily purchase the product. However, please remember that you may find these items as your local craft store for a cheaper price. (I make a tiny commission on anything you purchase through these Amazon links at no extra cost to you, which I put directly back into the expenses of running this website.)
- Plastic plant pots
- Apple Barrel craft paint in White — Plaid Crafts
- Waverly Inspirations chalk paint in Agave and Moss — Plaid Crafts
(I got a fabulous mini set of these paints at Walmart,
but you can use similar colors in this set from FolkArt) - Mod Podge Antique Matte formula — Plaid Crafts
- Mod Podge decoupage brushes — Plaid Crafts
- Martha Stewart Crafts small paint brushes — Plaid Crafts
(my favorite brushes!) - Sea sponge
- Wax paper
- Stencil brush
- Bakers Twine
Chalk Paint on Plastic Pots Tutorial:
White Craft Paint
First, I painted a coat of basic white craft paint onto each of the pots. I wasn’t concerned with full coverage of every little spot, as this coat simply served as my base coat to cover the black color.
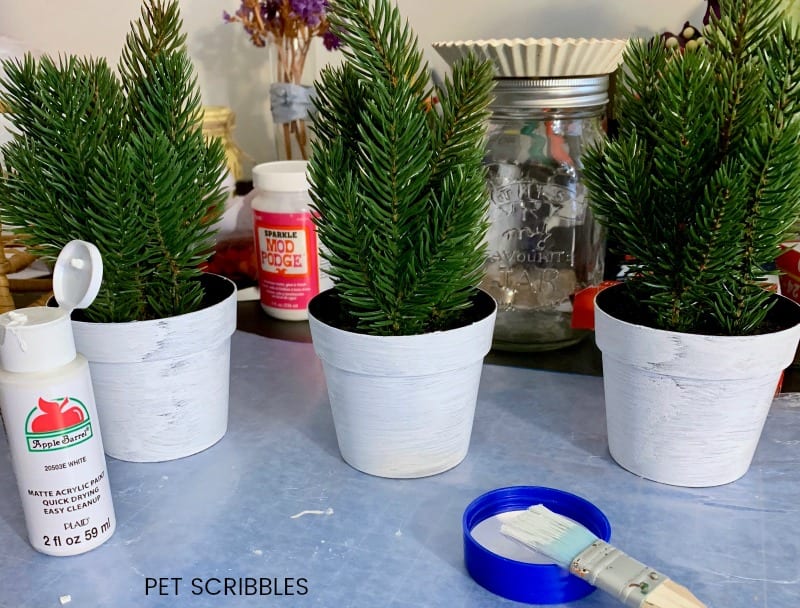
When the paint was almost dry, I took a sea sponge and pounced more white craft paint onto each pot to add some texture and roughness to the painted surface.
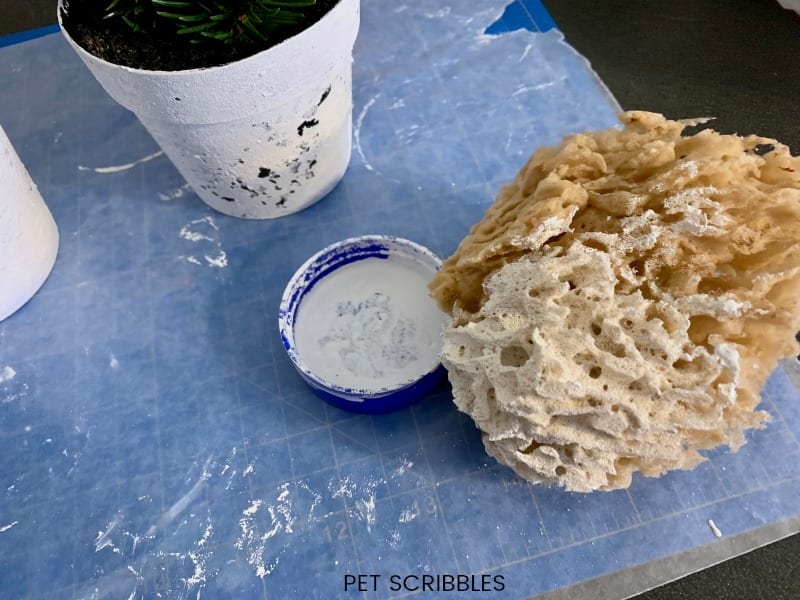
In some cases — because the paint wasn’t completely dry yet — the sponge removed paint here and there from the pots. I love this easy way to invent some texture on a once-smooth surface.
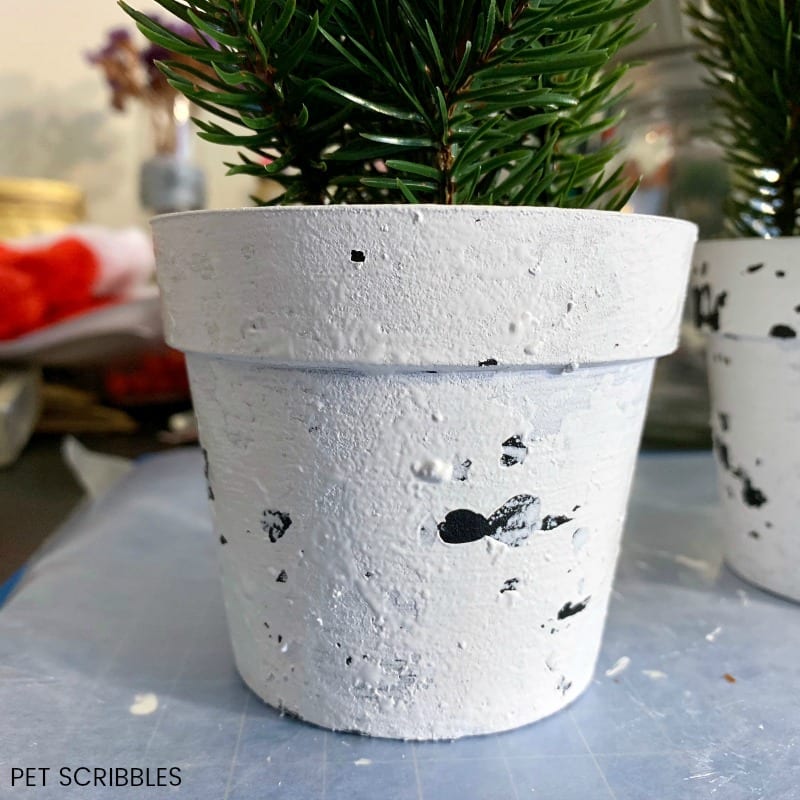
This will help achieve the distressed finish I want. Let this dry completely before proceeding.
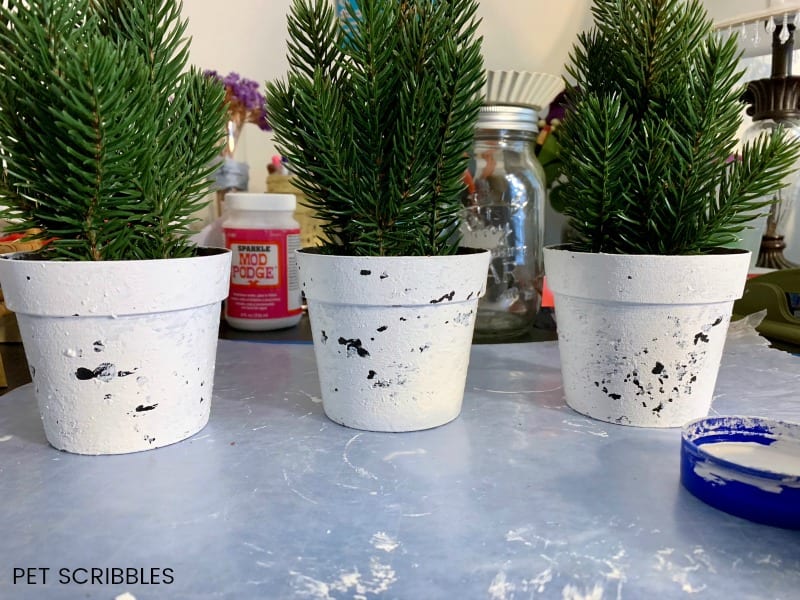
Blue Chalk Paint
Next, I brushed on one coat of the blue chalk paint, again not completely covering the previous white coat.
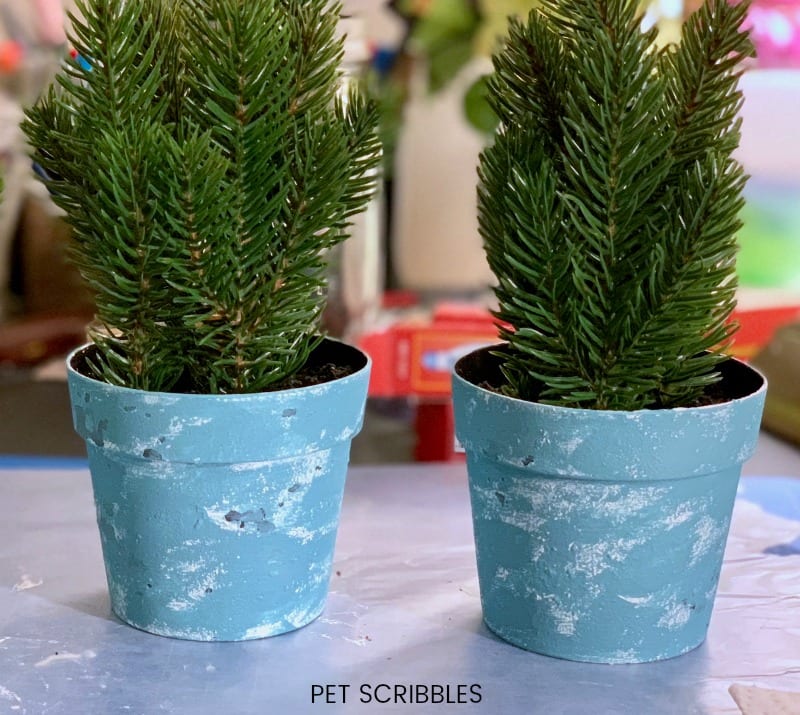
Helpful tip: Chalk paint dries very quickly, which means each of these layers will not take long at all to apply!
Green Chalk Paint
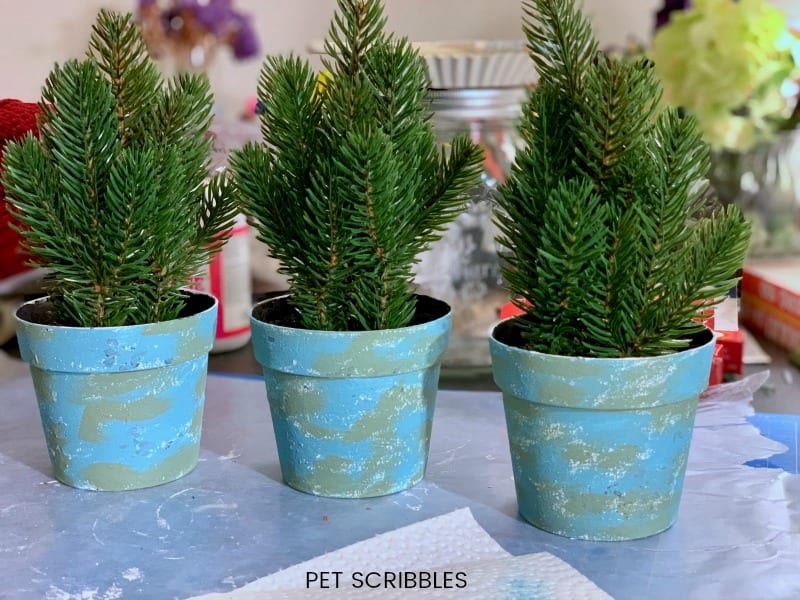
After the blue paint, I add sections of the green chalk paint here and there on each pot.
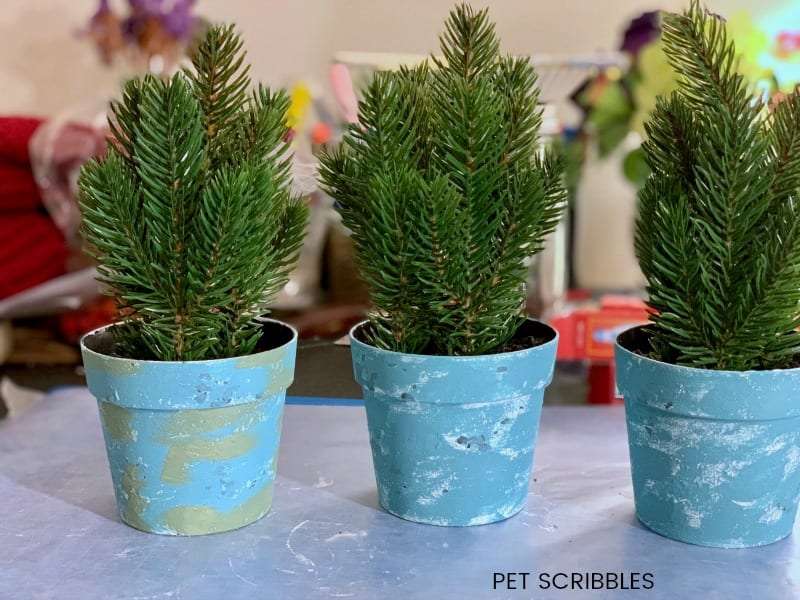
The chalk paint on the plastic pots looks a bit deliberate right now, but keep watching as I continue painting.
More Blue Chalk Paint
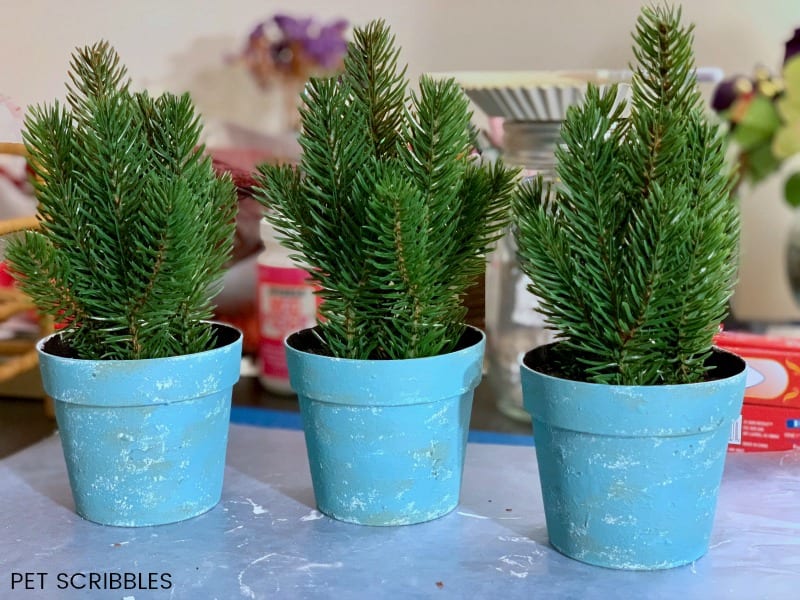
To blend the colors more, I added another rough coat of the blue chalk paint on the plastic pots.
More Green Chalk Paint
Then I took a stencil brush and softly brushed and swooshed around some of the green chalk paint.
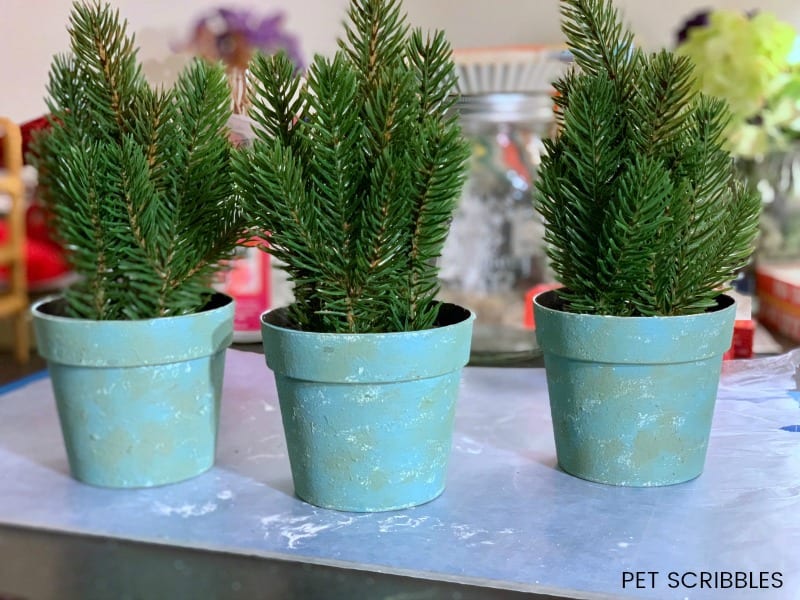
I love how the plastic pots are being transformed before my eyes!
Antique Mod Podge
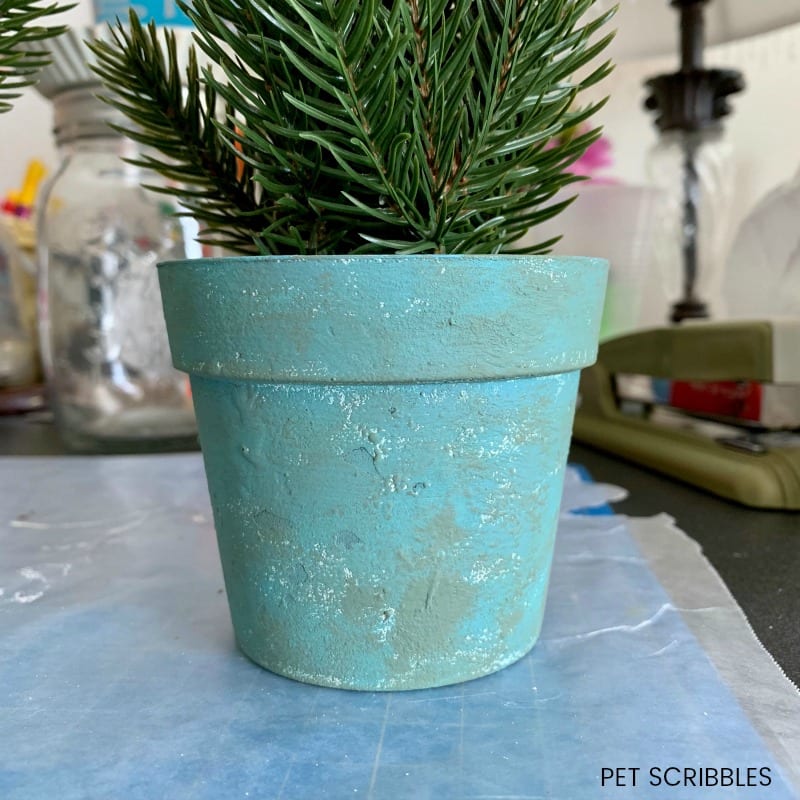
Finally, once I was happy with the look of the chalk paint on the plastic pots, I brushed on a coat of Antique Mod Podge to seal everything.
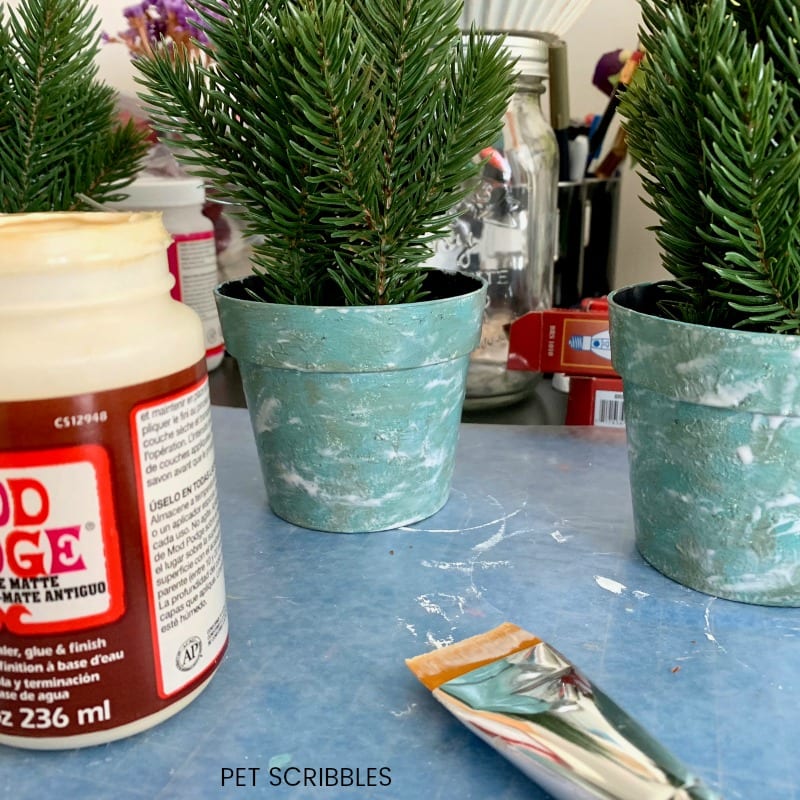
Helpful tip: These Mod Podge brushes make applying the Mod Podge so easy. I swear by them.
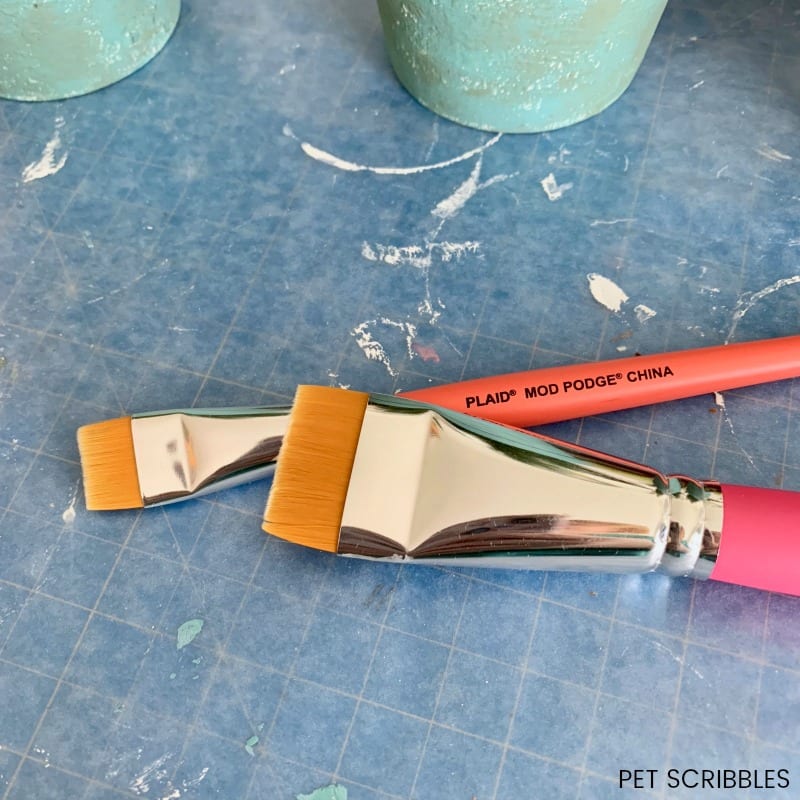
My favorite reason for using the Antique version of Mod Podge is the tinted formula which provides just a bit of an antiqued look to whatever you apply it to.
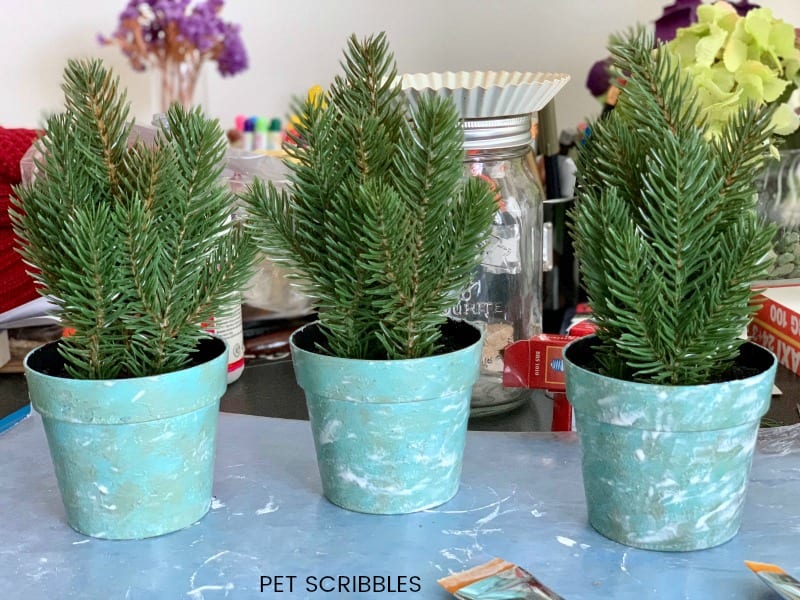
In the image above, you can see how quickly the Mod Podge begins to dry. I applied Mod Podge to the pot on the left first, then the middle pot next, and finally the pot on the right just before I took this image.
I let everything dry well overnight, and woke up the next morning to rustic chalk paint on pots that made my heart sing!
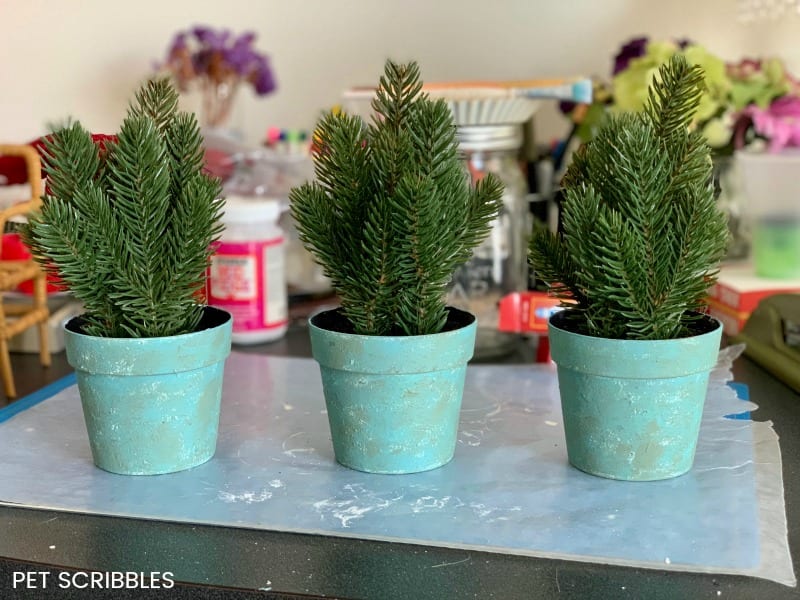
Bakers Twine
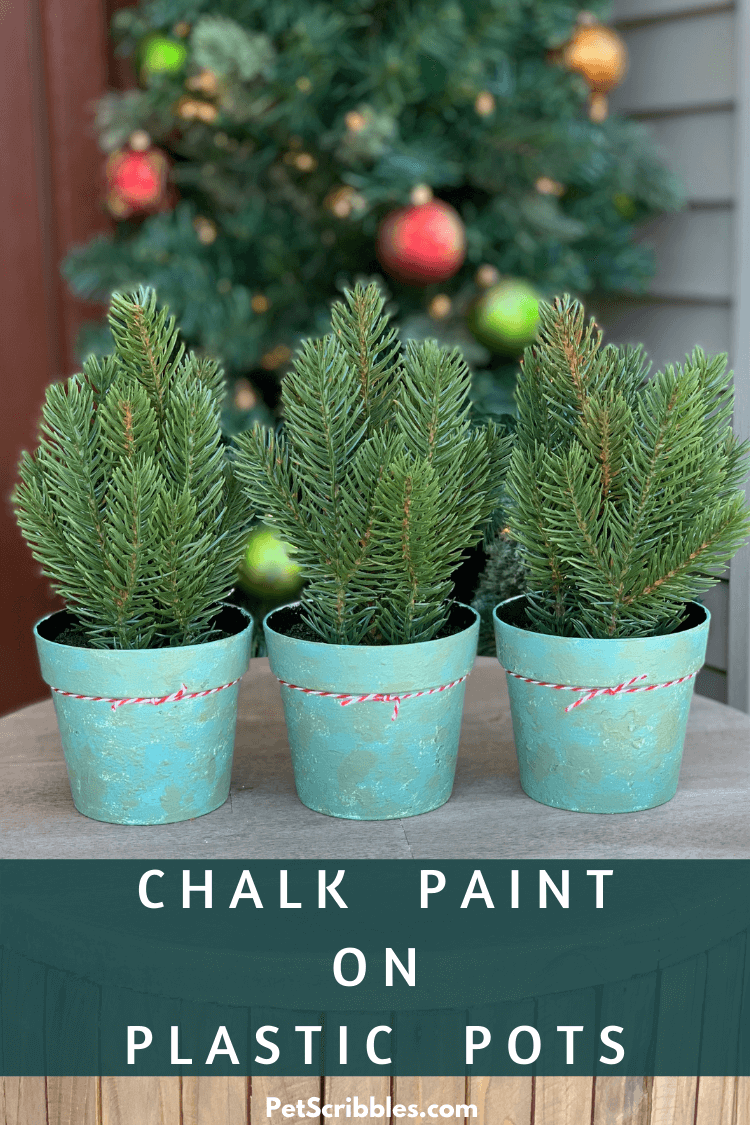
As a final detail, I tied red and white Bakers Twine around each pot.
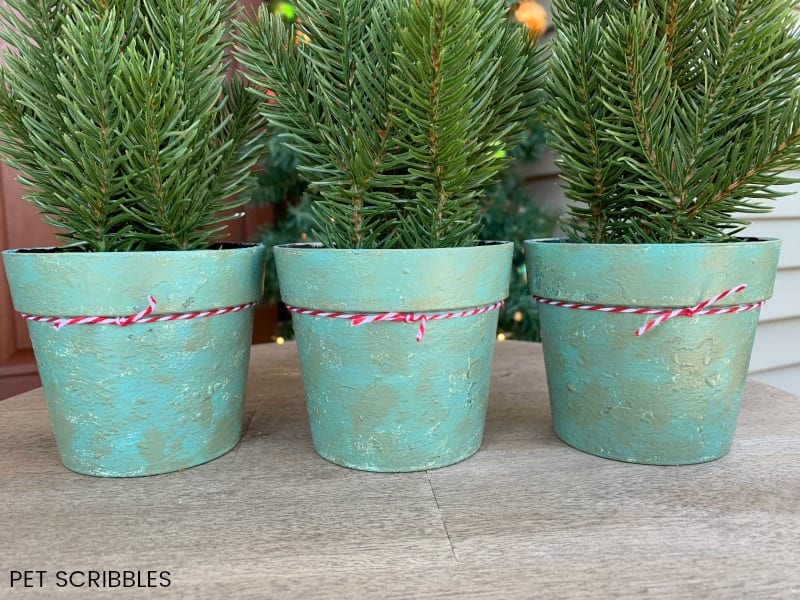
Chalk Paint on Plastic Pots!
No more black plastic pots!
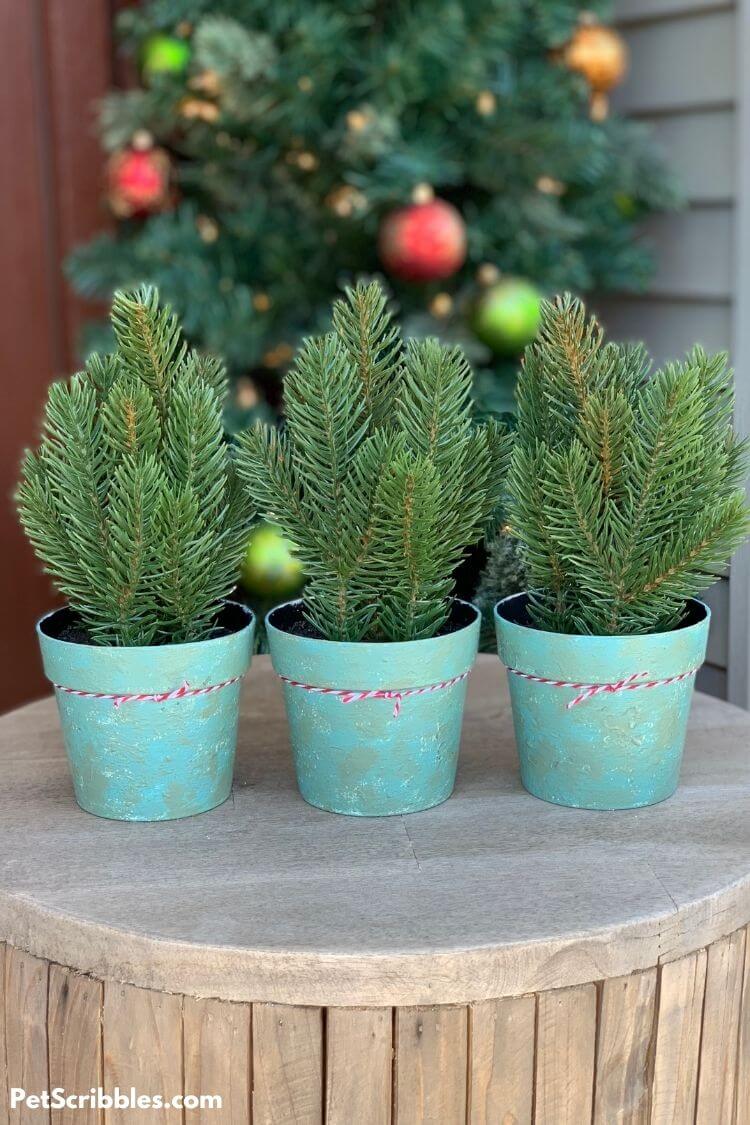
The texture and blending of colors turned out wonderfully!
Helpful tip: There’s no right or wrong way to layer the paint colors you choose. Play with the colors and layering until YOU love it. And that’s when you’ll know you are finished!
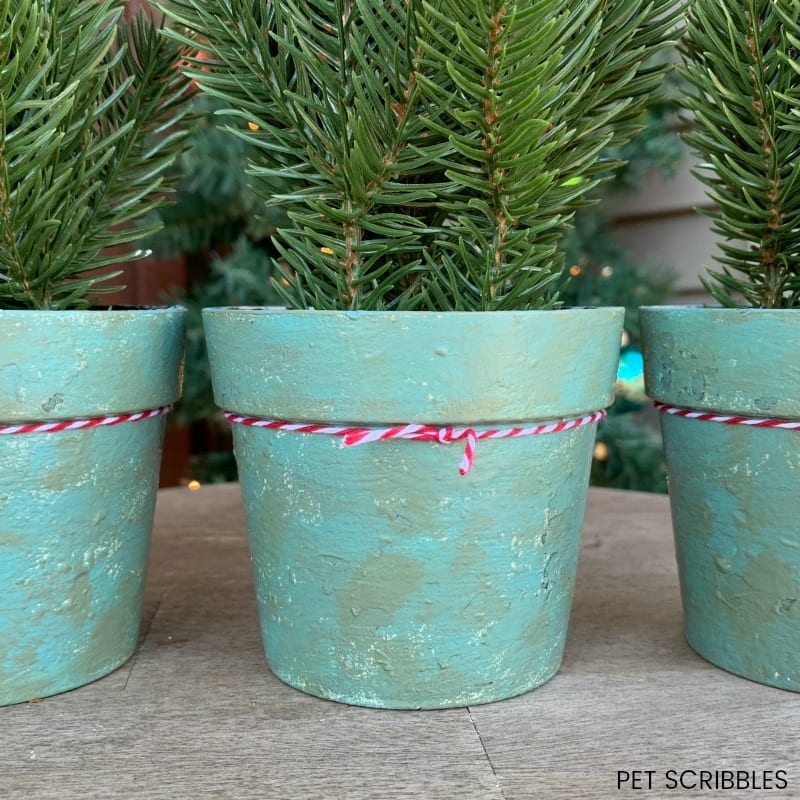
I’ll keep these on our window sill in our Breakfast Room for the Winter season and even into early Spring.
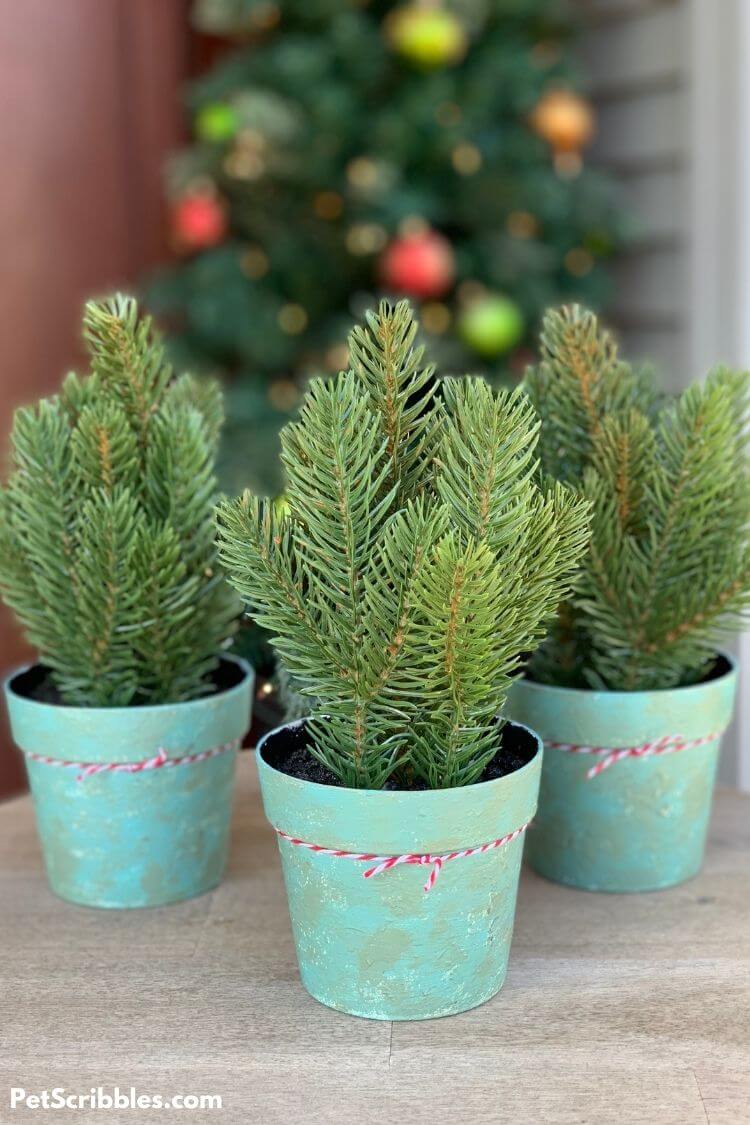
These pots look gorgeous without any Bakers Twine too.
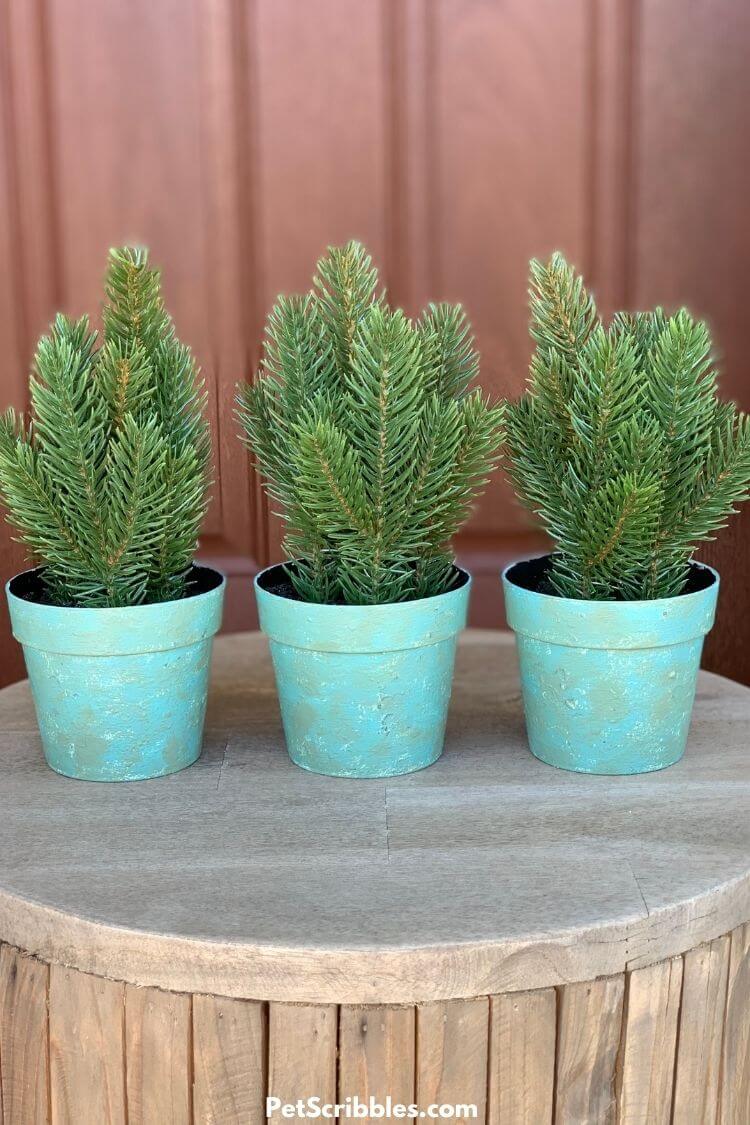
But I’ll keep the red and white twine on them at least through Valentine’s Day.
More DIYs with Chalk Paint on Plastic
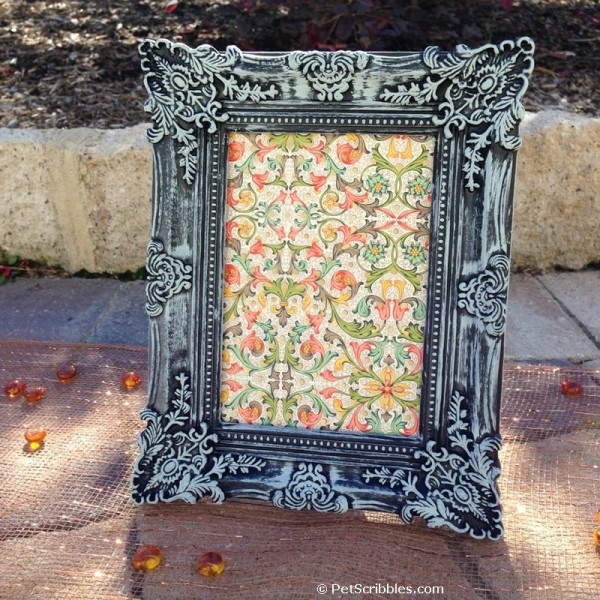
A faux verdigris picture frame in one simple step!
One very light coat of chalk paint over a black plastic frame which has a raised design.
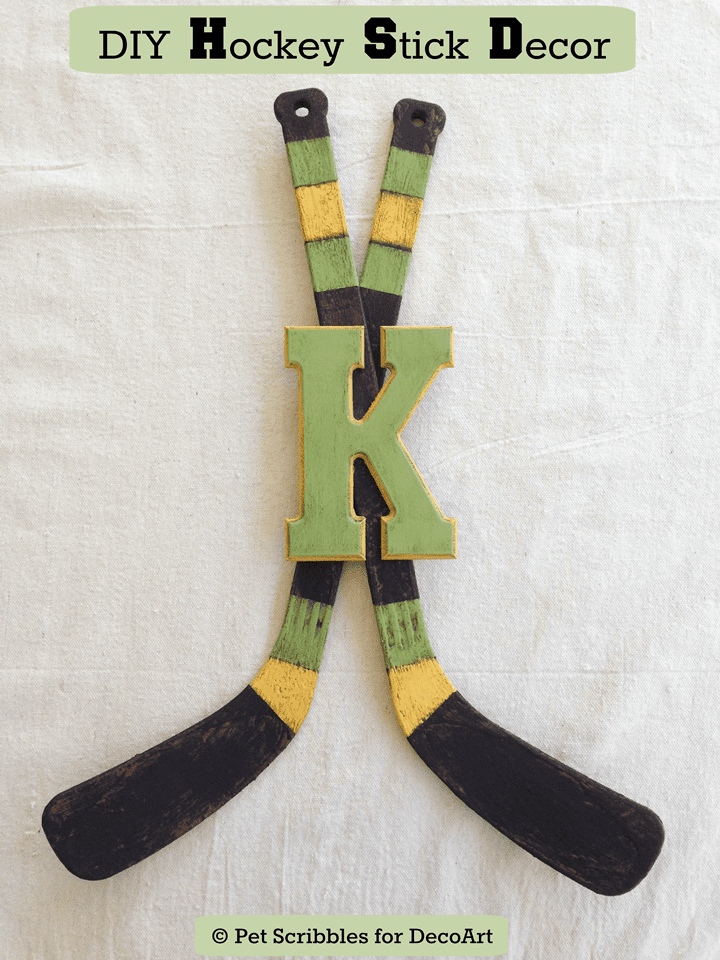
Turn plastic toy hockey sticks into vintage-looking wood!
These hockey sticks began as yellow and white plastic sticks!
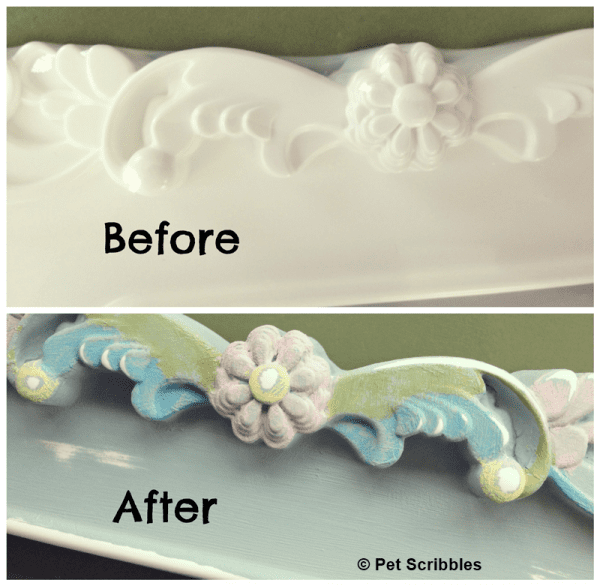
White plastic IKEA frames look like painted wood!
These IKEA frames are white plastic with a raised design, which are fun to paint!
Happy crafting!

Leave a Reply