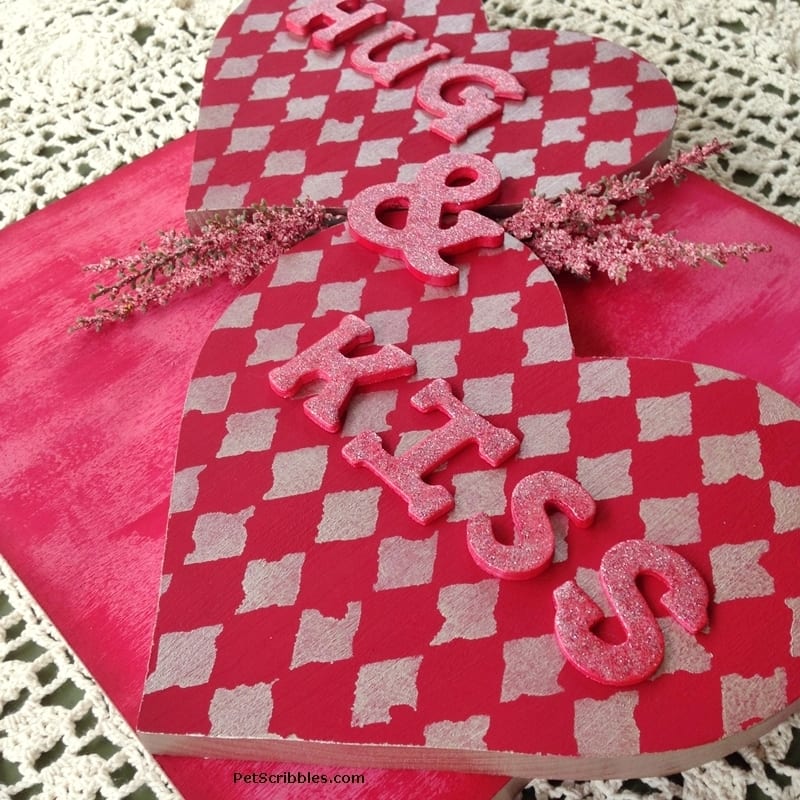
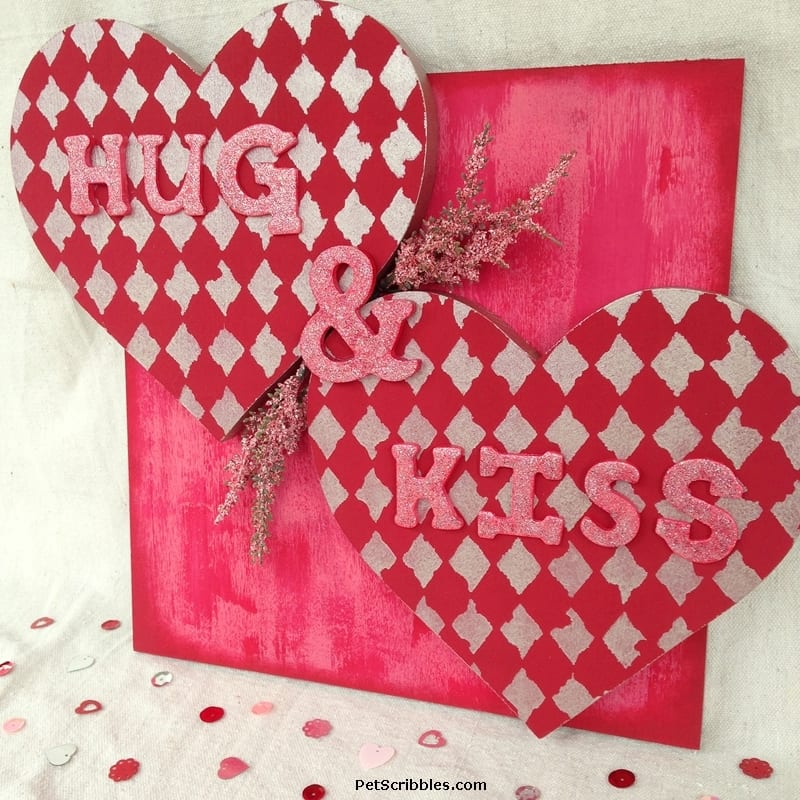
You can make this Hug and Kiss Valentine’s Day wall art in just a few steps with supplies you can pick up at the craft store: wood shapes, paint and a stencil!
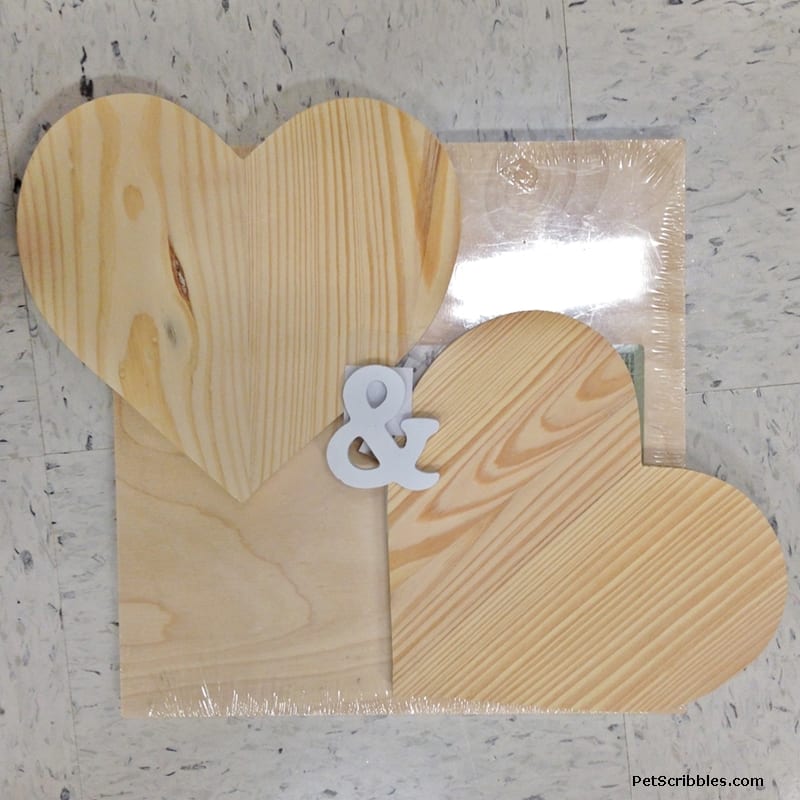
Below is a picture of the floor of Michael’s, where I was putting together my idea for this wall art! All of the unfinished wood shapes and letters were purchased there, so it was one-stop shopping!
My idea was for these two hearts to have the words “hug” and “kiss” on them, with the lower heart tilted as you see in the image above.
This is a sponsored Valentine’s Day project for DecoArt. The project idea and tutorial are 100% my own.
Choose your color scheme first. I went with traditional red and pink — but tossed in some metallic silver for a nice twist!
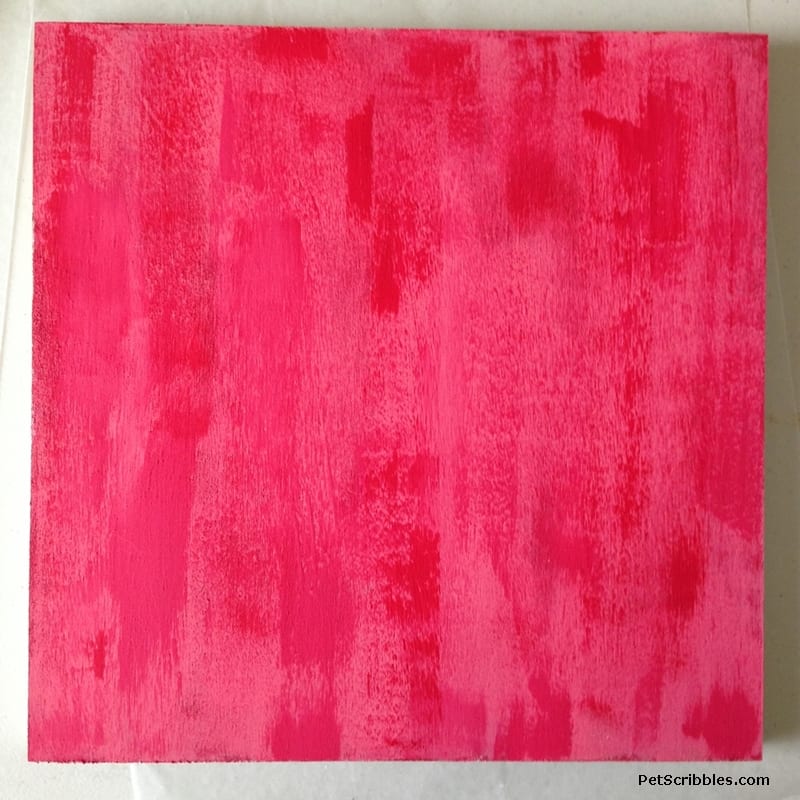
The square piece of wood was painted with a dry-brush technique, using two contrasting colors.
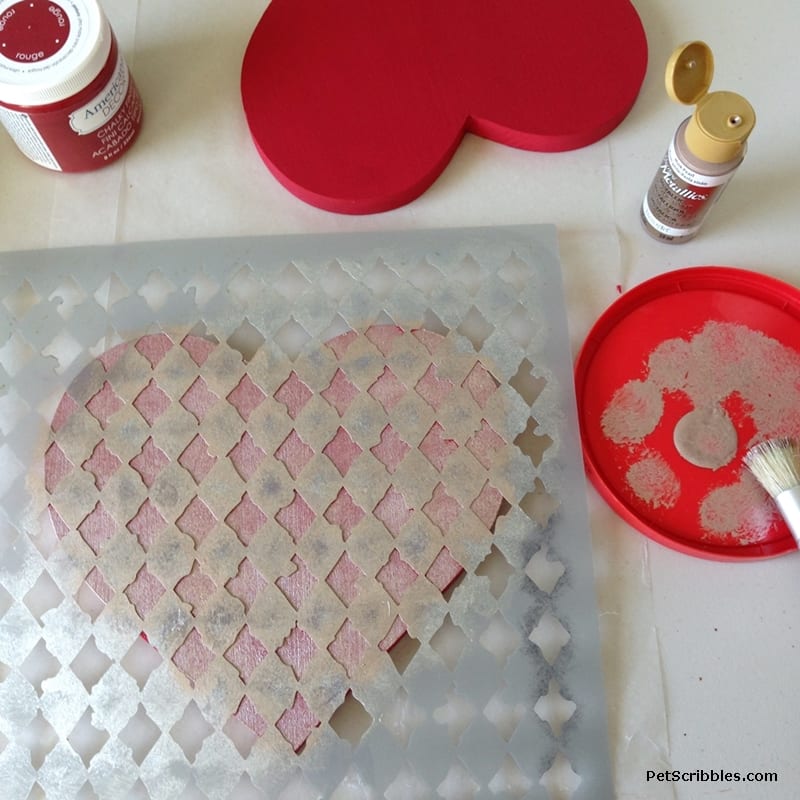
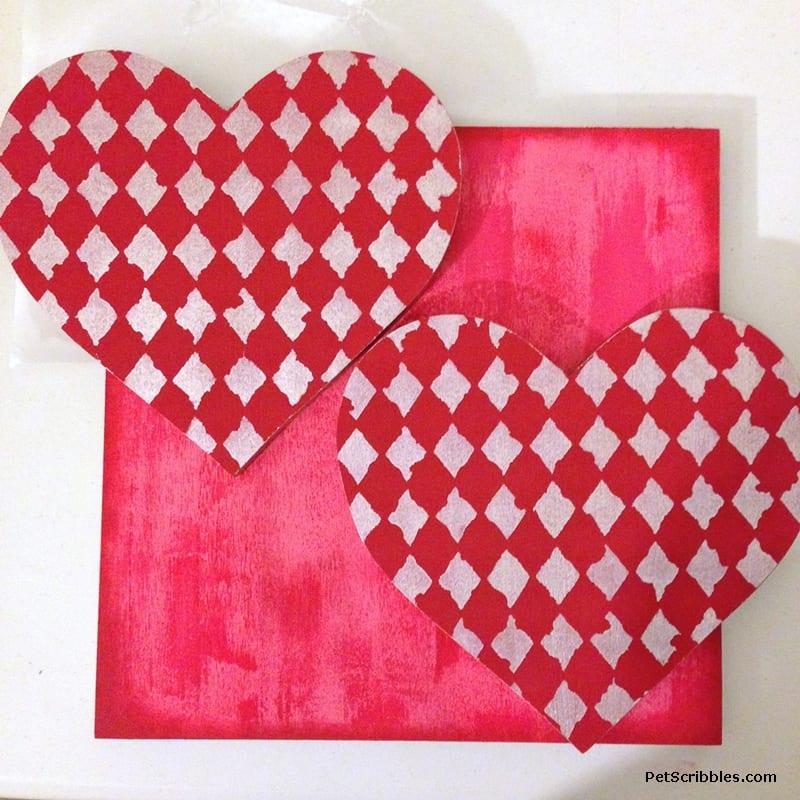
The heart shapes were painted a deeper red color than what I used above. I painted the stencil design using metallic silver paint. The edges of the hearts also were painted with metallic silver.
After I stenciled the hearts, I realized tilting the lower heart would look a bit odd, because of the stencil design I chose. No worries, just a minor adjustment to my idea!
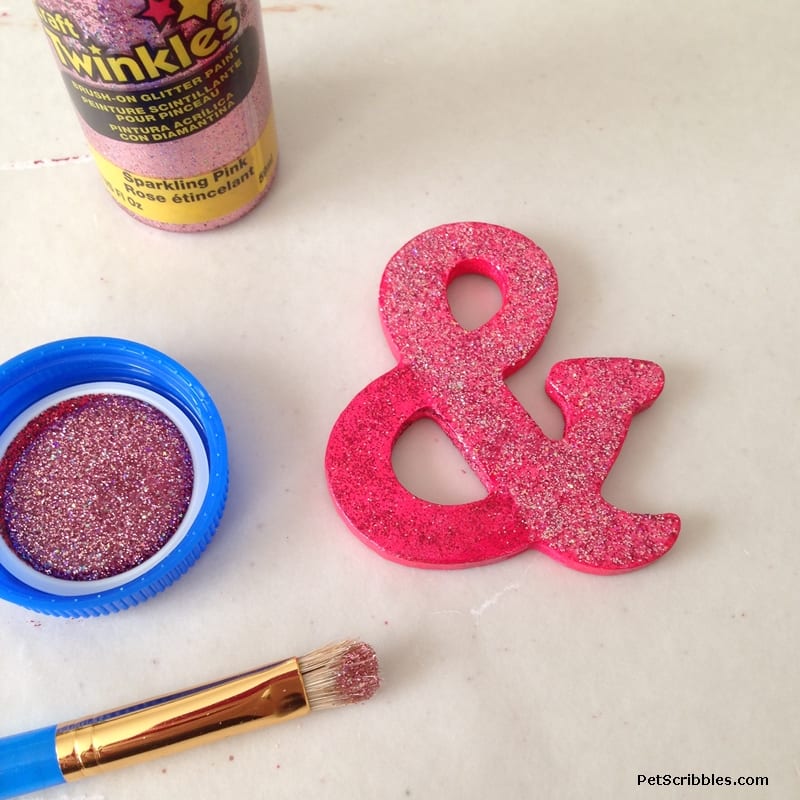
The letters were painted with the same pink color that is in the painted square. I used two different glitter paints to make the letters pop.
Once everything was dry, it was time to get out the E6000 strong adhesive and glue everything into place.
Let the E6000 cure overnight — keep it flat while drying — and you’ll be all set!
I added some faux Heather stems to counterbalance all of the wood.
You can make this Hug and Kiss Valentine’s Day wall art in an afternoon…or a morning! Take your pick!

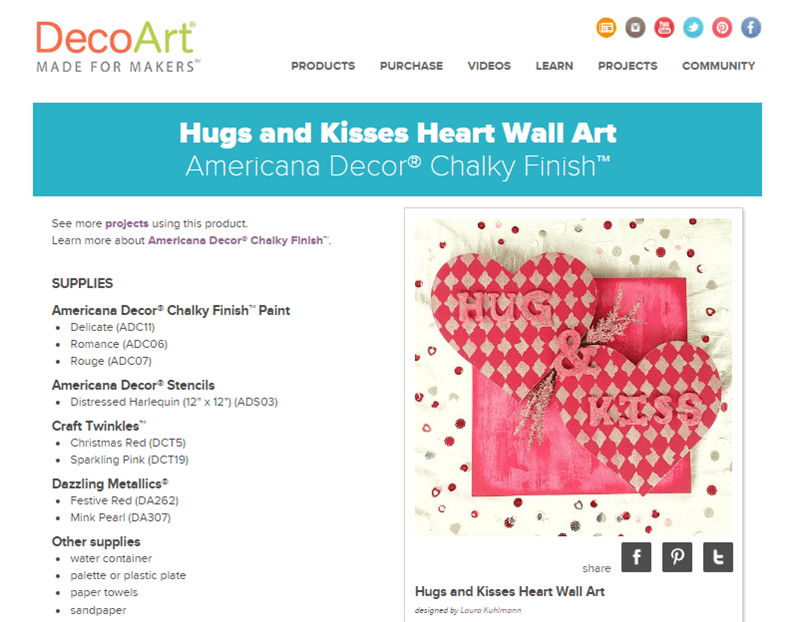
For my complete tutorial — including supplies, more pictures and step-by-step instructions — head over to the DecoArt website!
Click on the image above — or click here to see the tutorial.
More Valentine’s Day DIYs!
Click below to see more Valentine’s Day projects and ideas!
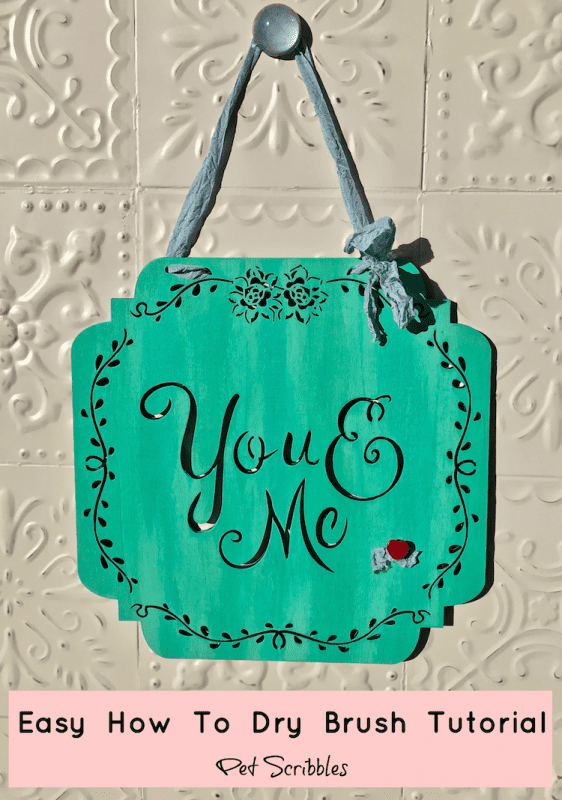
You and Me Sign: Easy How to Dry Brush Tutorial
And check out more Valentine’s Day projects below, under the “More from my site” section!
Happy crafting!

