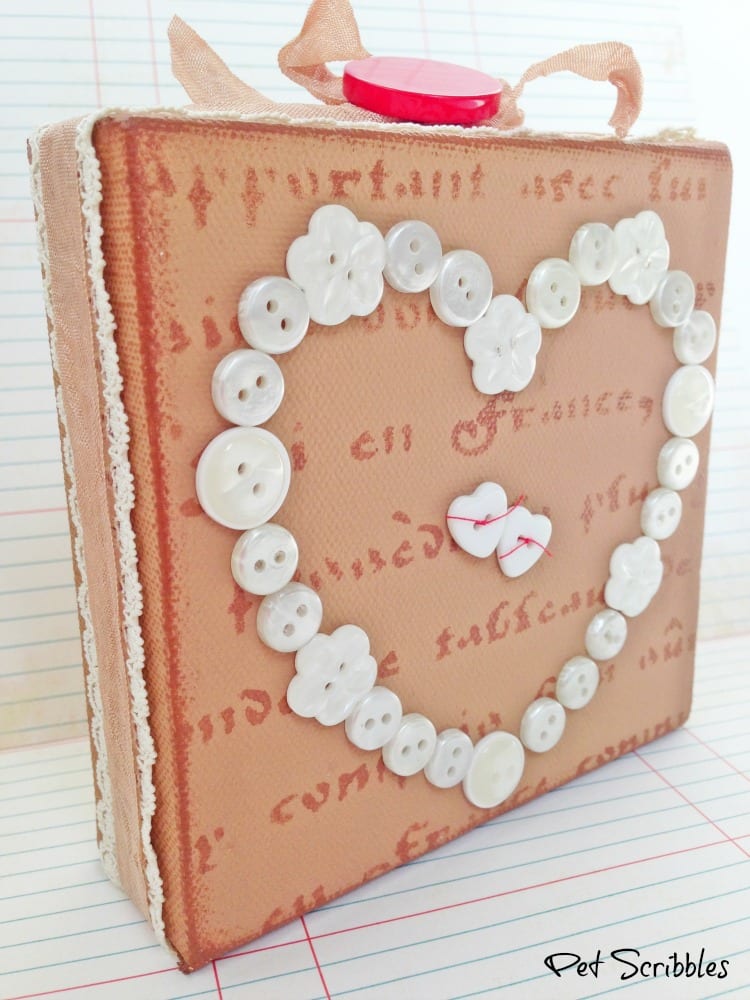
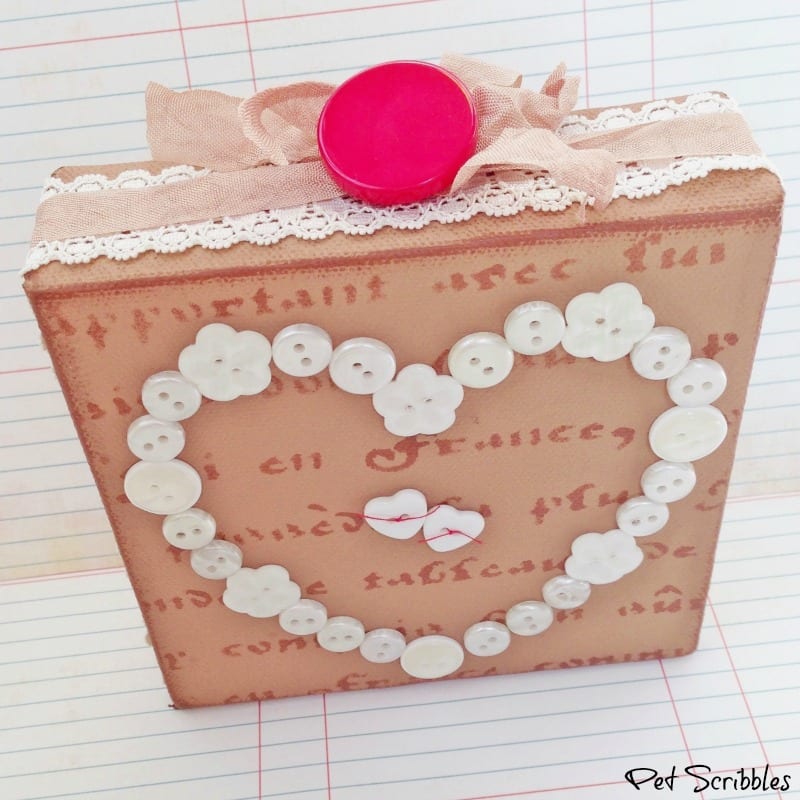
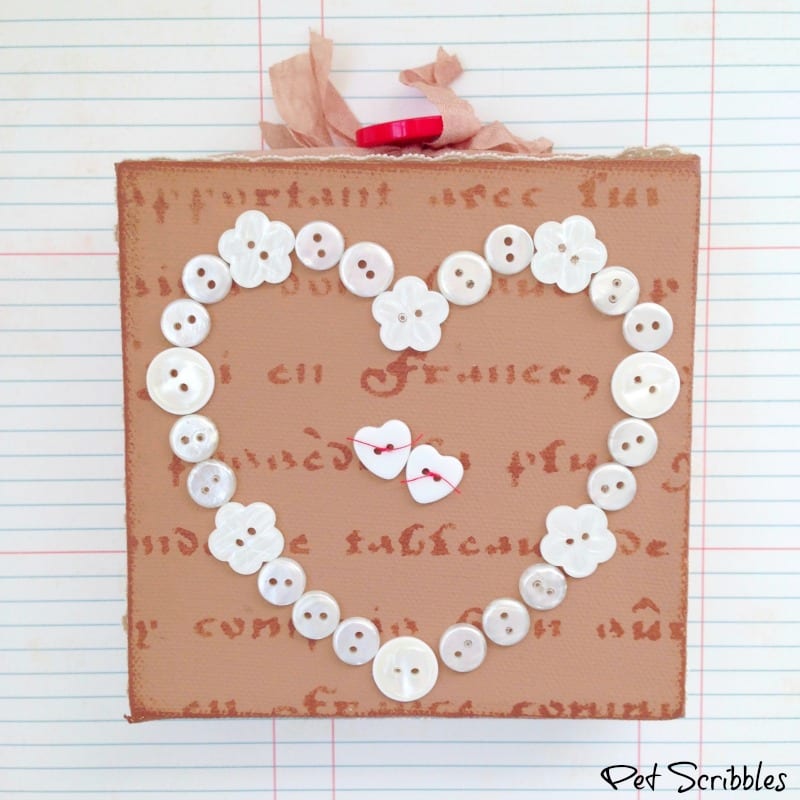
This Valentine Canvas Block mixed media art is a very pretty decoration that can also be displayed year-round!
Before I even began this project, I knew I wanted to make a button heart shape on a canvas.
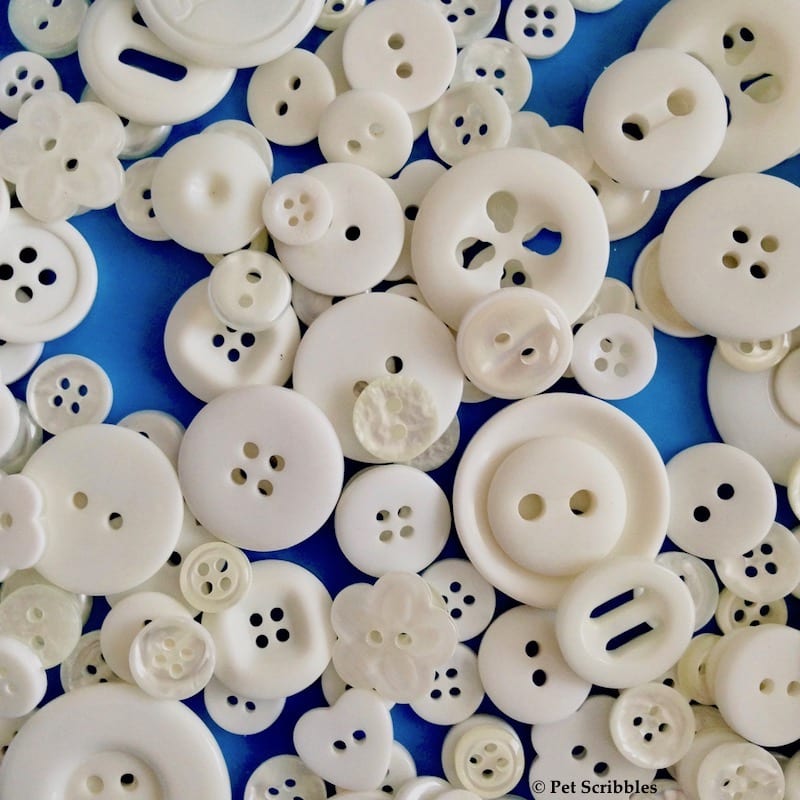
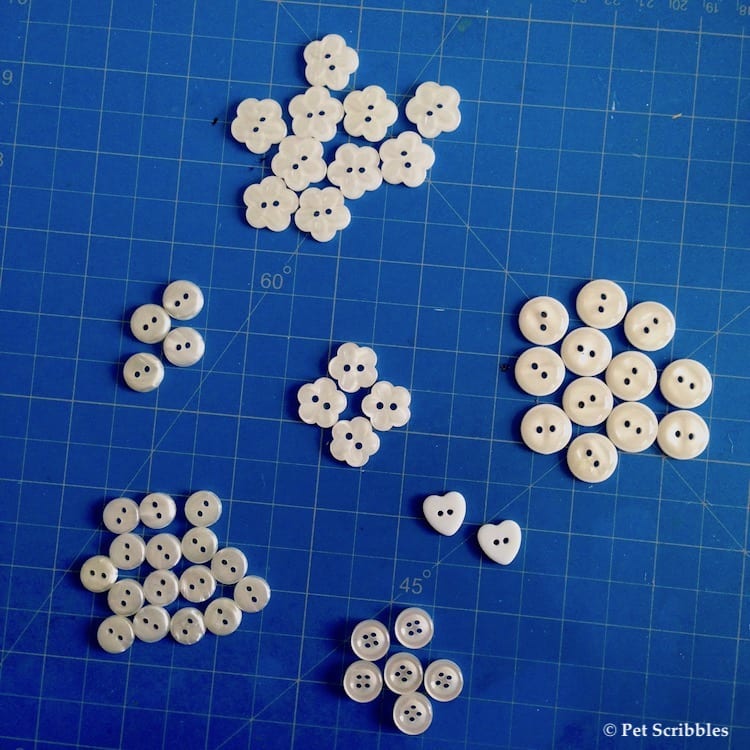
I love the selection of buttons in this package I got from Buttons Galore, and used a variety of the pearlized buttons from this collection. I also used two heart-shaped buttons from their Valentine’s Kit for this project.
When I went shopping, I decided that the canvas should be a canvas block.
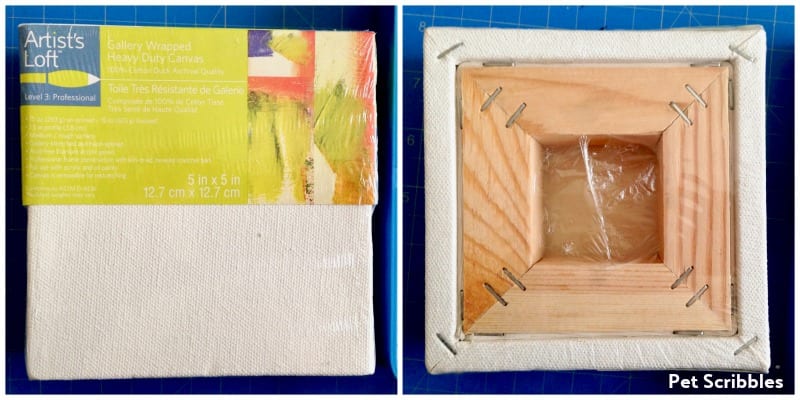
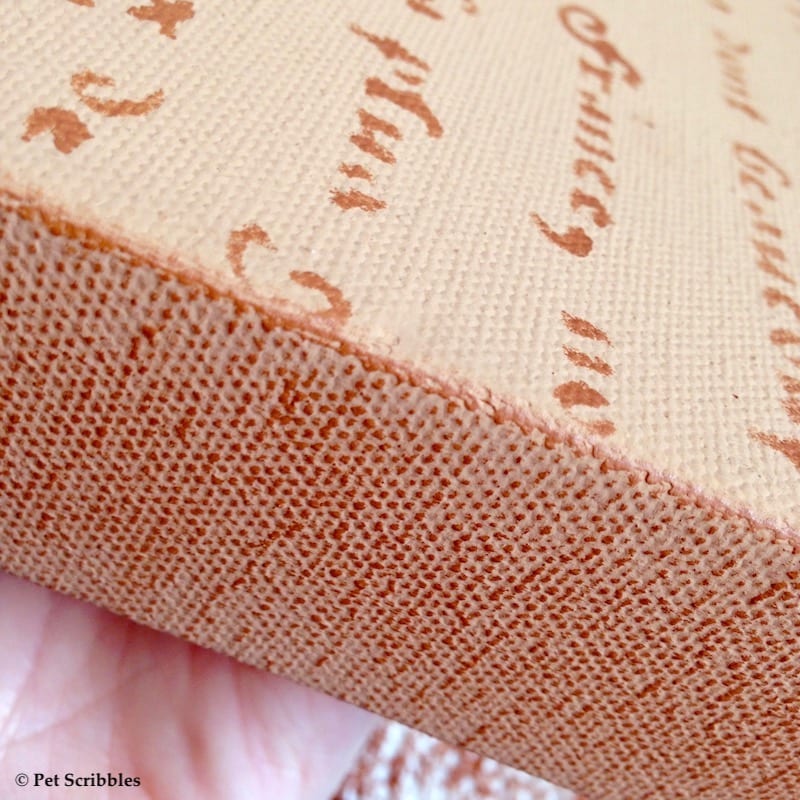
The artist canvas block looks like this (below), when you see it at the craft store. It’s with the regular artist canvases, but this block is thick and can stand up by itself.
Once I began painting the canvas block to look like burlap, I quickly realized that I’d want to stencil something over the burlap color.
And once I began putting buttons together to make my button heart shape, I found some pretty heart buttons which I knew I would feature in the center!
I love projects that evolve like this: you begin with an idea but where you end up is even better than you imagined!
Please note: Although there are lots of steps in this tutorial, you can create this Valentine Canvas Block in just an afternoon — or evening or morning — whenever you love to craft. A few hours is all you need, once you have your supplies together.
DIY Valentine Canvas Block
FTC Disclaimer: Some of the links in this post are affiliate links. I explain more here.
Supplies:
- Ivory/pearl buttons — Buttons Galore
- Large red button — my own collection
- Artist canvas block, 5″ x 5″ — craft store
- Craft paints – Soft Suede for background and Burnt Sienna for stenciling — DecoArt
- Old French script stencil — DecoArt
- Clear tacky glue — Aleene’s
- Painter’s tape
- Paper towels
- Paint brush
- Sponge dauber
- Red thread
- Trims: lace, vintage seam binding
- Scissors
- Plastic jar lids — to hold paints as well as to use as a pedestal for the canvas block while painting
Tutorial:
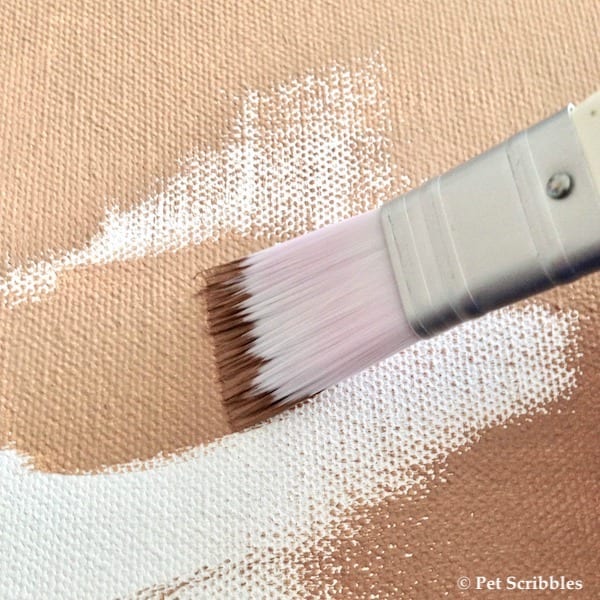
Step One: Paint the canvas block with two coats of Soft Suede craft paint, including the sides. Let dry.
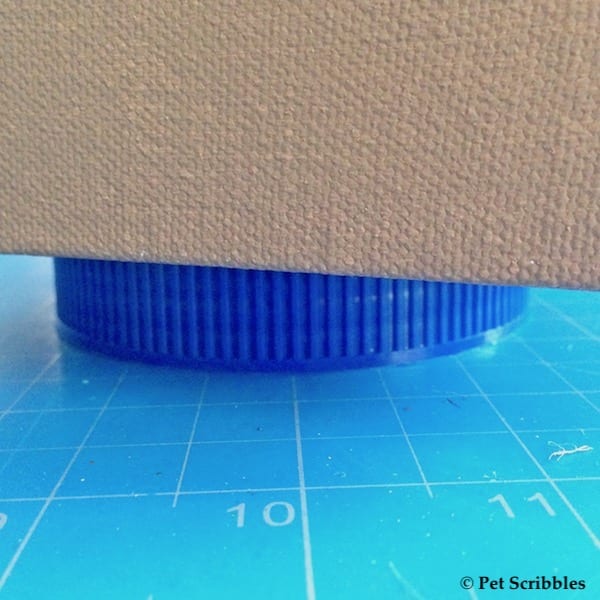
Craft tip: Recycle and use plastic jar lids to hold paints as well as to use as pedestals for painting items like canvas blocks.
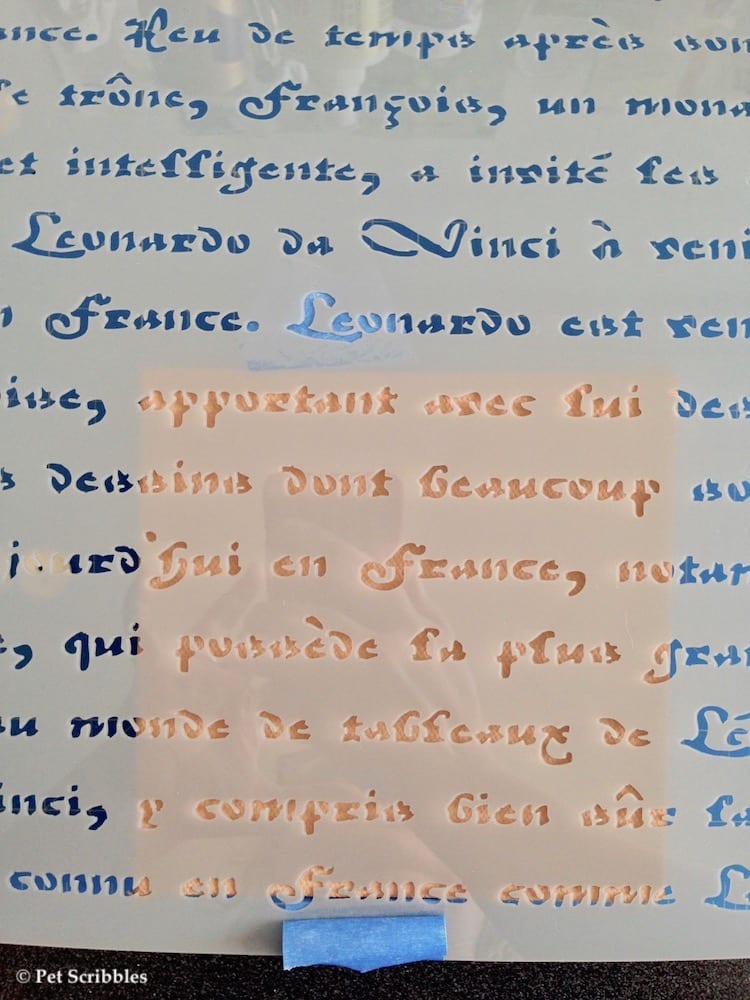
Step Two: Attach the stencil to the painted canvas block with painter’s tape.
After deciding which section of the stencil I wanted to use on the canvas block, I adhered it with painter’s tape placed underneath the stencil and attached directly to the canvas block as shown.
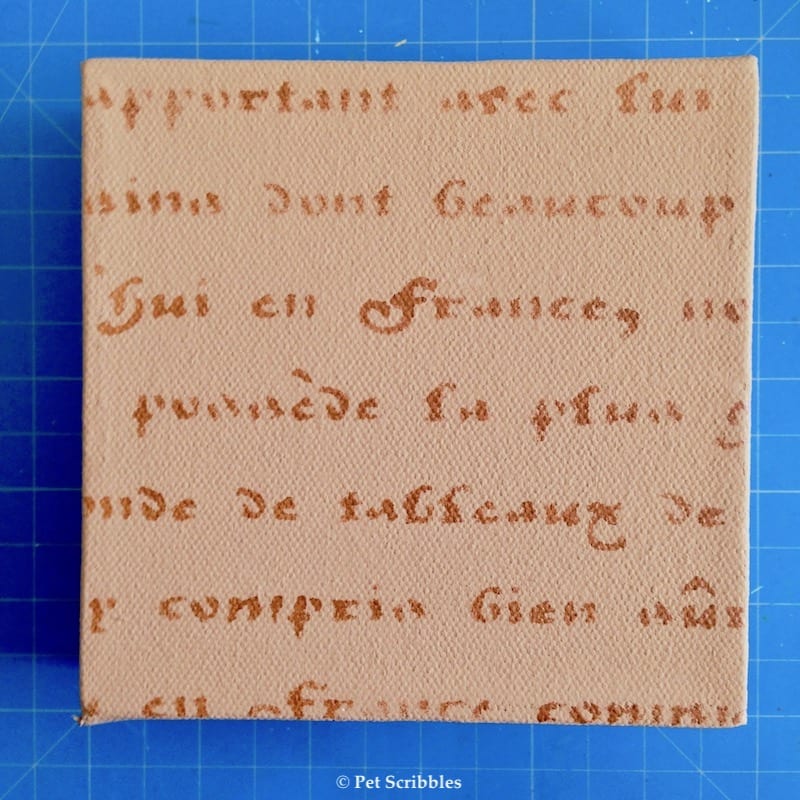
Step Three: Stencil the design onto the canvas using a sponge dauber with Cocoa Bean craft paint. Let dry.
Use your hand to keep the stencil in place, if needed.
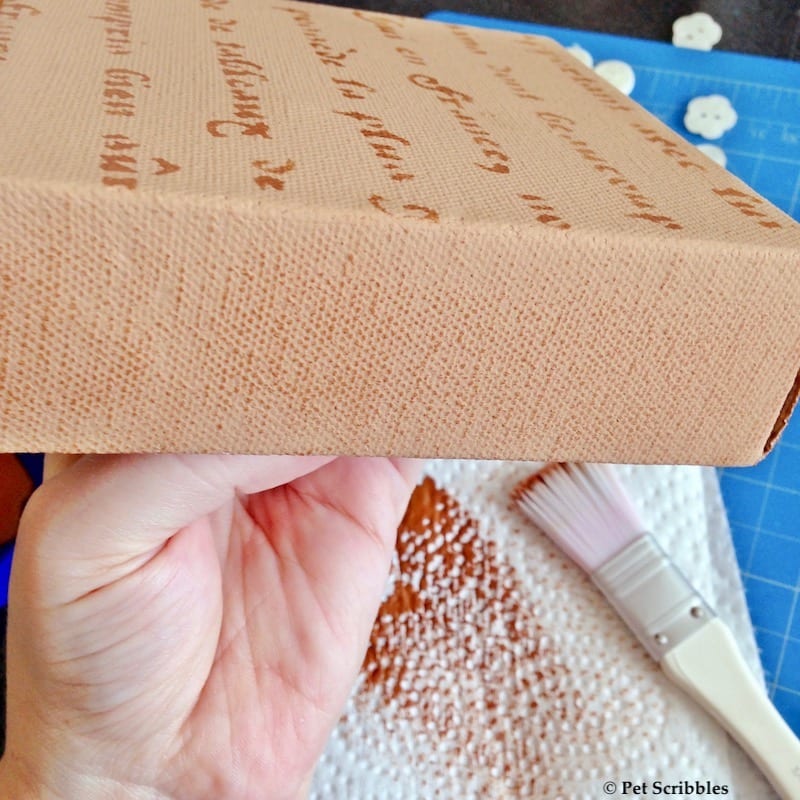
Step Four: Using the same Cocoa Bean paint, distress the sides of the canvas block.
Dip the paint brush into the paint, brush most of the paint onto a paper towel. Use what little paint remains on your brush and lightly drag the brush’s bristles along each side of the canvas block.
After I slowly built up the distressed look to my liking, I added some paint along the edges of the canvas. Let dry.
I dipped my paint brush into the paint, brushed most of the paint off onto a paper towel, then brushed on the rest back and forth along each side. After I built up the color to my liking, I then added some paint along the edges of the canvas. Let dry.
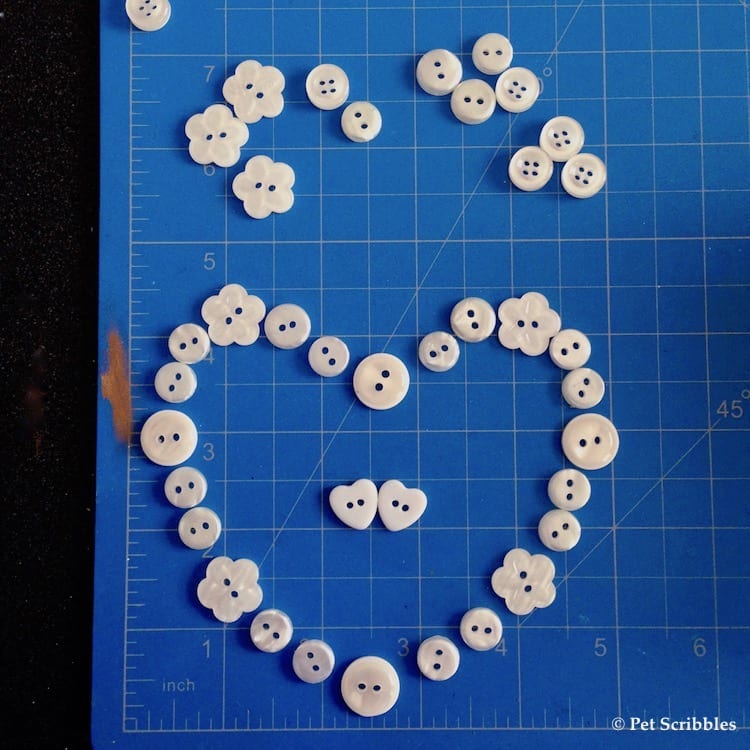
Step Five: While the canvas is drying, work on the placement of your buttons.
I used my craft mat – which has measurements on it – to map out what would fit within a 5″ x 5″ space.
Step Six: Add red thread to the two heart buttons. Tie the thread in a knot, then cut off the ends.
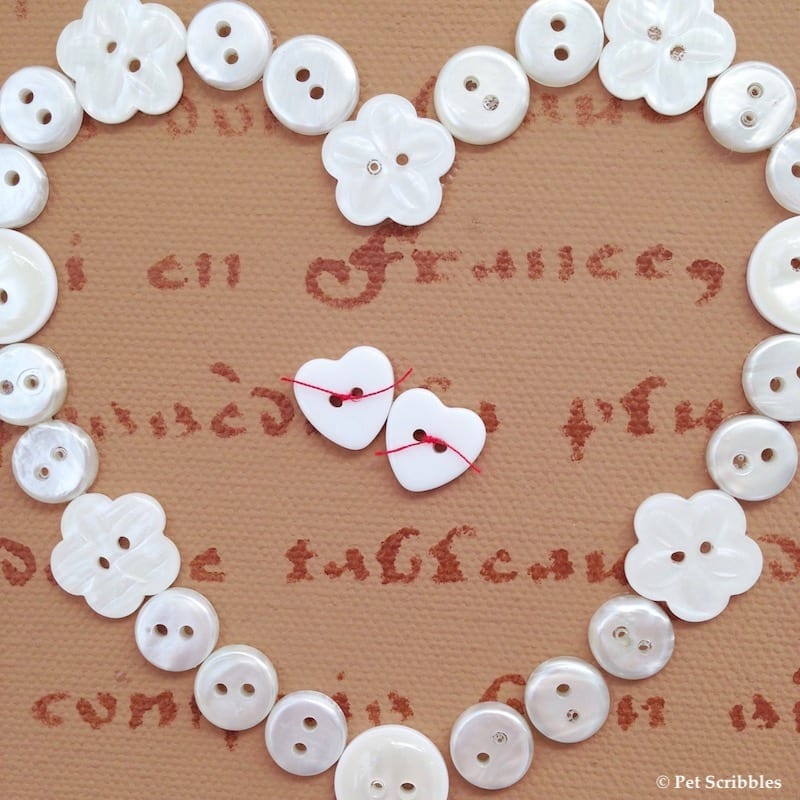
Step Seven: Attach the buttons to the canvas block using clear tacky glue.
After positioning the buttons in place, I first glued the largest ones, then went back and glued down the smaller ones.
Finally, the two heart buttons were glued in the center of the heart.
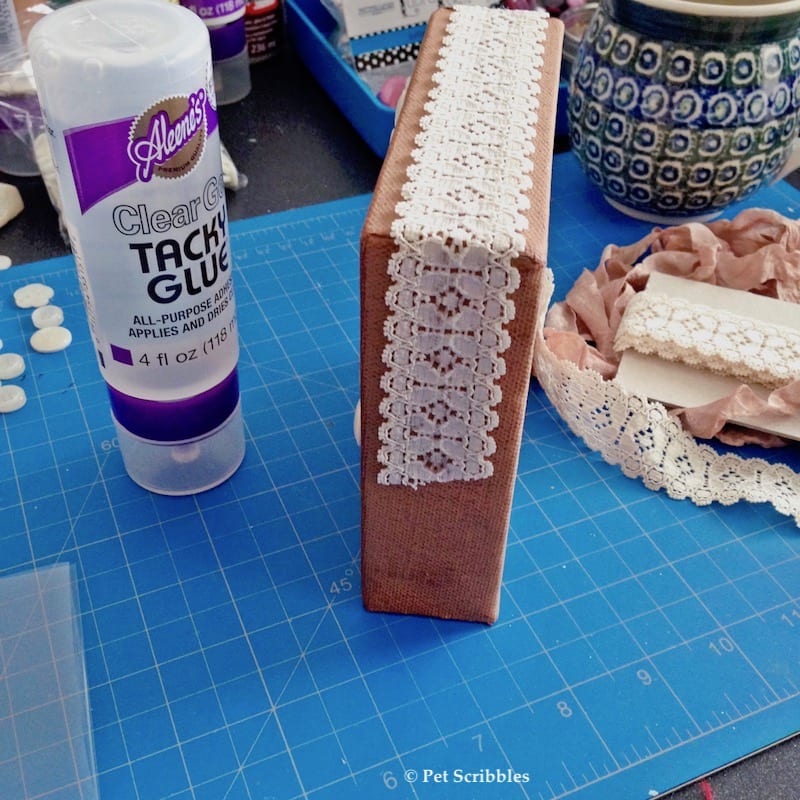
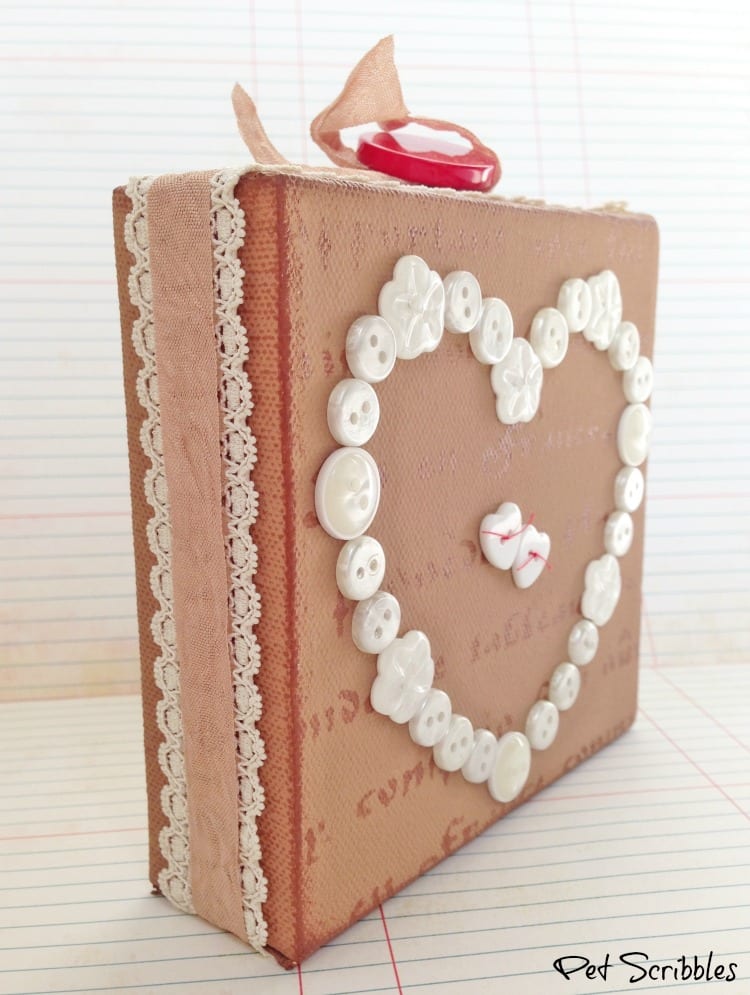
Step Eight: Glue lace trim around the outside of the canvas block using clear tacky glue. Let dry.
Measure out the length of lace needed.
Begin with one end of the lace at the center bottom of the block, then glue around the sides, smoothing with your fingers as you go.
You’ll end up back at the bottom, where the seams won’t show!
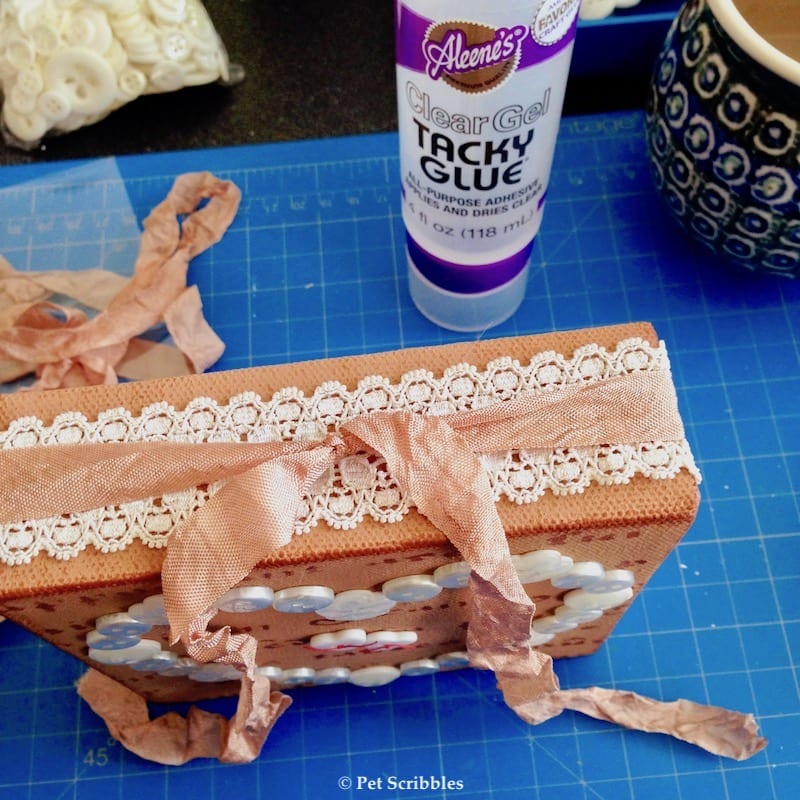
Step Nine: Tie seam binding in a matching color over the lace trim and tie in a knot at the top of the canvas block as shown.
(There’s no need to glue the seam binding to the lace.)
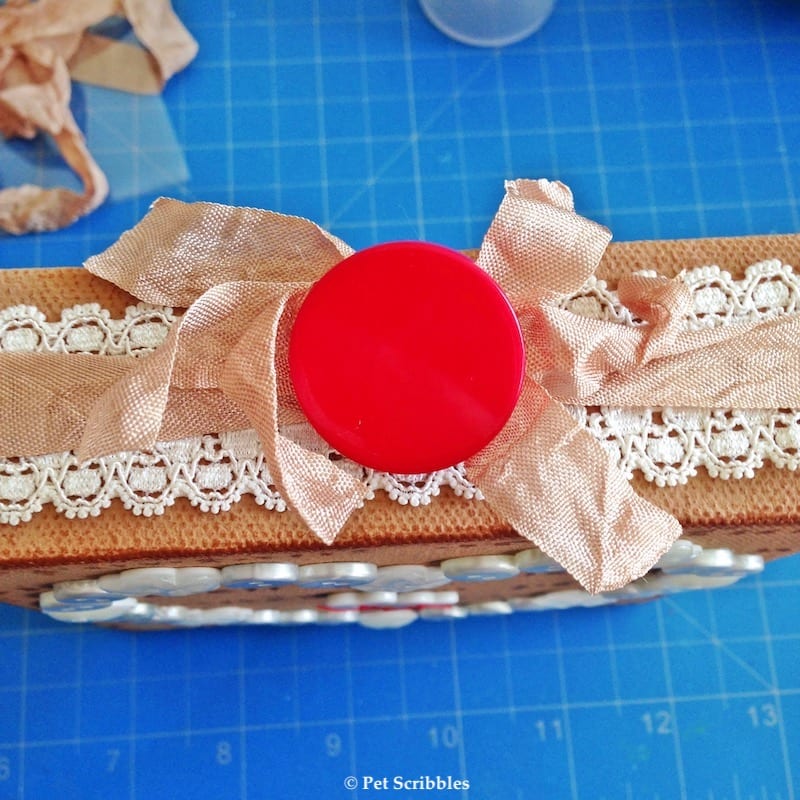
Step Ten: Thread one end of the seam binding through a large red button, then tie the ends into a bow.
If desired, cut the bows apart so that there are four equal pieces and trim the ends of each one to make them shorter.
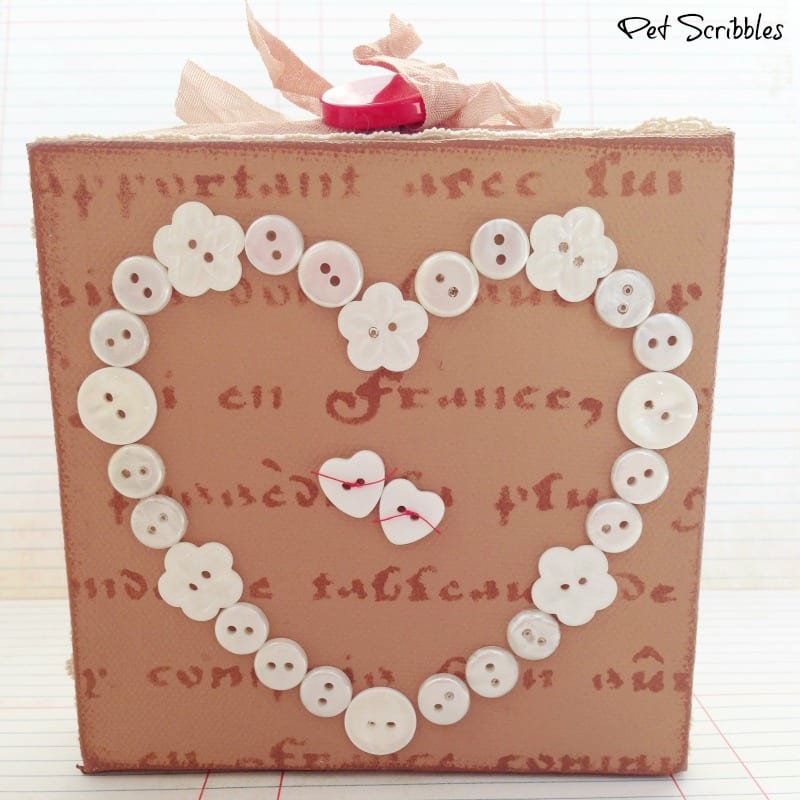
And that’s it: a Valentine Canvas Block to enjoy now and always.
I love mixing different textures together, and this Valentine canvas is no exception!
There’s flat-colored canvas, mixed with pearlized and shiny buttons, embellished with delicate lace and semi-shiny seam binding.
And the tiny bits of red thread play off of the large red (also shiny) button.
I love how this Valentine Canvas Block turned out, and hope I’ve inspired you to make your own!
Happy crafting!
An older version of this tutorial first appeared on Deja Vue Designs, when I was a craft contributor there. This post has been completely updated for you here!

Leave a Reply