I created a tie dye Summer top using a glue resist technique. Sounds fancy, but it is a simple technique using blue gel glue — like Elmer’s. Here’s a complete step-by-step with a ton of helpful pictures!
As our Summers are hot and humid, my clothes during the Summer months are made of either linen or cotton.
And I basically live in sleeveless tops.
So when I was asked to try out the Tulip Tie Dye kits from ILoveToCreate, I couldn’t wait to try tie dying a fun Summer top. Tie dye is hot right now in fashion, and I found inspiration and fun styles easily on the interwebs.
Disclosure: I wrote this post as part of a paid campaign with ILoveToCreate.com and Blueprint Social. The opinions in this post are my own.
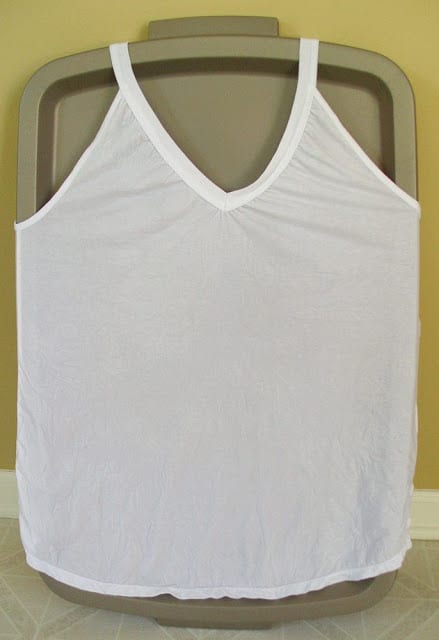
I chose an A-line tank with a double V-neck (back and front) in 100% cotton, purchased here. I was eager to adapt a technique that I had found via Pinterest using a tie dye resist, in which the dye will “resist” coloring anywhere that the resist is applied.
Prior to this, I had never tie dyed anything ever in my entire life. No big deal, you say? Au contraire!
Tulip Tie Dye is not your mother’s tie dye! These kits made it so easy, that I ended up making 3 different Summer tops using 3 different tie dye techniques – it was just that much fun!
(Today I’m sharing just one technique, but I promise to share my other two creations here soon!)
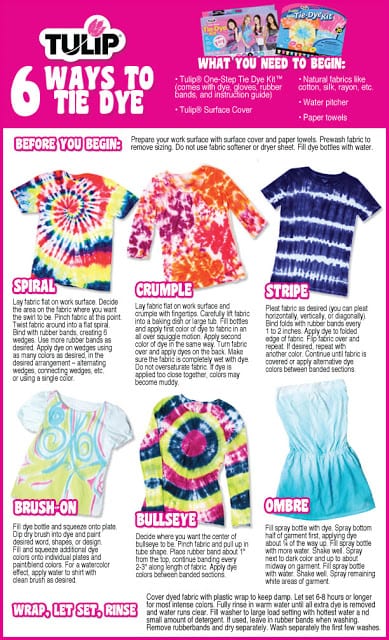
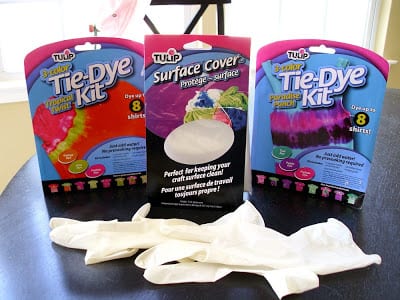
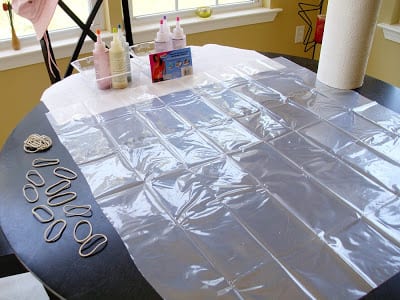
I received a fun box of goodies from ILoveToCreate, including:
- Tulip Tie-Dye Kit in Tropical Twist, featuring the colors fuchsia, lime, and orange
- Tulip Tie-Dye Kit in Paradise Punch, featuring the colors teal, purple, and fuchsia
- Tulip Surface Cover to not only protect your craft area, but also to cover your project while it dyes
- Extra rubber gloves
(For this technique, I didn’t need to use the plastic to cover my project while it dyed, but I did use it for my other two tops that I also tie dyed.)
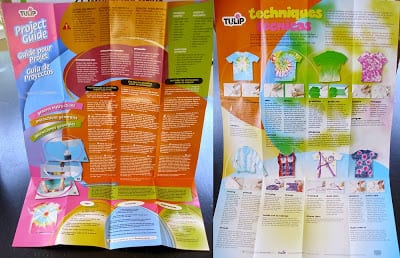
Included in each tie dye kit is an awesome project and technique guide with clear, easy-to-understand directions and tips, to help make sure your tie dye creations are a success!
Also included in each tie dye kit are 3 squeeze bottles with the powdered dye already inside, 20 rubber bands, and 2 sets of protective gloves. (I used the rubber bands on another Summer top, but you won’t need to use them for this particular project.)
Additional supplies I used: paper towels, standard blue gel glue, wax paper, a storage bin lid, and an all-purpose bucket. (I’ve read that regular white glue will not work for this technique, but I can’t personally confirm or disagree.)
Note: I initially wanted to do this technique with Tulip Fashion Art Resist, but it wasn’t available at my local stores. I think this technique would work even better using the Art Resist, as it is a product specifically made for fabric dying and tie dying.
All set? Let’s begin!
An important first step – if using a new garment – is to wash it in order to remove the sizing. Just use a tiny bit of laundry detergent. I didn’t bother to dry the top, as for this technique you want a damp surface to start with.
I stretched my top around a storage bin lid so that the glue I was using wouldn’t seep through to the other side. I wasn’t concerned about the tank top stretching out too much, but if you don’t want to stretch your top, you could use a sheet of plastic in between the front and back layers.
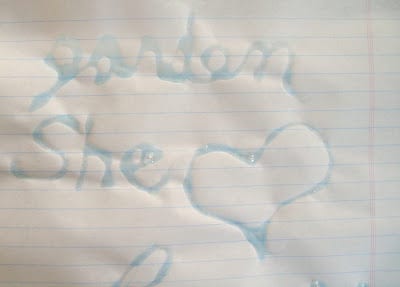 |
| My attempt at writing with the glue looked more like those irritating word verification letters used on certain websites and blogs! |
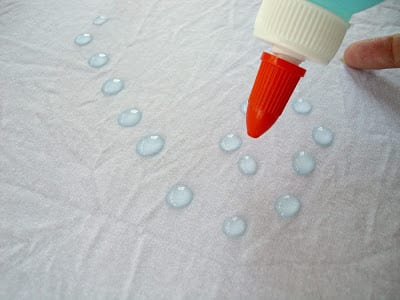
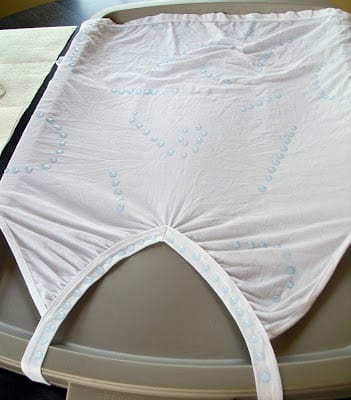
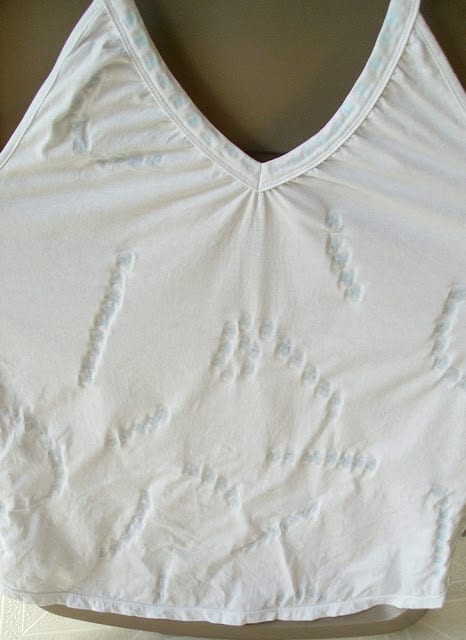
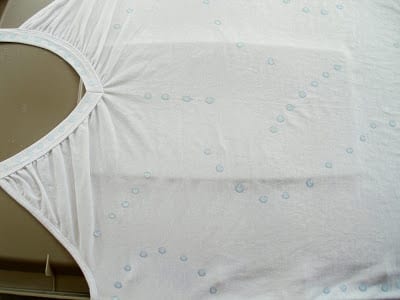
I had previously experimented writing words with the blue gel glue. It wasn’t working to my liking, so I decided upon a simple dot design all over the tank top instead.
Tip: when using the glue, make sure to space out your dots (or letters for those more adventurous than I), far enough apart so that they don’t end up running together. You can see in the image below a few places where the dots began to merge together.
Once I was satisfied with my design, I set it aside to dry overnight.
The next morning ….
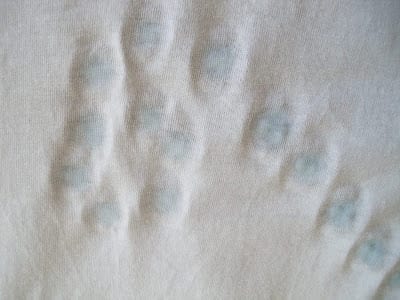
… this is what I saw!
No, your eyesight isn’t blurry, nor is this picture. This is how the glue looks when it – and the top – are completely dry, so no need to panic…like I did just a little bit. Micro-panic is what I did.
Now it’s time to repeat the process for the other side of the top. First, however, I wanted to add one more dot of glue to each of the straps, right at the top, so I stood the storage bin lid up against a chair and carefully applied one drop of glue on each strap. I let the 2 dots dry for about an hour, just to make sure they wouldn’t start migrating north or south.
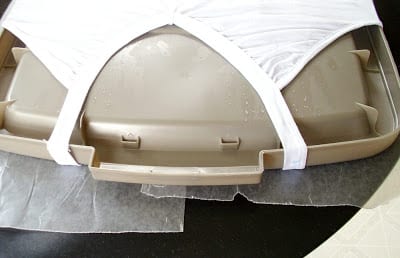
Put wax paper underneath the front of your garment – the side you have already decorated with the glue – so that nothing will stick to the glue or ruin your artwork. Dampen your shirt with a spray bottle and repeat the glue application to the other side of the top. I was very careful this time around with spacing my dots just a bit farther apart to avoid any dots merging with each other.
Once the back of your top is complete, then let everything dry completely like you did for the front of the top. I let it dry for about 8 hours. (Overnight also works!)
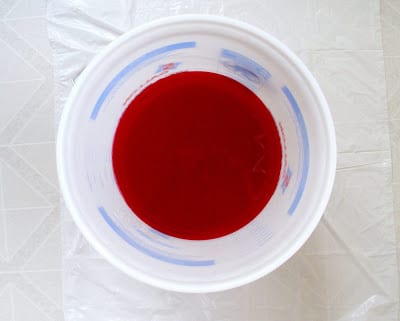
Take your all-purpose bucket and fill it up with water, approximately 1.5 gallons total. You want to have enough liquid in the bucket to adequately cover your garment.
Alert! Alert! You will want to put on your protective gloves BEFORE handling any of the dyes, so go ahead and do that now.
Take the squeeze bottle that contains the fuchsia dye powder and fill it up with water only half-way first. (This is a trick I learned from one of the how-to videos from ILoveToCreate.)
Once filled half-way, put your finger over the opening and shake vigorously. This will help any powder that might be stuck to the bottom of the bottle to shake loose.
Once the bottom of the bottle looks free of powder, go ahead and fill the bottle up to the fill line, cover the opening, and shake it once again.
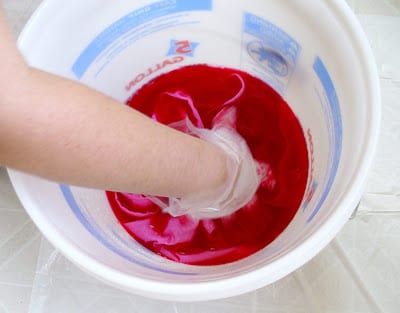
Carry the bottle over to the bucket of water and slowly add it in, stirring with your gloved hand.
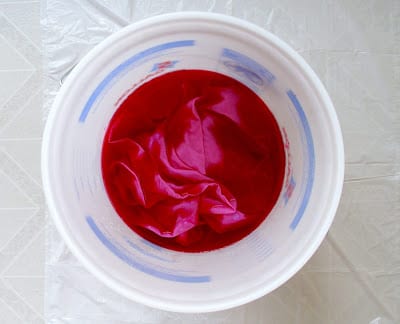
Add your garment into the dye mixture slowly, so you don’t splash any dye around. After swirling the top around for a few minutes, making sure the dye liquid has penetrated the entire garment, you can leave it for a few hours.
Actually, how long you leave it sit in the dye is up to you.
I chose to leave it in for about 2.5 hours, as I knew I wanted a very pale shade of fuchsia, almost like a lilac-pink. If you want a more vibrant shade, definitely leave it for about 6 hours.
What makes this fun is you get to choose how saturated (in color) you want your garment to be!
Helpful tip: When you pull your protective gloves off, do it slowly — again to prevent dye from going all over the place — and pull them off inside out. This way, the dye stays *inside* the gloves and you can just toss them into the trash, mess-free. Just make sure to have another set ready to go for the next steps.
Alert! Alert! Put on another pair of gloves before continuing!
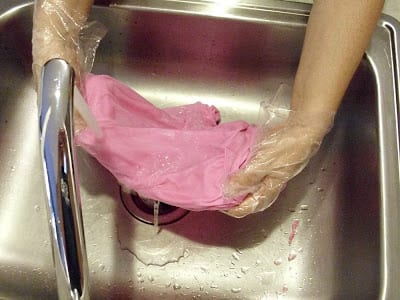
Carry the bucket over to your sink, put the edge of the bucket over the sink, and lift out your garment slowly, to avoid drops of dye getting everywhere.
Place the garment directly into your sink, turn on the water (cool temp is fine), and rinse your garment until the water runs clear. At this point, I was getting so excited because I could begin to see how the glue resisted the dye!
After the water runs clear, place the garment back into your bucket to transport it to your washing machine.
Set your machine to a large load setting, and use the hottest water appropriate for your garment with just a bit of laundry detergent.
I actually used cold water, because that’s just what I usually do with my summer tops, and the top came out just fine.
Pop the top into the dryer, again on whatever setting is appropriate.
While waiting, count just how many times you check to see if it’s done yet. Seriously – I was never this impatient doing laundry, but I couldn’t wait to see how it turned out!
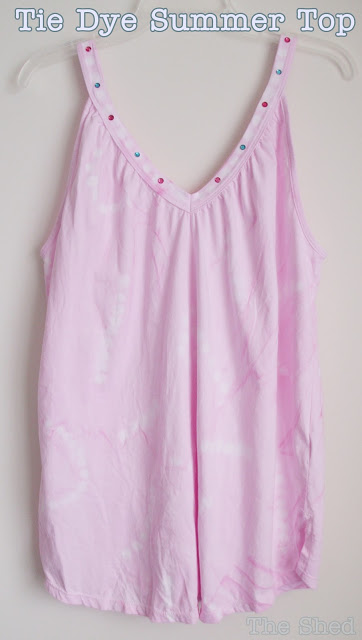
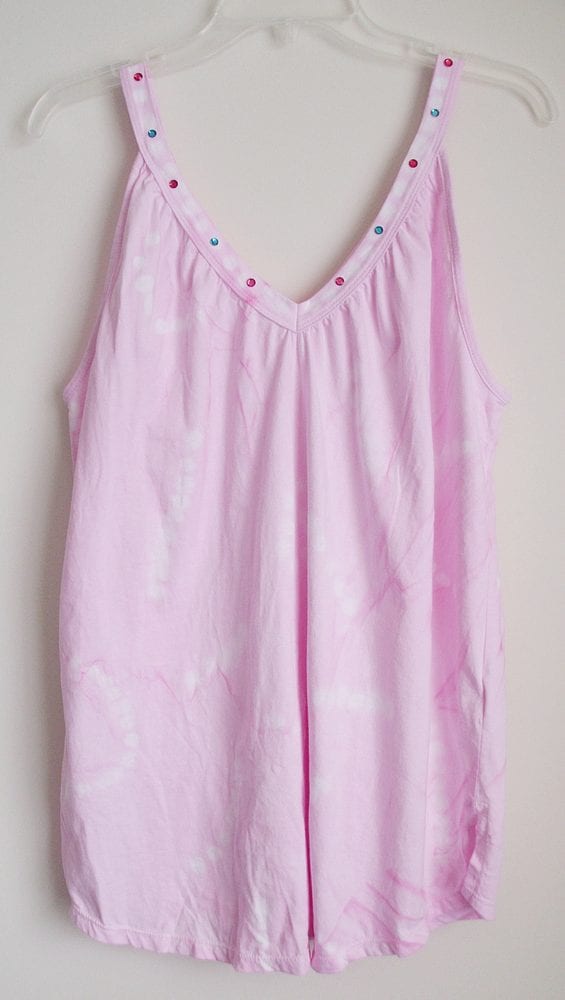
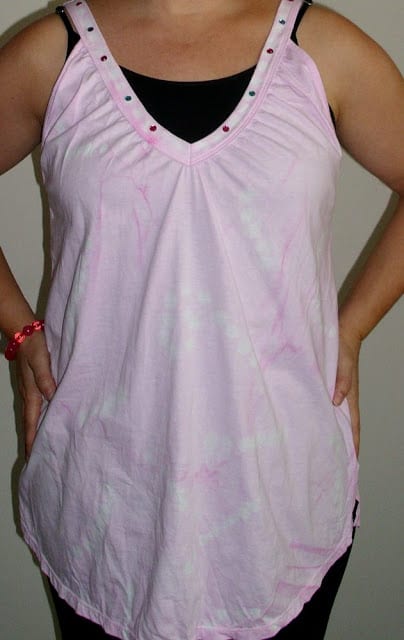
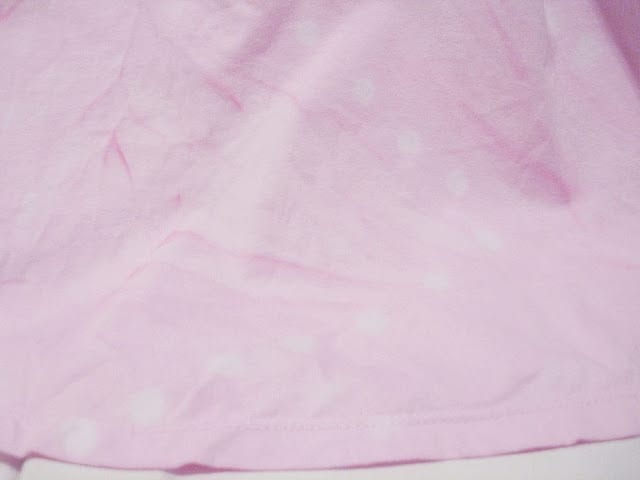
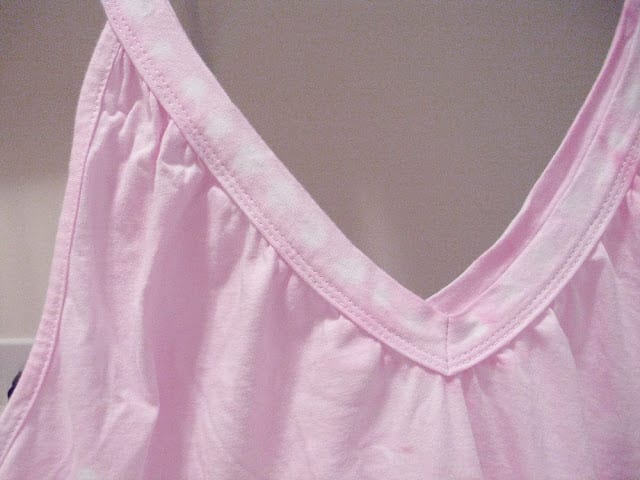
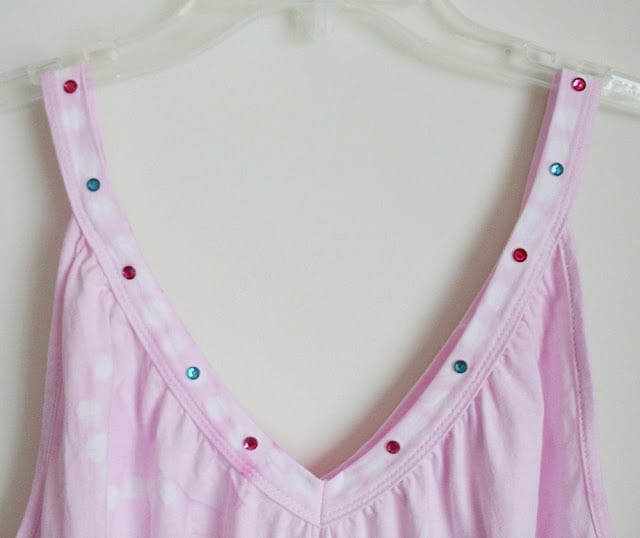
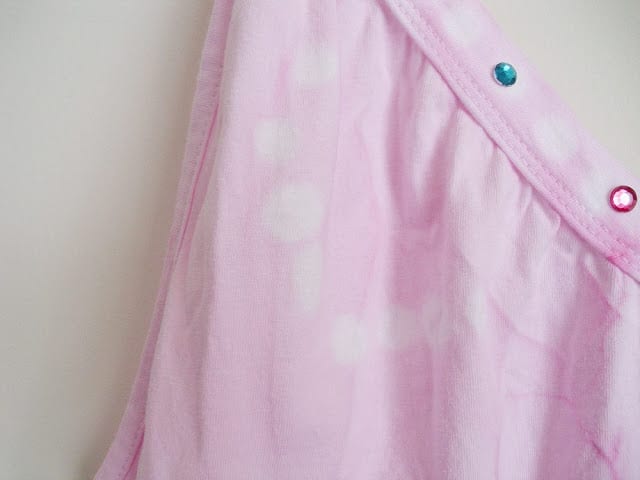
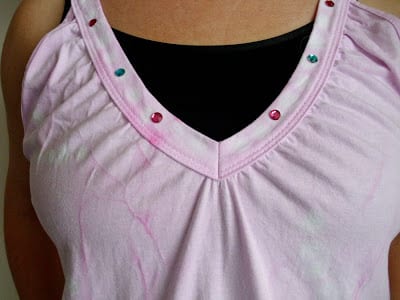
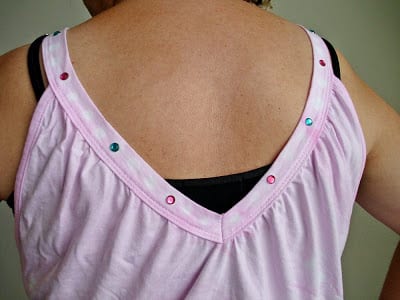
I was so happy with how this came out! I loved how the dots stayed white and how “soft” the edges of the dots were. And I adored the different lines of darker fuchsia that appeared in random places on the top.
I tried the top on, instantly loved it, yet felt there was still something missing.
Bling was missing. Using Aleene’s Flexible, Stretchable Fabric Glue — also an ILoveToCreate product — I adhered small gems in fuchsia and teal to the front and back of my tank top.
Now it was complete.
I was beaming!

Awesome. No one would ever dream you made the pattern with glue.
Wow, really? Thanks so much! 🙂
Adorable!
Thanks Viv! 🙂
Cute! I like the added sparkles around the neckline.
Thanks Haley! 🙂
Love it! What a beautiful color it came out. Such a pretty soft pastel. You look adorable, beaming, and the matching flower in your hair is too cute!
Thank you Laura! You are good for my ego! 🙂 I couldn’t resist the flower in my hair, it was actually a pin from a suit jacket – but it matched, so I went with it! LOL