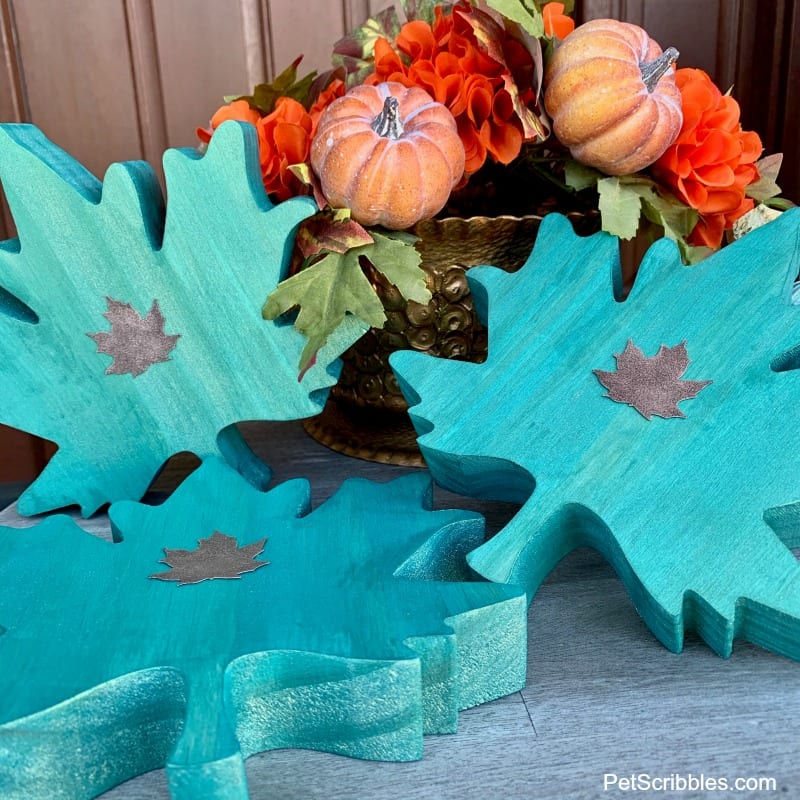
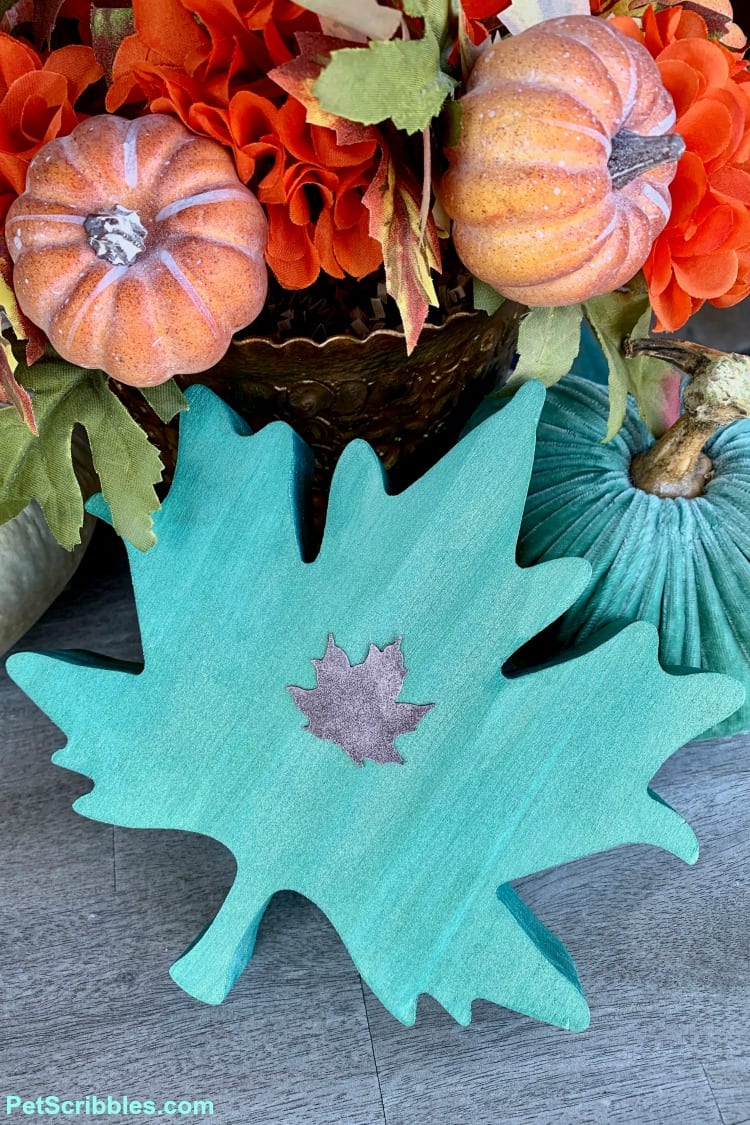
Add painted wooden leaves to your Fall home decor. I painted these unfinished chunky wooden leaves which fit in perfectly with my teal Fall decor! Easy DIY!
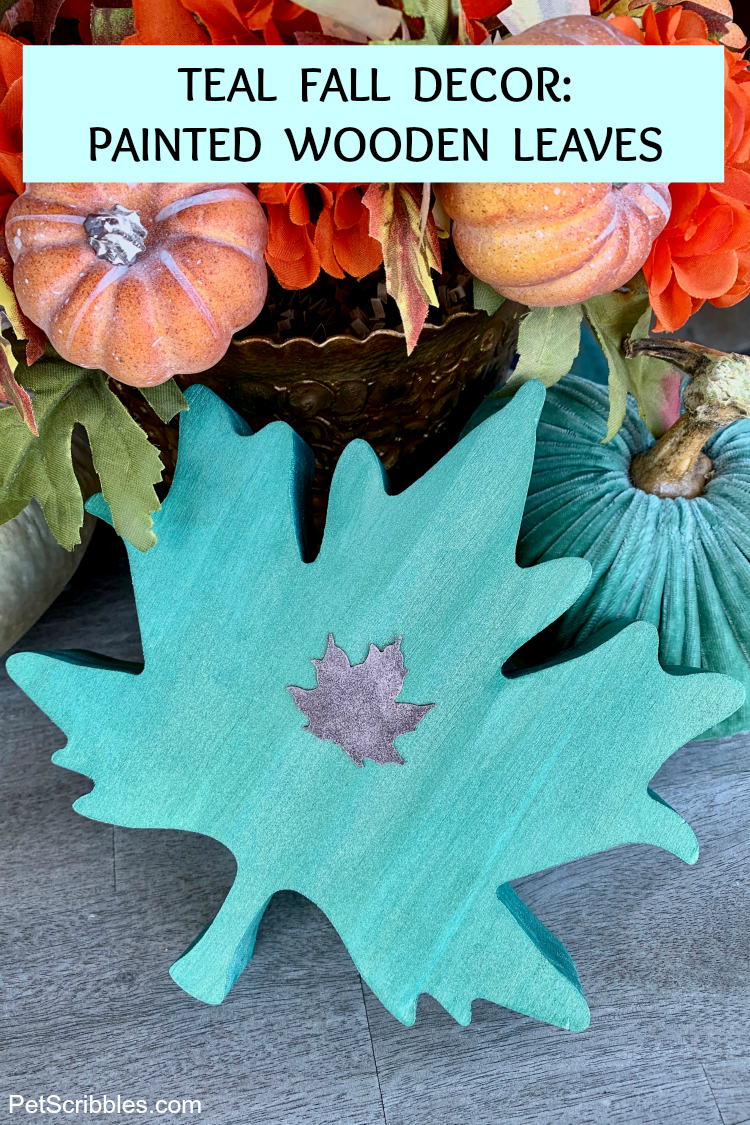
Teal is probably my favorite color, and we have lots of teal accents throughout our home.
Fall is no different, and I love to add in teal fall decor to the more traditional Autumn colors. Teal makes oranges and reds pop, and adds color to muted earth tones.
And that’s how I arrived at these pretty metallic teal Fall leaves!
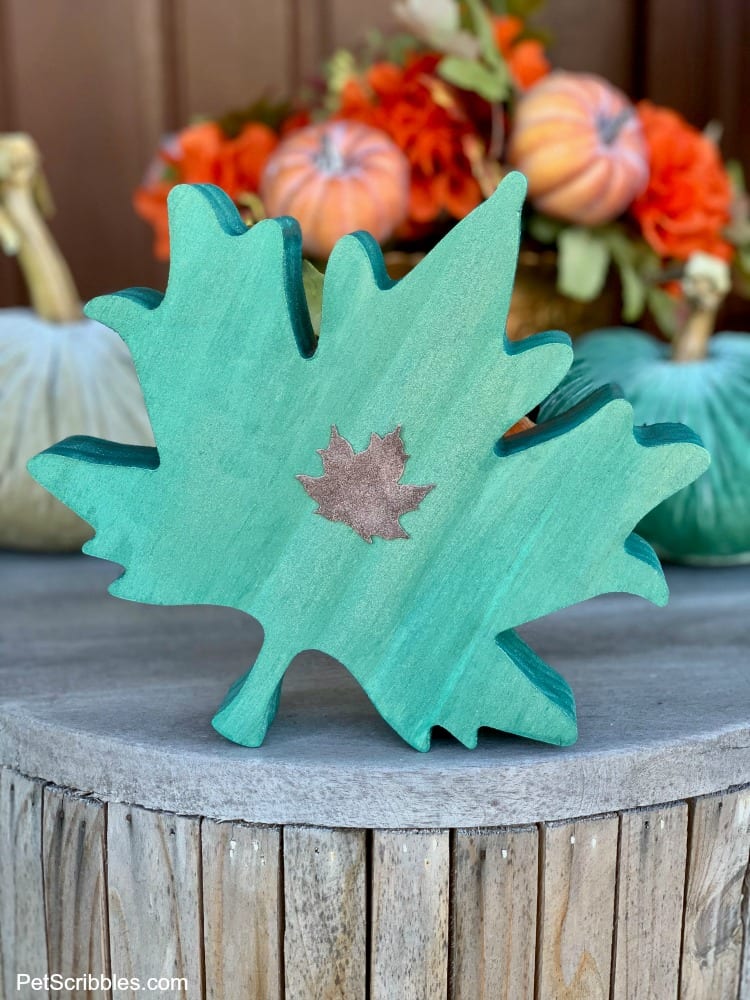
The paint I used has a pretty metallic sheen that is hard to see when looking straight at it, but when the sun catches it just right, it’s very nice! A subtle rustic farmhouse look with a touch of glam thrown in.
Supplies used:
FTC Disclaimer: Some of the links in this post are affiliate links. I explain more here.
- Chunky wooden leaves — Target
- Rustic metal leaves
- Teal paint: FolkArt Color Shift Metallic Paint in Dragon Flash
- Rose gold paint: FolkArt Brushed Metal Paint in Brushed Rose Gold
- Paint brushes: medium and small from my favorite Martha Stewart brush set
- Sponge dauber or stencil brush
- Recycled plastic jar lids to hold paint
- Removable Glue Dots
- E6000 Craft Adhesive
- Wax paper
- Toothpicks
Chunky wooden leaves
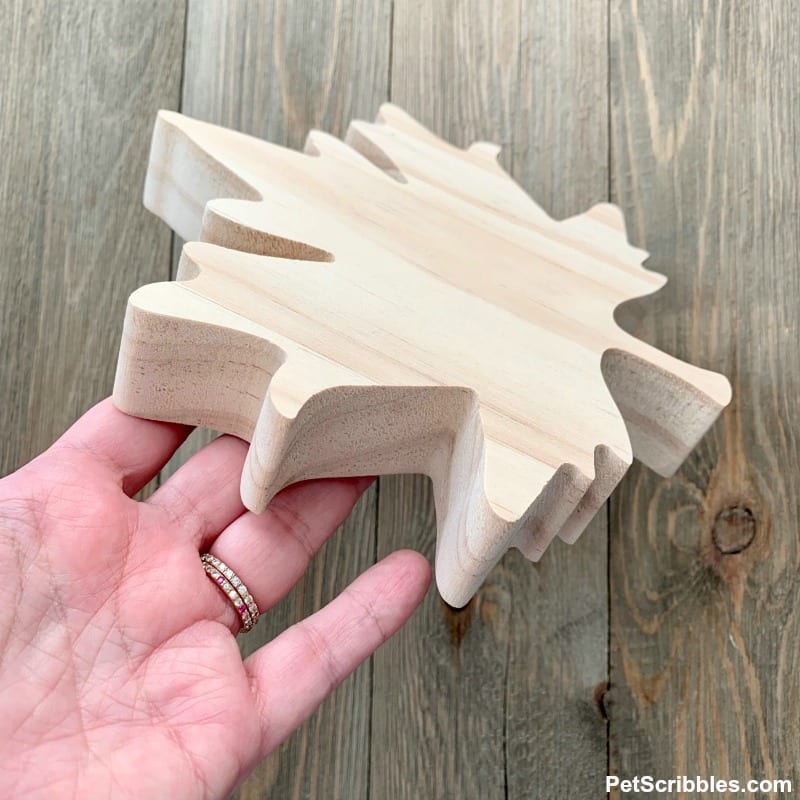
I found these wonderful chunky wooden leaves at Target. They have a nice weight to them, and are approximately 7 inches by 7 inches.
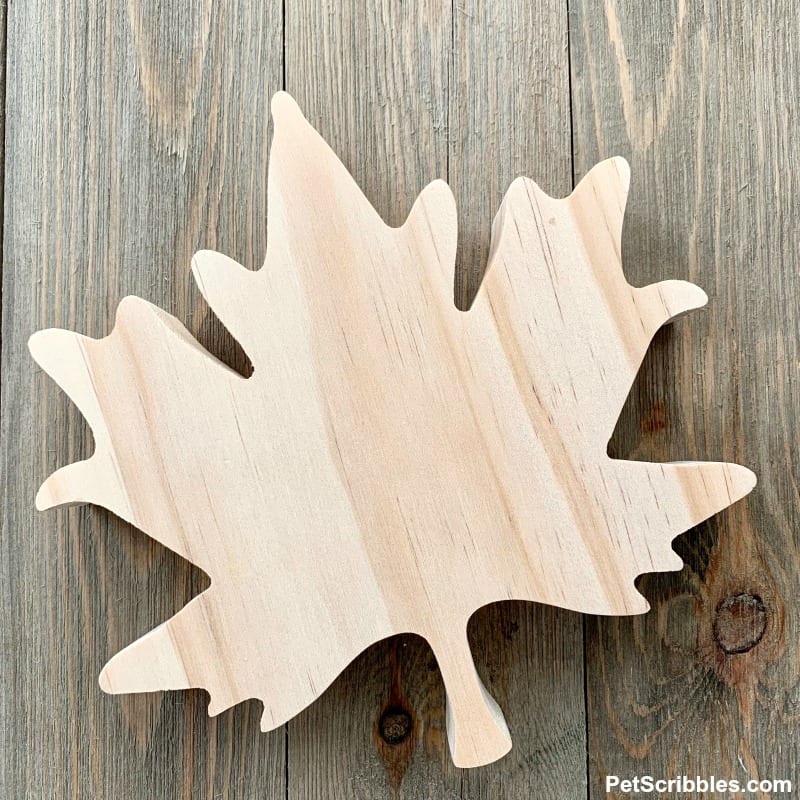
The best part is how chunky they are! The sides are thick, and can stand upright on a shelf or mantel. Perfect!
Paint the wooden leaves
Paint the wooden leaves with two coats of teal metallic paint. I did two light coats, which allowed for the wood grain to still show through the paint.
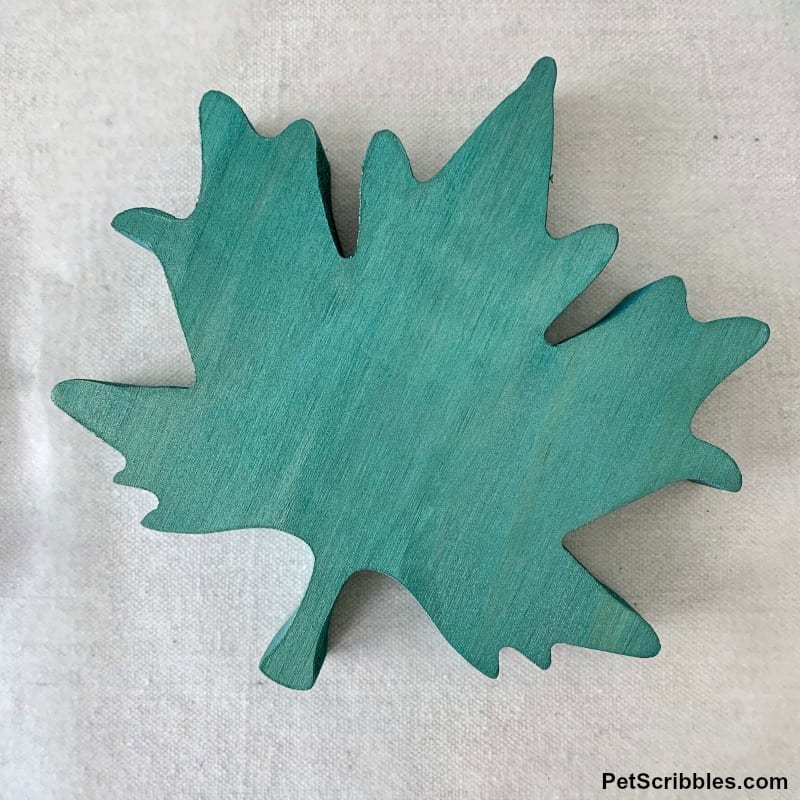
The lovely thing about the FolkArt Color Shift paints is the metallic sheen when the light catches the painted surface.
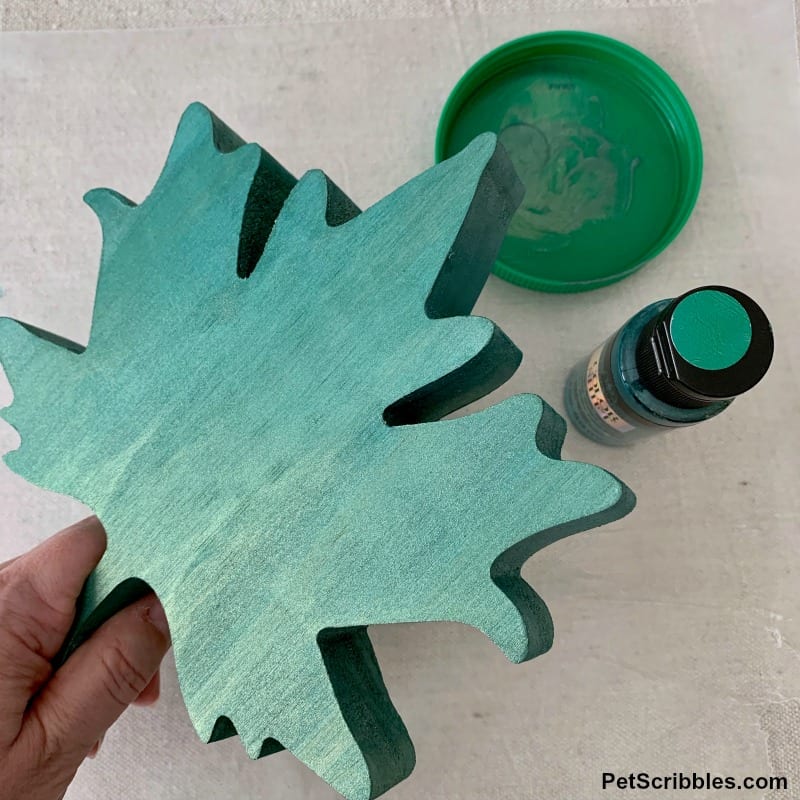
The Dragon Flash (teal) paint I used has a very slight gold sheen to it.
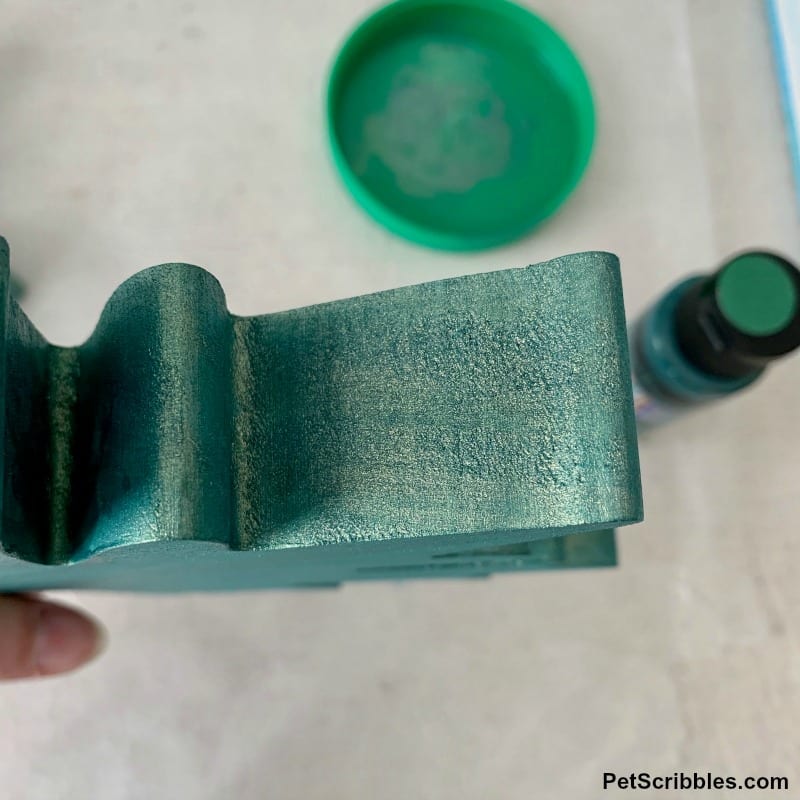
Let the painted leaves dry thoroughly. I left mine to dry on wax paper overnight. (The wax paper is great because your painted projects won’t stick to it as they dry.)
Paint the rustic tin leaves
If you can’t find these metal leaves — as Amazon is the only place I see carries them — you can paint over small paper or fabric leaves instead and achieve a similar look.
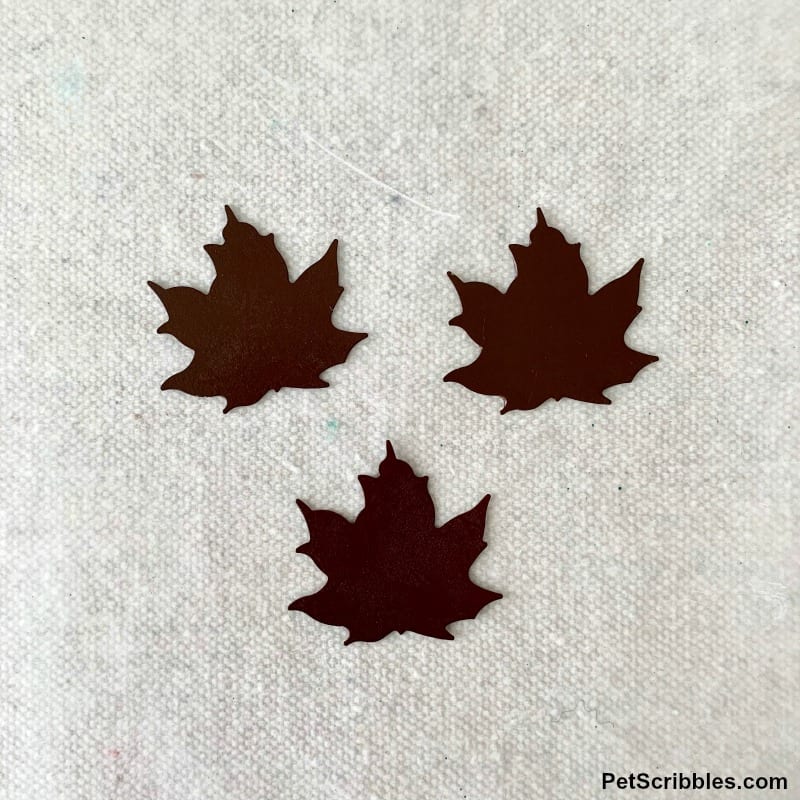
To make painting these leaves easy, I used removable glue dots and wax paper.
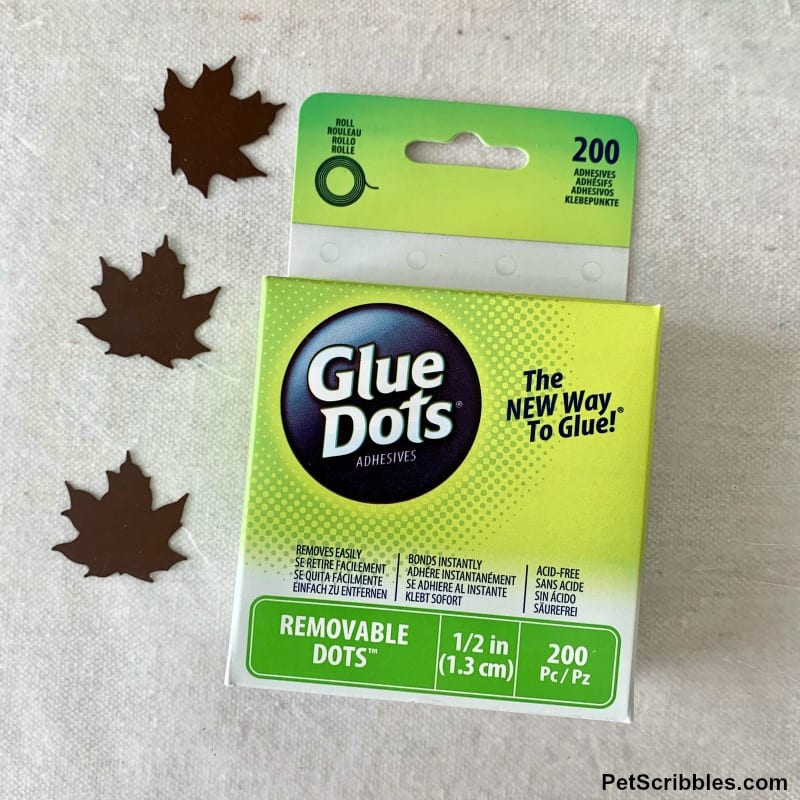
I placed four removable glue dots (on top of each other) to the back side of each leaf. Next, I gently attached them to my wax paper.
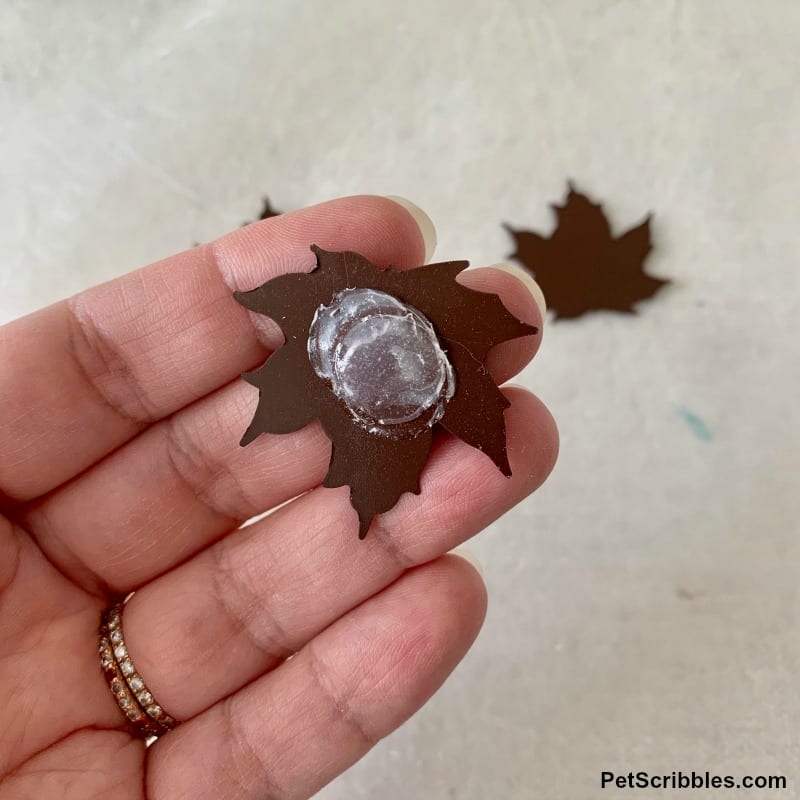
The reason for doing so is now you don’t have to hold the leaves while painting them, and they won’t move while attached to the wax paper. You can easily paint many leaves using this trick.
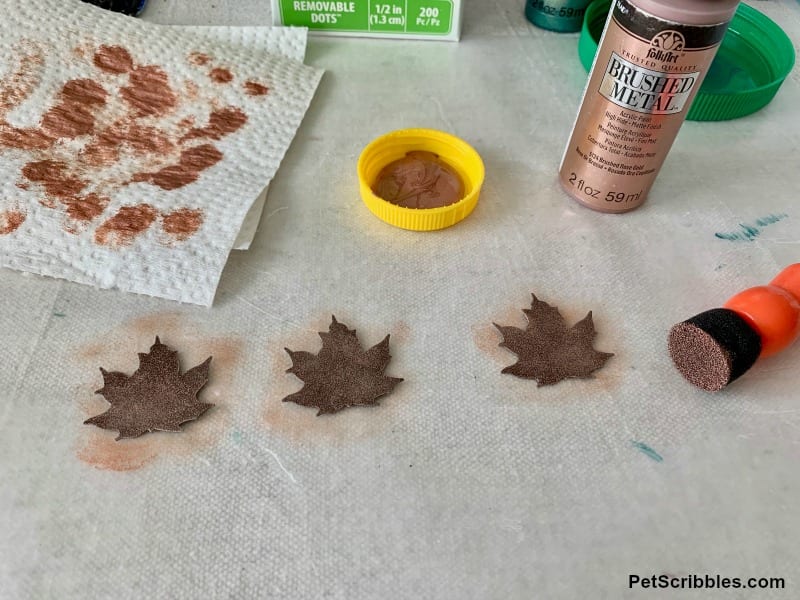
Next, load up your sponge dauber or stencil brush with Rose Gold paint . . .
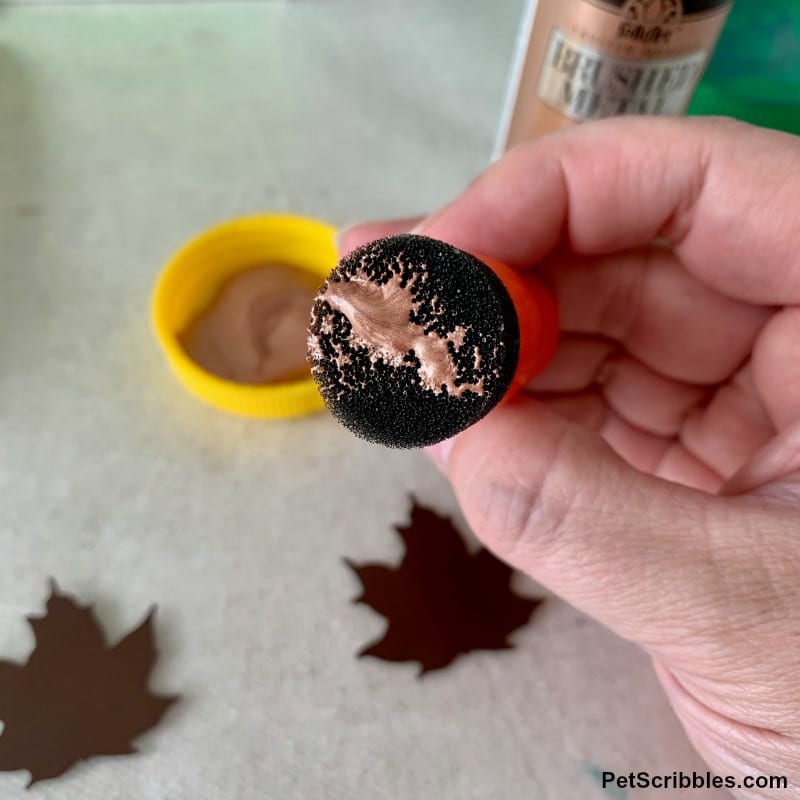
. . . then dab and pounce most of the paint “off” onto a paper towel.
Your sponge dauber (or stencil brush) should look like it hardly has any paint on it, like this:
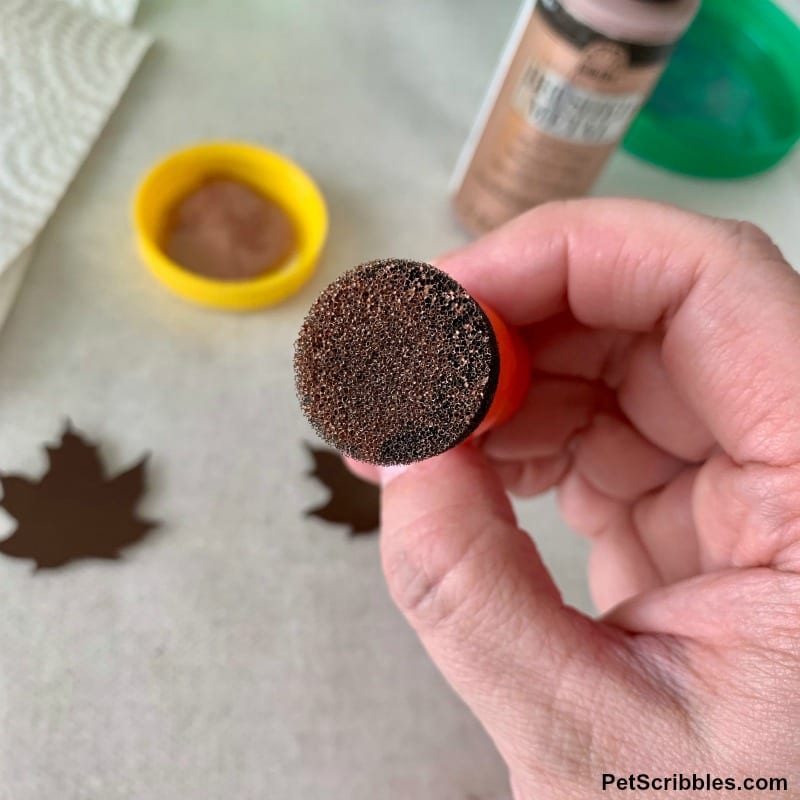
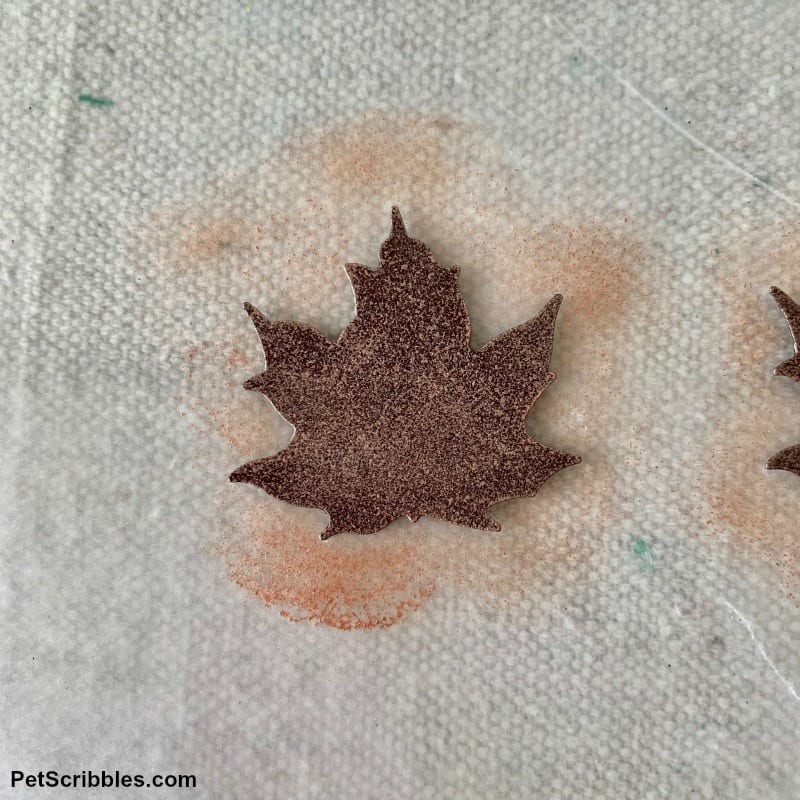
Lightly pounce the paint onto each leaf, making some areas heavier with paint than others, and making sure some of the base color shows through.
If you use small fabric leaves from a package, paint them brown, then add on this metallic paint using the above steps. You will get a similar result.
Attach the tin leaves to the wooden leaves
Use a toothpick to put a small amount of E6000 adhesive on the back of the small tin leaves, then attach them to the front of the chunky wooden leaves.
Helpful tip: Make sure to avoid putting adhesive near the edges of the tin leaves: when you press down, you don’t want any glue seeping out from underneath. This adhesive will spread as you press down, so do it gently. If you do have any glue seep out, use a clean toothpick to remove the glue.
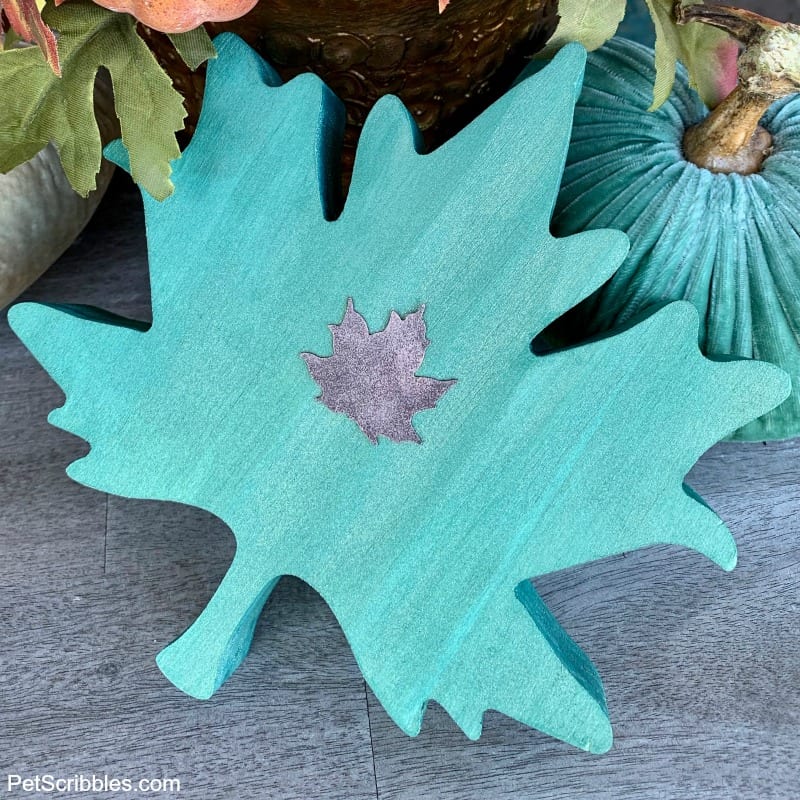
Let the adhesive cure at least 24 hours before you use the wooden leaves for display.
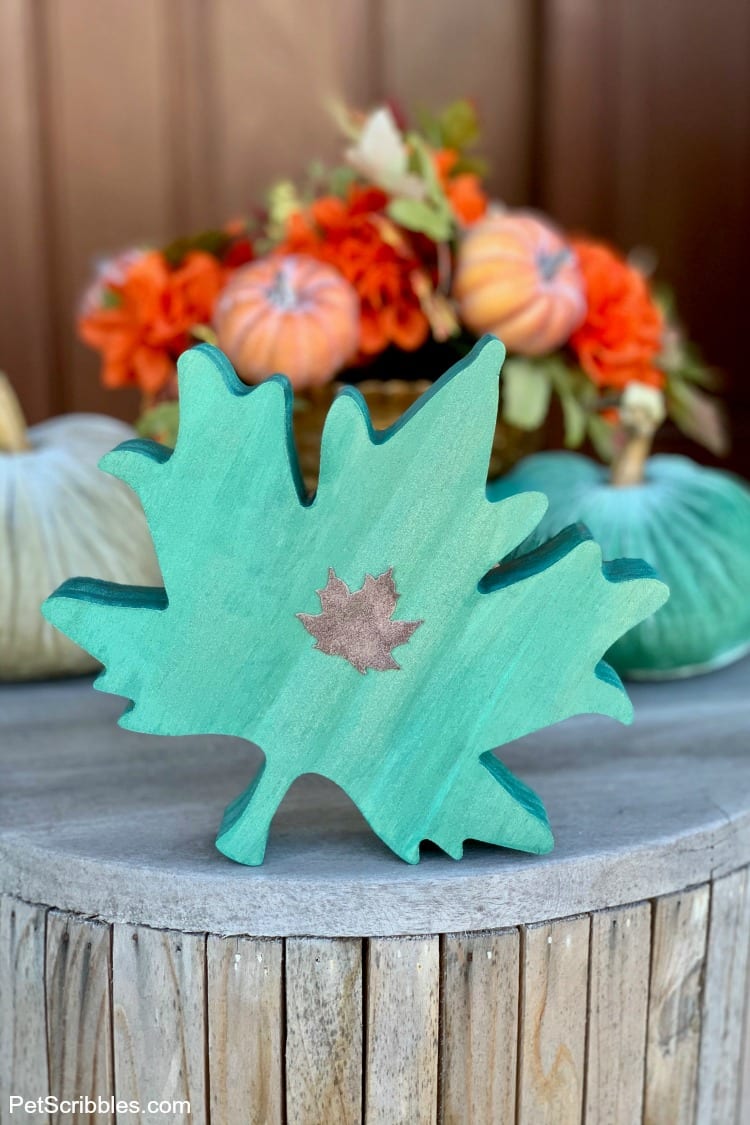
Teal Fall Decor: Painted Wooden Leaves
More Fall Decor Ideas
Here are a few more of my Fall decor projects that you can make too!
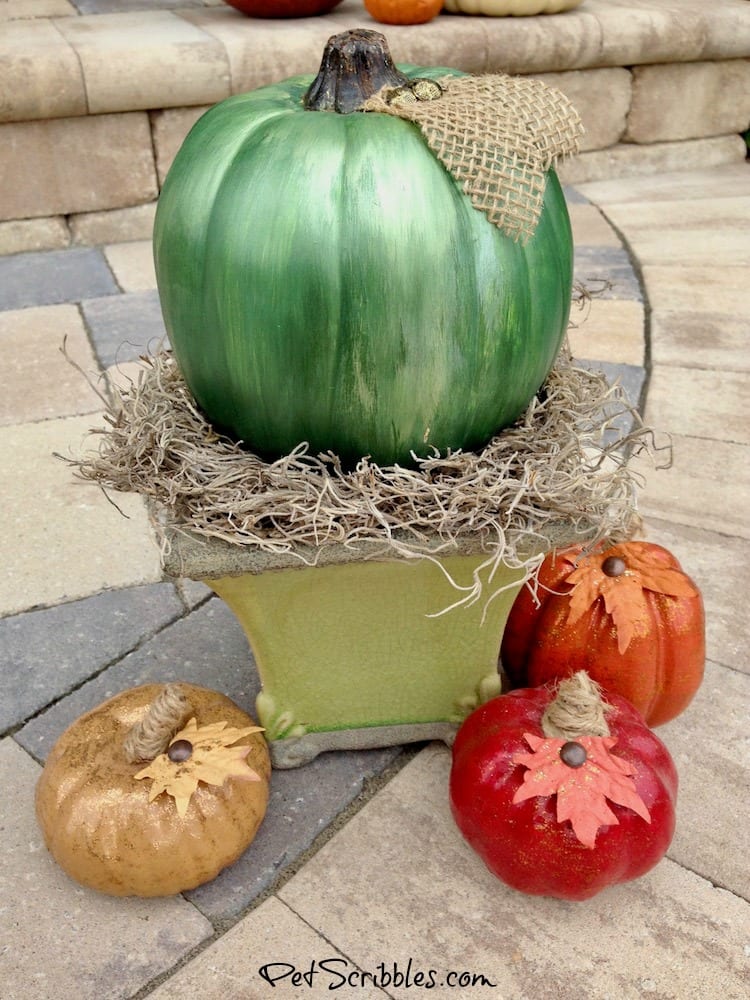
Mercury Glass Pumpkin — and — Painted and Glittered Small Pumpkins
Find even more Fall crafts and DIYs that I’ve created by clicking on these links:
Happy crafting!

Leave a Reply