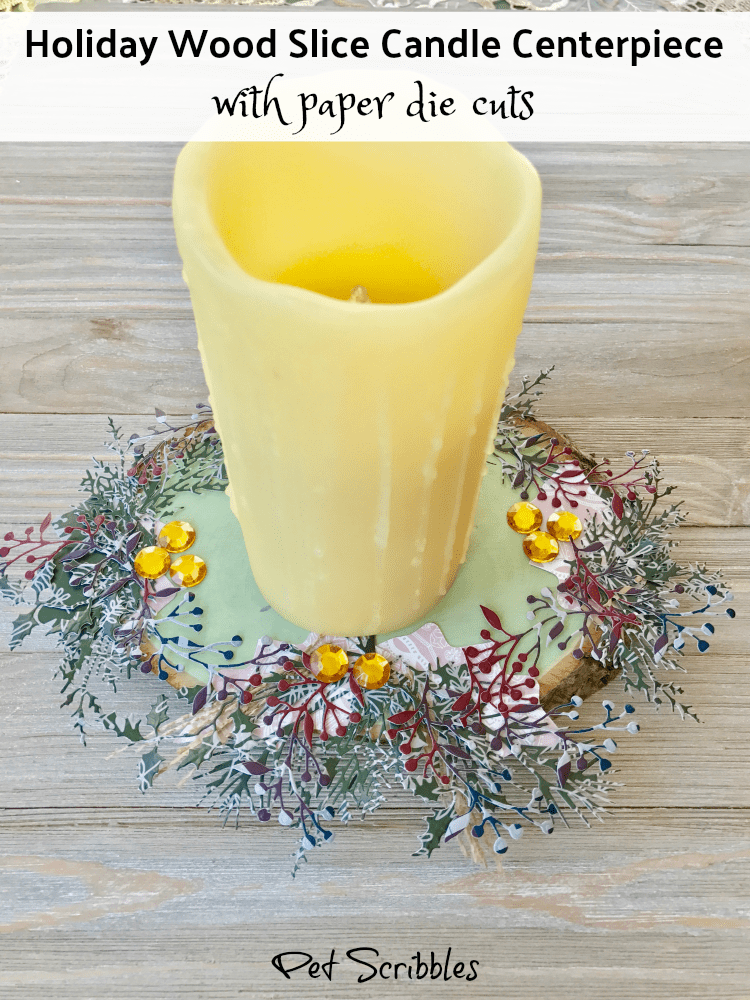
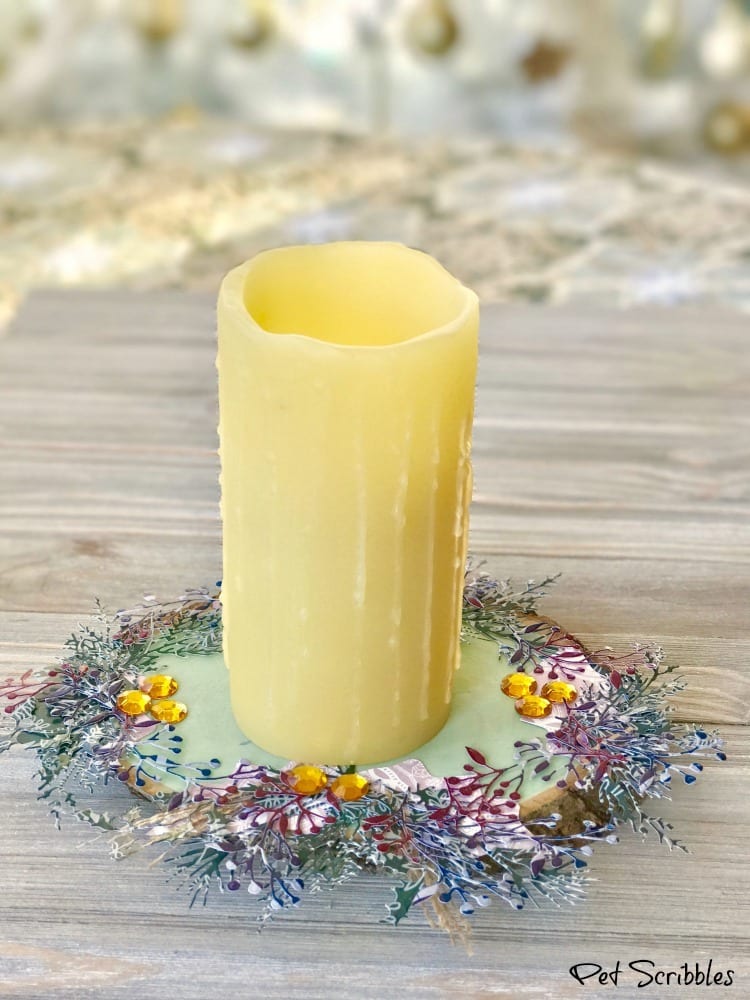
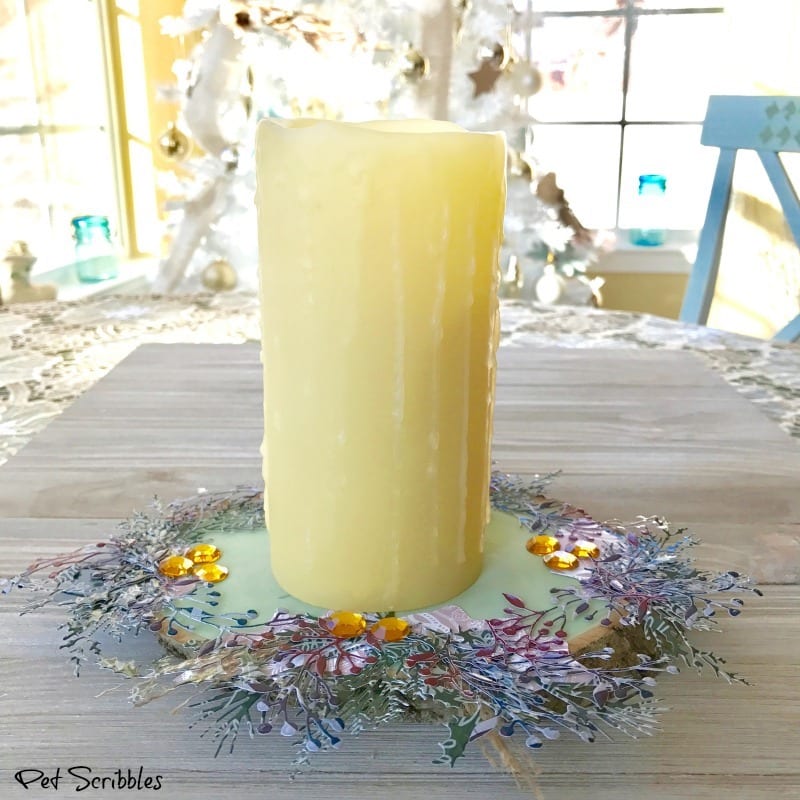
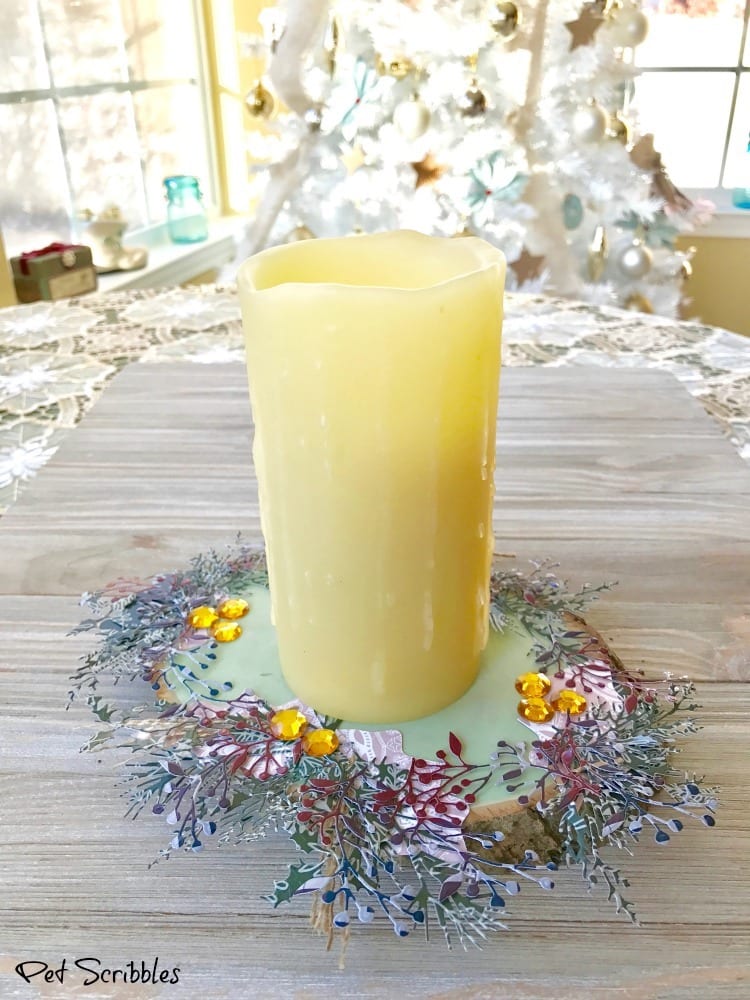
Make a holiday wood slice candle centerpiece with paper die cuts around the candle. This is an easy way to embellish wood slices for holidays or weddings!
This week our Xyron Design Team is partnering with a wonderful Canadian company called Wild Whisper, and we’re featuring their gorgeous Home for the Holidays 12 x 12 paper pack!
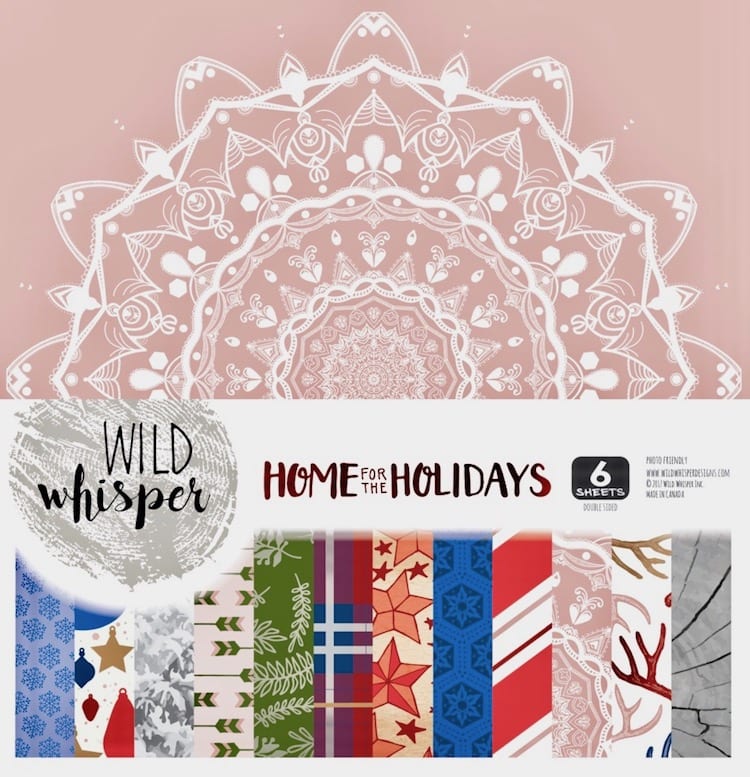
Wild Whisper is a new company in the scrapbooking and paper crafting industry — launched in November of 2016 — and all of their paper products are made in Canada. Support our crafting friends to the North, because all of the Wild Whispers collections are stunning!
Holiday Wood Slice Candle Centerpiece with Paper Die Cuts
After looking over the decorative papers, I decided to do something a bit different.
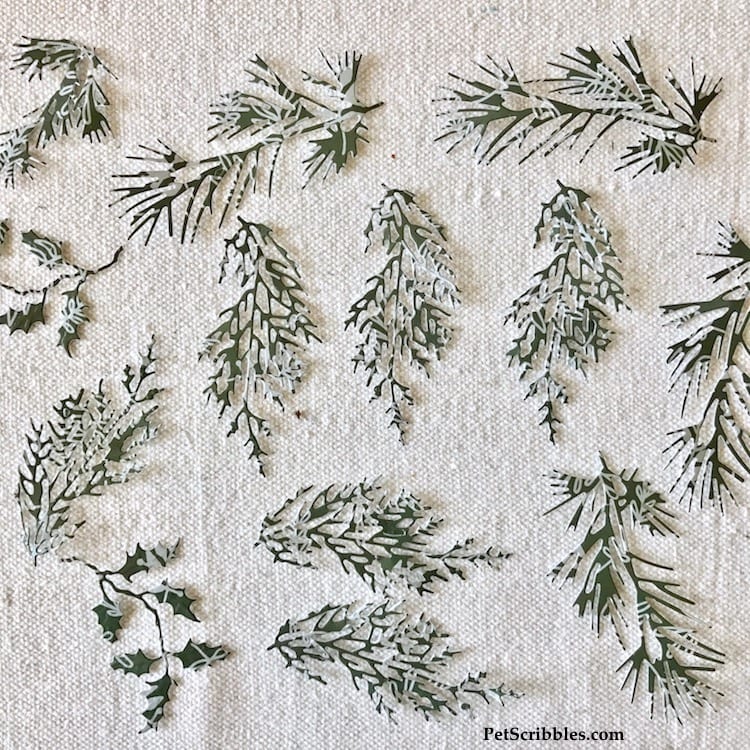
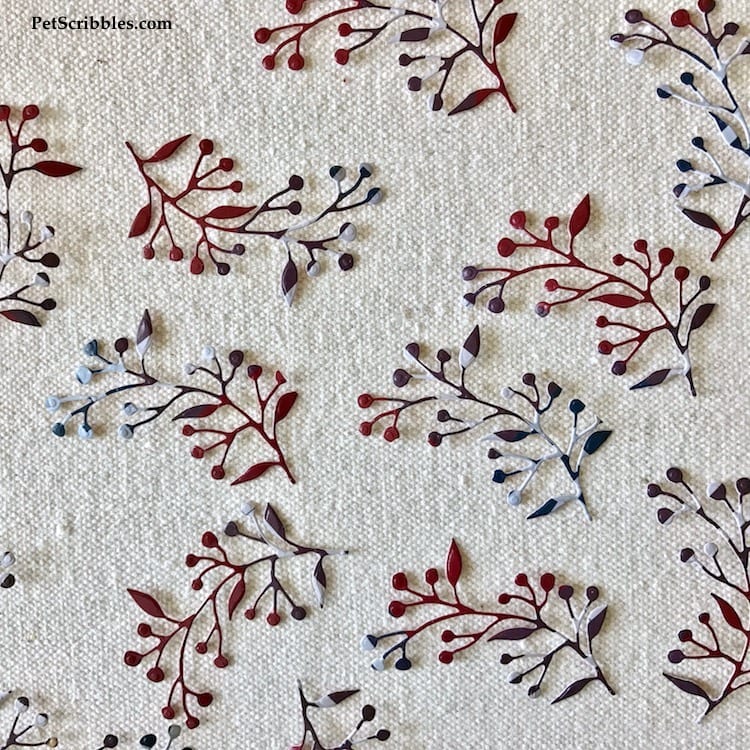
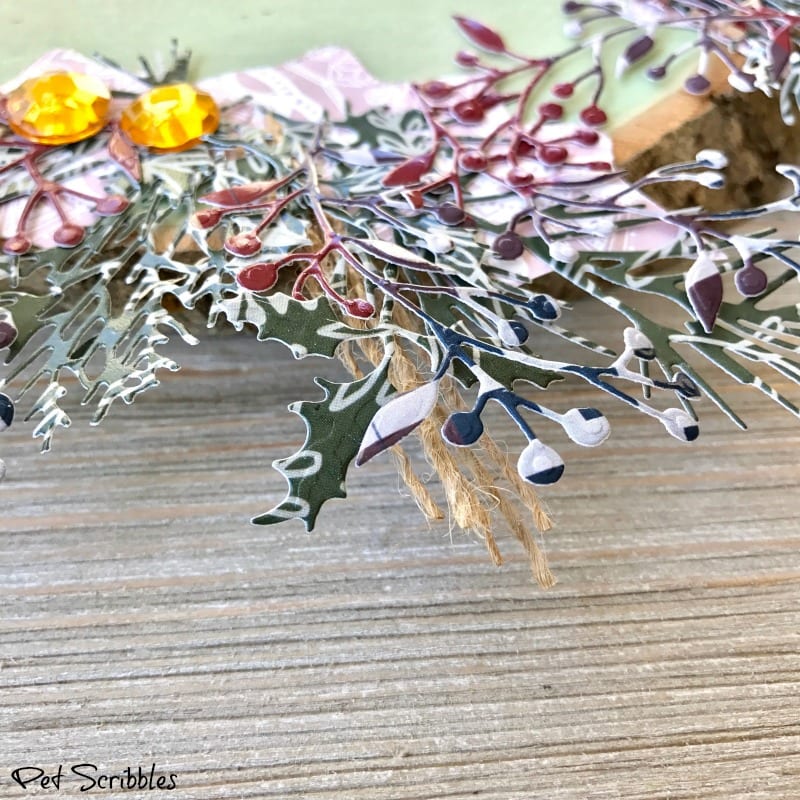
Instead of using the papers so you can see their designs, I decided to make intricate holiday berries and greens die cuts with them.
What is so cool about this result is that the holiday greens look like they’re dusted with snow, and the berries are in lovely tones of burgundy, blue and purple.
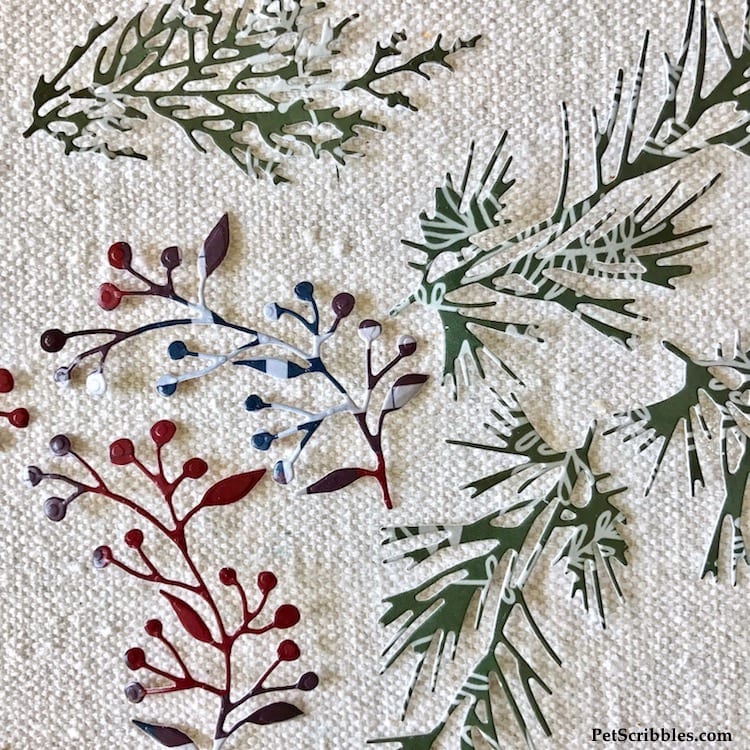
I included larger pink/white holly leaves as accents.
This is a fun way to easily embellish a wood slice, and a perfect way to dress up your flameless candles for the holidays!
Supplies:
- Xyron® Mega Runner
- Xyron® Tape Runner
- Swingline ClassicCut Lite Paper Trimmer
- Wild Whisper Home for the Holidays paper collection
- Tim Holtz Holiday Greens Thinlits Die Set — Sizzix
- Holly & Poinsettia Bigz Die w/Bonus Embosslits Die — Sizzix
- Die cutting machine (I use the Sizzix Big Shot)
- Rustic Basswood Country Round, Small Wood Slice — Walnut Hollow
- FolkArt Pickling Wash in Celadon and Driftwood — Plaid Crafts
- Burlap strings pulled from a scrap piece of burlap
- White rag or lint-free cloth
- Gold flat-back crystal gems
Tutorial:
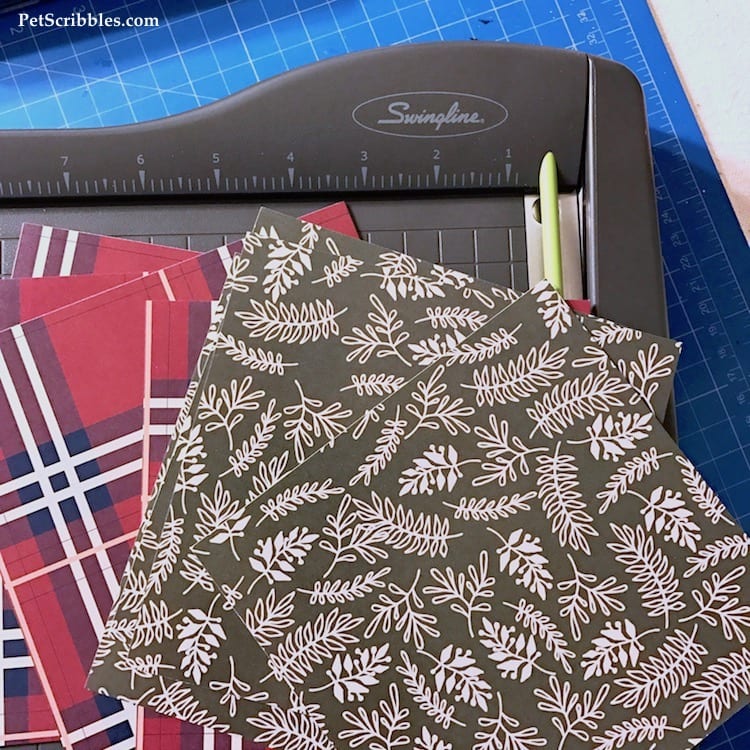
Step One: Cut your chosen 12 x 12 paper into smaller squares using your favorite paper trimmer.
I chose the plaid paper, as well as the green leaves for my greens and berries die cuts . . .
I used this pretty medallion for the larger holly leaves . . .
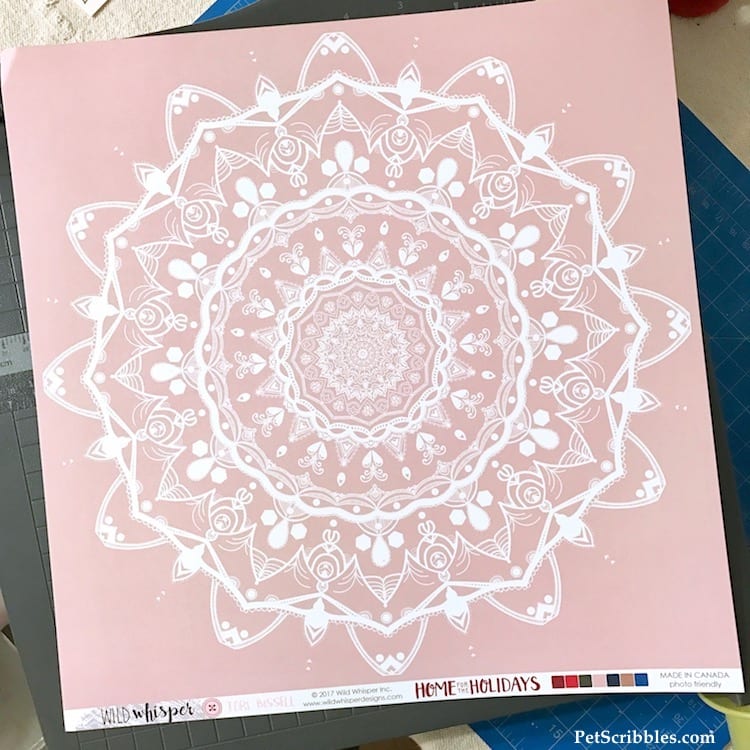
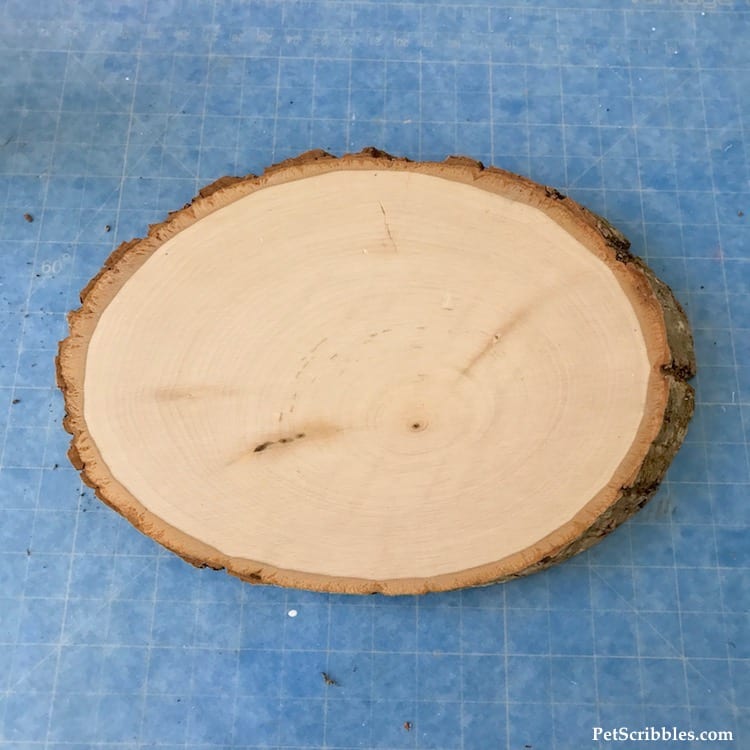
Step Two: If needed, lightly sand the unfinished wood slice surface. Wipe with a slightly damp cloth. Let dry.
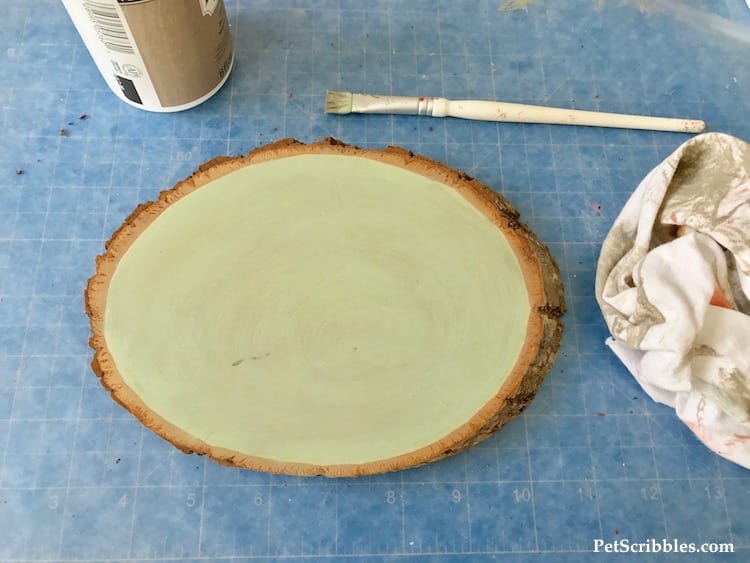
Step Three: Stain the wood slice with pickling wash.
I used one coat of Celedon (green) followed by a rough coat of Driftwood — wiped back off immediately with a lint-free cloth — to give a slightly aged look to the surface.
Step Four: Cut out holiday greens and berries using a die cutting machine.
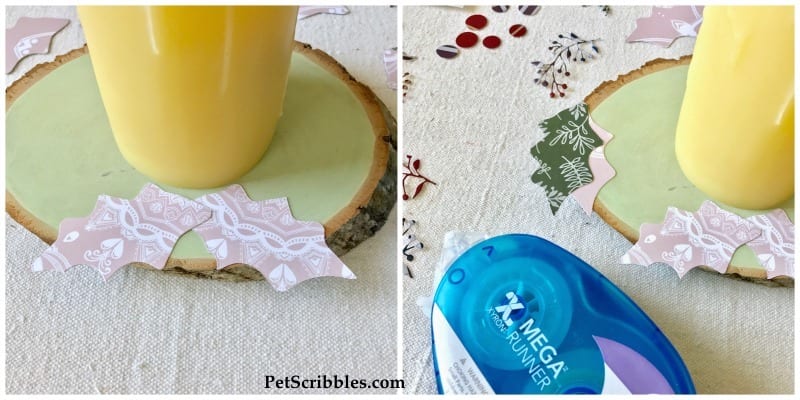
Step Five: Using the Xyron Mega Runner, add the large holly leaves to the wood slice as shown.
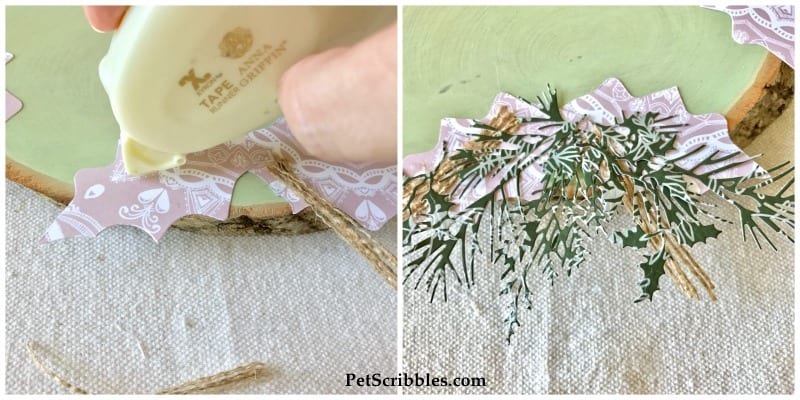
Step Six: Use the Xyron Tape Runner to adhere the burlap strings and the die cut greens.
Step Seven: Use the Xyron Tape Runner to adhere the die cut berries on top of the greens.
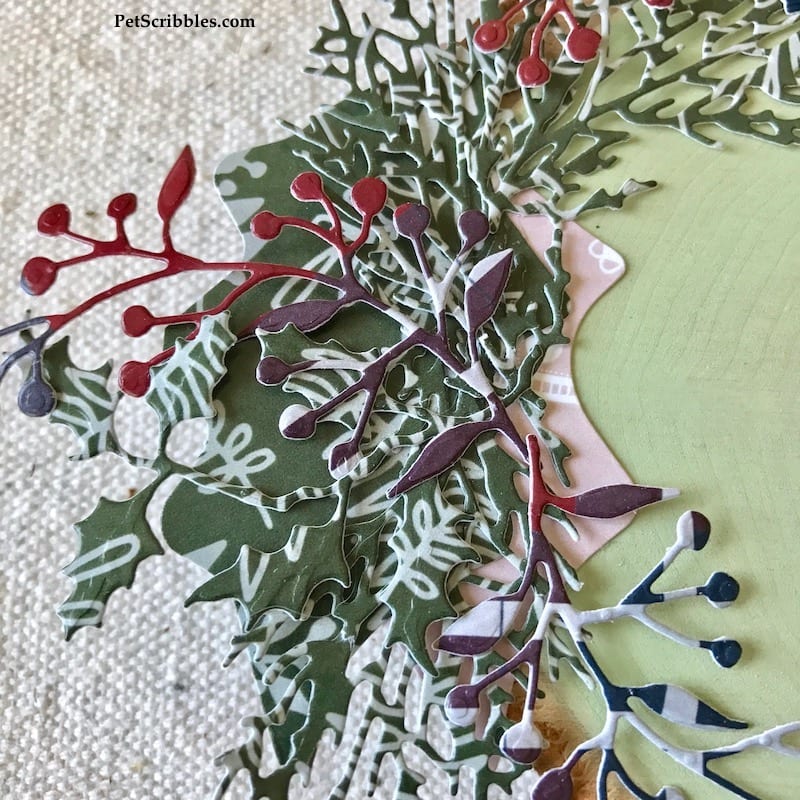
Here’s what the wood slice looks like up to this point:
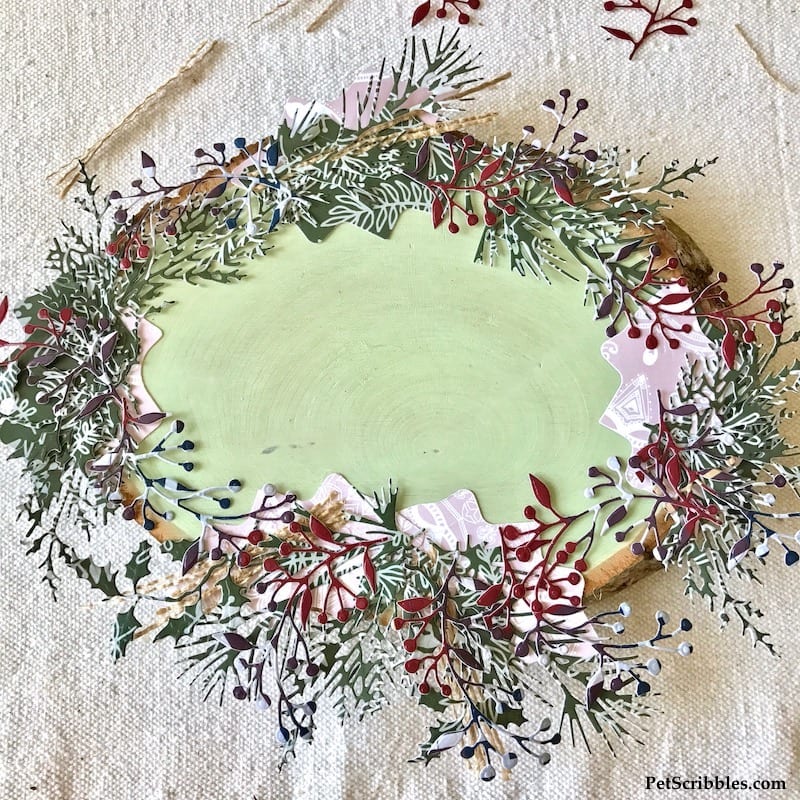
Pretty, but I’m going to add just a tiny bit of sparkle.
Step Eight: Using the Xyron Tape Runner, add flat-backed crystal gems here and there to the wood slice as shown.

All finished!
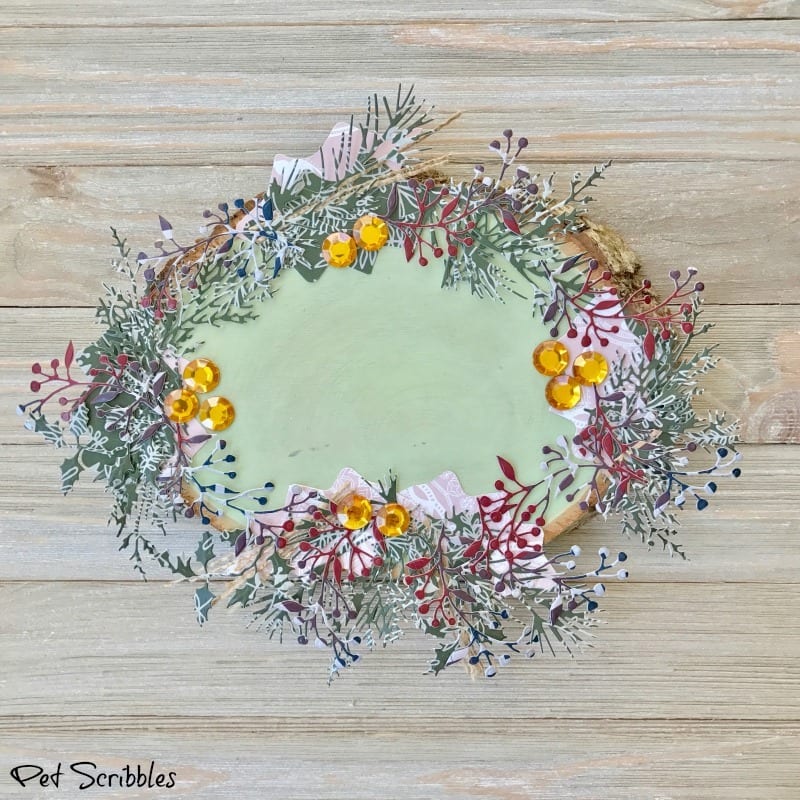
Just add a flameless candle!
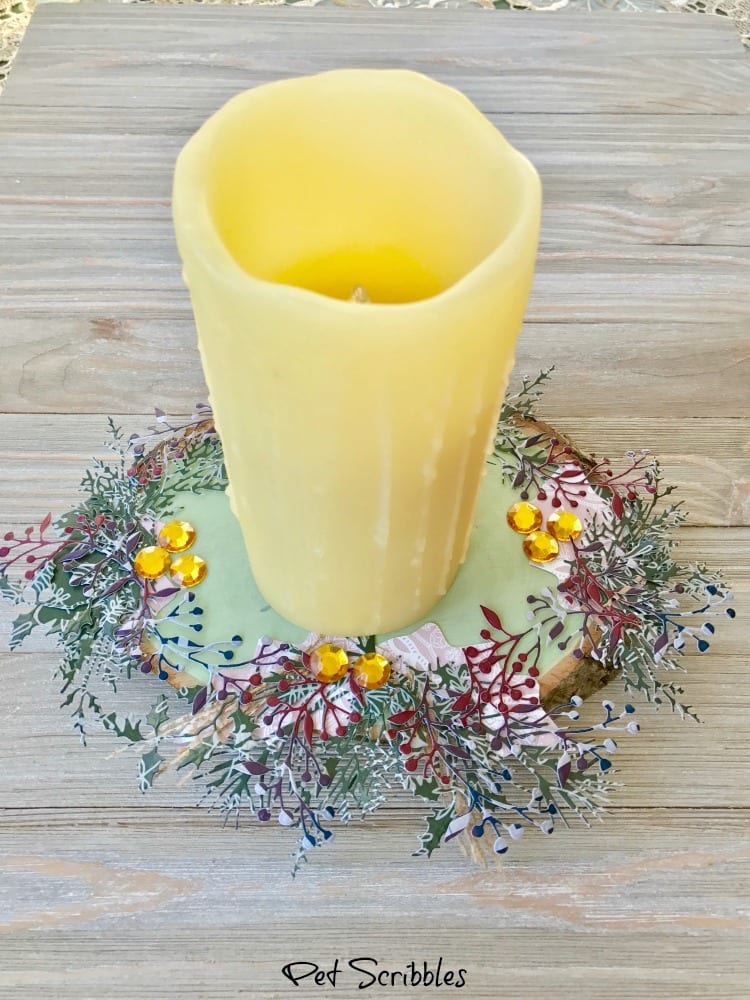
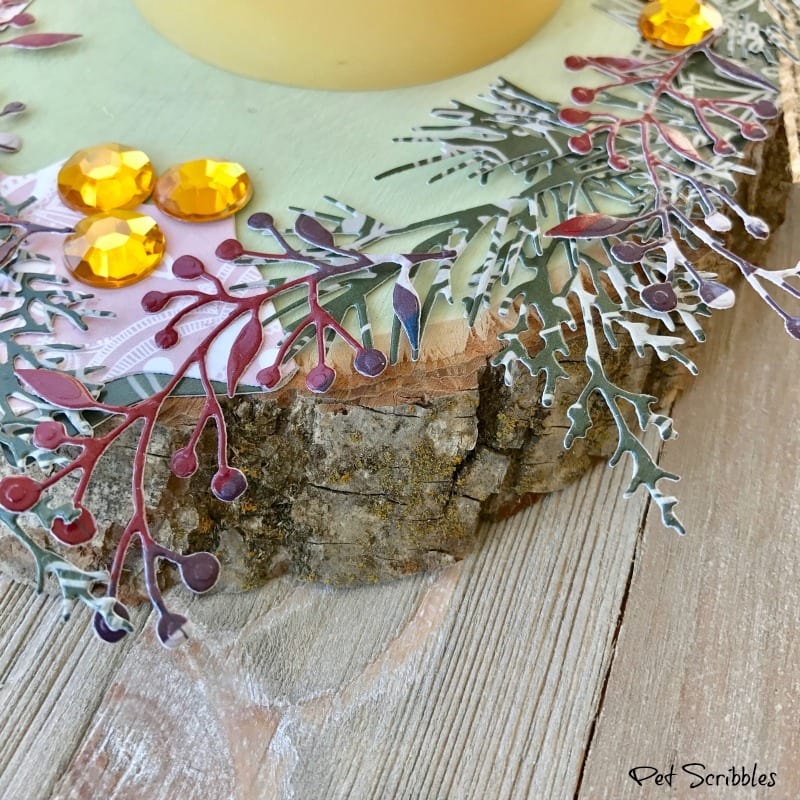
Happy holiday crafting!

Leave a Reply