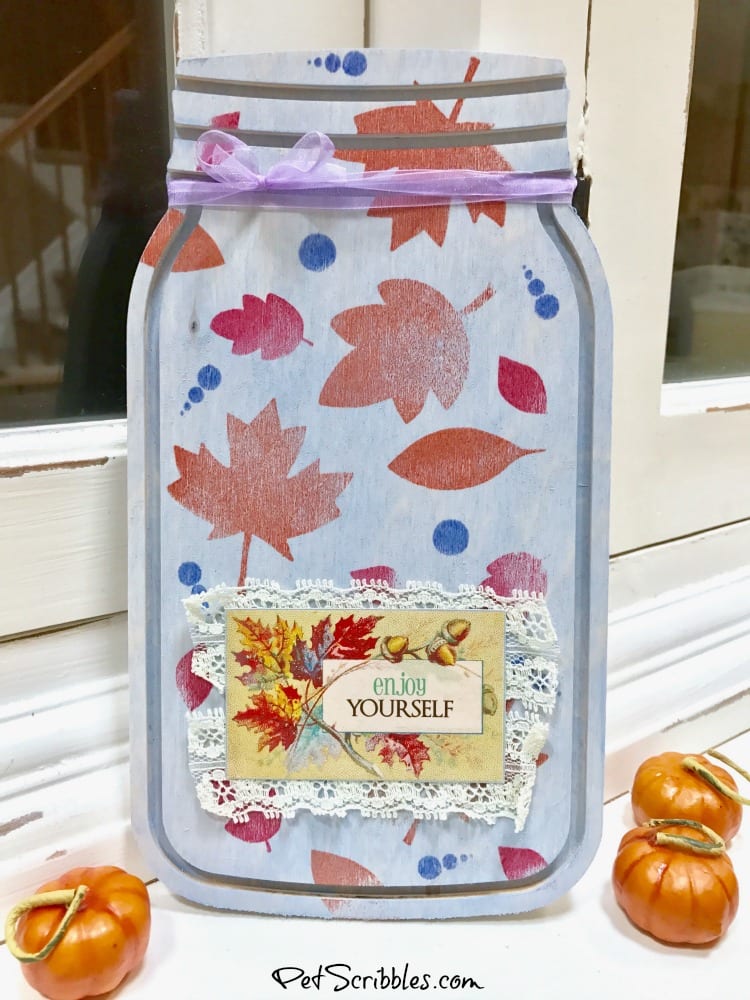
How to make a pretty mason jar sign for Thanksgiving to add to your holiday decor or present as a hostess gift! This decoration doesn’t take long to create.
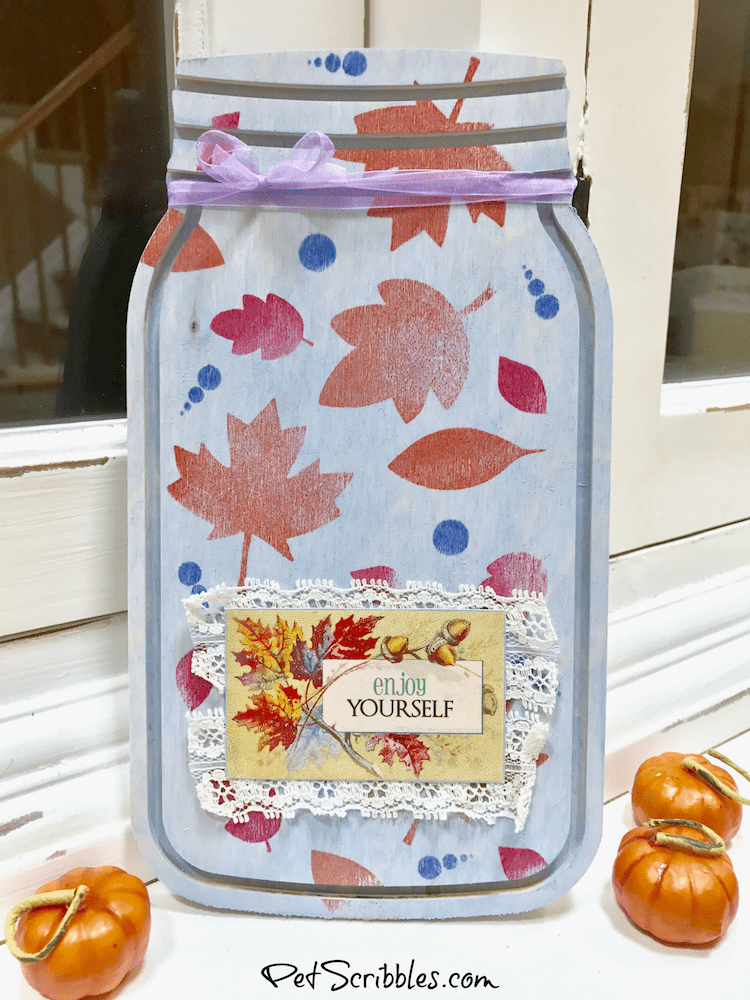
I love creating new things for Thanksgiving each year, as sometimes this holiday gets overlooked after all of the Halloween hype and the pre-Christmas planning.
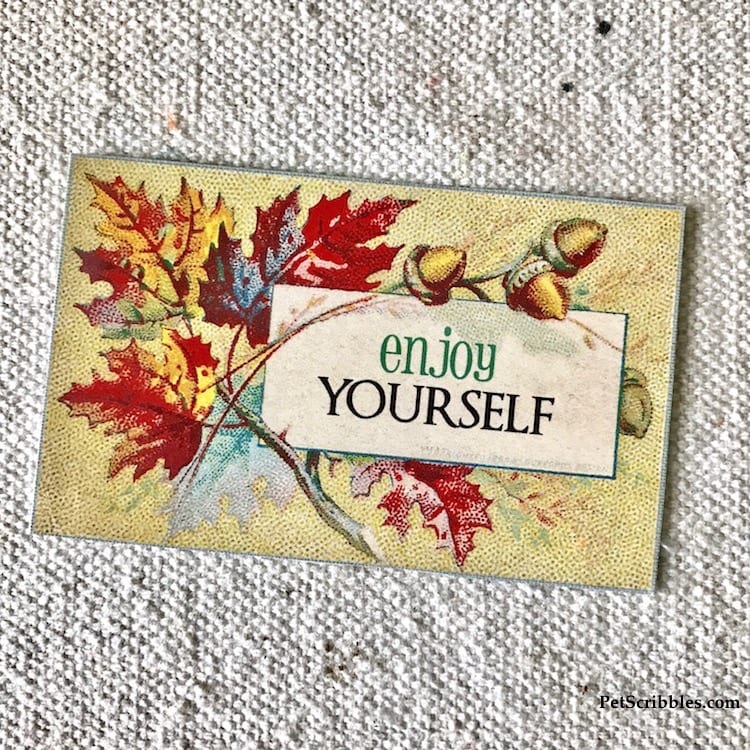
I also love vintage postcards, and so I hunted around my paper stash and found a pretty reproduction of a Fall postcard which is how today’s project began.
Love when that happens!
Supplies:
- Xyron® Creative Station Lite
- Xyron® Permanent Adhesive Cartridge Refill, 5-inch
- Xyron® Mega Runner
- ColorBox® INK Premium Dye Mini Inkpads: Poppy, Carrot, Periwinkle — Clearsnap
- Unfinished Wood Mason Jar Shape — Walnut Hollow
- FolkArt Pickling Wash in Haze — Plaid Crafts
- Soft Rubber Brayer — Speedball
- Leaf stamps
- Dot stamps
- Acrylic stamping block
- Scissors
- Vintage Thanksgiving postcard image — from 7gypsies Architextures “Enjoy” Stash Paque
- Stickles Glitter Glue in Diamond — Ranger
- Vintage lace scraps
- Periwinkle sheer ribbon
- Wax paper
Tutorial:
Step One: Sand the mason jar shape for any rough spots and wipe away dust with a damp cloth. Let dry.
Step Two: Stain the mason jar shape with a pretty blue pickle wash. Let dry.
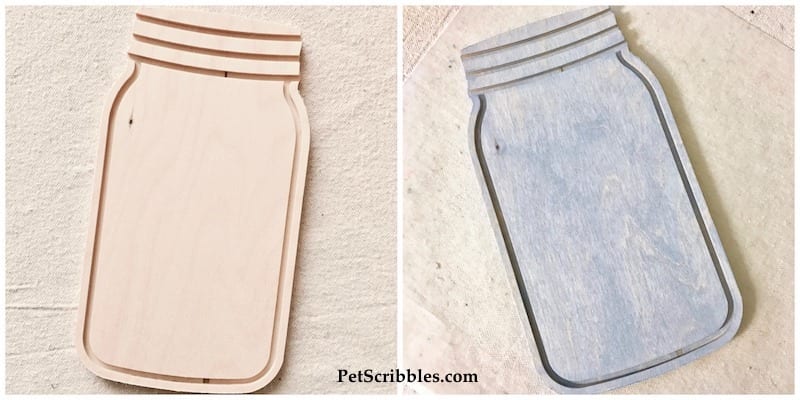
For details on how to use pickle wash, see my Colorful Stained Rulers Tutorial.
Step Three: Stamp leaves in a random pattern on the front of the mason jar, using the ColorBox INK pads in Poppy and Carrot.
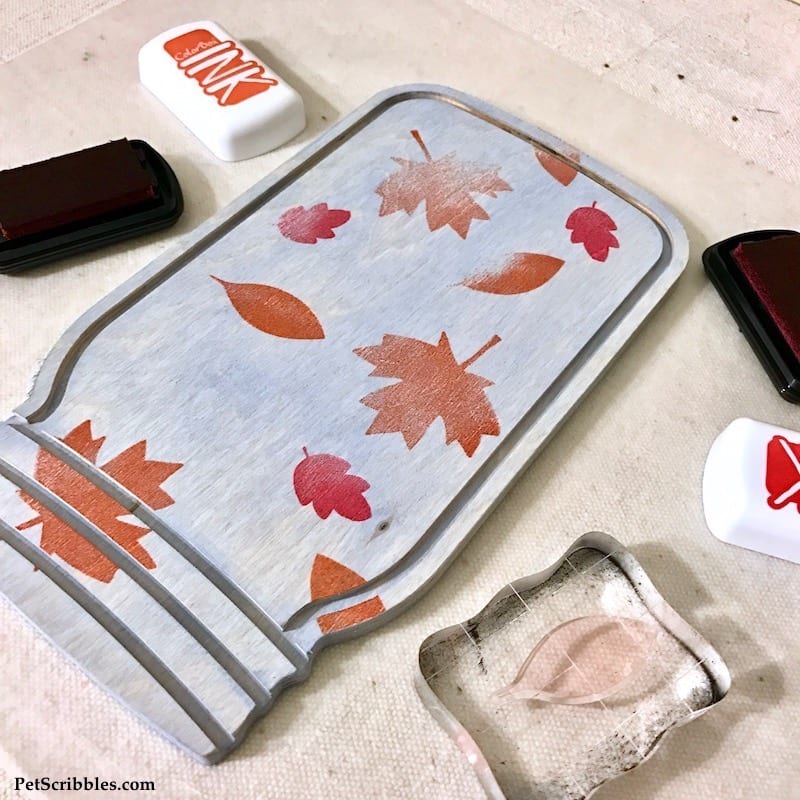
I love how rich and vibrant these inks are! They dry fast too!
Step Four: Stamp dots in between the leaves with the ColorBox INK Periwinkle ink pad.
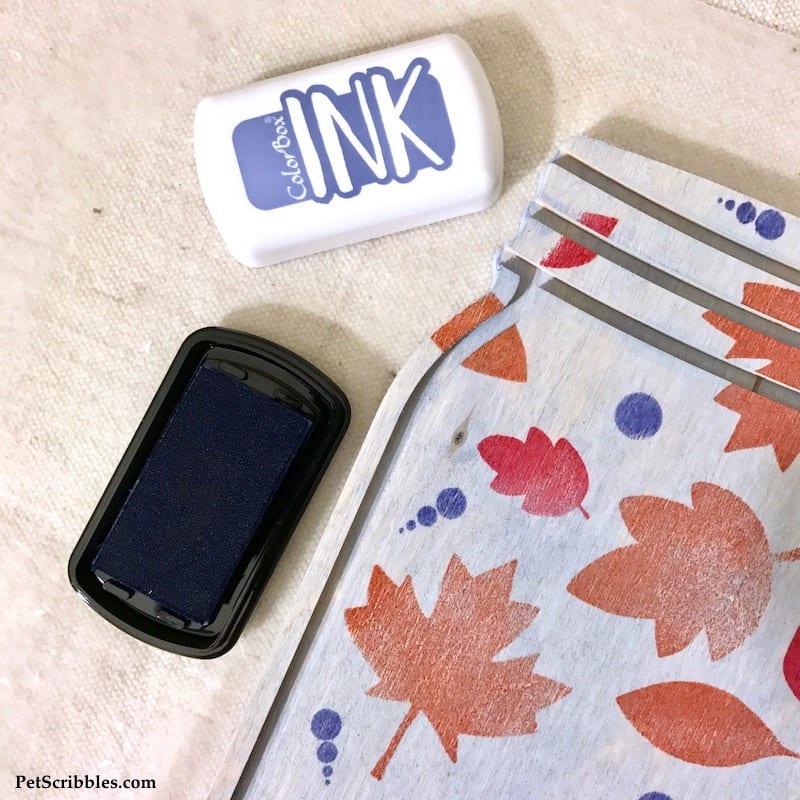
Isn’t that periwinkle color pretty? I love how it provides an extra pop of color to the more traditional red and orange leaves!
How to add the vintage postcard and lace
Step Five: Cut vintage lace scraps to measure just a bit longer than the vintage Thanksgiving postcard image.
Step Six: Run the vintage postcard image through the Xyron Creative Station Lite to add permanent adhesive to the back of it.
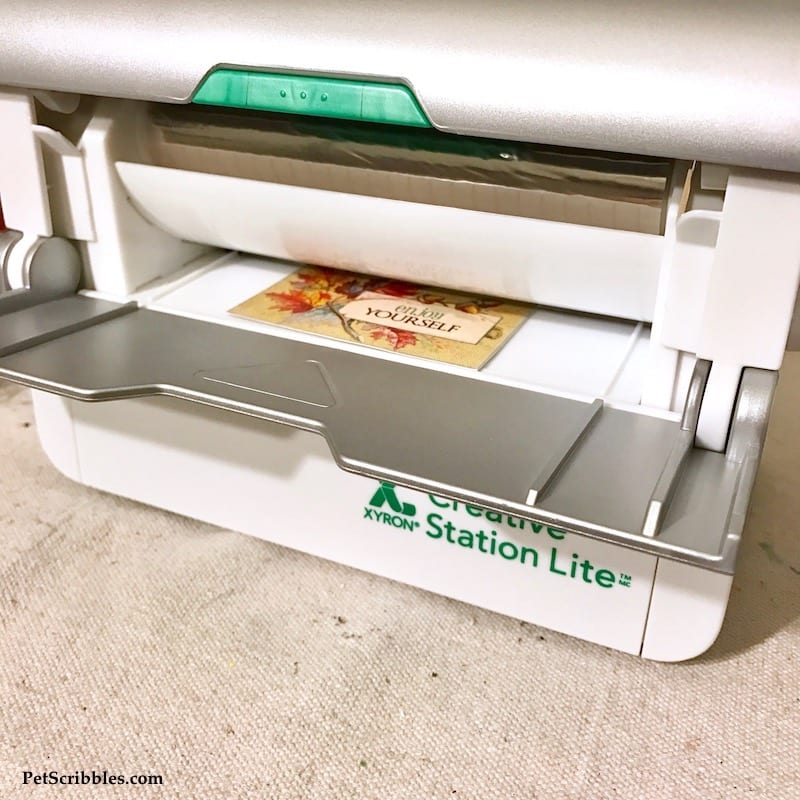
This wonderful little machine essentially turns the postcard into a sticker!
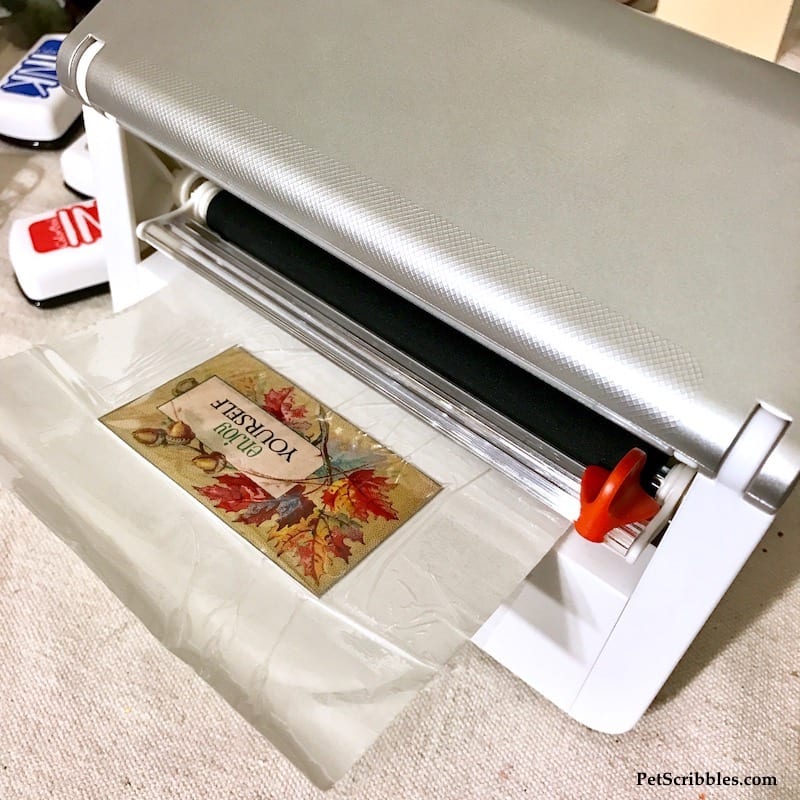
Remove the plastic covering — see below — and you’re left with a sticker, ready for you to peel it off and use in your project!
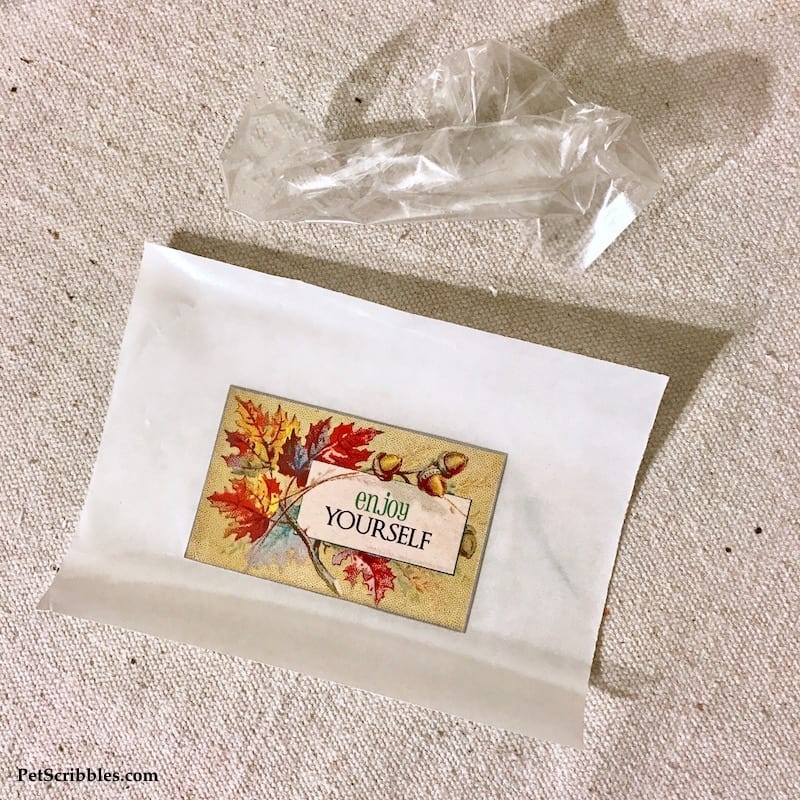
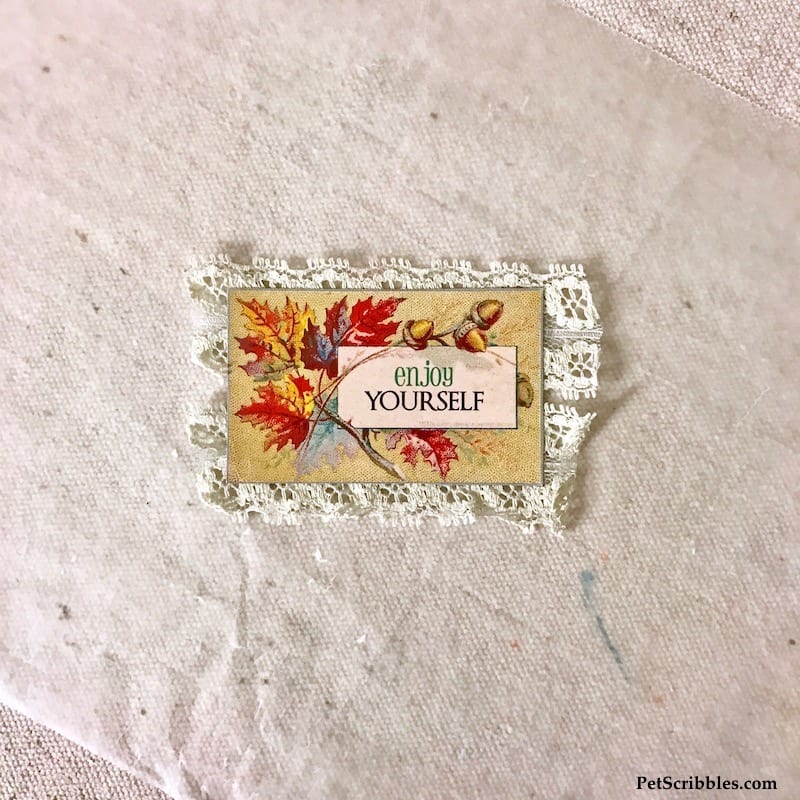
Step Seven: Stick the postcard image on top of the lace scraps, as shown below.
Step Eight: Apply adhesive to the back of the lace scraps using the Xyron Mega Runner.
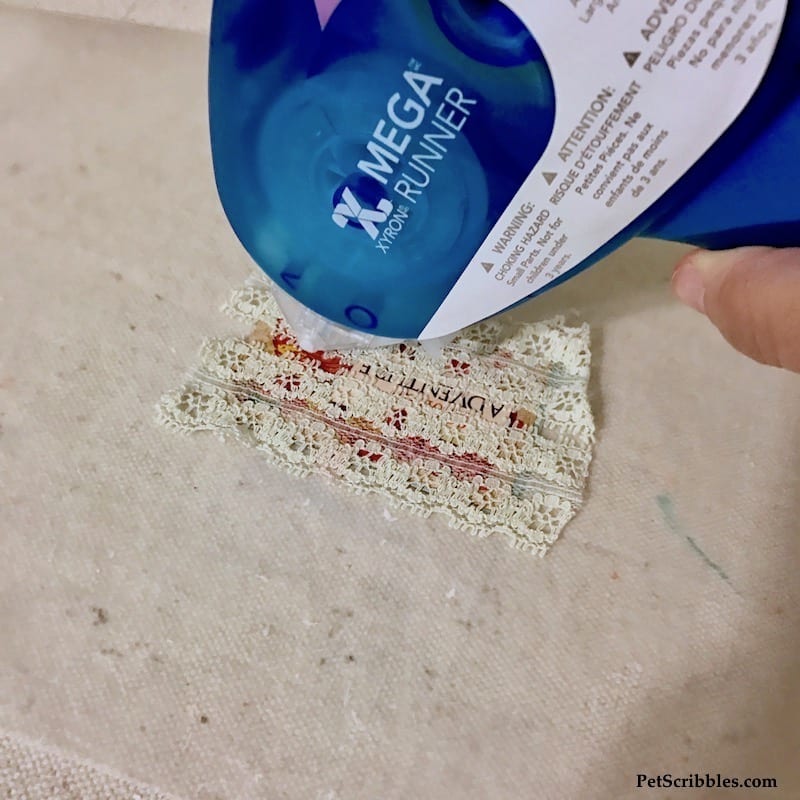
Whenever I need to use adhesive on lace ribbon, I always use my Mega Runner because the adhesive will only stick to what is there.
For example, if I was adhering this lace scrap to a greeting card, no adhesive would show through the lace scrap, as the adhesive is only on the bits of lace and not also in the holes of the lace.
Such a great feature!
Step Nine: Place the vintage Thanksgiving postcard image — now with the lace attached — onto the wood mason jar shape and press down.
Use a brayer if you have one to help press and smooth so that the adhesive fully sticks to the wood.
Using your fingers works just fine too!
Step Ten: Accent the leaves on the postcard with glitter glue. Let dry.

Step Eleven: Tie a decorative ribbon around the top of the mason jar shape.
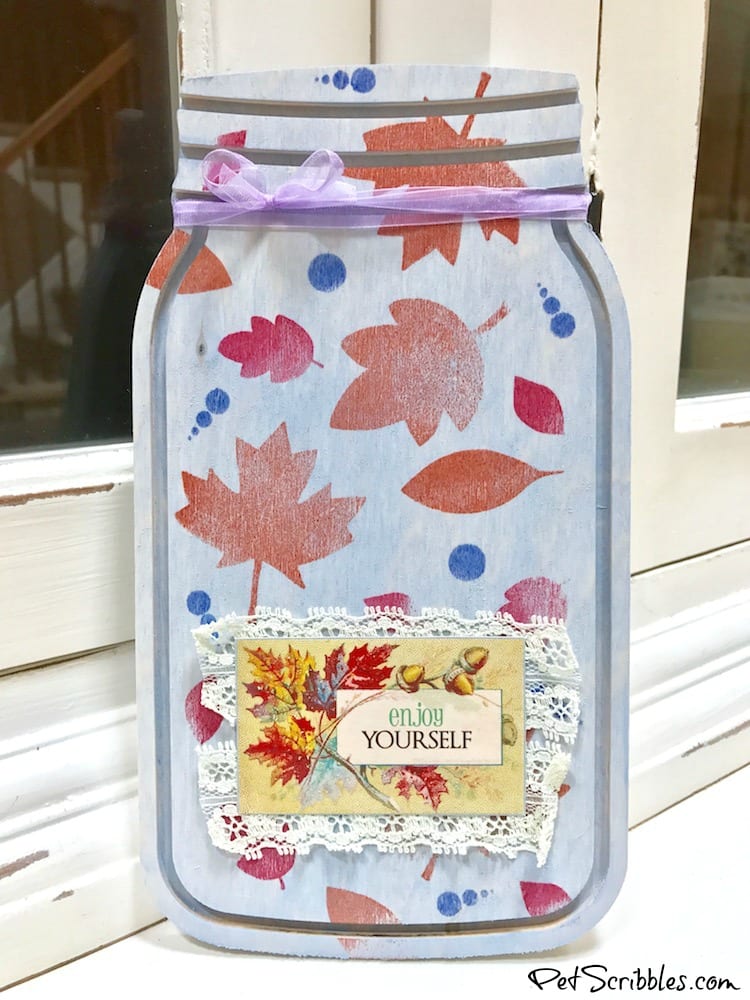
And now you have a pretty mason jar sign for Thanksgiving!
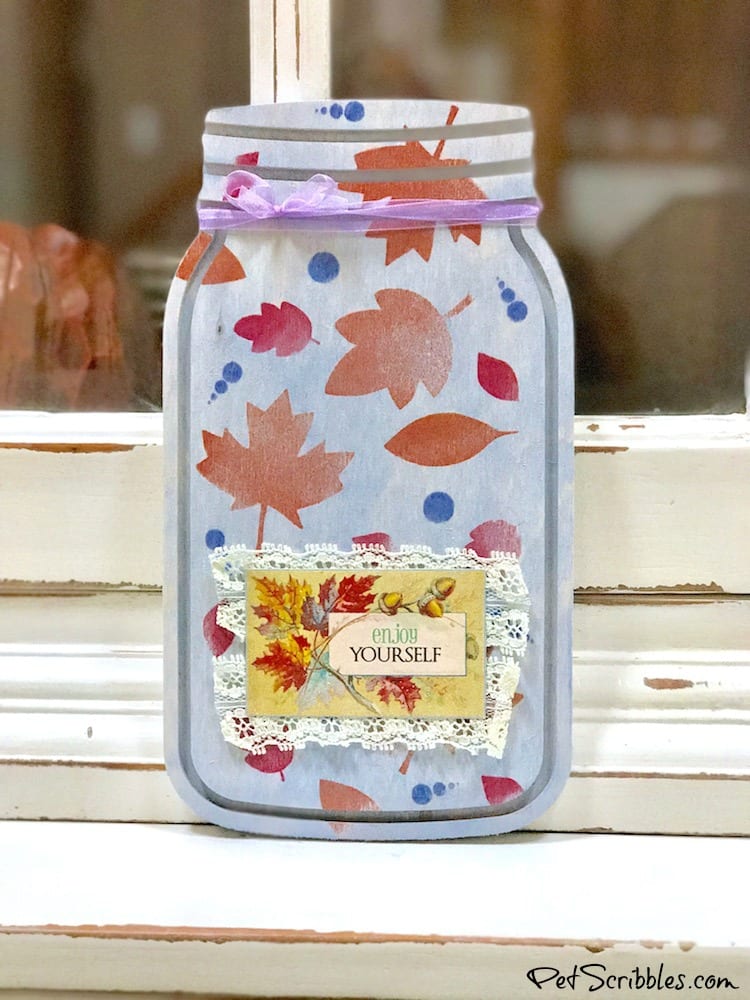
The blue background is an unexpected shade for Fall, as is the perwinkle color of the dots, but I absolutely love how these colors enhance the orange and red leaves!
Happy crafting!

Leave a Reply