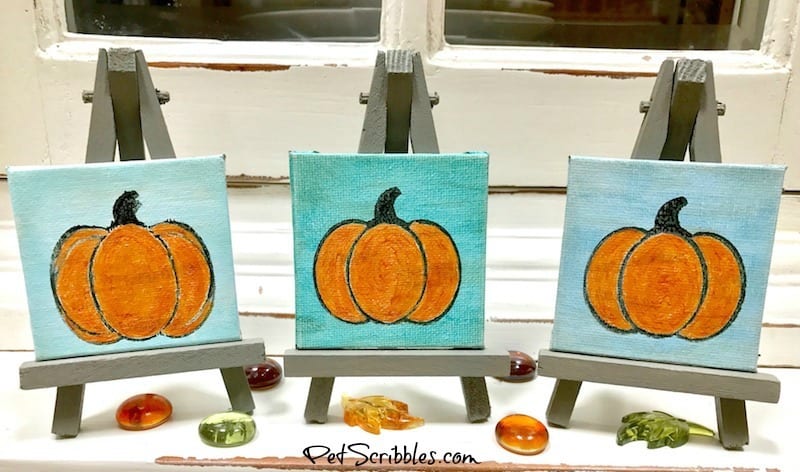
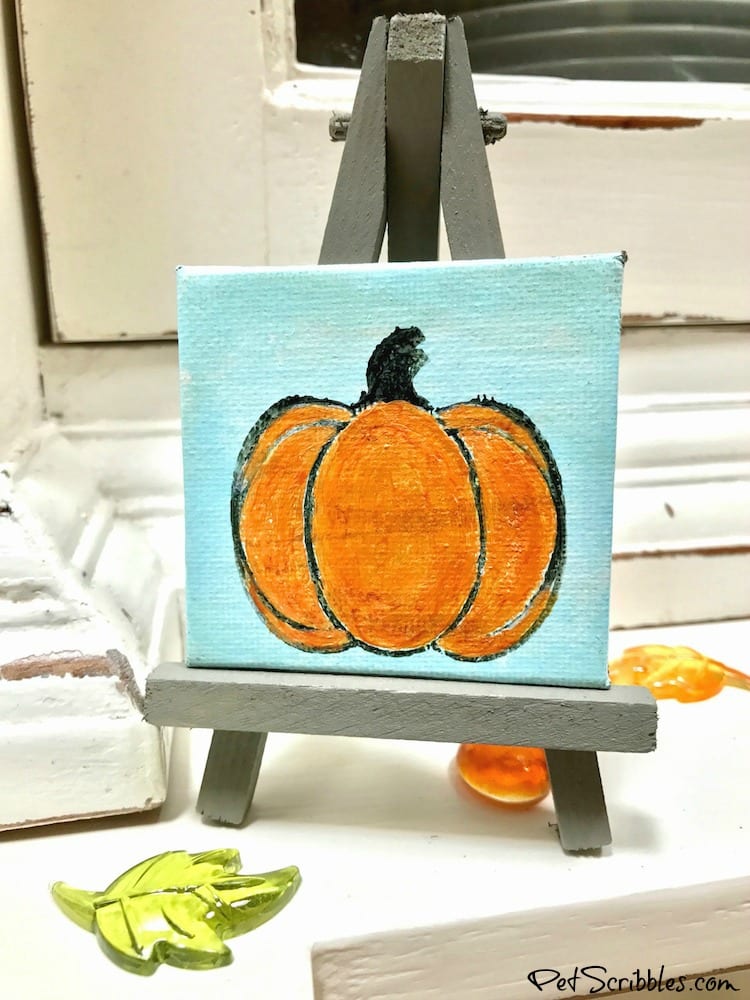
I’m showing you how to make a beautiful miniature pumpkin canvas trio using a stamp instead of attempting to draw a pumpkin freehand. This is much easier!
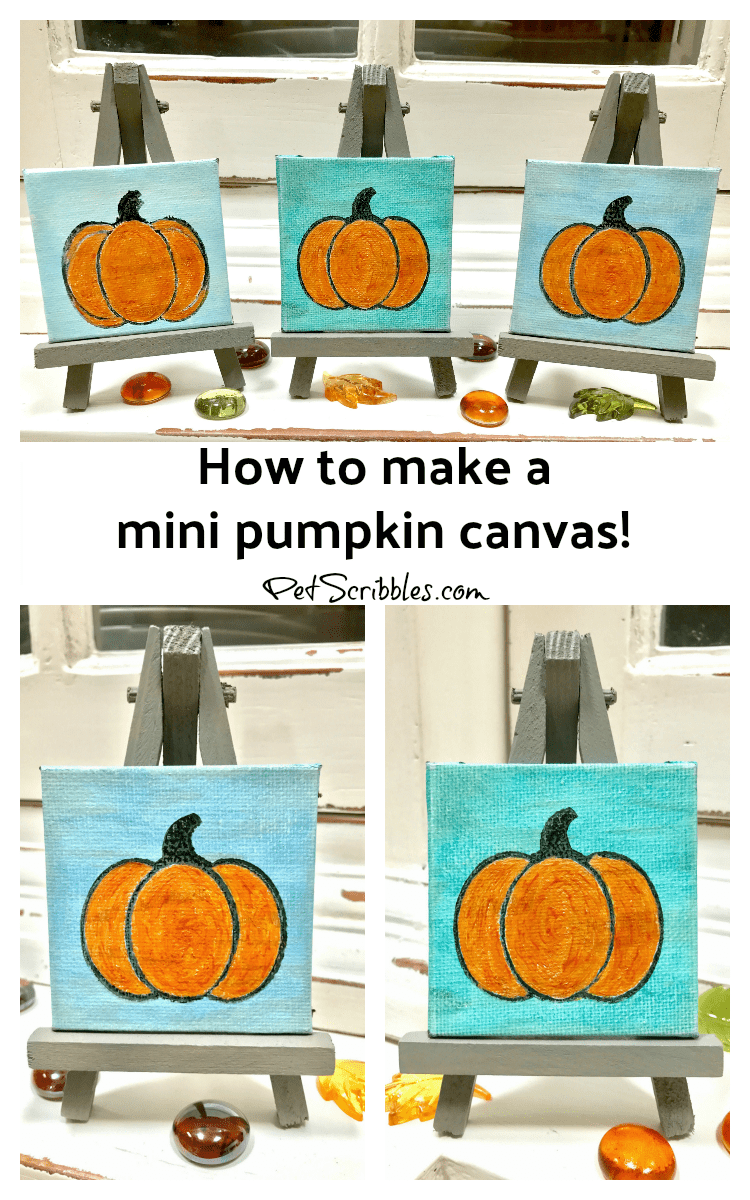
Just like last year, pumpkins are everywhere in Fall decorating. This year I’ve noticed a trend to use colors other than traditional Autumn colors.
It makes sense, as I love to include the colors of our living room mixed into seasonal decorations.
Our accent colors are teal and pale aqua and all similar shades in between, and today I’m incorporating these shades into my miniature pumpkin canvas trio.
I can’t draw.
Not everyone is good at drawing a pumpkin, but if we use a pumpkin stamp instead the drawing skills aren’t necessary!
This is so much easier!
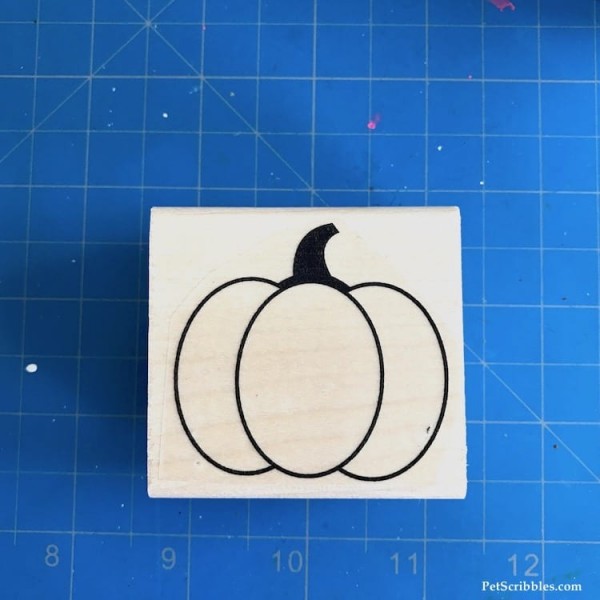
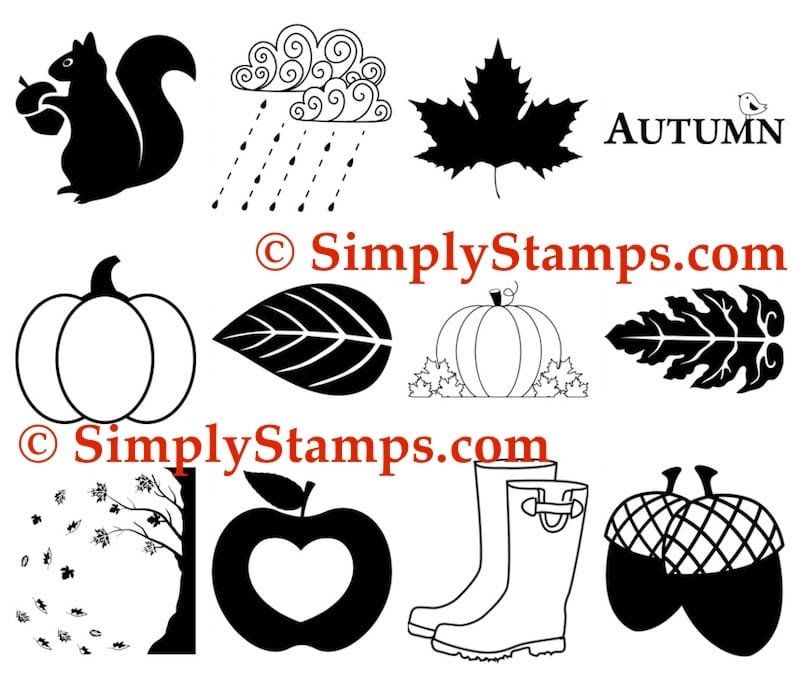
One of my favorite stamps this season is this pumpkin stamp from Simply Stamps:
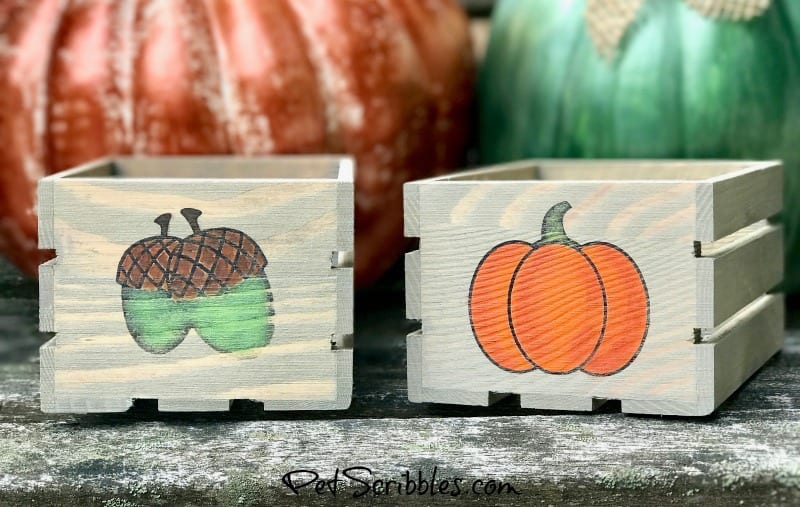
Last month, I used this stamp in my tutorial for rustic farmhouse crates for Fall decorating:
Today I’m using that same pumpkin stamp in a completely different way!
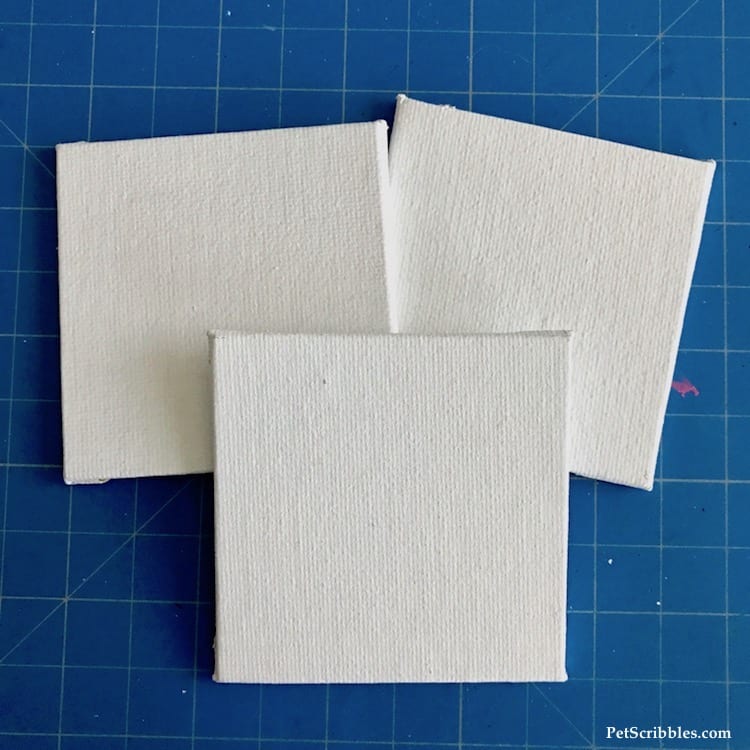
These are miniature canvas squares, which are available at most craft stores. They come in all shapes and sizes.
Please note: These particular mini canvases are thin. The canvas is wrapped onto sturdy cardboard. This makes stamping images onto them much easier than if you used the thicker, stretched canvases that are attached to a wooden frame.
(Just so you know the difference when shopping for these!)
I’ve got a link — below in my list of supplies — where you can easily buy some from Amazon.
FTC Disclaimer: I’ve received products/compensation as part of the Simply Stamps Design Team. This Miniature Pumpkin Canvas Trio however, is 100% my own project! Some of the links in this post are affiliate links. I explain more here.
How to make a beautiful miniature pumpkin canvas!
Supplies:
- Large Round Pumpkin Craft Stamp — Simply Stamps
- Mini canvas trio, 4″ square
- Dark Grey Permanent Ink Pad — Staz-On
- Frayed Burlap Distress Ink Pad — Tim Holtz
- Craft paints
- Fine detail paint brush
- Small paint brush
- FolkArt Pickling Wash in Sea Glass, Papillon, Hidden Oasis — Plaid Crafts
- FolkArt Color Shift Paint in Orange Flash — Plaid Crafts
- Wax paper
- White rag or old white t-shirt
Tutorial:
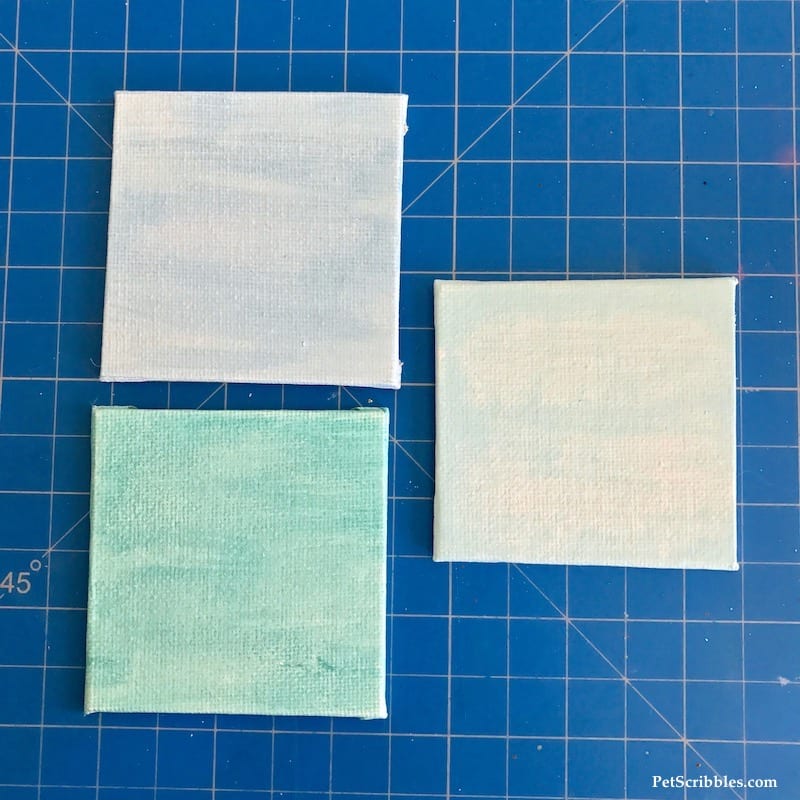
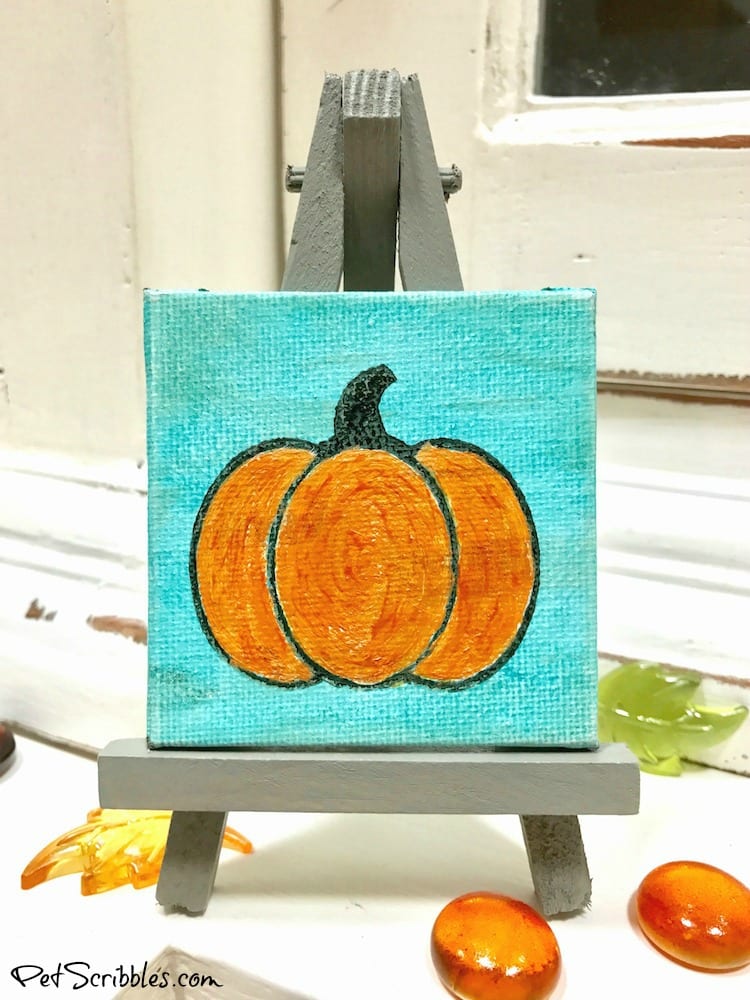
Step One: Stain each canvas with pickling wash using a small paintbrush. Leave some places darker than others. Let dry.
I used three different shades that reflect the accent colors in our home.
Step Two: Practice stamping.
I mention this every time, but it’s important if you’re new to stamping.
Use your chosen ink and stamp on scrap paper to get the feel of the stamp.
It really does help.
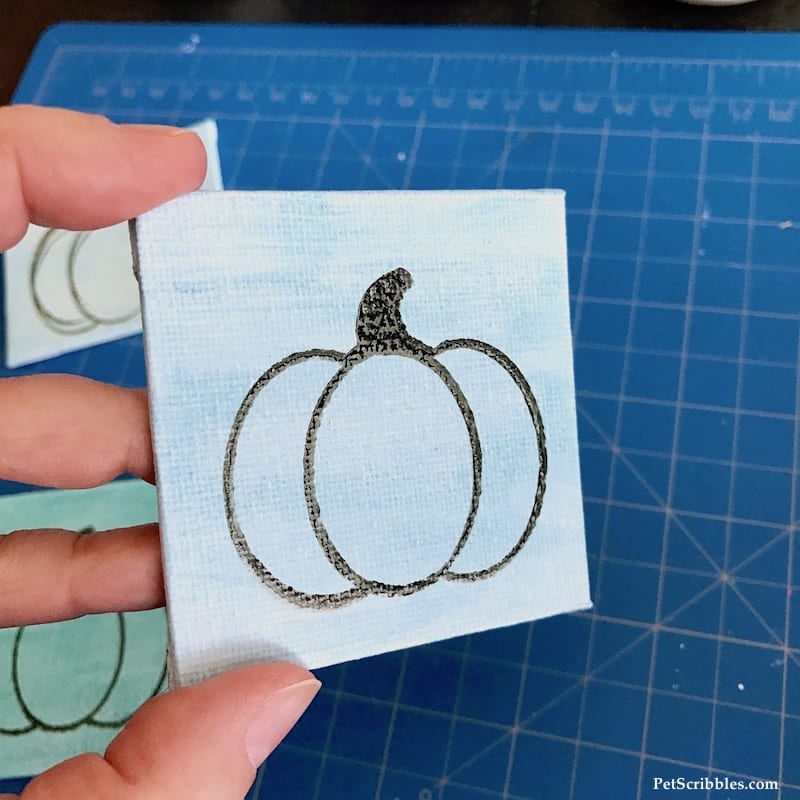
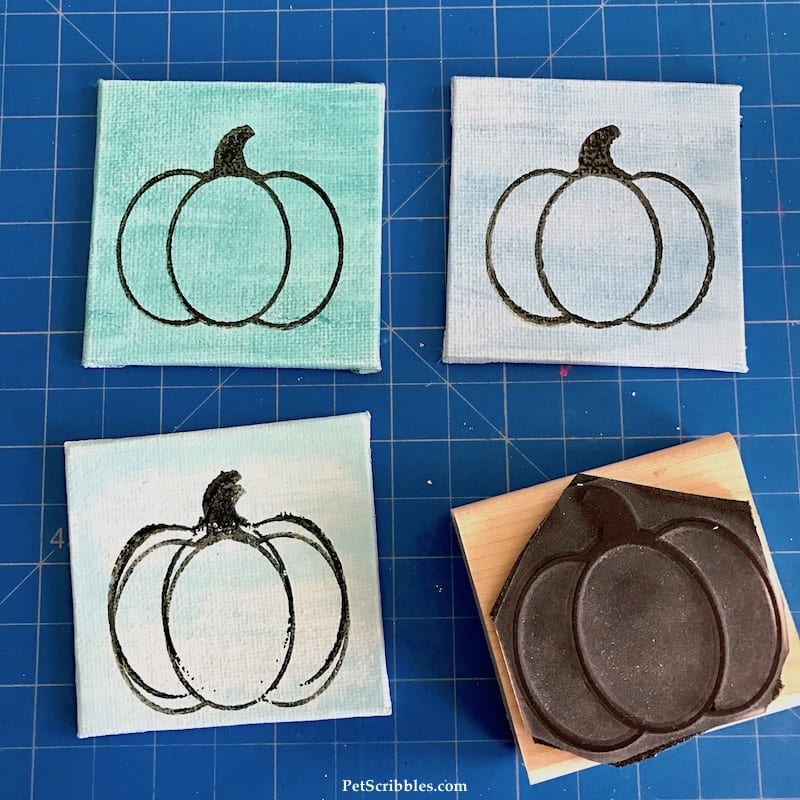
Step Three: Stamp the pumpkin design onto each canvas.
Depending on what kind of ink you use, you’ll want to make sure the design is completely dry before proceeding.
What happens if I make a mistake?
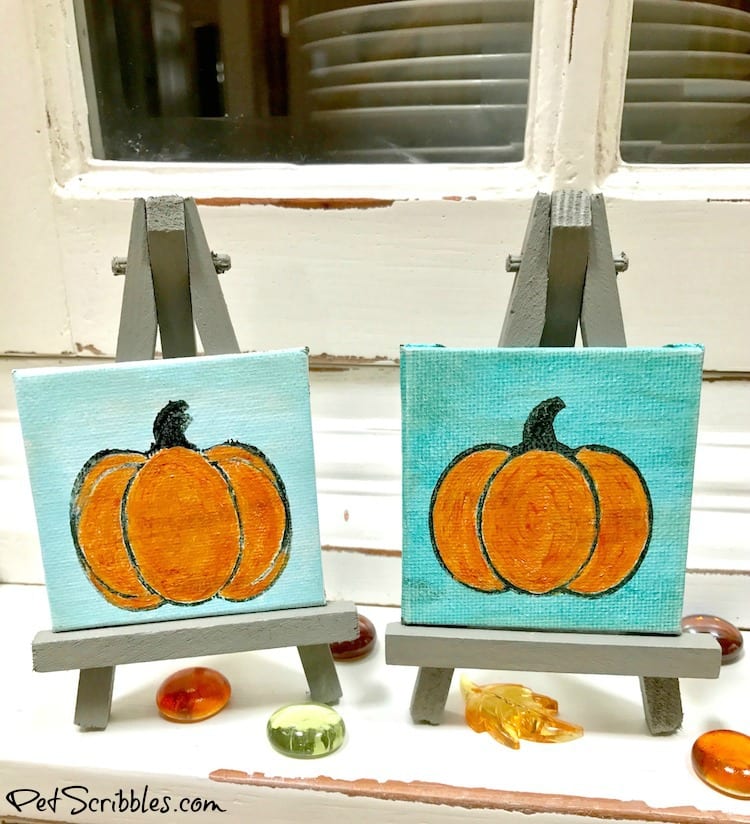
As you’ll see below, the bottom left pumpkin is a mess!
What happened is that I didn’t press down hard enough the first time so the stamp slipped. I decided to try and stamp the image again.
Of course I already knew the result wasn’t going to be great, but I tried.
And you know what?
I actually like the way the pumpkin looks, and with a little bit of paint I’m going to fix that pumpkin right up.
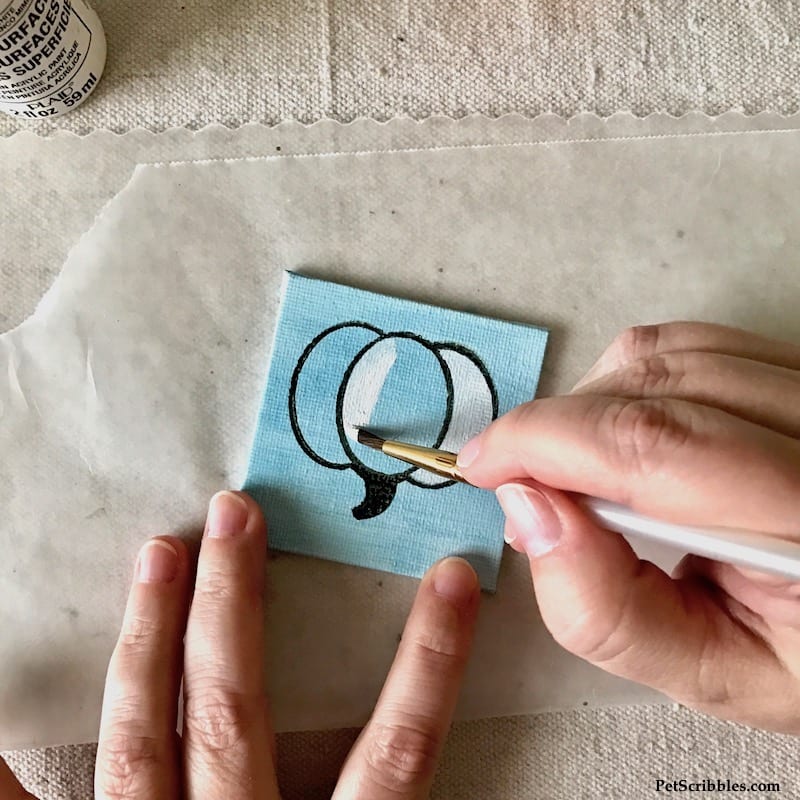
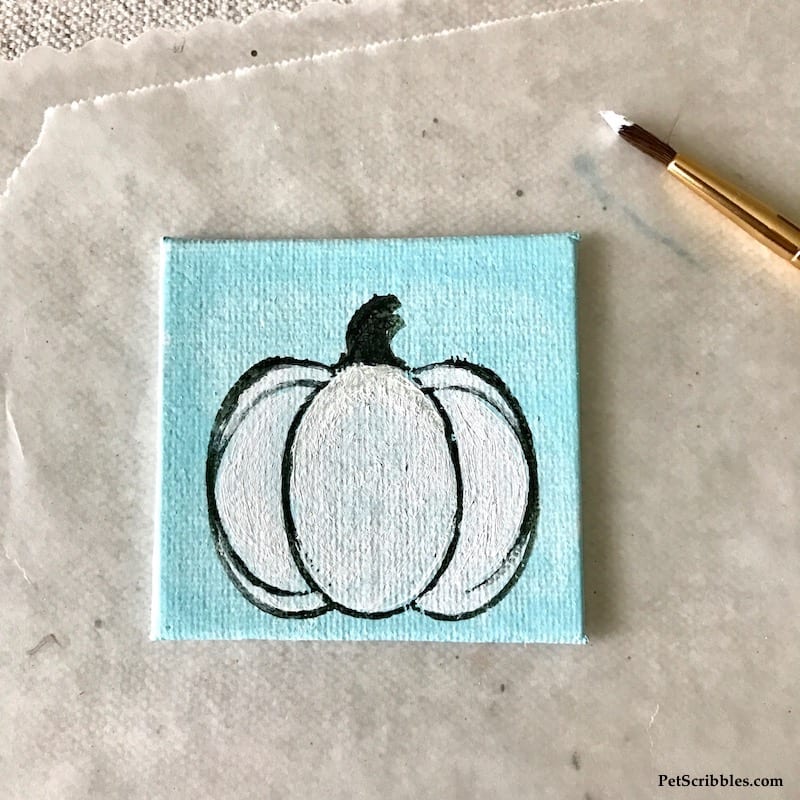
Step Three: Paint each of the pumpkins with a coat of white craft paint. Let dry.
This will help with the orange color I will be painting next. If I painted the orange right over the blue-green backgrounds, the color would not look so great — more yellowish than true orange.
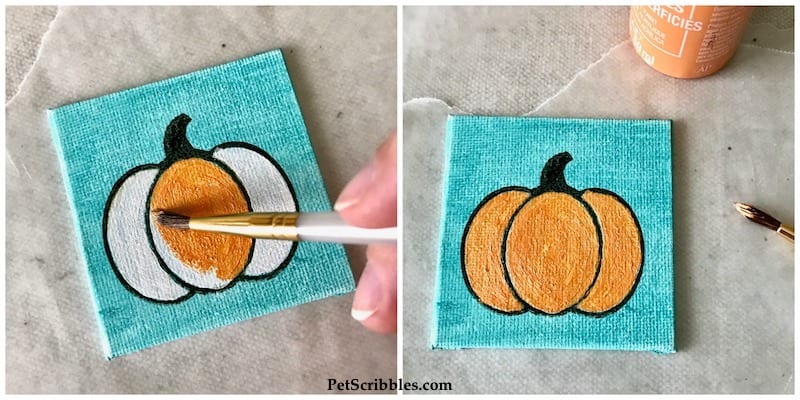
Step Four: Apply orange paint to each pumpkin. Let dry.
Using a fine detail paint brush really helps with coloring smaller images.
About that mistake pumpkin . . .
The first thing I did was to cover up some of the mistake in the middle panel of the pumpkin.
After that, I decided to keep the extra lines and did my best to paint around them.
Looking better already!
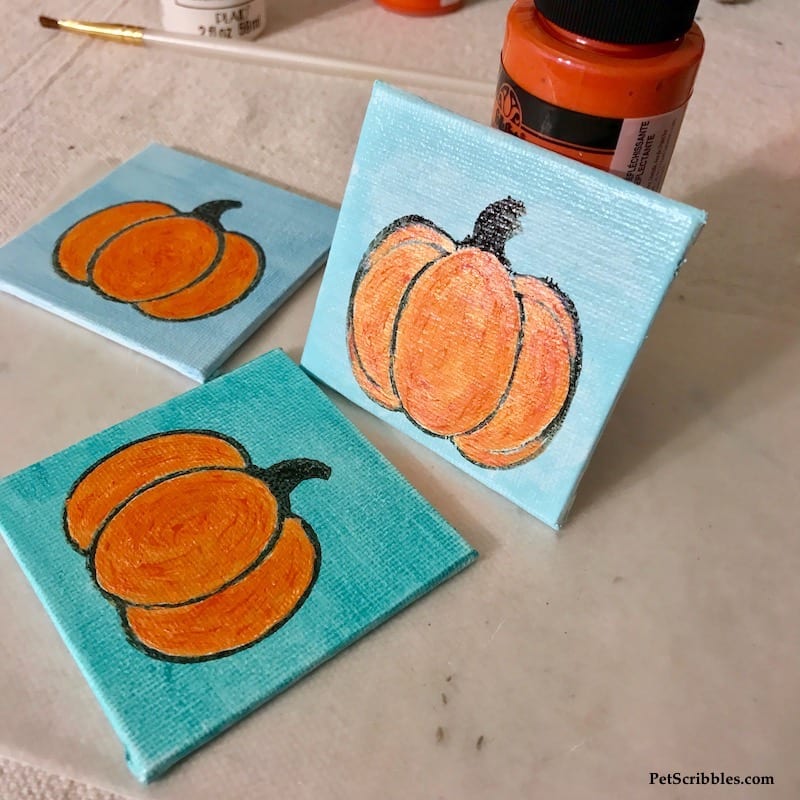
Step Five: Using a fine detail paint brush, create depth on each pumpkin by adding swooshes of the Color Shift Paint on top of the orange craft paint. Let dry.
Color Shift Paint will change color slightly depending on how the light hits it. This particular color seems to have a hint of warm rose to it, and I love how it instantly adds depth to each pumpkin.
I painted inside the lines of each pumpkin just following the curves — little dabs here and there.
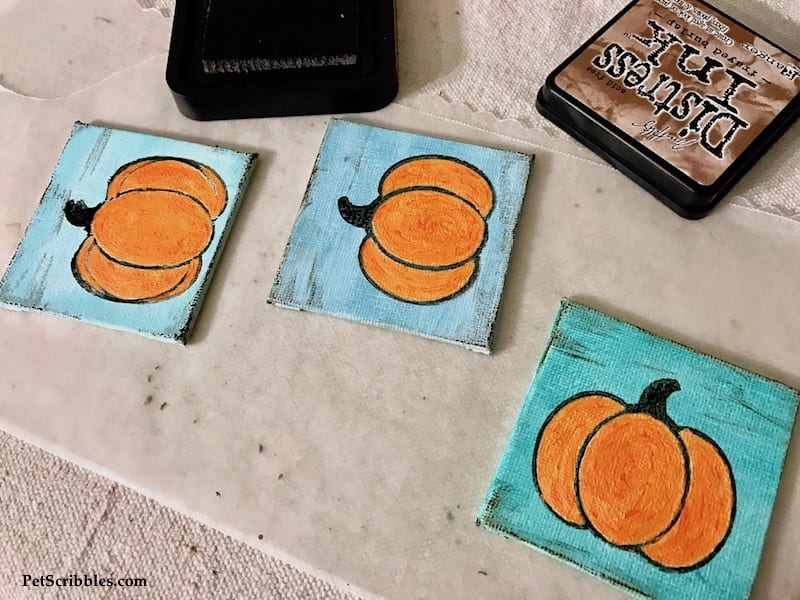
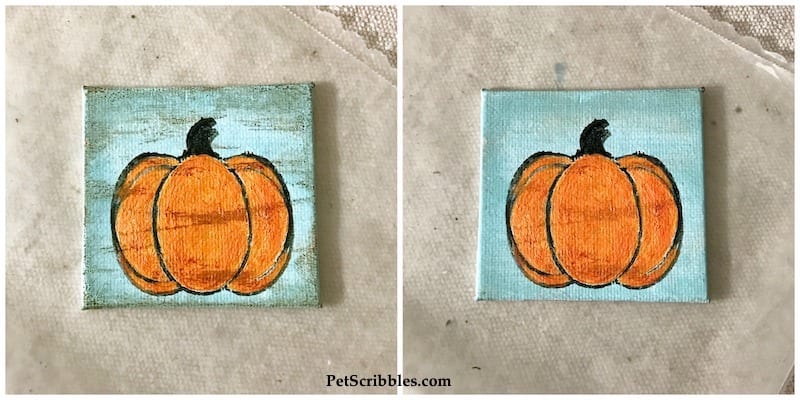
Step Six: Lightly distress each canvas by rubbing a Distress Ink pad around the edges and over the top of each canvas.
I started by distressing around each pumpkin first . . .
. . . and then I distressed more on top of each pumpkin (below left).
Next I used a white rag to gently wipe off the ink, a little at a time always using a fresh piece of the white rag.
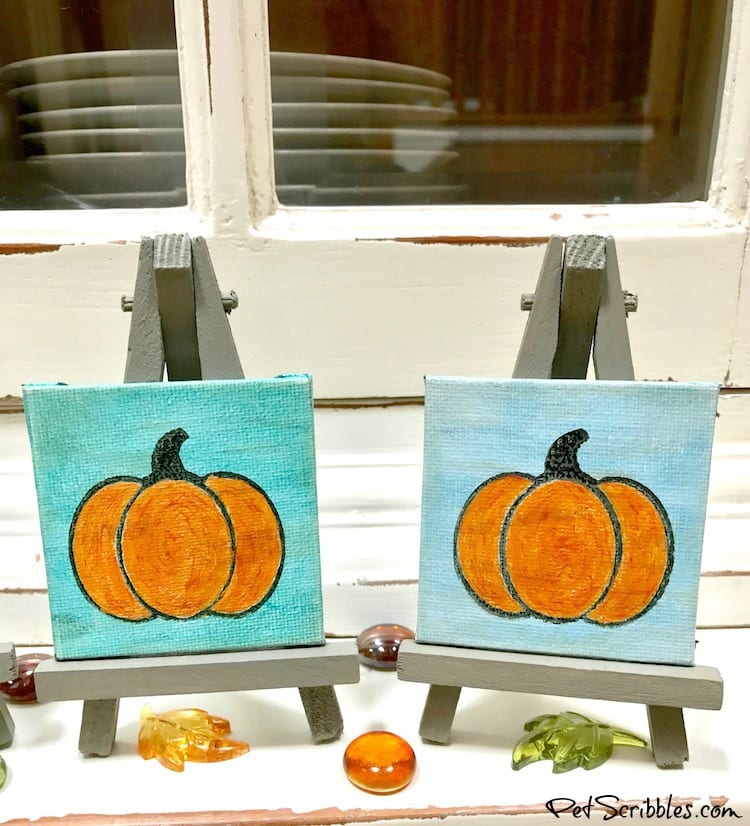
What’s left is a nicely aged-looking canvas (below right).
Repeat this process for each of your remaining canvases.
And that’s it!
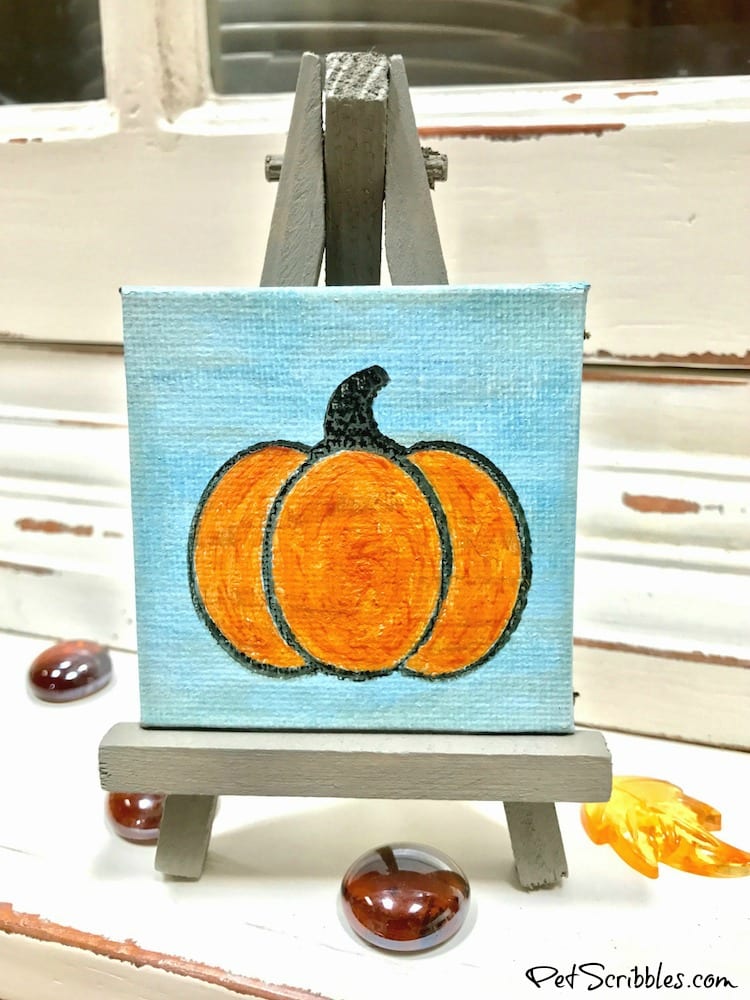
I love how these turned out!
Even the mistake one looks just fine.
Simply Stamps
I’m on the Simply Stamps Design Team, and am fortunate that I get to work with their high-quality stamps.
Each craft stamp is handmade here in the United States, and each one is available in multiple sizes!
Here’s just a few of their craft stamps for Fall:
Simply Stamps also has a fun collection of rubber stamps for Halloween and Thanksgiving too!
Their stamps ship the next business day, and their website often lists great sales, so do check them out.
It’s so easy to make a miniature pumpkin canvas — even if you can’t draw!
Happy crafting!

These are so cute and easy! I love your method!