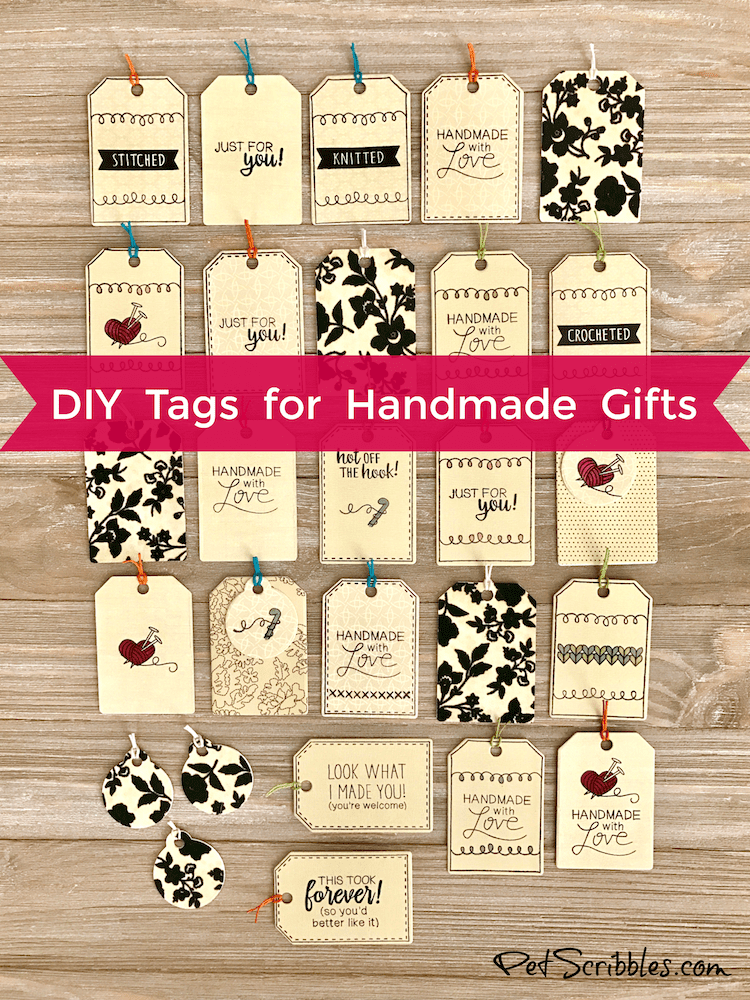
DIY Tags for Handmade Gifts or Weddings Favors, or even handmade products you sell! I used stamped sayings and a matching tag die set with Xyron adhesive. Let me show you how easy this is to put together!
Our Xyron Design Team is having fun this week crafting with awesome products from Newton’s Nook Designs!
There’s also a wonderful giveaway — more info at the end of this post!
Newton’s Nook has whimsical photopolymer stamps and dies, all original designs! Their products are made here in the United States.
They have stamps and dies for holidays, seasons, sentiments, animals, birthdays, celebrations and more. And make sure to check out the stamps inspired by their orange tabby cat — and company namesake — Newton!
Click here to see their online shop!
FTC Disclaimer: I’ve received products/compensation as part of the Xyron Design Team. These DIY tags, however, are 100% my own project! Some of the links in this post are affiliate links. I explain more here.
I received stamps and dies to make tags for handmade gifts!
These are perfect if you’re a crafter or make handmade products to sell.
I also think these stamps and dies are perfect for wedding favor tags too!
DIY Tags for Handmade Gifts or Favors
Supplies:
- Xyron® Mega Runner
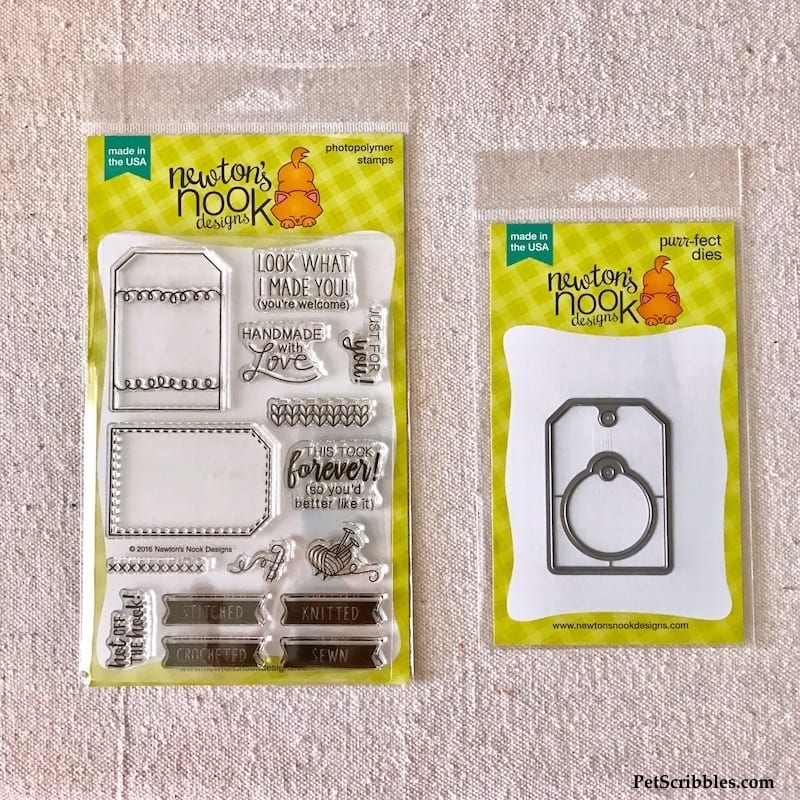
- Newton’s Nook Tag Sampler Stamps
- Newton’s Nook “Tags Times Two” Die Set
- Diecut machine (I used my Sizzix Big Shot)
- Decorative cardstock in coordinating colors and patterns
- Black permanent ink pad
- Acrylic stamping block
- Spectrum Noir Alcohol Markers
- Darice Bright Hemp Cord Set
Tutorial:
Step One: Stamp your chosen images from the Newton’s Nook Tag Sampler Stamps onto decorative cardstock.
Step Two: Using the Newton’s Nook “Tags Times Two” die set and your preferred cutting machine, cut out your stamped images.
Step Three: Using the same Newton’s Nook dies, cut out more tags from decorative cardstock. (These will be used as the backs of your stamped tags.)
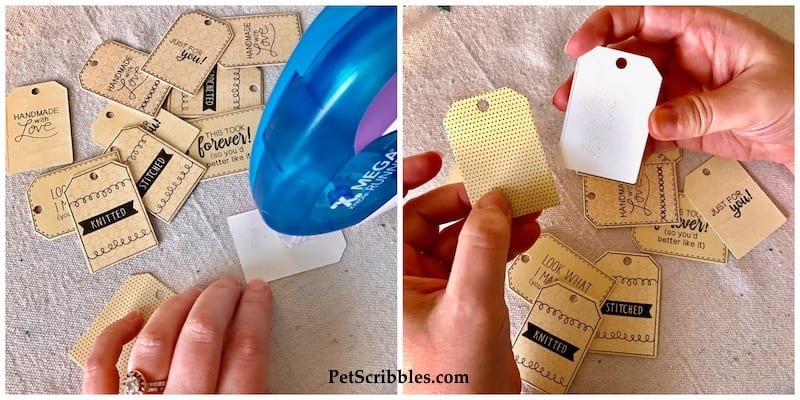
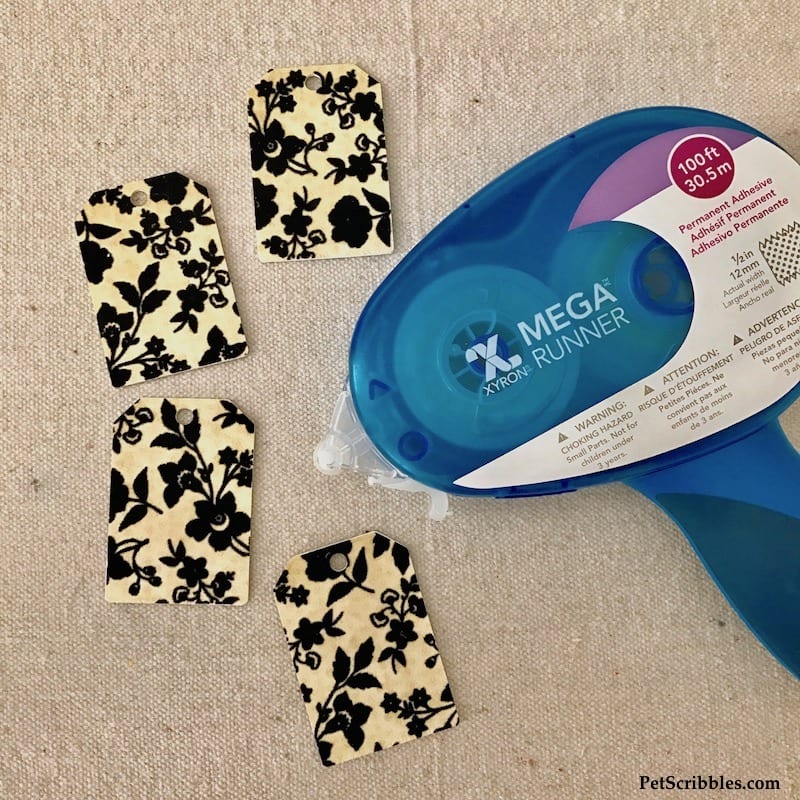
Step Four: Add adhesive to the back of the tags with the Xyron Mega Runner.
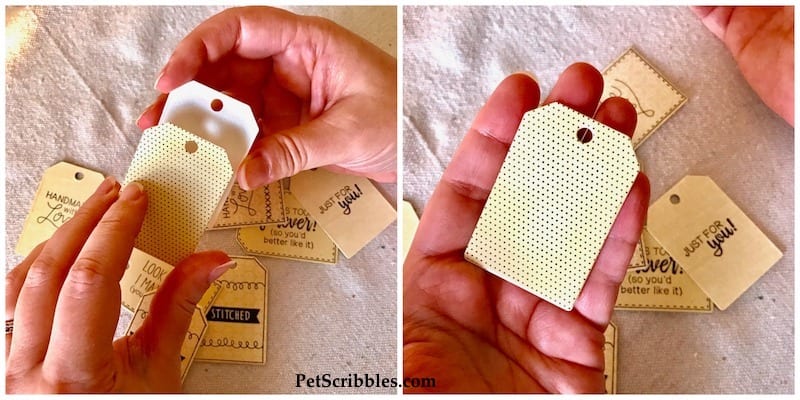
Apply adhesive to the back of one of the two tags you will stick together . . .
. . . and then carefully match the tags up (decorative sides facing out) and press together!
Repeat this for all of your stamped tags!
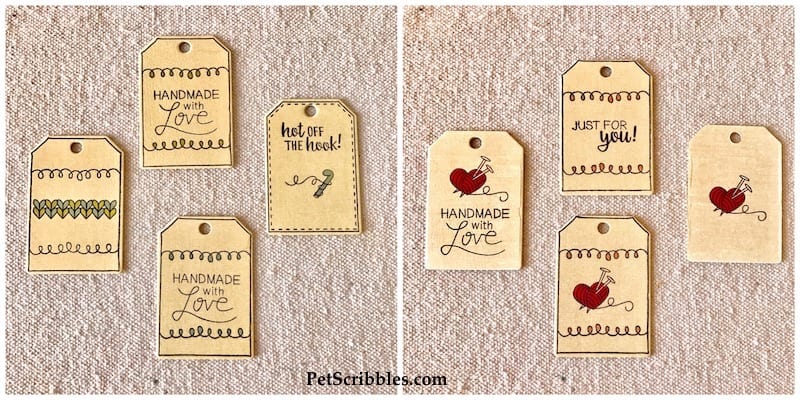
Step Five: Color some of the stamped tags using alcohol markers.
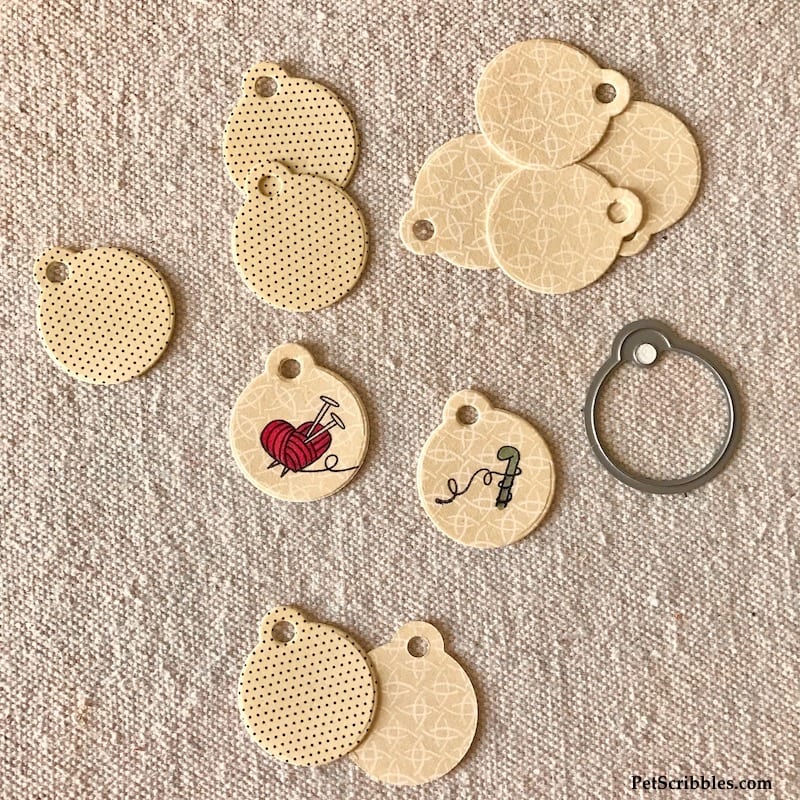
I also used the small circle tag die to cut out several small tags.
You can see (below) that the smallest stamped images fit nicely on these circle tags.
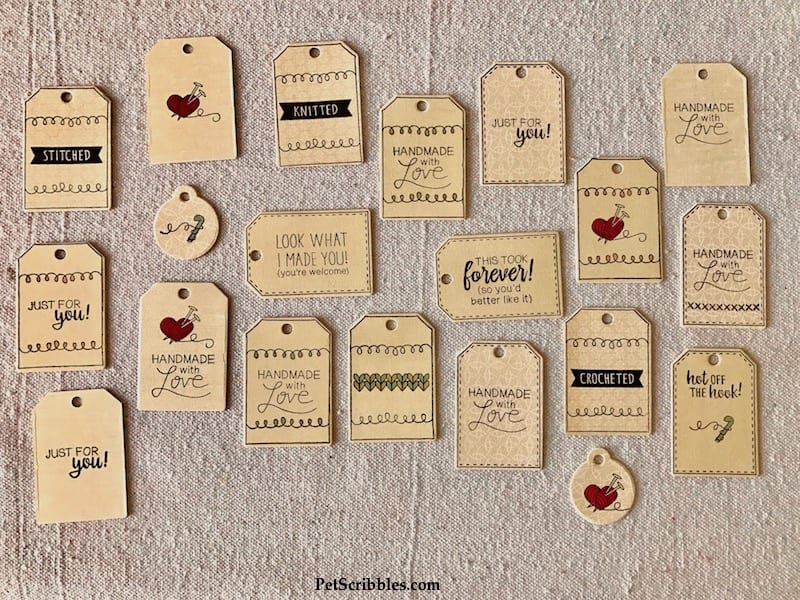
Here are the tags all put together!
These are the front sides . . .
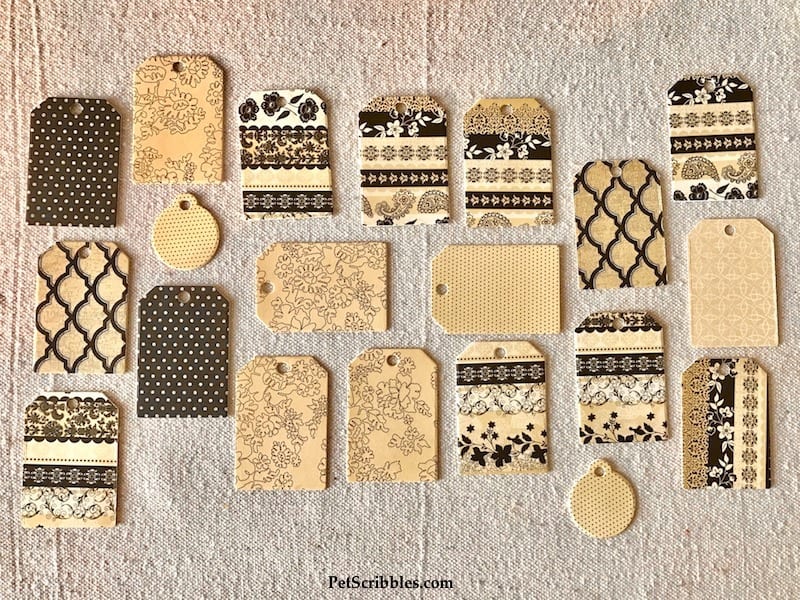
. . . and these are the back sides of the tags.
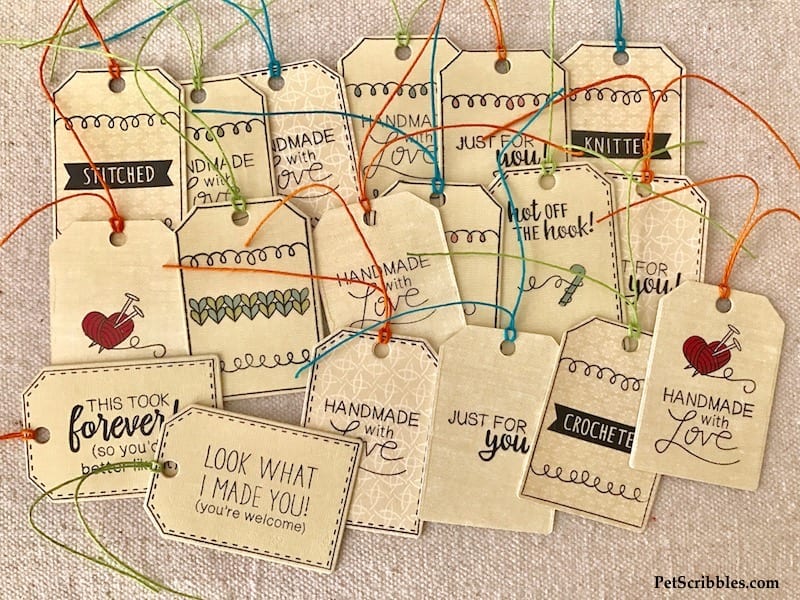
Step Six: Add colorful hemp cord to your tags.
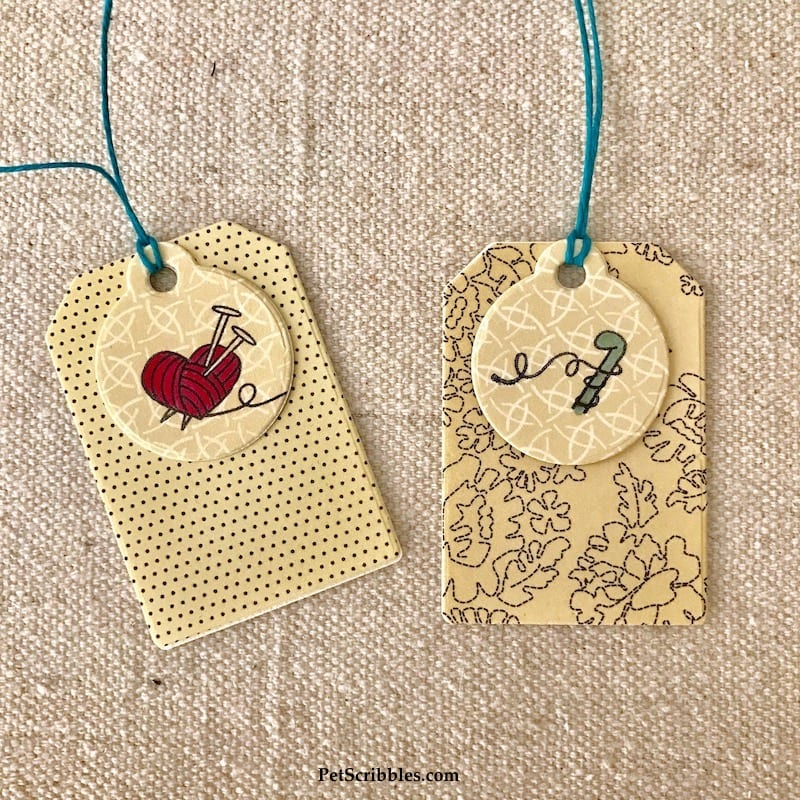
Optional step: Layer some of your circle tags over a decorative tag. I really love this look!
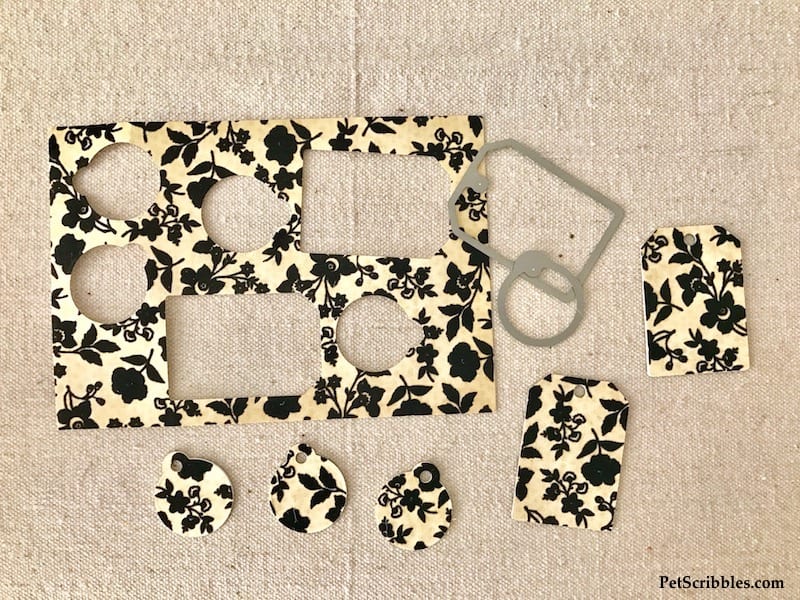
I used elegant flocked cardstock (below) to make more tags in both sizes.
I repeated the steps above to adhere these tags to each other.
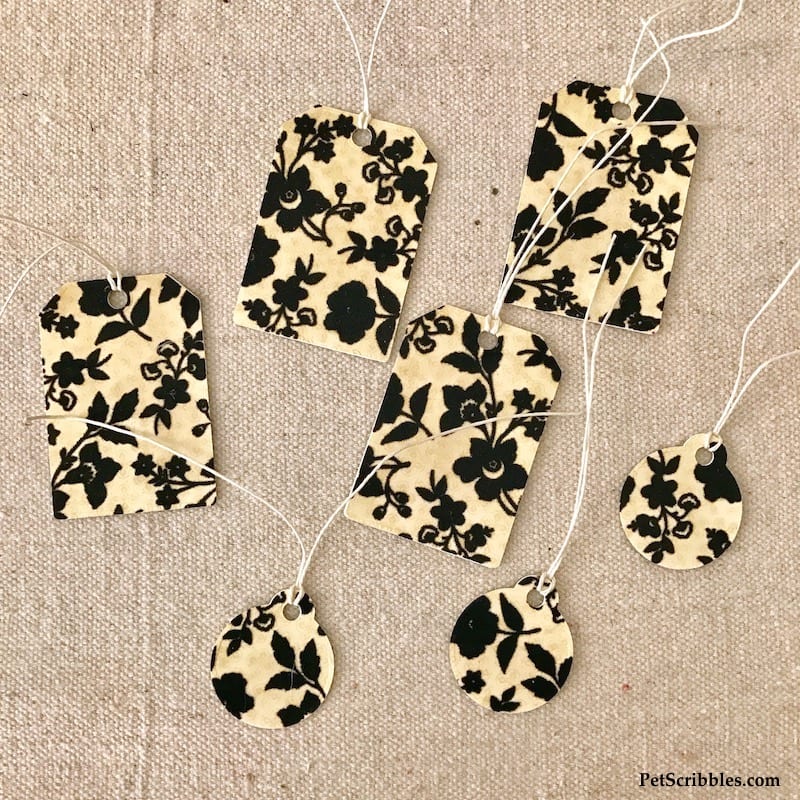
Off-white hemp cord was added to the tags.
Wouldn’t these be stunning as wedding favor tags?
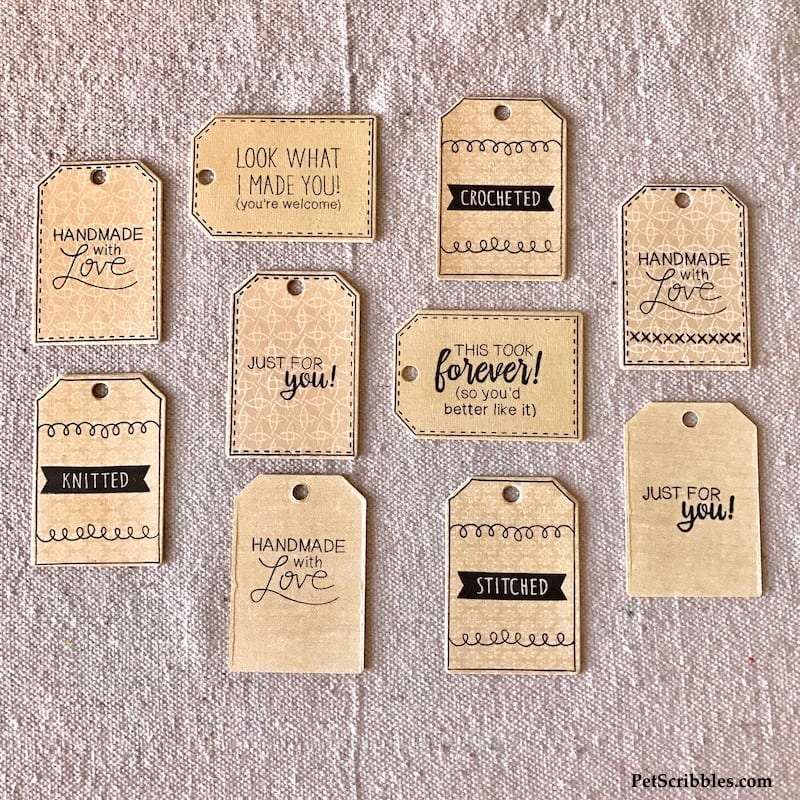
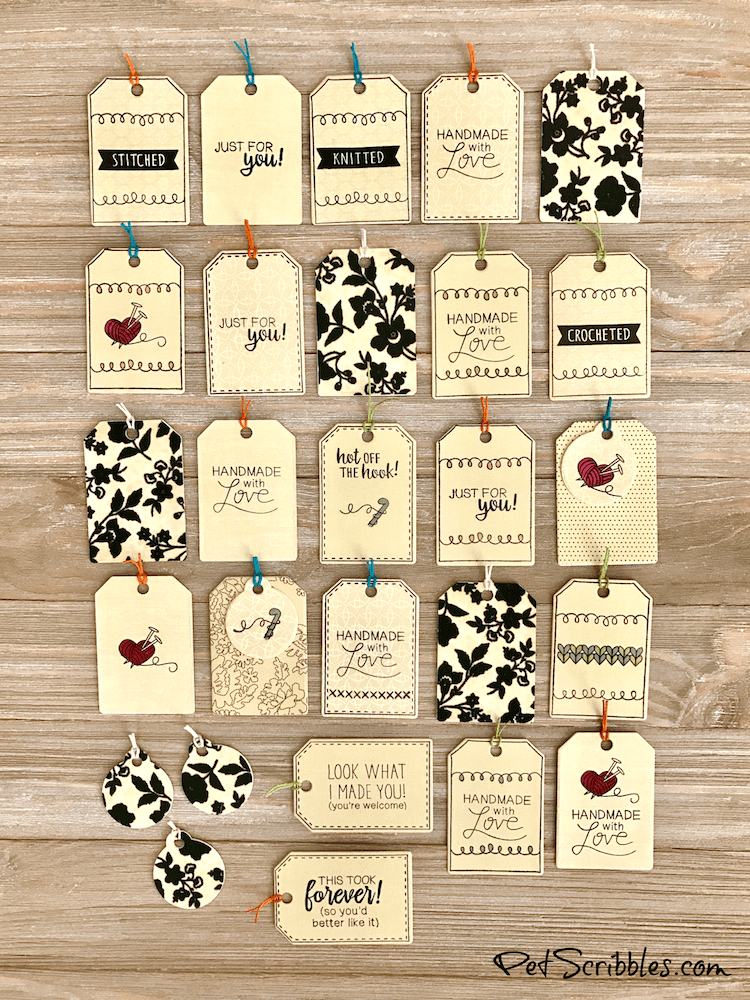
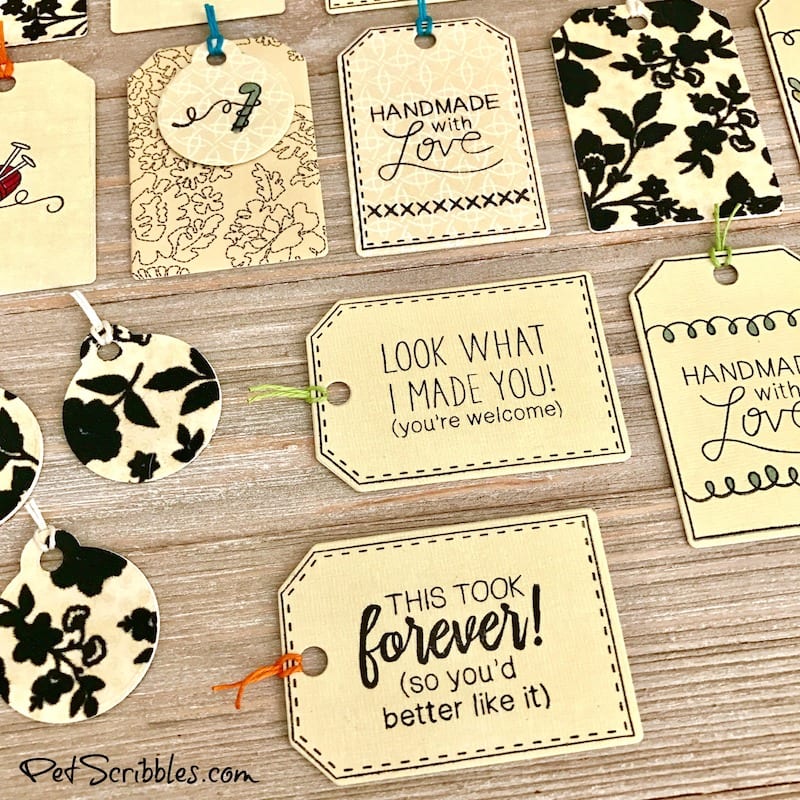
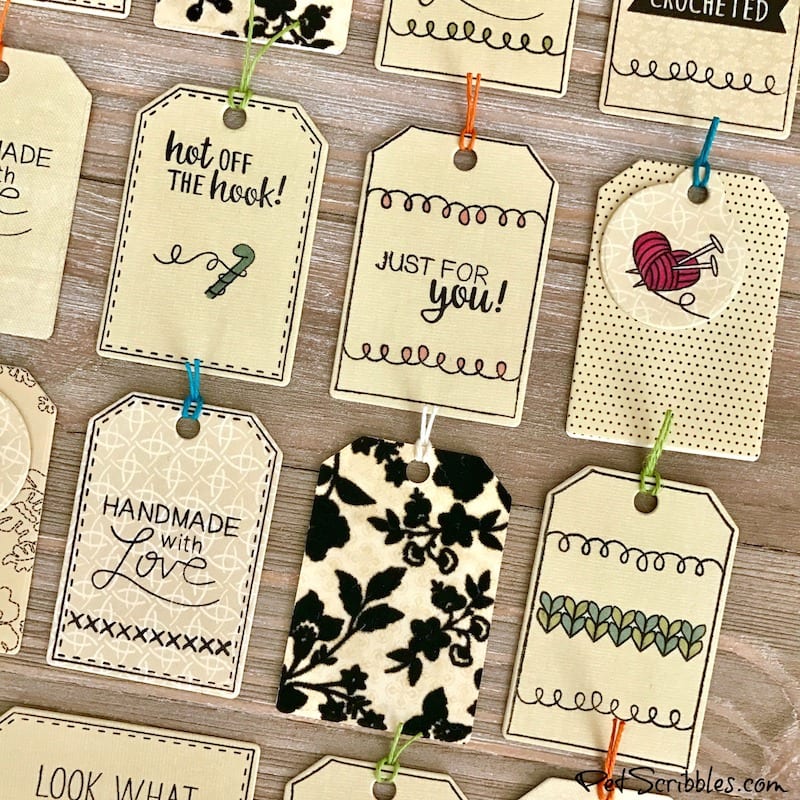
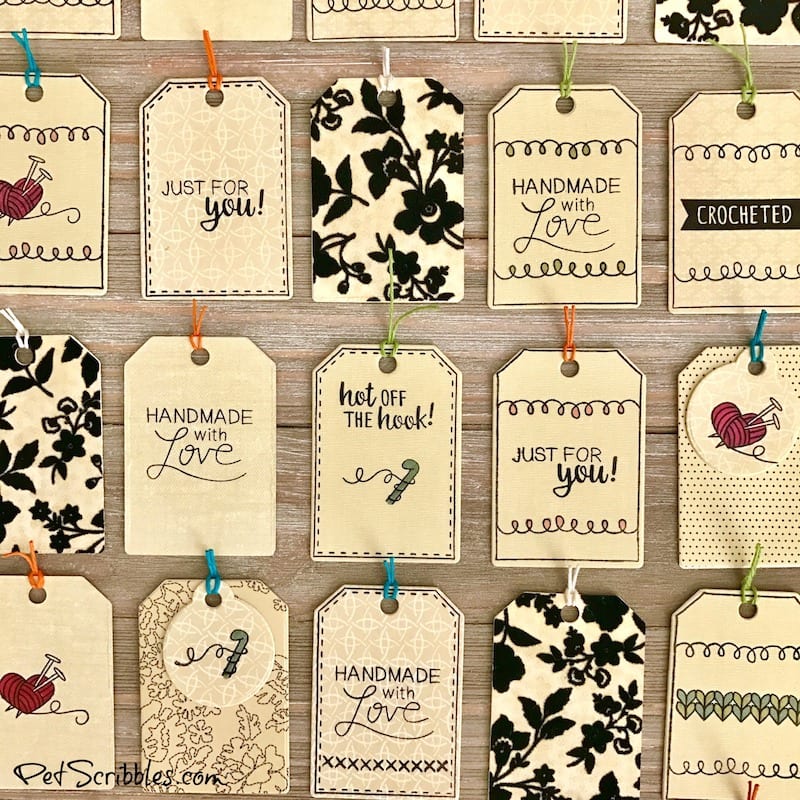
Here are all of the tags I made!
A close-up look at the different sayings and designs . . .
Do you knit? Crochet? Sew? You will love these stamped sayings and designs!
Giveaway Time!
Would you like to win a Prize pack including a Xyron® Mega Runner and a $25 store credit to Newton’s Nook Designs?
There’s two ways to enter:
On Xyron’s Facebook page: Leave a comment on any of our Newton’s Nook posts this week. One lucky person will be randomly chosen to receive a Mega Runner and a store credit to Newton’s Nook!
On Newton’s Nook Designs blog: Leave a comment on the Newton’s Nook blog posts using Xyron products all week. One winner will be randomly chosen from blog post comments throughout the week.
Remember: The more comments you leave on Xyron’s Facebook page or the Newton’s Nook blog, the more chances you have to win!
Happy crafting!
~Laura

Love the muted colors.
Great tags.
thanks for sharing
Wow! Tags are my passion!!! Love them so much!!! I Beautiful stamp set!!!
These are super cool! I love all the different ways you made tags and how you lined the backs with fun pattern papers! So pretty! Thank you so much for being part of our Xyron & NND Inspiration week!
-Jen {Newton’s Nook Designs}
Gaaa! These tags are DARLING! I need to make some like this!! Thanks for the inspiration!
Laura- Awesome looking tags! I need to check out Newton’s Nook. I have many Xyron items with adhesives. Xyron is a super great adhesive!