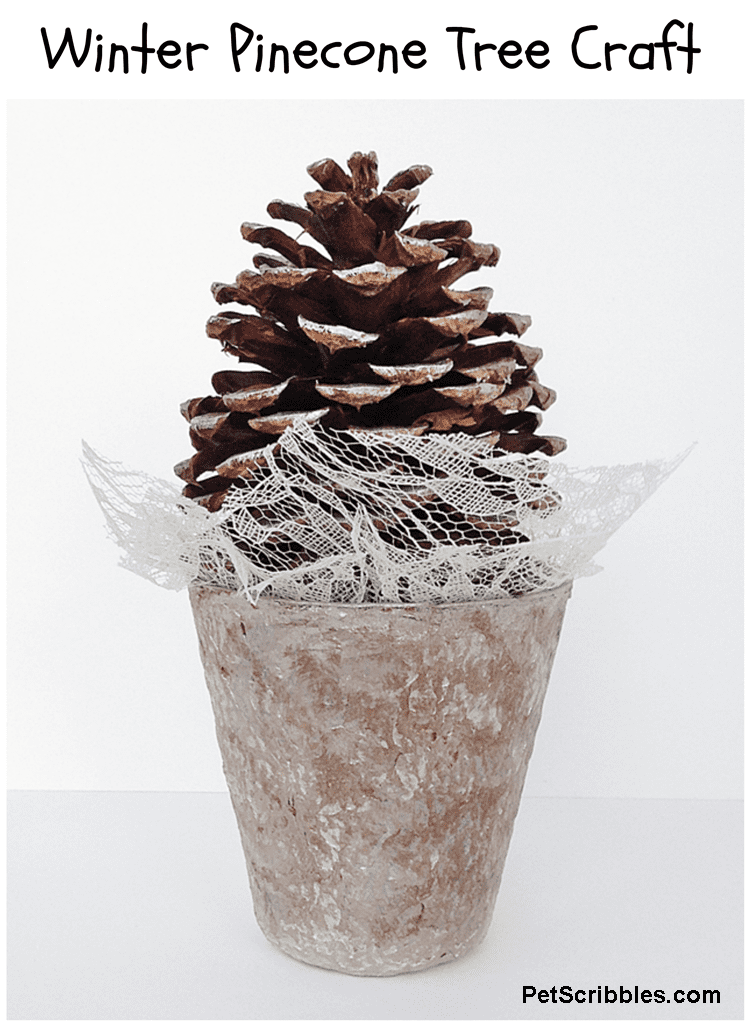
Have an extra pinecone left over from the holidays? Make this pretty Winter Pinecone Tree! It’s a quick craft to give you a sweet bit of Winter decor!
An older version of this craft tutorial first appeared in January 2014 over at Live Creatively Inspired, where I was a contributor. This post has been completely updated for you here!
Winter Pinecone Tree Craft Tutorial
This week I’ve been all about transitioning away from the glittery and festive holiday decorations to celebrating the quiet beauty of the Winter season.
Just by painting a simple peat pot and then adding some paint to the tips of a pinecone, you can create this Winter Pinecone Tree in just a couple of hours (including drying time).
FTC Disclaimer: Some of the links in this post are affiliate links. I explain more here.
Supplies Needed:
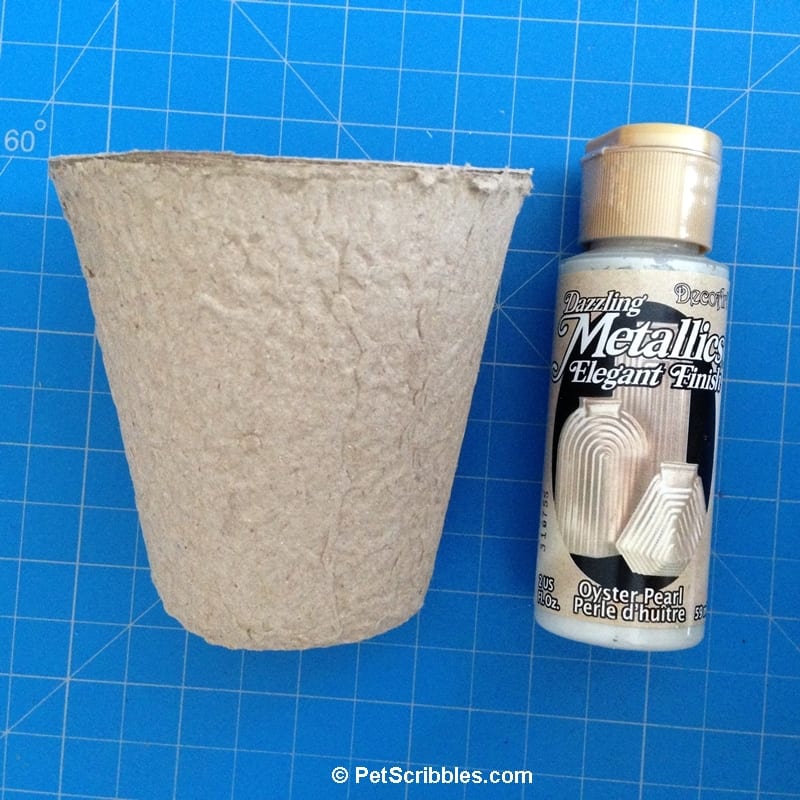
- 1 peat pot (I found mine at the dollar store, 8 pots for $1)
(You can also find them on Amazon here.) - 1 medium pinecone
- DecoArt Dazzling Metallic Paint in Oyster Pearl
- DecoArt Dazzling Metallic Glaze in Renaissance Brown
- DecoArt Americana Multi-Surface Paint in Mushroom
- small paintbrushes
- plastic lid (to hold the paint)
- lace fabric scraps
- paper towels
Painting peat pots is a quick project because the material of the pot absorbs paint super-quickly, making for a quick-drying project.
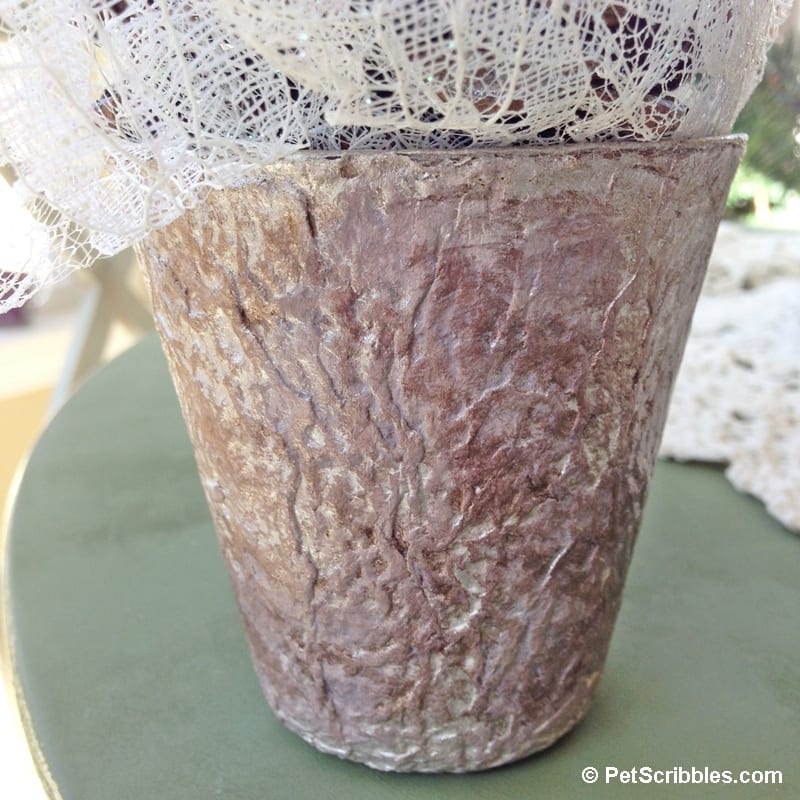
Peat pots also have lots of little nooks and crannies, which is fun for layering paints and glazes.
Step One: Paint the peat pot with the oyster-colored metallic paint, both inside and outside. I painted one coat inside the pot and two coats on the outside.
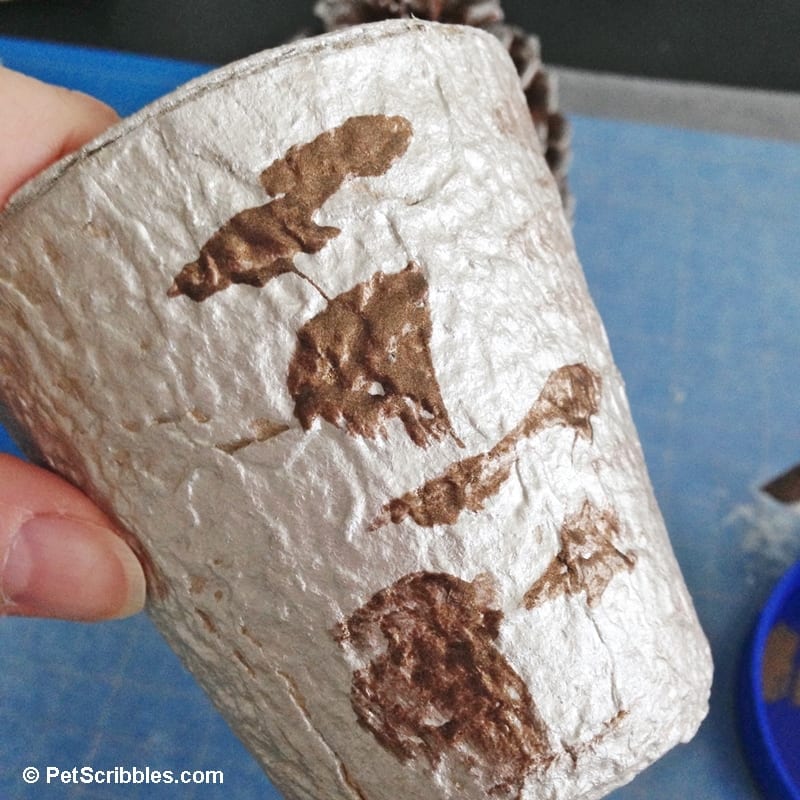
Step Two: Dab the brown metallic glaze onto sections of the pot’s outside as shown…
… and quickly wipe off with a paper towel. Repeat this process until your pot has lots of brown mixed into the overall look of the pot.
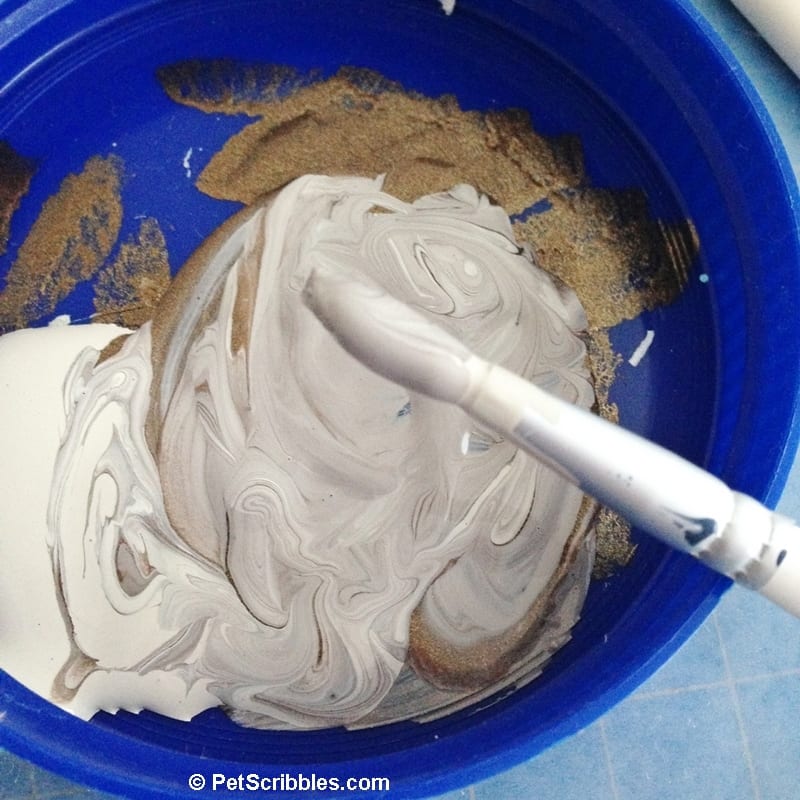
Step Three: Dip a tiny paintbrush into the mushroom multi-surface paint and swirl it into the brown metallic glaze in the plastic lid. Dab this lighter color here and there onto the peat pot then wipe off with a clean paper towel.
Step Four: Examine your pot and decide which paints you want to have more of, or less of. This is a no-mistake craft, as the finished result is totally up to your liking. I dabbed a bit more brown metallic glaze onto the pot, wiped off, and then dabbed more of the oyster metallic paint in a few spots, again wiping off.
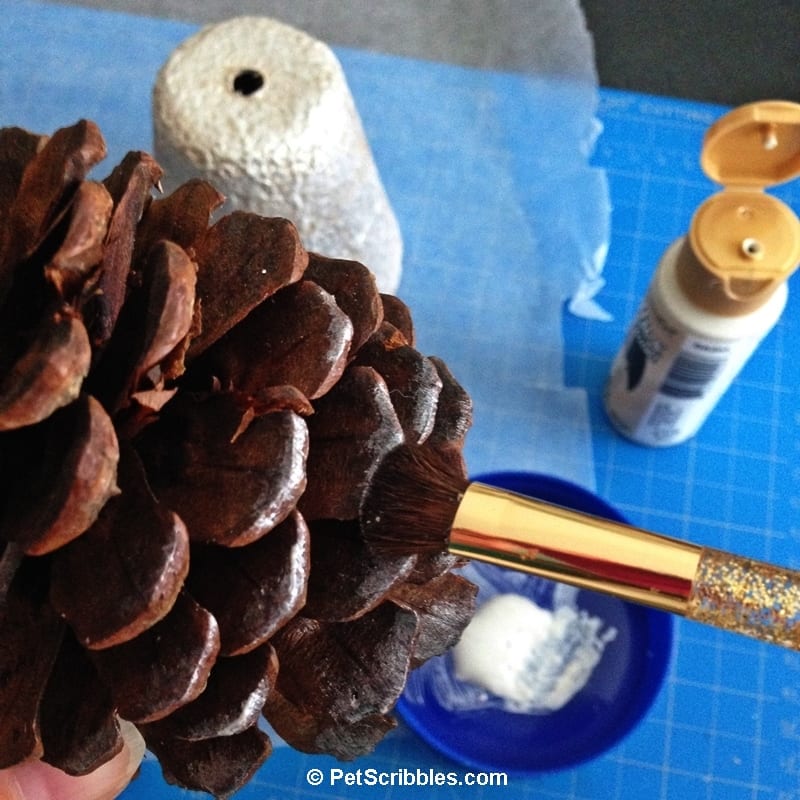
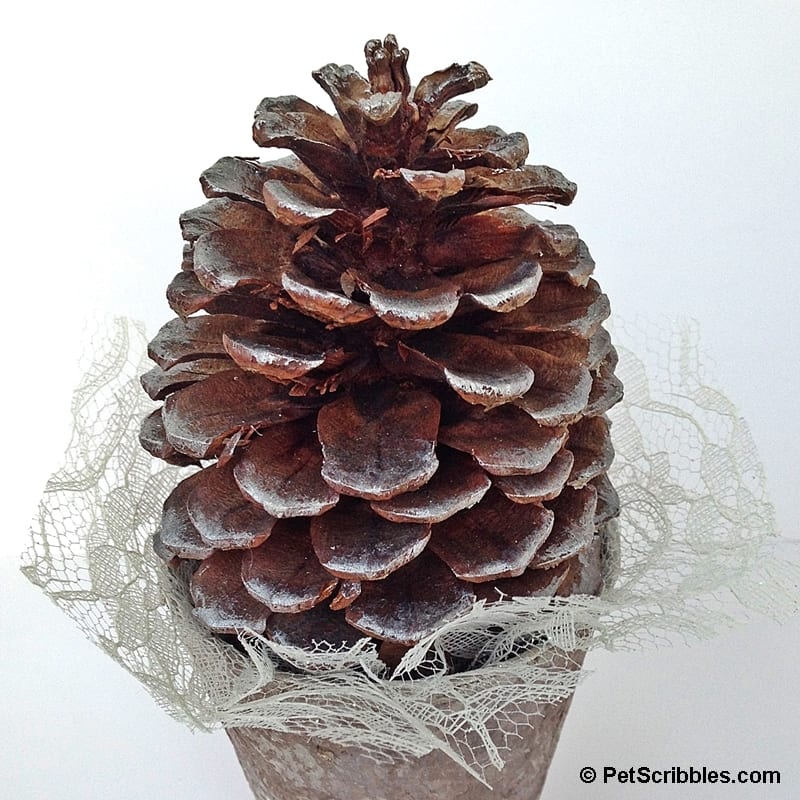
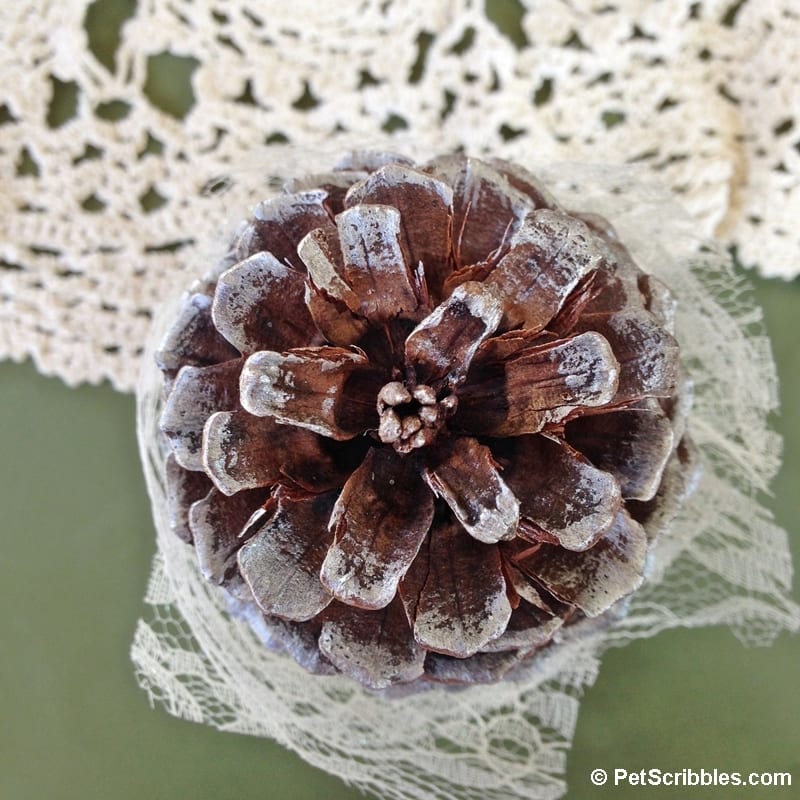
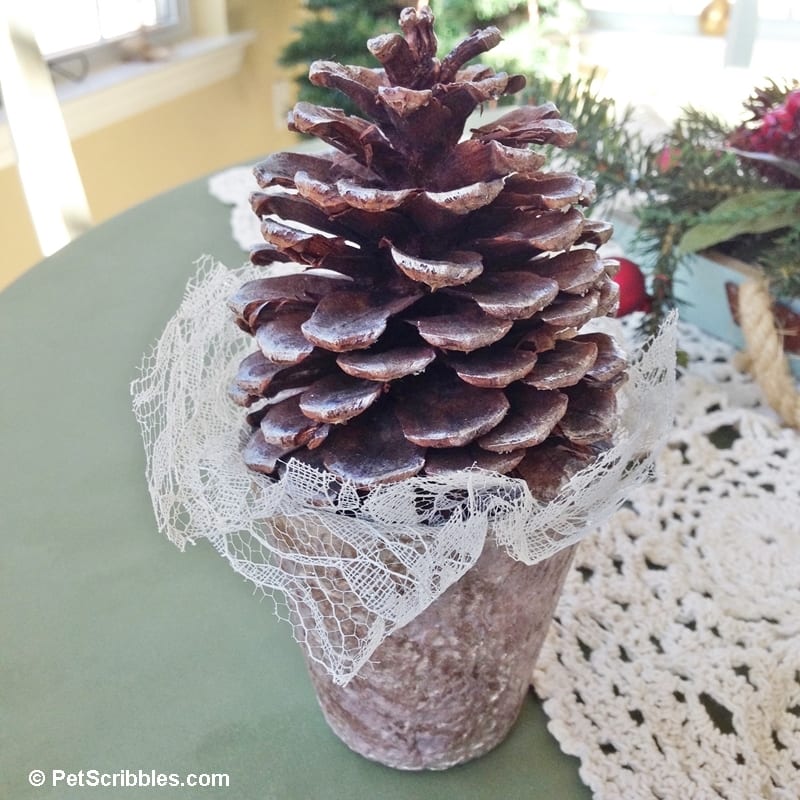
Step Five: Dab the oyster metallic paint onto the tips of the pinecone, lightly brushing the paint onto each tip. It gives a subtle sparkle, like snow crystals dusted onto the pinecone. Let dry.
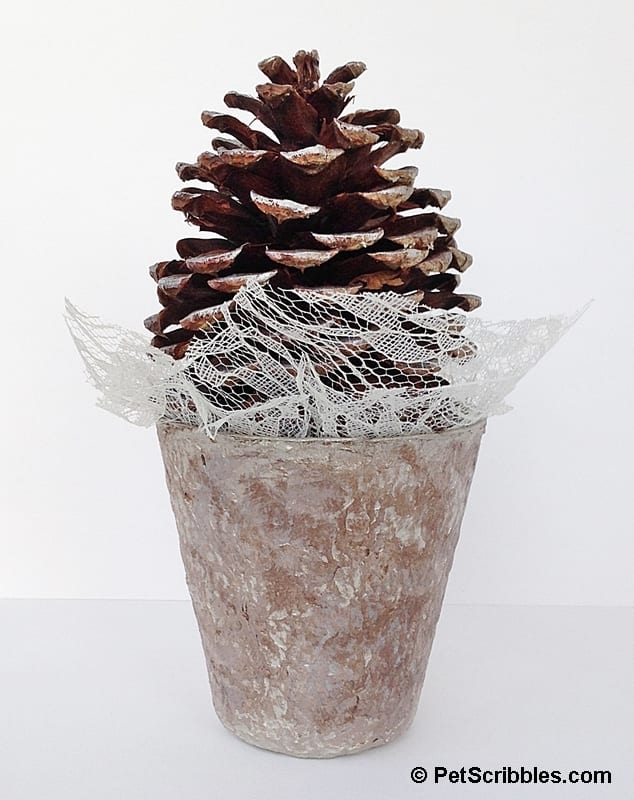
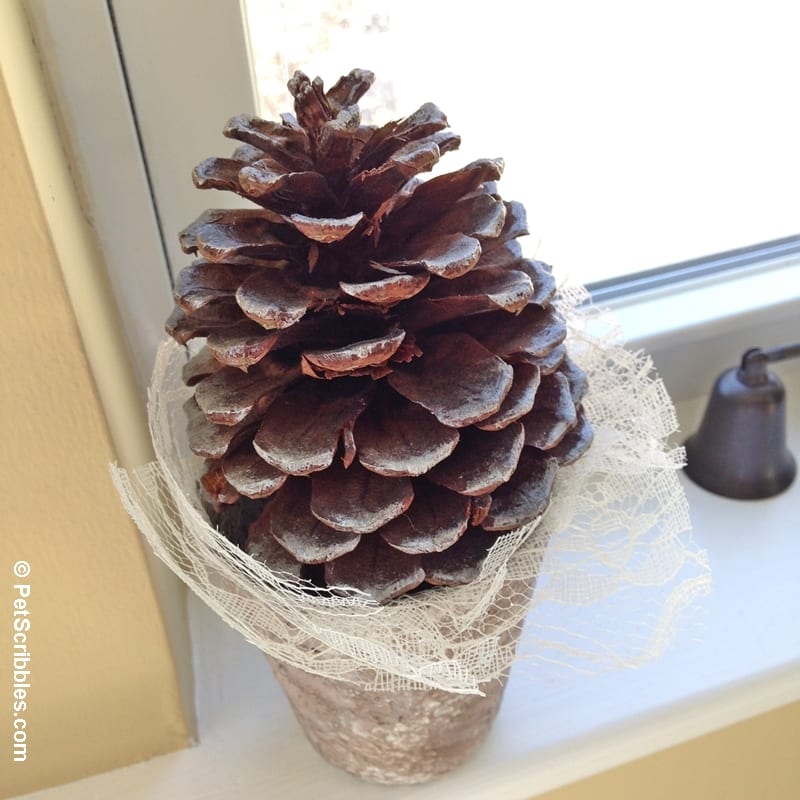
Step Six: Cut two squares of tulle lace, or use some lace fabric scraps. Place them over the opening of the peat pot. Place the pinecone on top of the lace and set it into the peat pot. The lace will form around the base of the pinecone and give a finished look to your Winter pinecone tree.
And that’s it!
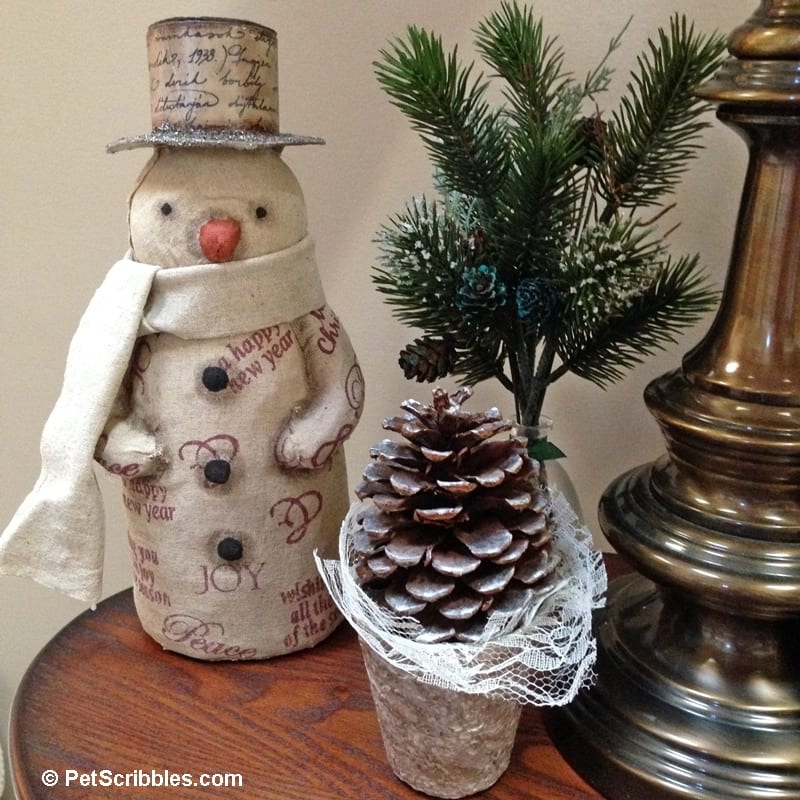
I love my “snowy” pinecone!
And the peat pot has just enough sheen to be pretty in a subtle way.
To me, it’s a simple look that evokes the quiet beauty of January.
The calm after the holidays. Or holi-daze!
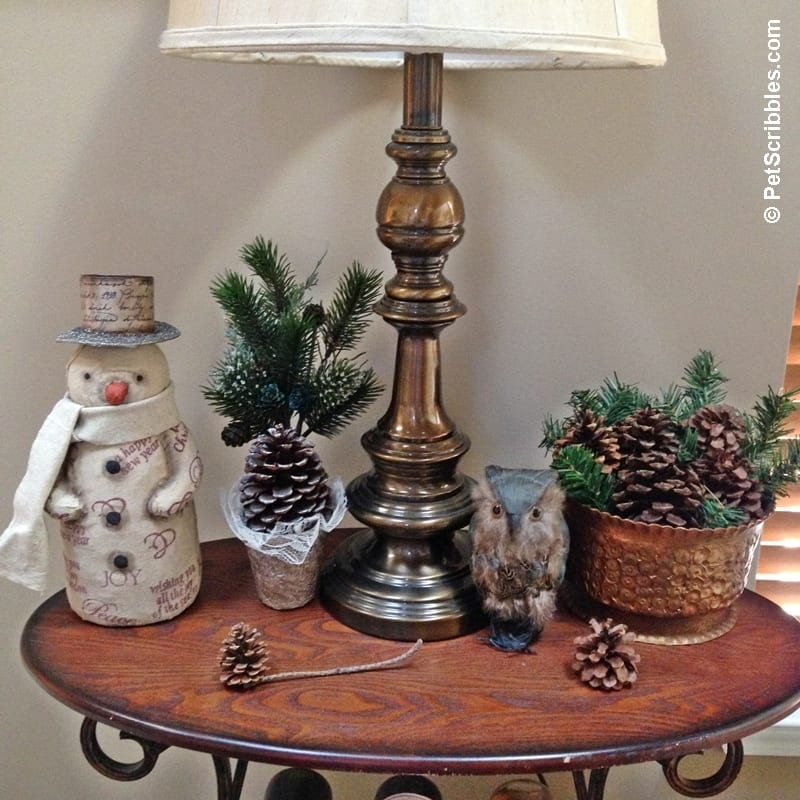
I created this Woodland vignette on our wine table for Christmas. I don’t have to change a thing for us to continue to enjoy it throughout January!
Check out the Related Posts below for more simple Christmas-into-Winter decorating ideas!
Happy Crafting!
~Laura

Very pretty Laura! I have pinned this to my “Winter Wonder” board on Pinterest! Thanks for sharing!
Why thank you Lisa! I really appreciate your sharing it, and for letting me know about your board – I love Winter so I’m off to check it out! 🙂
These are so cute! I love using big pine cones for winter decor! Thanks for sharing