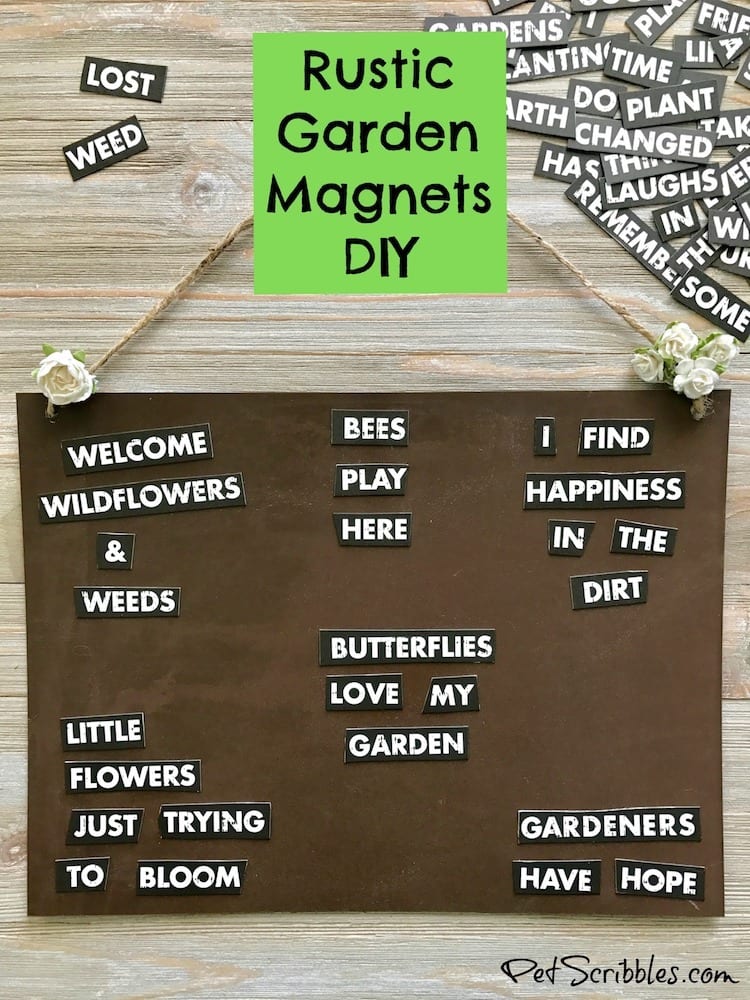
You don’t need a green thumb to learn how to make rustic garden word magnets! You will be amazed at how simple the steps are. These garden word magnets make a wonderful gift!
For those readers who may be visiting here for the first time, welcome!
You’ll soon learn that not only do I love to create and make things, but I also love to garden. I try and take my iPhone with me when I’m gardening, and I have lots of pictures to go through to share with you — hopefully soon!
In the meantime, I’ve got a great garden-themed craft for you: rustic garden word magnets!
It’s as straight-forward as this: cut out your chosen words, then turn those words into magnets!
Once you try this, you’ll be hooked. At least I am!
FTC Disclaimer: I’ve received products/compensation as a member of both the Xyron Design Team and the Canvas Corp Creative Crew. These DIY Rustic Garden Magnets, however, are 100% my own project! Some of the links in this post are affiliate links. I explain more here.
Supplies:
- Xyron® Creative Station Lite
- Xyron® Laminate/Magnet Refill Cartridge (5-inch wide)
- Xyron® 1.5″ Sticker Maker
- Xyron® 1.5″ Sticker Maker Magnet Refill
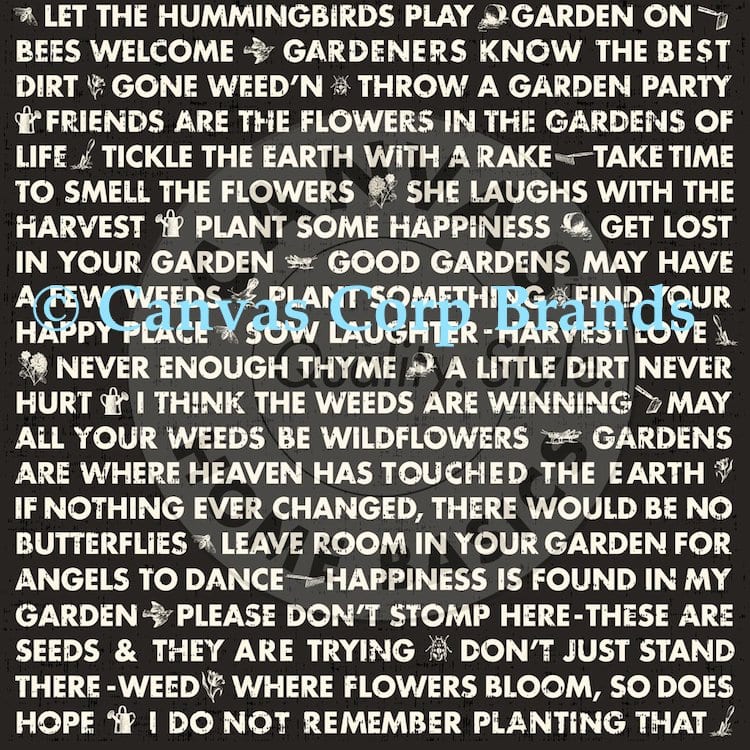
- The Watering Can: Garden Words on Ivory Reverse Cardstock – Canvas Corp
- Scissors
How to make rustic garden word magnets
I’ve always wanted to make word magnets, and when I saw this Canvas Corp decorative paper, I was thrilled!
This 1-sided paper comes with farmhouse-inspired artwork printed on a 12 x 12 sheet of 80# ivory cardstock, and is part of Canvas Corp’s “The Watering Can” collection.
I love how the words have that perfectly rustic, vintage look to them!
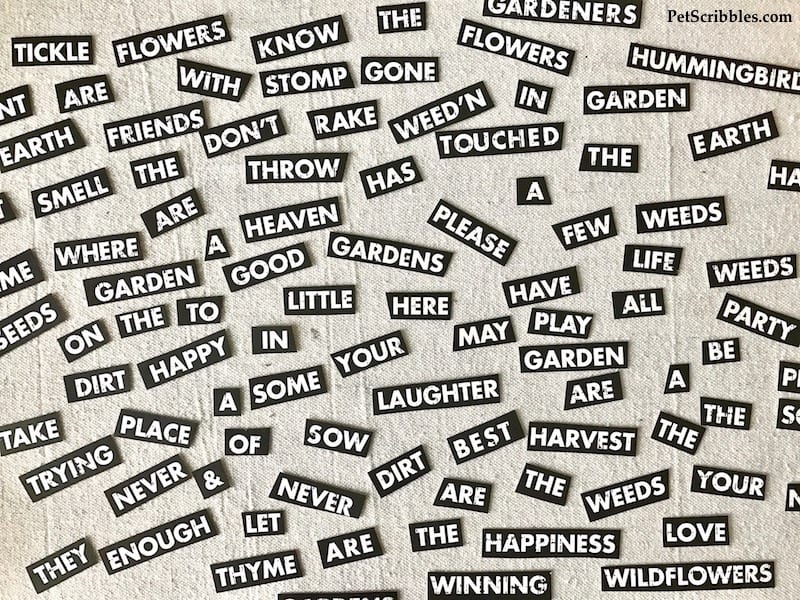
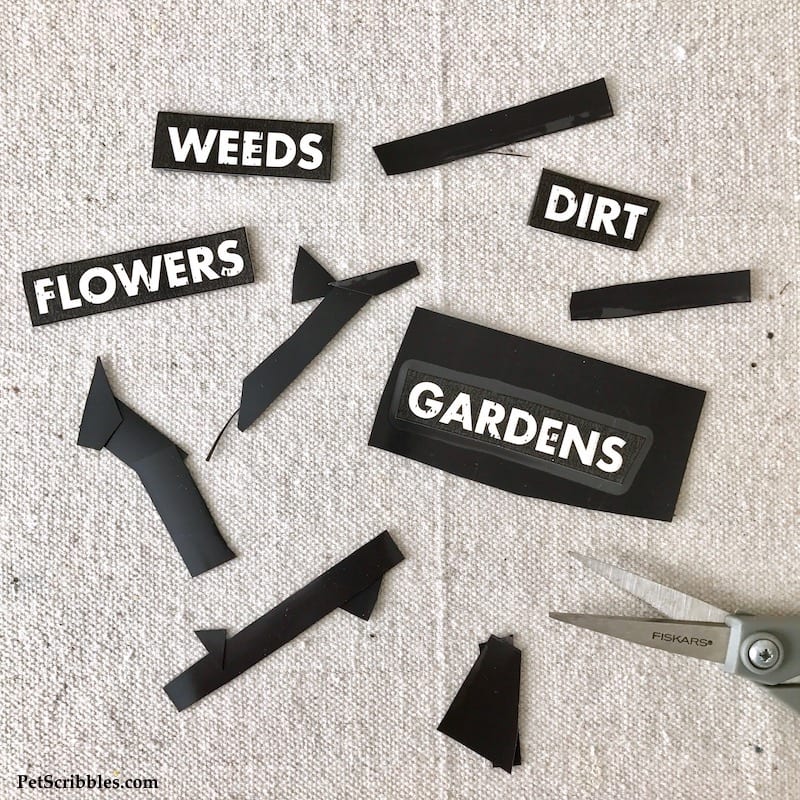
Step One: Cut out your chosen words.
Your cuts don’t have to be perfectly straight. I cut many of mine on different angles.
Step Two: Turn the cut-out words into magnets!
Seriously, it’s really this easy!
There are two different ways you can make word magnets using Xyron products, both very straight-forward.
Option A: use the Xyron Creative Station Lite
I’ve used the Creative Station Lite in projects I’ve shared here previously. It’s such a handy little machine and takes different cartridges depending on what you want to do.
You can turn paper into decorative stickers with either a permanent adhesive cartridge or a repositionable adhesive cartridge. You can also laminate things, as well as create magnets which have a laminated cover on top!
A–1: Insert the Xyron magnet/laminate cartridge into the Creative Station Lite, following package instructions. (It is super easy — trust me, I can do it!)
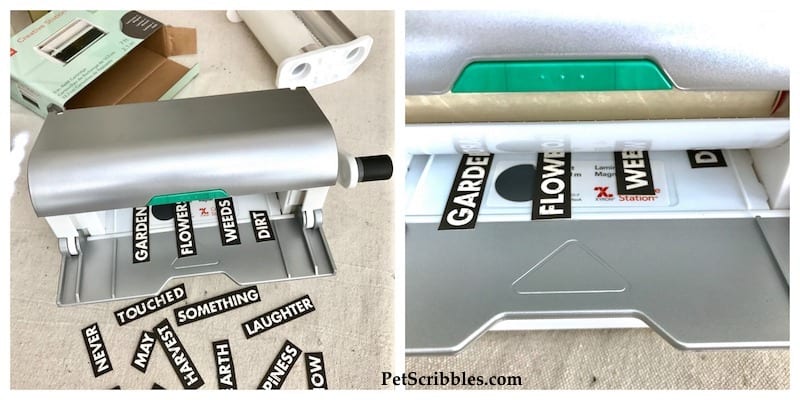
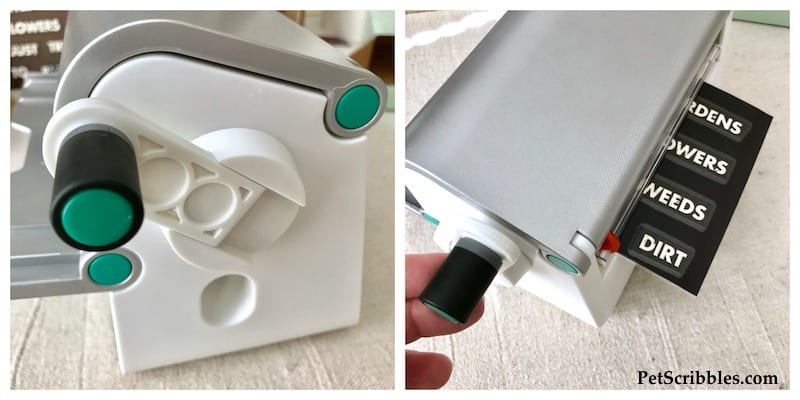
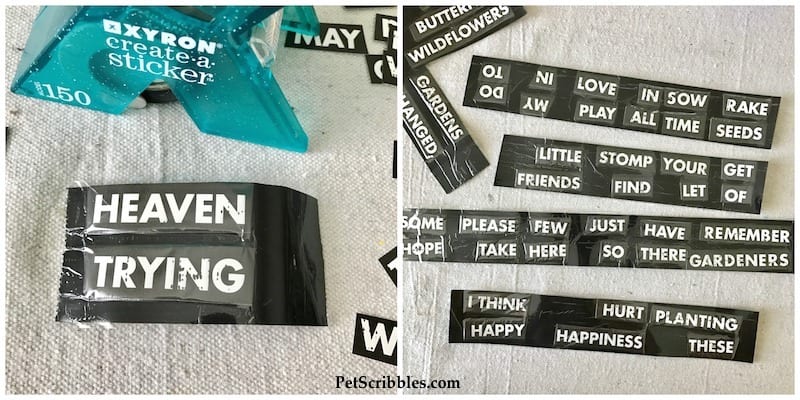
A–2: Get your words ready to insert into the machine. (below left) I like to keep some space in between each word that I’m feeding through the machine.
A–3: Gently push the words into the machine until you feel the paper sort of stop. (above right) Depending on how long or short your words are, will depend on how far you feed them into the machine. See my example, above right: the word “dirt” needed to be gently pushed in farther than the other words.
A–4: Turn the handle (below left) to feed the words through the Creative Station Lite.
As you turn the handle, you’ll see the words coming through on the other side, on a sheet of magnet/laminate paper! (below right)
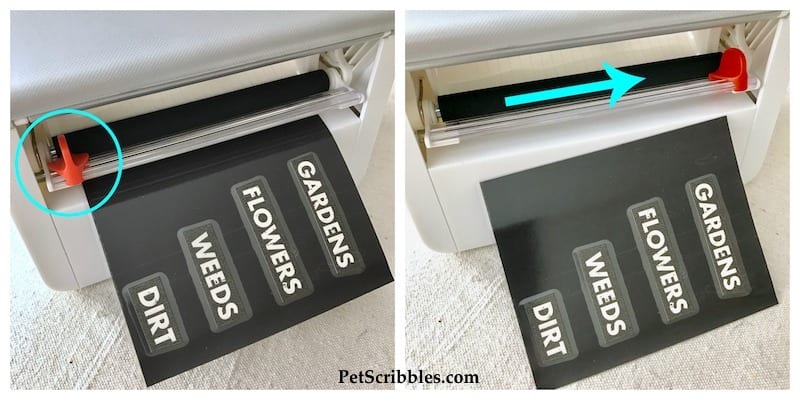
A–5: Once the words have completely come out, take the orange lever (below left) and push down while sliding the lever across. (below right) This cuts your words neatly off.
A–6: Cut out the words carefully, making sure to follow along with the edges of your previous cuts made in Step One.
And…that’s it!
I told you it was a straight-forward, simple tutorial!
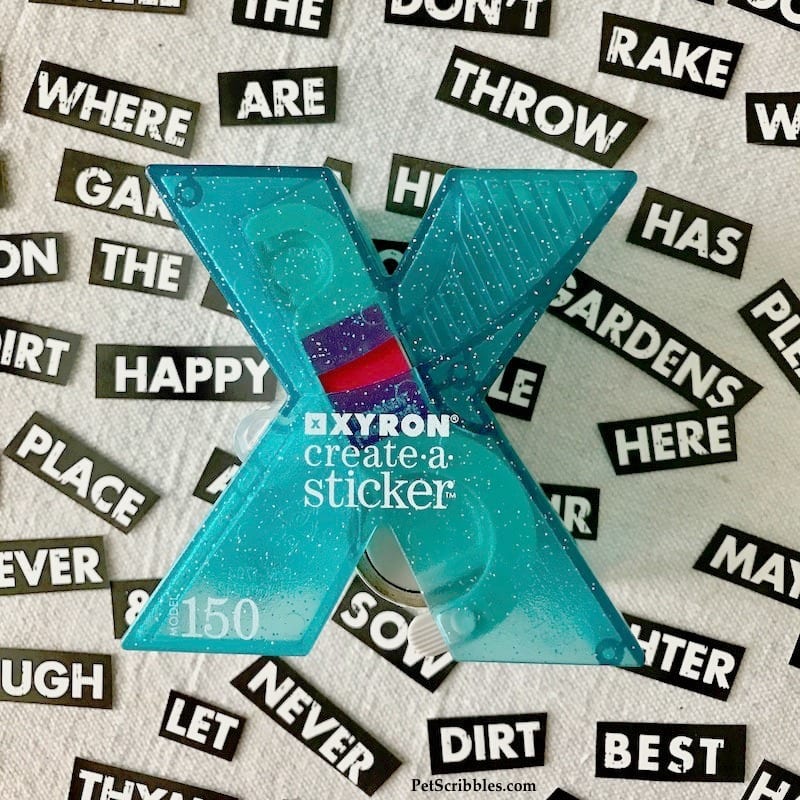
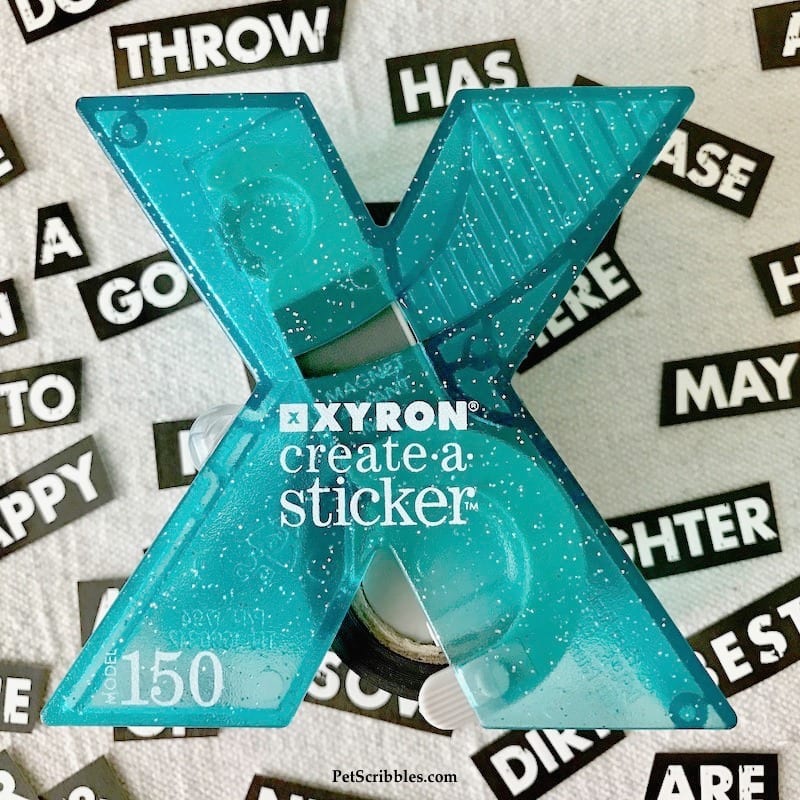
Option B: use the Xyron 1.5″ Sticker Maker
This option is great for when you have really small items, less than 1.5 ” wide. I love my Sticker Maker!
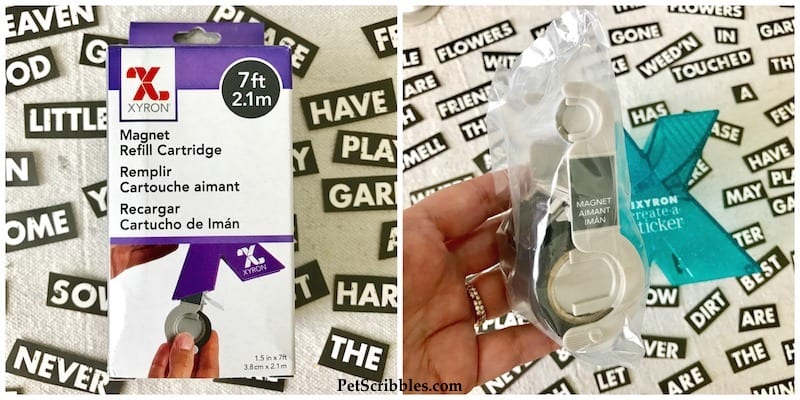
B–1: Insert the Magnet Refill Cartridge into your Xyron Sticker Maker.
Below left is what the packaging looks like, and below right is what the cartridge looks like when you remove it from the box.
The cartridge inserts the same way as the other Sticker Maker refill cartridges do.
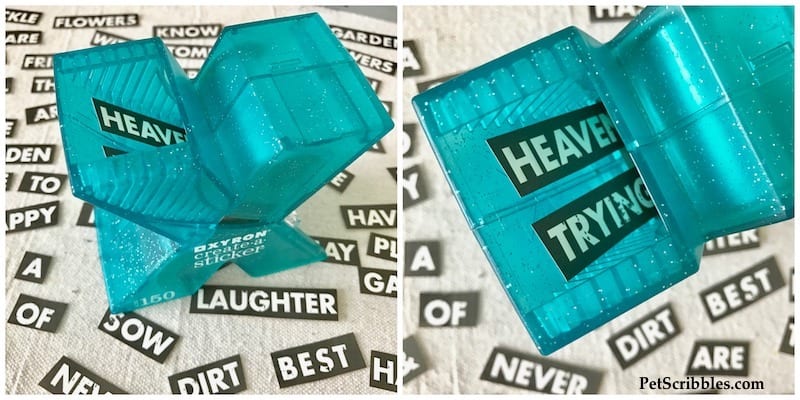
B–2: Place your word — or words, depending on how wide they are — into the Sticker Maker. (below left and right)
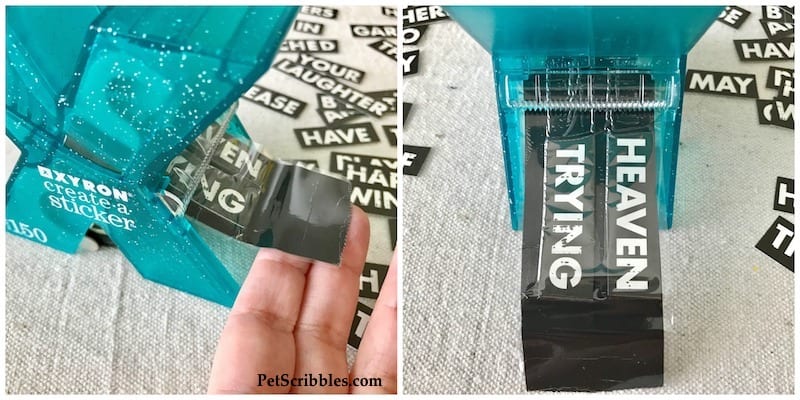
B–3: Pull on the magnet paper to bring the words through the Sticker Maker. (below left) Once they are through, simple tear them off. (below right)
You can either tear them off each time (below left) or run several words at a time before tearing them off. (below right)
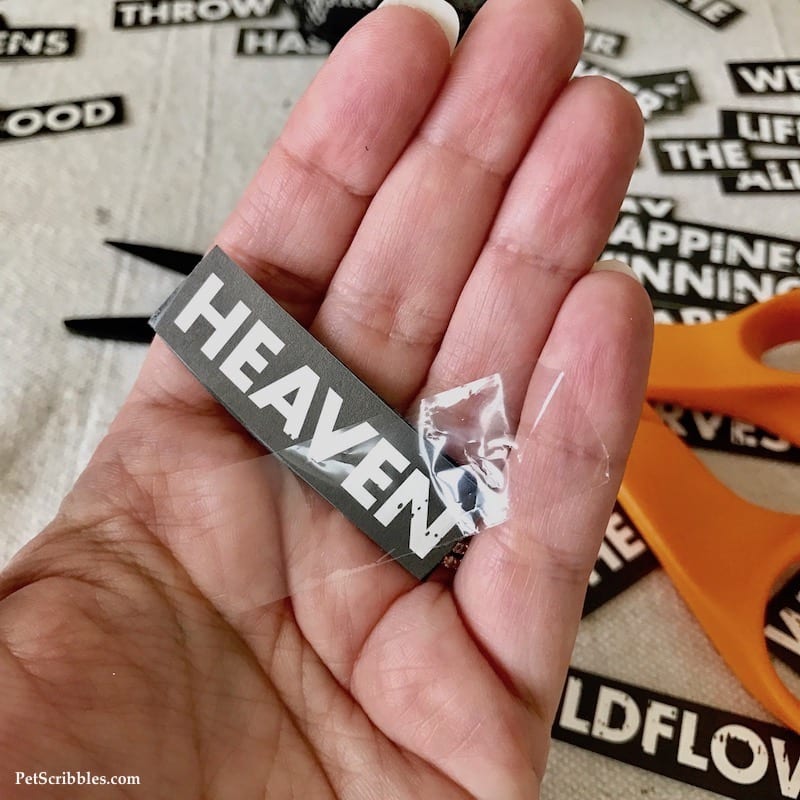
B–4: Cut out the words carefully, making sure to follow along with the edges of your previous cuts made in Step One. As you cut, the protective plastic covering will come off, leaving you with your word magnet!
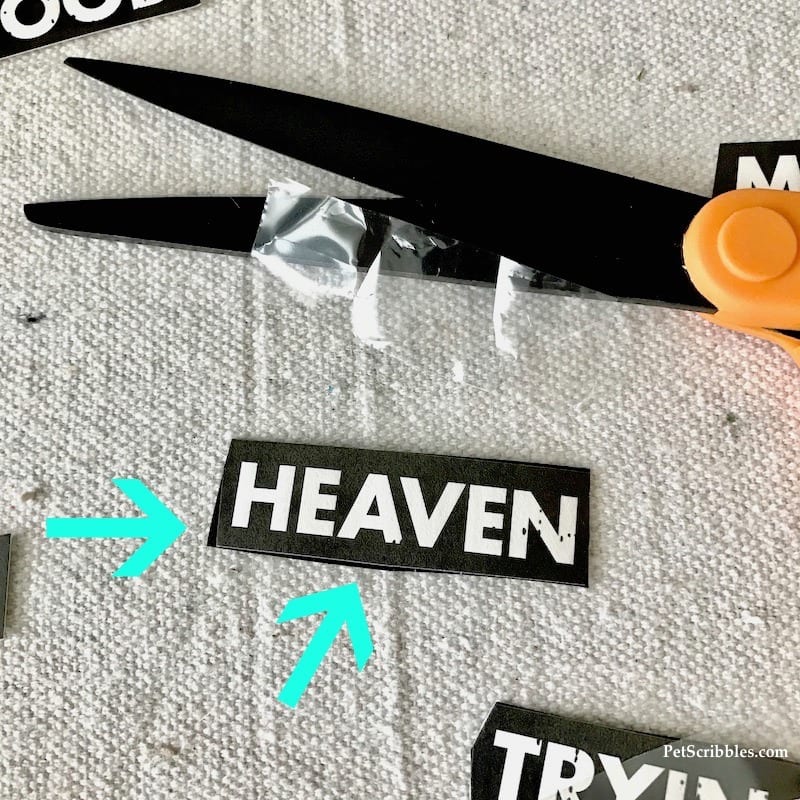
You can go back again to cut off any edges you missed the first time — like I had to do.
The arrows below show you my awesome (not!) cutting job the first time around!
What I really love about the Sticker Maker magnet paper is that there isn’t any laminate on top of your word magnets.
It’s a different look from the laminated magnets you can make with the Xyron Creative Station Lite. (You can also make laminated magnets with the larger Xyron Creative Station too.)
And now for an unhelpful tip: The magnet refills for the 1.5″ Sticker Maker are not yet in stores or sold online.
Not yet. But I promise to let you know the moment they become available!
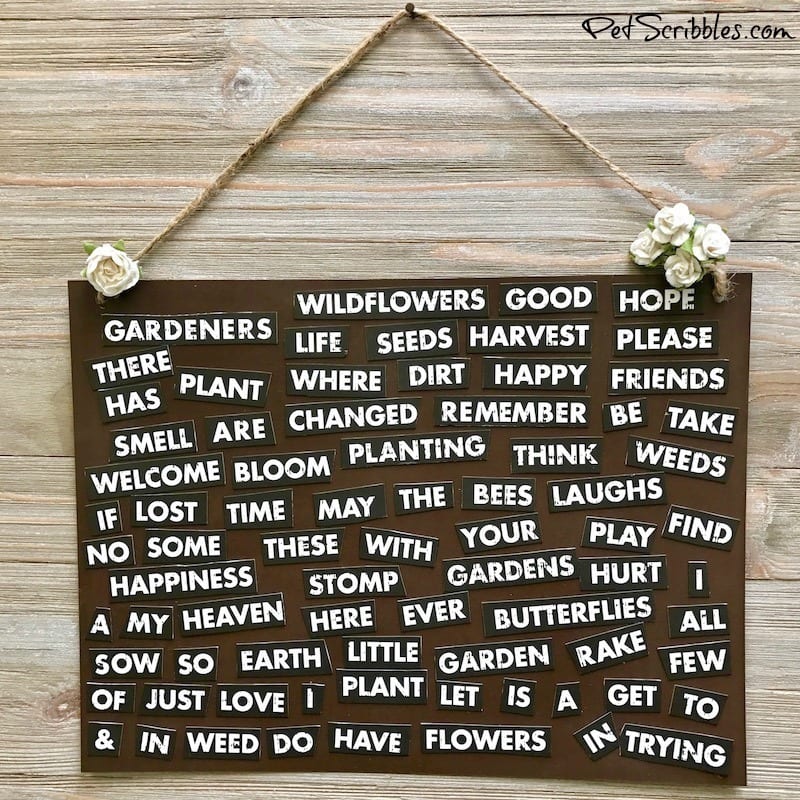
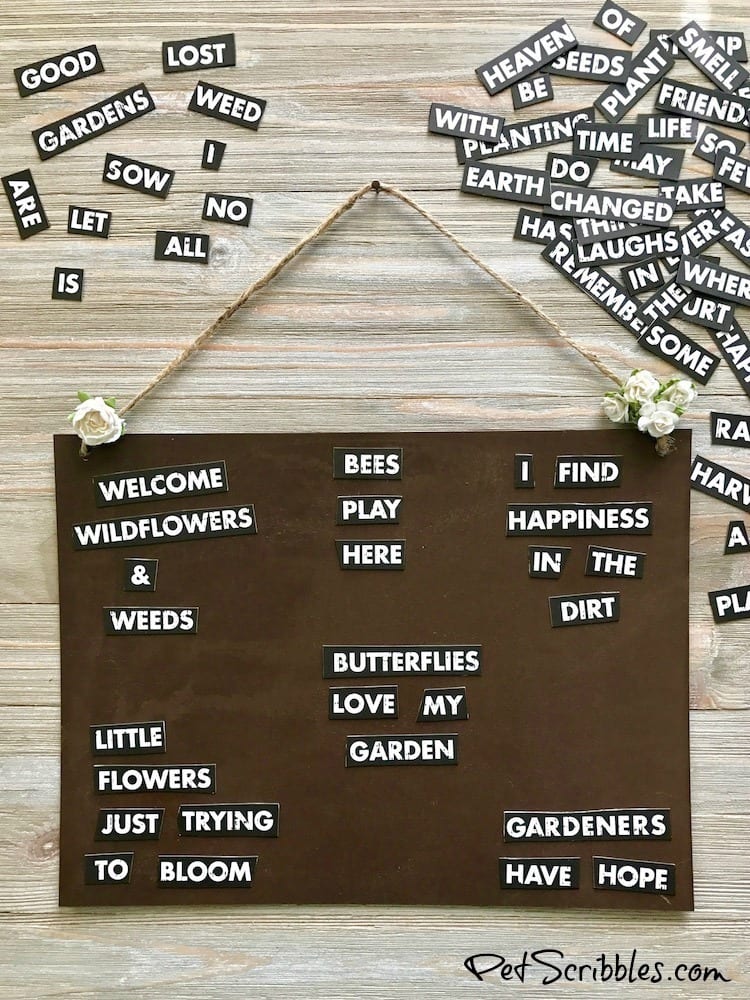
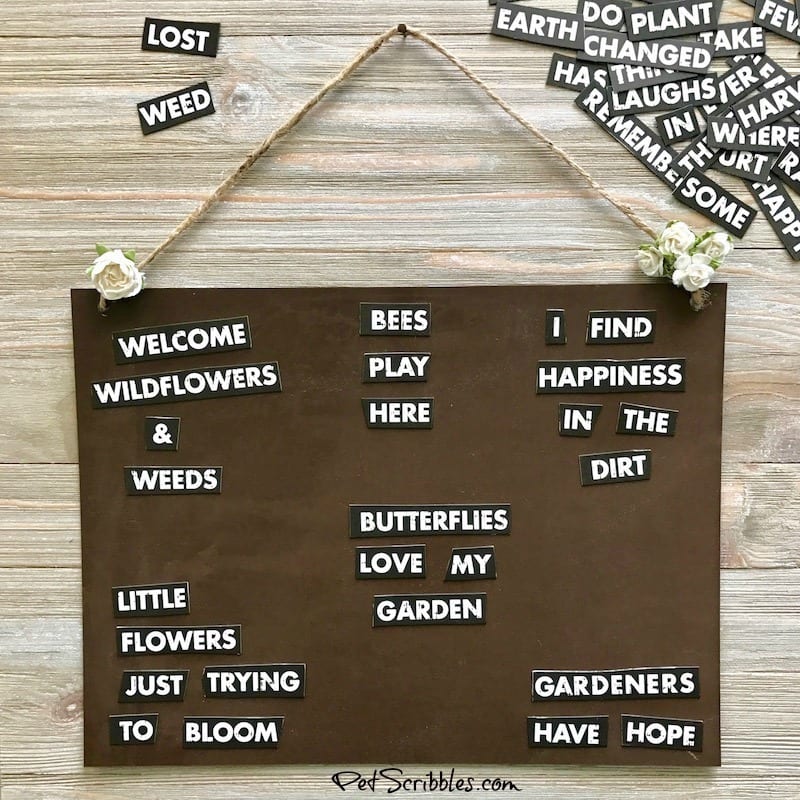
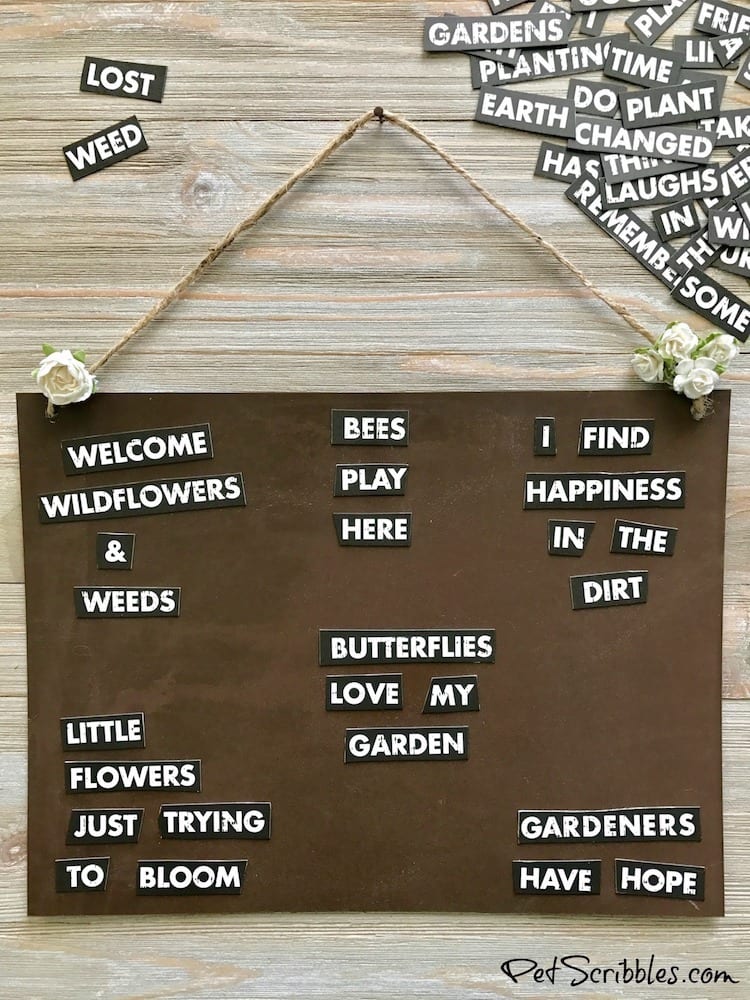
Here’s all of my rustic garden word magnets displayed on — wait for it — my rusty magnet board!
You can find the tutorial for how to make your own rusty magnet board here on Pet Scribbles.
Let the fun begin!
Now I want to create word magnets for all kinds of themes!
Want to see more magnets made the same way?
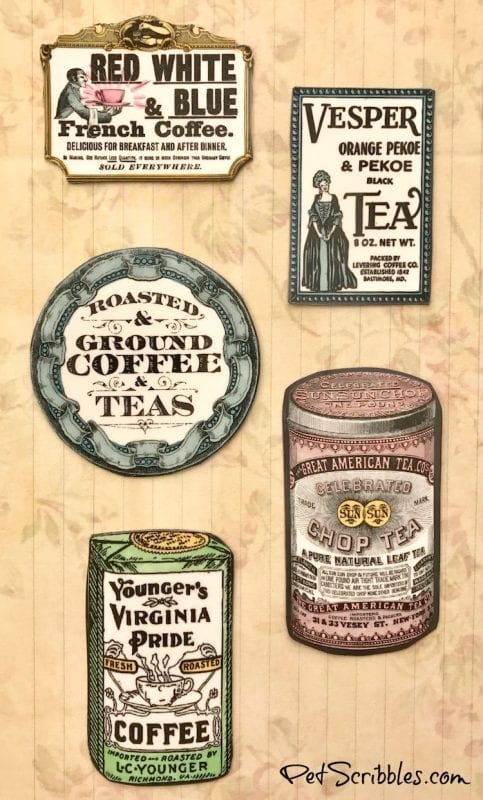
Check out my vintage style coffee and tea magnets tutorial!
Happy crafting!

Love this great idea!!! Perfect to prepare my daughter for 1st grade:) Thanks for sharing!
I have a friend who collects magnets. She would adore these!