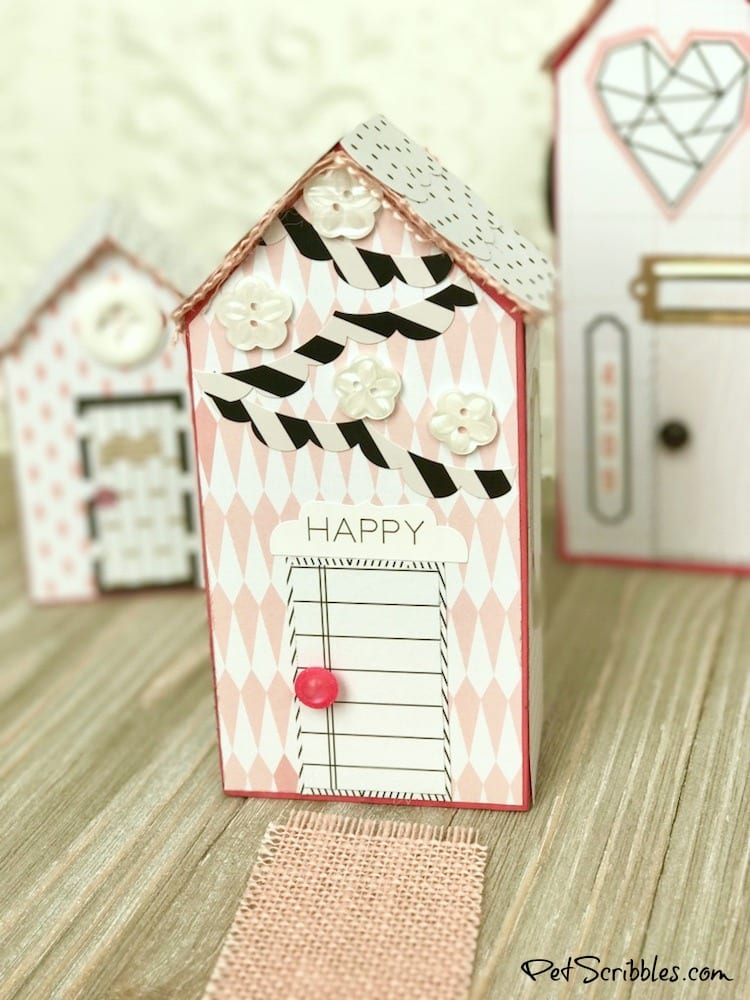
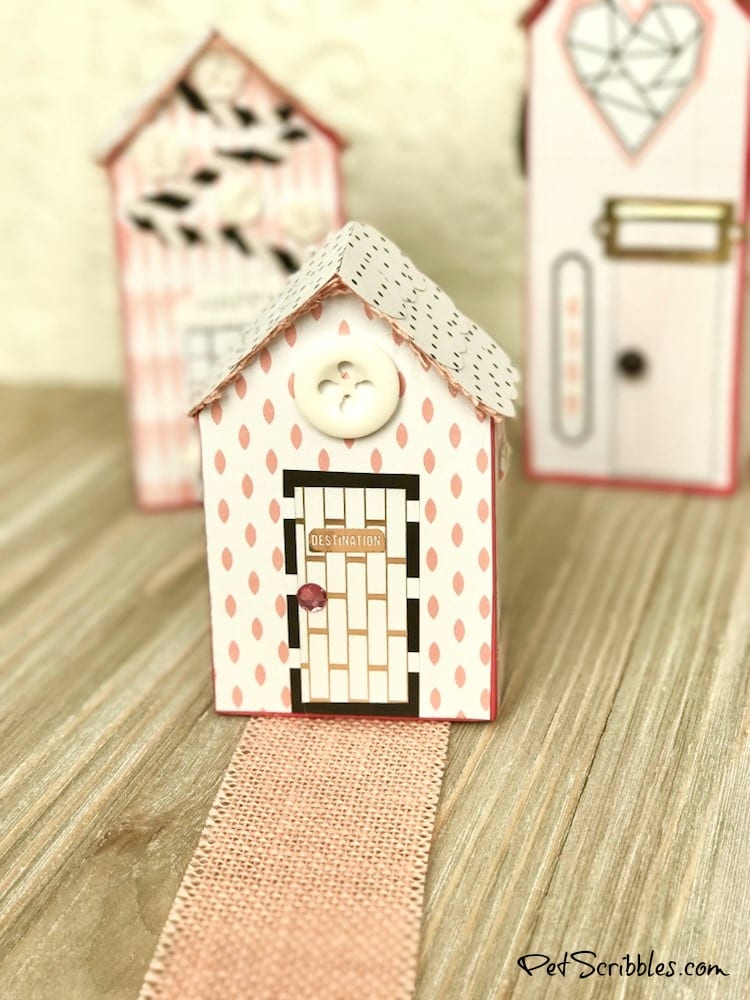
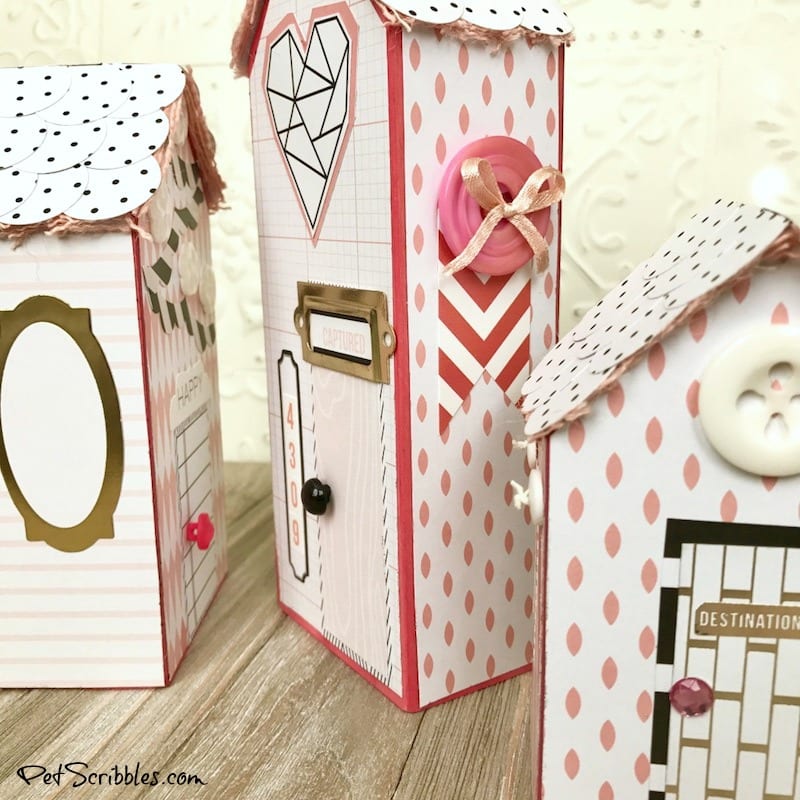
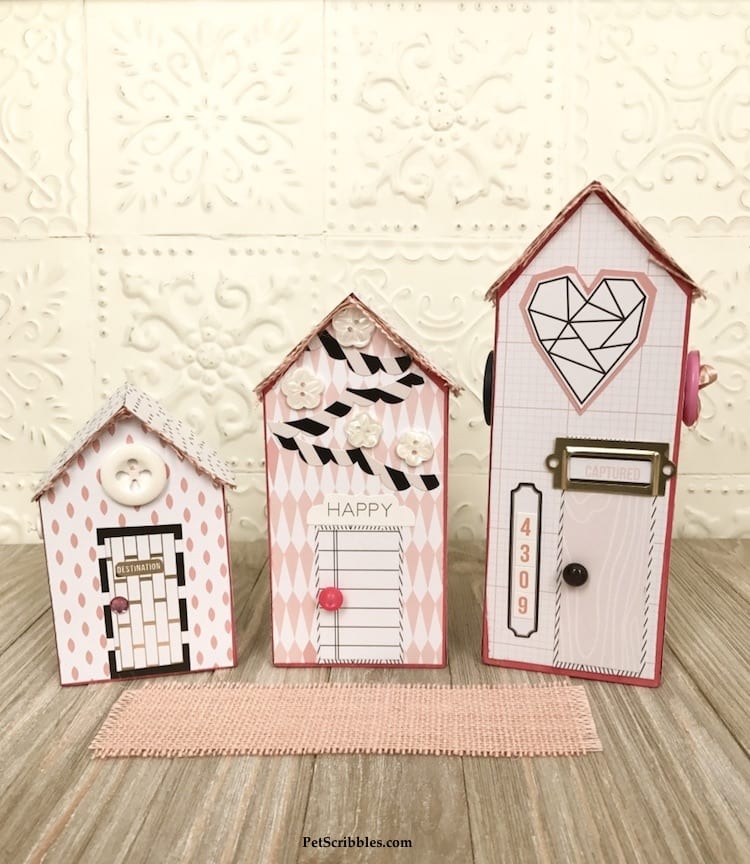
I made some little pink houses for you and me! This DIY is so much fun, using wood shapes plus gorgeous decorative papers and embellishments! Come and see!
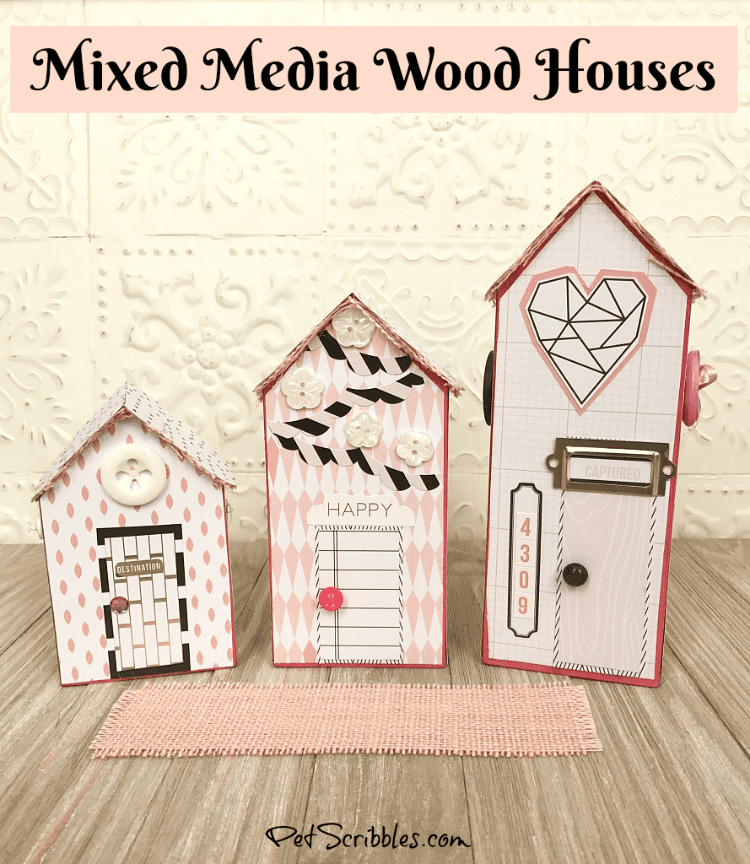
I’m excited to show you how I made my little pink houses, and yes I couldn’t resist the song. (For those of you who will have it stuck in your head for the rest of the day…I’m sorry!)
Our Xyron Design Team is partnering with Teresa Collins this week!
Yes, the Teresa Collins! I’m so excited, as I’ve admired her from afar for years.
Teresa is an extraordinary creative, with her own line of craft supplies including decorative papers, greeting cards, accessories, and even Xyron adhesive products!
Tip: Click here to stay informed for the newest Teresa Collins products from Xyron coming this Spring! Whoo-hoo! I can’t wait!
FTC Disclaimer: I’ve received products/compensation as part of the Xyron Design Team. These little pink mixed media wood houses, however, are 100% my own project! Some of the links in this post are affiliate links. I explain more here.
Supplies:
- Xyron® Creative Station Lite
- Xyron® Mega Runner
- Xyron® 1.5″ Sticker Maker
- Teresa Collins “Wanderlust” collection
- Paper Tiles 12 x 12 paper
- 6 x 6 Paper Pad
- Decorative Sticker Sheet
- Teresa Collins “Project Pink” collection
- 12 x 12 papers
- Teresa Collins “Studio Gold” collection
- Sticky Labels
- Clip Set
- Teresa Collins “Signature Essentials” collection
- Matchbook Stickers
- Teresa Collins “Glam Factor” collection
- 12 x 12 papers
- Teresa Collins “You Are My Happy” Sticker Accessory Sheet
- Scissors
- Hole punch, 1″ circle
- Pale pink burlap scrap
- Pink acrylic craft paint
- Foam brush
- Assorted trims: ribbon, string
- Assorted buttons
- Unfinished wood house shapes (3)
Whew! That’s a long list of supplies! But I couldn’t help myself, and used a little bit from quite a few of Teresa Collins’ collections, as you no doubt can tell by that list.
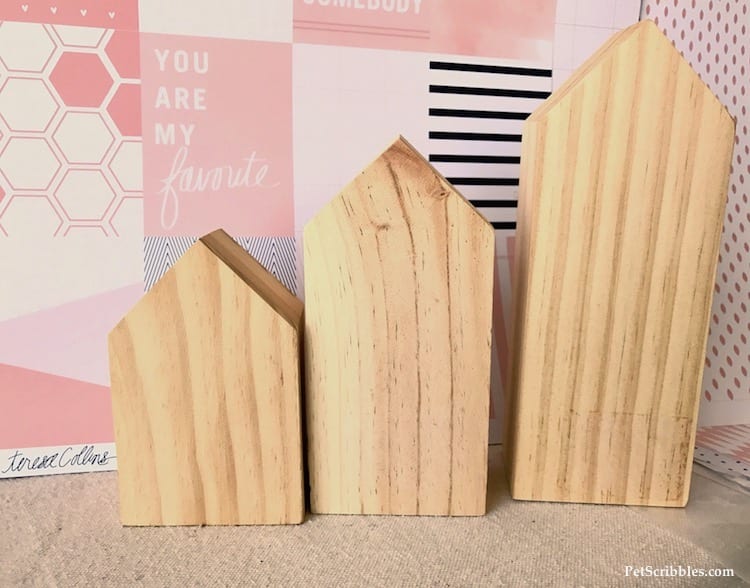
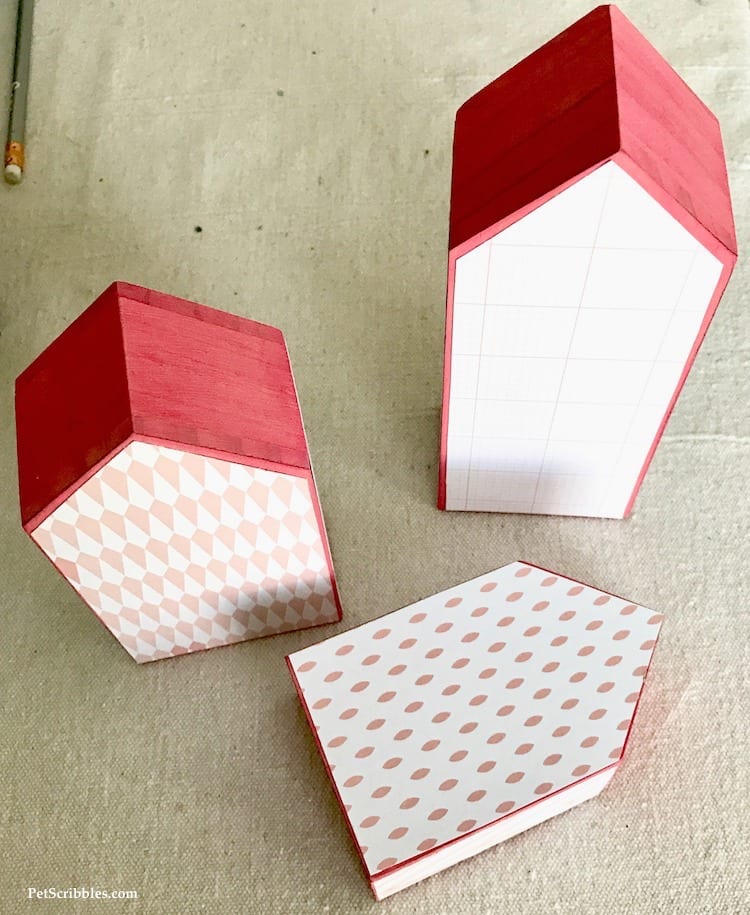
Here are the unfinished wood house shapes.
I purchased these at one of the big box craft stores, and honestly I can’t remember which one. I’m sure there are even craftier people than me who can make these shapes out of scrap wood pieces too!
Little Pink Houses for You and Me!
Step One: Give the wood pieces a light sanding and wipe with a damp cloth to remove any dust. Let dry.
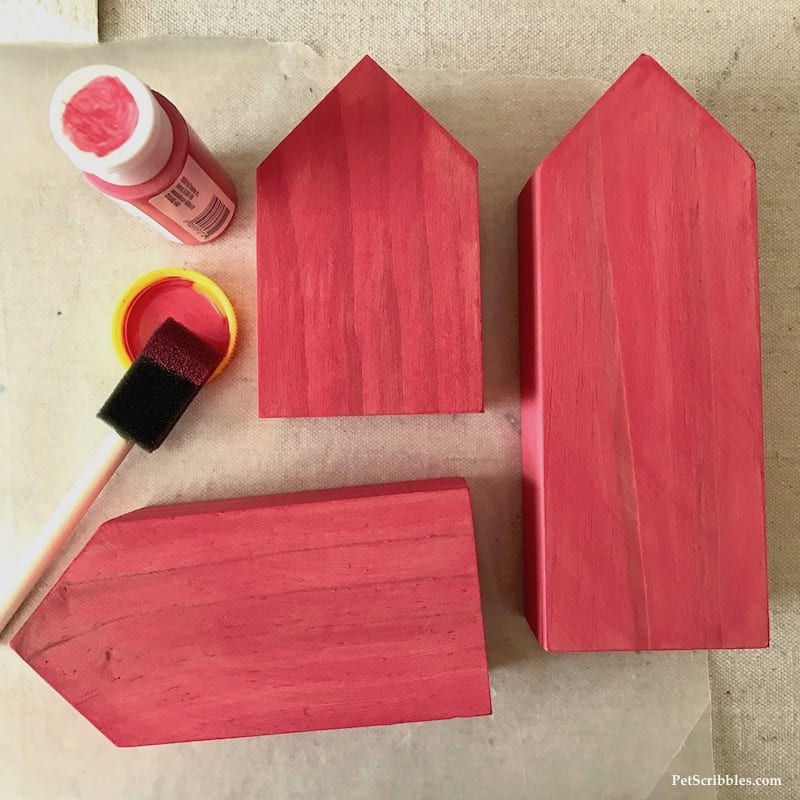
Step Two: Paint each of the wood houses with one light coat of pink acrylic craft paint. Let dry.
I like to begin with a painted base, as it provides a good surface for my Xyron adhesives to stick to.
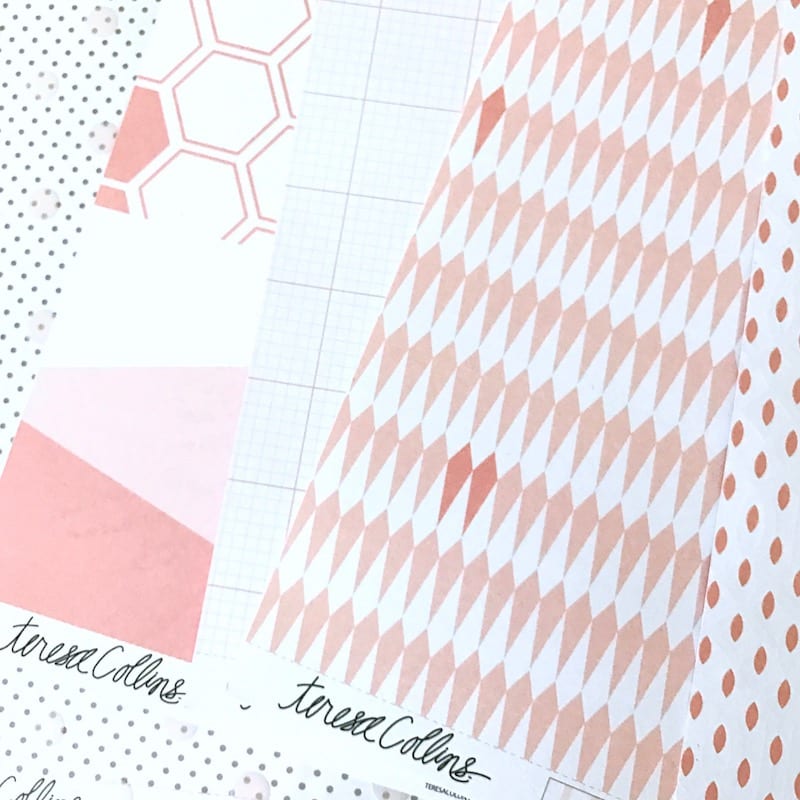
Step Three: Organize the decorative papers you plan on using for each house. Try to come up with a plan to use the the same design in some fashion on each of the houses, to give them a cohesive look.
I was drawn to so many of the pretty pink papers!
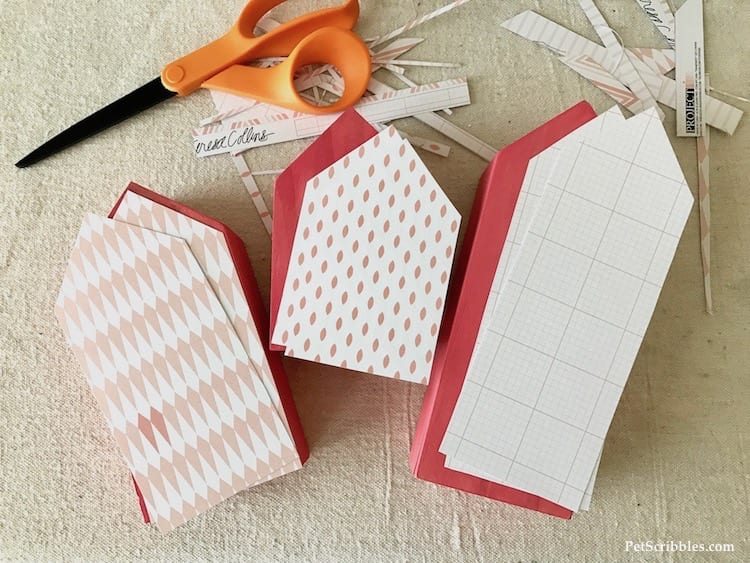
Step Four: Trace the shapes of each house onto the back of whichever decorative papers you have chosen for the front, back and sides of each house. Cut out with scissors and trim so there will be a little bit of the painted pink wood showing around the edges of the papers.
Step Five: Apply adhesive to the back of each piece of the decorative paper you cut out.
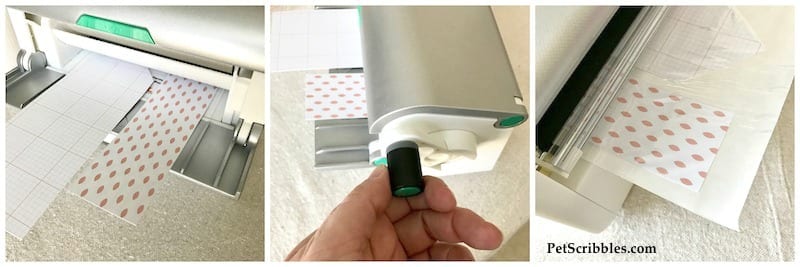
The easiest way to do this? Use the Xyron Creative Station Lite! I love this little machine because it makes such quick work out of gluing and attaching papers to your projects.
First, place your paper pieces into the tray, making sure the front edge is all the way in (above left). Turn the handle to move the papers into the machine (above middle). Your papers come out the other side now in the form of stickers! (above right)
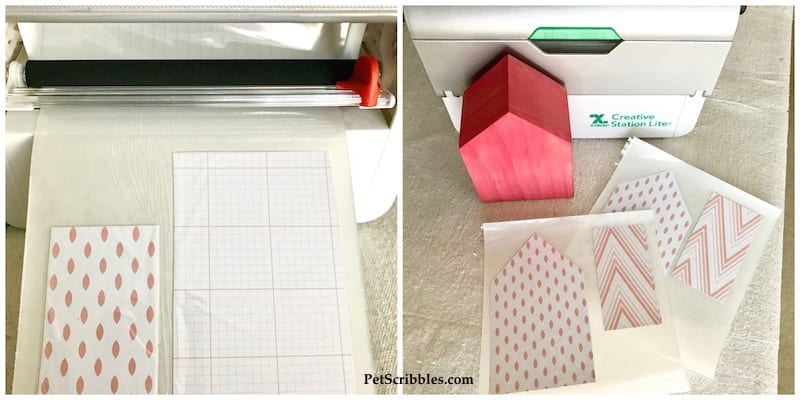
Use the orange lever and slide it across to the opposite side while gently pressing down. (above left) This cuts off your stickers. (above right)
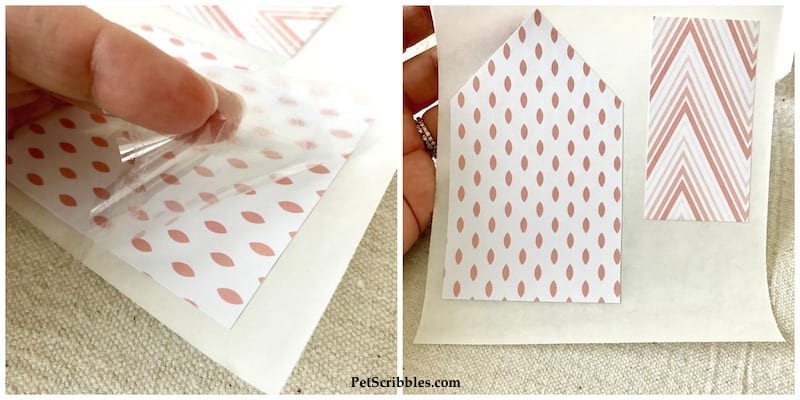
Remove the plastic covering — which is sticky — (above left) and you’ll have your decorative paper scrap looking just like it’s a sticker. (above right)
Now you’re all set to start peeling and sticking!
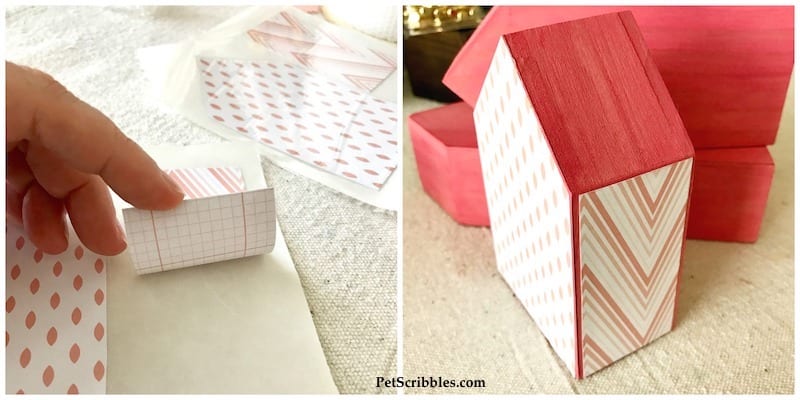
Step Six: Carefully adhere the decorative paper “stickers” to each house.
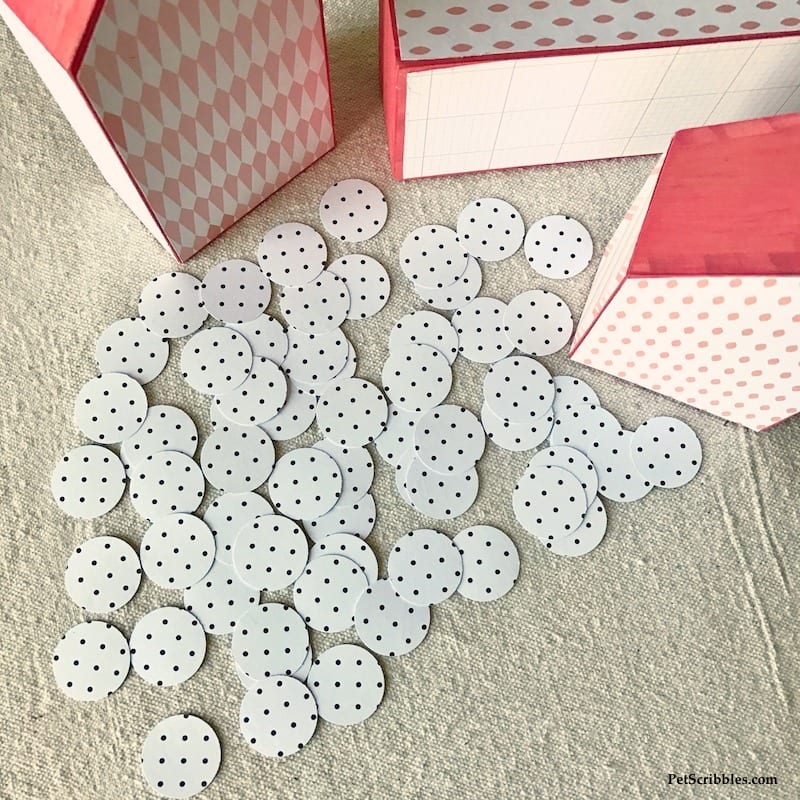
Step Seven: Punch out 1-inch circles. These will be used to make the scalloped roof for each house.
Punch out a few 1-inch circles and measure how many you’ll need to make each roof.
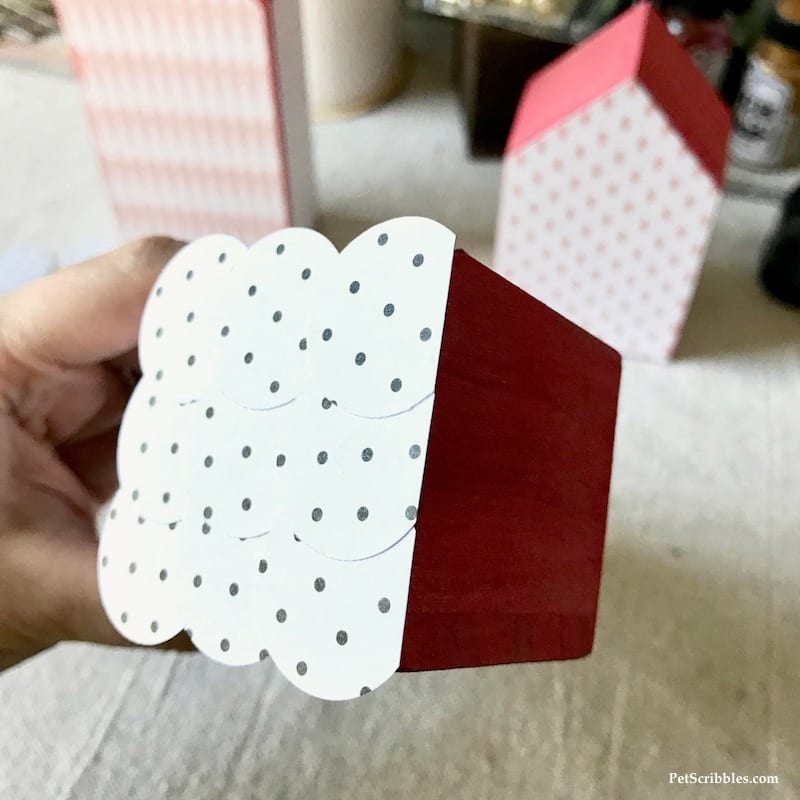
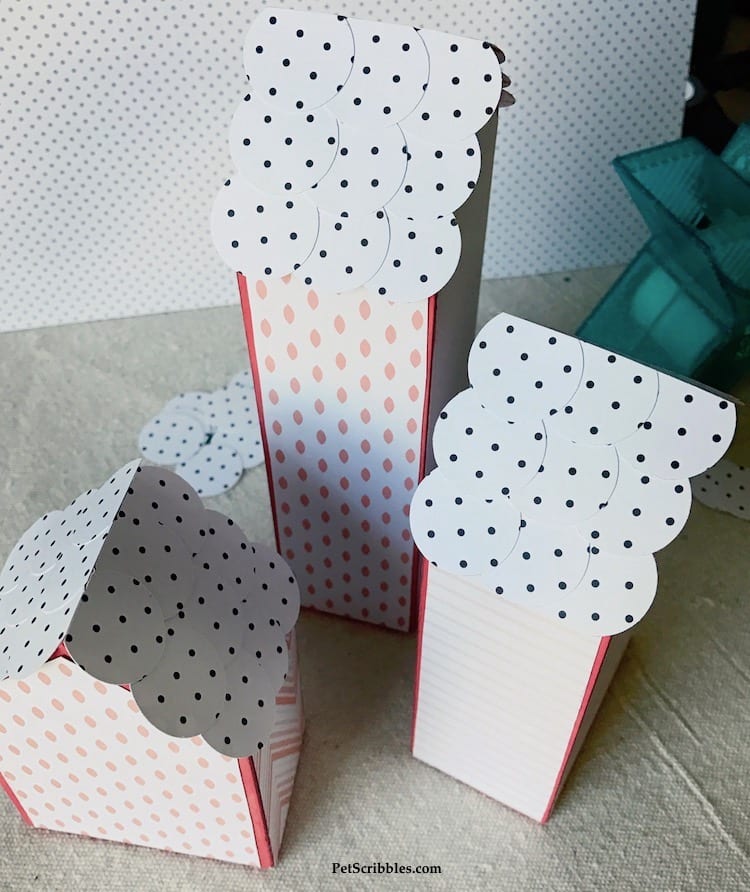
Each of my houses had the same roof dimensions, so I needed three rows of circles, each with three circles per row. You’ll leave a bit of each circle hanging over the edges of the roof.
Step Eight: Apply adhesive to the back of every circle.
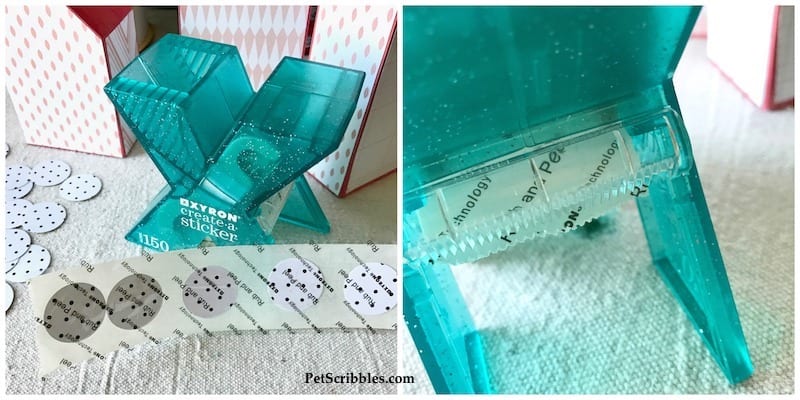
Again, here’s where Xyron comes in handy, specifically the Xyron 1.5″ Sticker Maker. This adorable little guy turns tiny elements into stickers! The sticker makers come in different widths. (I’ve had this aqua sticker maker since 2004!)
The Xyron Sticker Maker operates almost the same way as the Xyron Creative Station Lite. Same concept, except you manually rip off the stickers once they’re run through the machine, versus having an orange lever thingy to move back and forth.
Step Nine: Attach the paper circle “stickers” to the roof of each house, using three circles per row…three rows total each side.
When you have one side completed, trim off the excess from the very top of the roof with scissors to make the edge flush with the pointed roof. (see example above)
Add circles to the other side of each house and again, trim the excess from the very top of the roof.
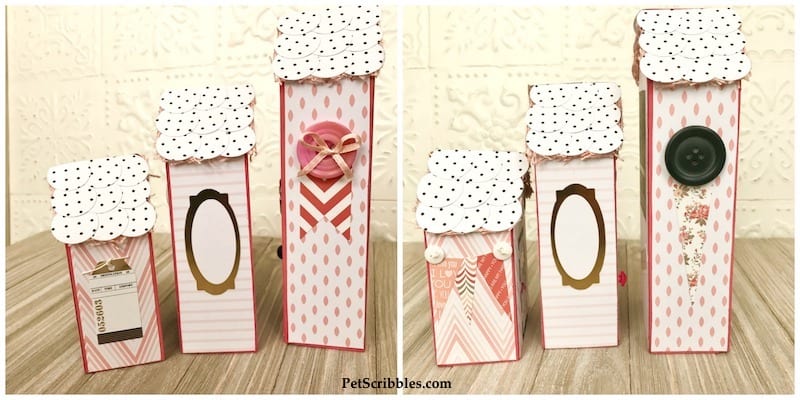
Here is what my scalloped roofs look like:
Note: You may be wondering what to do with the adhesive on the underside of the circles which are hanging over the edges of each house. I’ll explain that shortly!
Step Ten: Decorate your houses!
Seriously, this is the most fun! You could spend hours and hours doing this. How do I know? Because I did!
I used my Xyron Mega Runner to adhere some of the embellishments like buttons. It’s a fantastic tape runner, with 100 feet of permanent adhesive. The adhesive is actually lots and lots of tiny little dots of adhesive.
This means that if you’re using the Xyron Mega Runner on a piece of lace, for example, the dots won’t stick anywhere except on the bits of lace. No worries about adhesive coming through the openings in your lace. Love that feature so much!
I had so much fun using various stickers from Teresa Collins on each house too. I used them as windows and as door transoms.
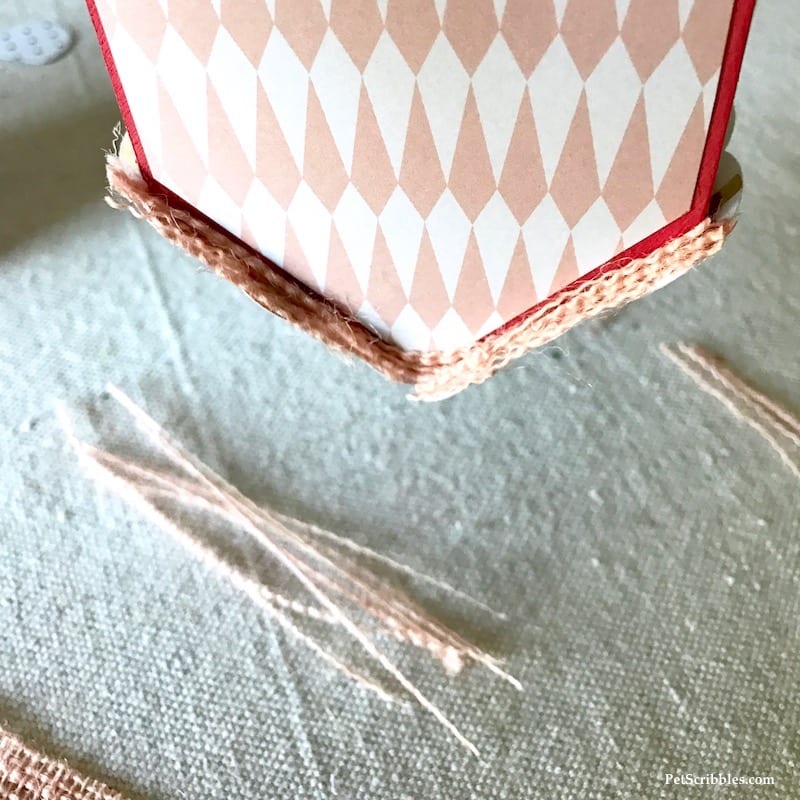
On the underside of the scalloped roof overhang of each house — which had sticky adhesive on it — I attached strands of burlap in various lengths.
The doors on each house were made by layering two decorative papers, run through the Xyron Creative Station Lite.
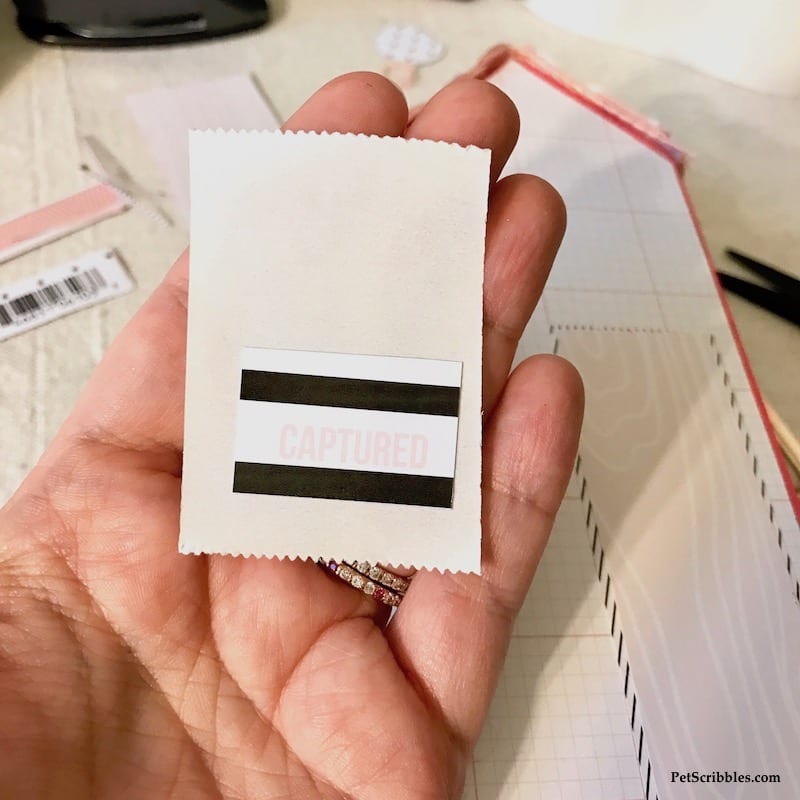
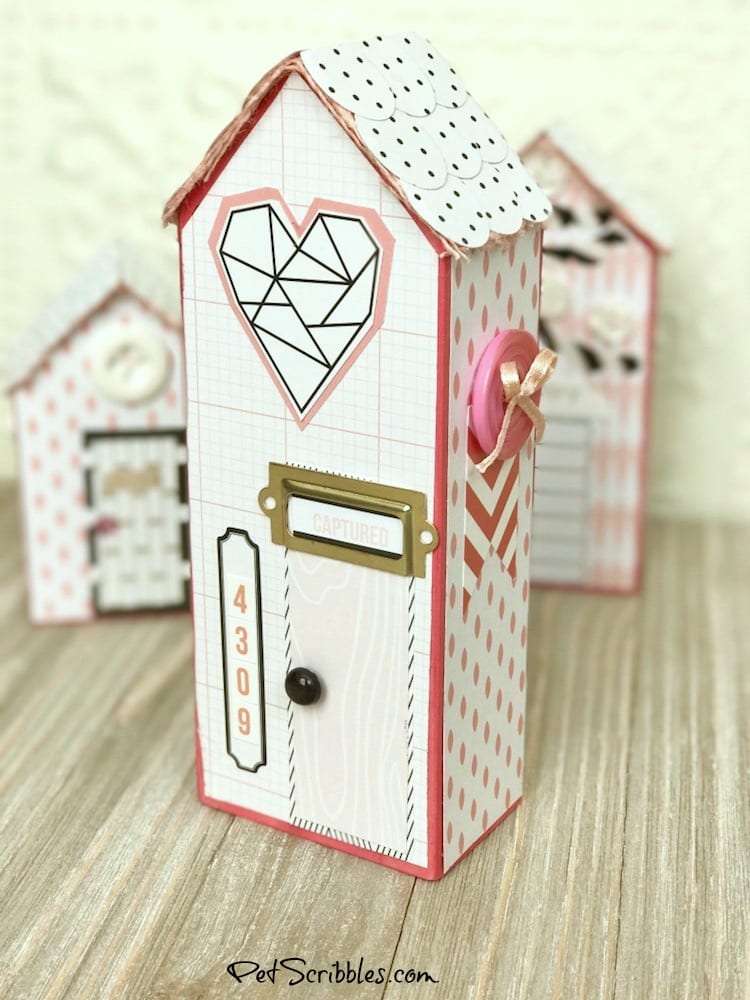
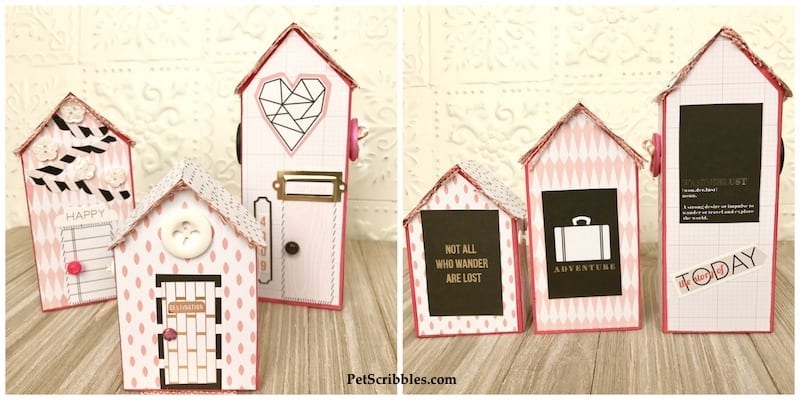
As I was going through the papers, I saw the word CAPTURED on one of the decorative papers in the palest of pink. I thought it was perfect to insert in the “transom” of the door to the large house.
The large house also got a decorative button as the door knob, some house numbers, as well as a large button and matching stickers on the sides.
The middle house has a “happy” sticker as the door’s transom, with a bright pink button for the door knob. I used Teresa Collins stickers for the ribbon-like banner on the front, and added flower buttons. Each side got a “window” which was a sticker.
The small house has a sign on the front door: Destination. A pink flat-backed gem is the door knob, and a white button is the upper-story window. One side of the house has a travel ticket sticker with string wound through it, while the other side has “hanging” pennants, that look like they’re attached with two small buttons with string.
. . . front and back of houses . . .
On the back of each house I kept it simple, as most likely nobody is going to really see the backs of the houses when I have them displayed. I cut out some sayings and quotes from the Wanderlust 6 x 6 Paper Pad, ran them through the Xyron Creative Station Lite, and attached them to each house.
I thought the largest house needed something else below, so I cut one of the Teresa Collins stickers to make it shorter (to fit) and gave it a banner edge with two quick snips.
. . . both sides of houses . . .
. . . love the 3D elements on each house . . .
I had so much fun creating my little houses. I like to think of our own home as our refuge from the rest of the world. So I had fun adding words like “adventure” and “wanderlust” and “destination” because at the end of the day — even when we wander and travel and go on fun adventures — it’s always nice to return home.
Know what I mean?
Teresa Collins — you gotta check her out!
Yes, I’m a fan! But I swear just spending a few minutes on her website and blog — in case you’re not already familiar with her — will have you smitten too.
You can find her products online via her website, as well as on HSN and Amazon, and via Xyron. Teresa’s products are also carried in major craft stores.
And as I mentioned earlier, there’s a new line of Teresa Collins products coming to Xyron this Spring! I can’t wait to see them and promise I’ll keep you posted!
Happy crafting!
~Laura

