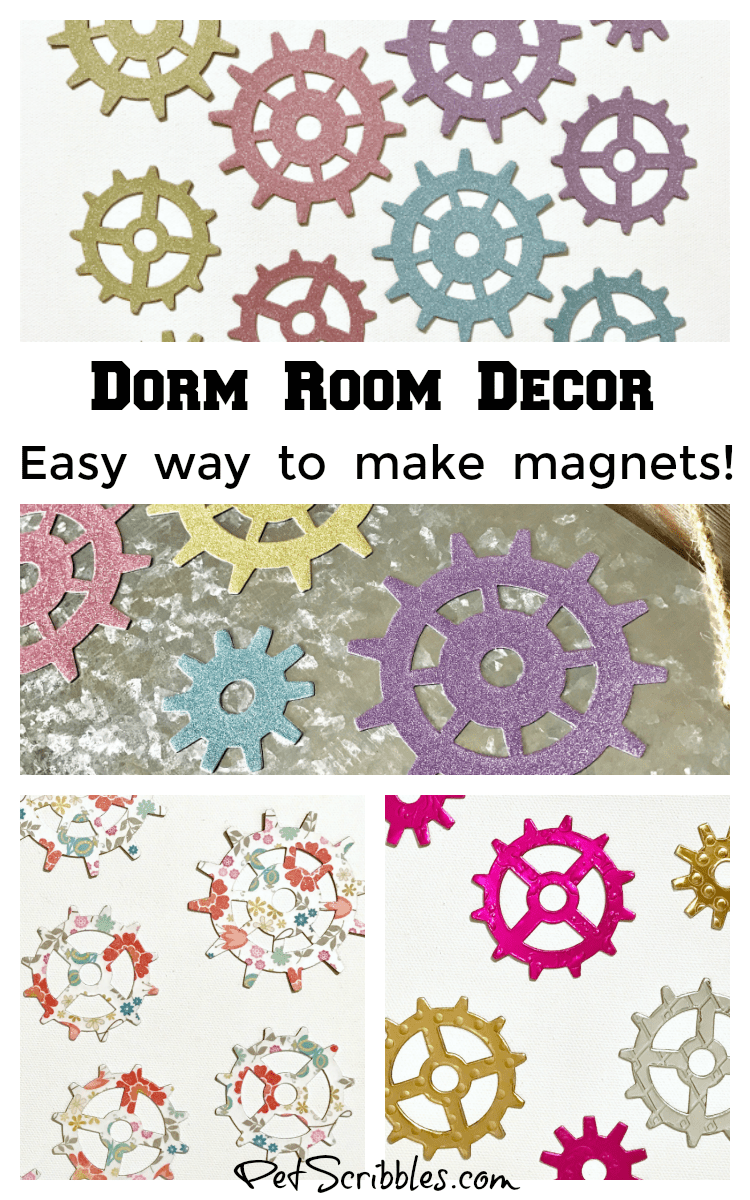
Let’s make some creative dorm room decor: an easy way to make pretty magnets! This is a simple project you can alter in so many different ways to personalize it for your favorite college student!
Have your kids gone back to school yet?
This week, our Xyron Design Team is making all kinds of creative projects perfect for starting off the school year in style!
There’s so many DIYs on Pinterest for back-to-school gift ideas for teachers and students…but what about a fun gift idea for a college student’s dorm room decor?
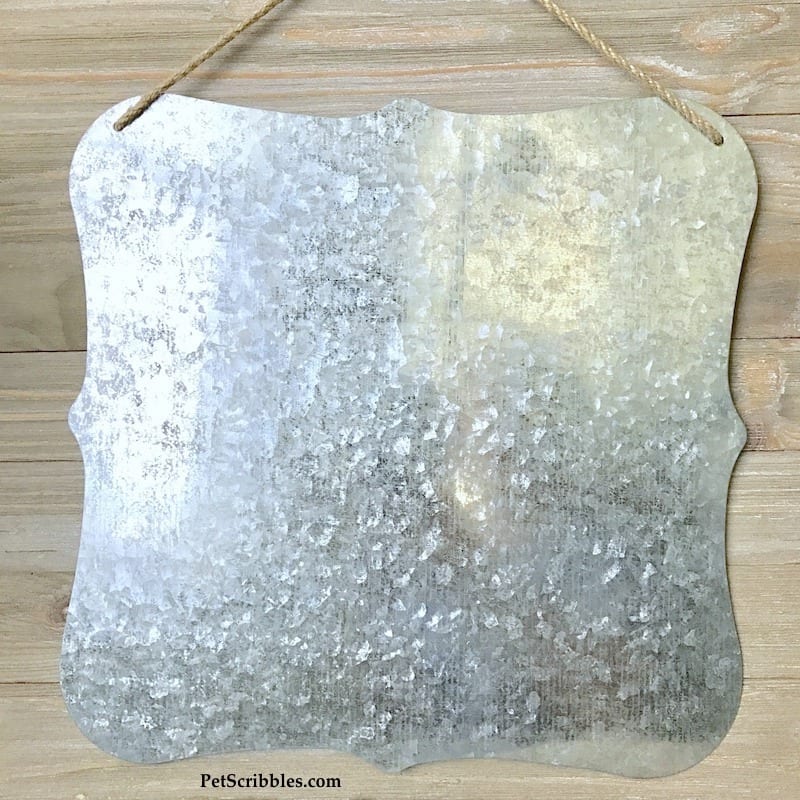
I got this idea when I was at Walmart recently and spotted this inexpensive magnet board:
I love making gifts that are useful as well as decorative, so that’s how my idea of dorm room decor: an easy way to make pretty magnets was born!
This Summer, I’ve shared a few magnet projects here on Pet Scribbles, all easily made with Xyron products.
The twist on today’s tutorial?
These magnets are pretty and sophisticated — perfect for the college girl’s dorm room decor!
And for guys? Just choose masculine cardstocks and you can do this exact same tutorial.
FTC Disclaimer: I’ve received products/compensation as part of the Xyron Design Team. This tutorial for pretty magnets, however, is 100% my own project! Some of the links in this post are affiliate links. I explain more here.
Supplies:
- Xyron® Creative Station Lite
- Xyron® Laminate/Magnet Refill Cartridge, 5″
- Pretty cardstock in florals, glitter, foil, etc.
- Diecut machine (I used my Sizzix Big Shot)
- Tim Holtz Gadget Gear Dies
- Swingline Paper Trimmer
- Scissors
- Bone folder
Dorm Room Decor: an easy way to make pretty magnets!
Tutorial:
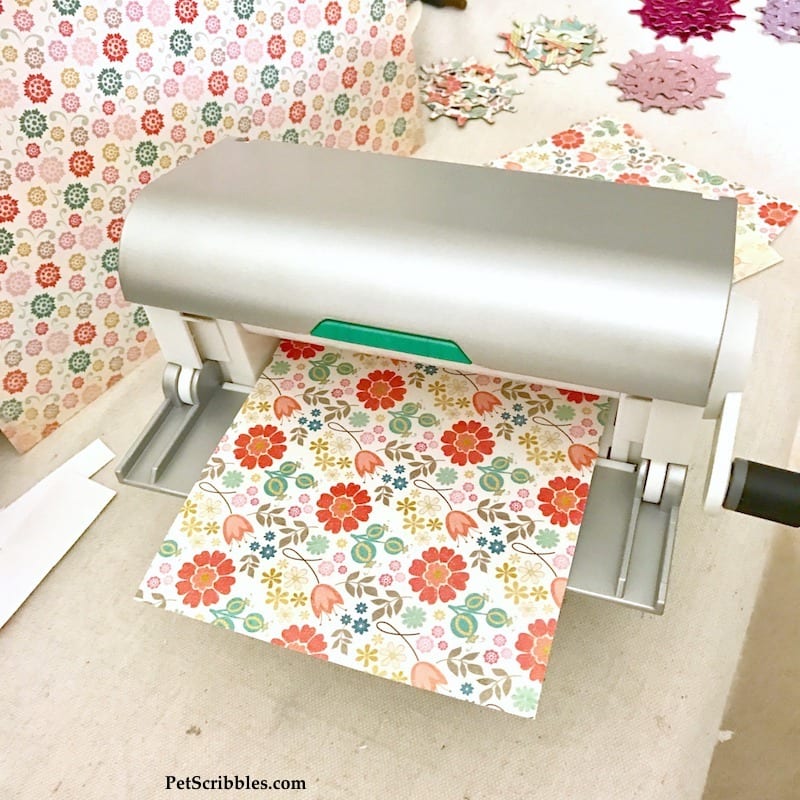
Step One: Using the Swingline Paper Trimmer, cut decorative cardstock down to a size that can fit through your die-cutting machine.
(I mention the Swingline model, in particular, because it cuts multiple sheets at once! Love how fast this step is!)
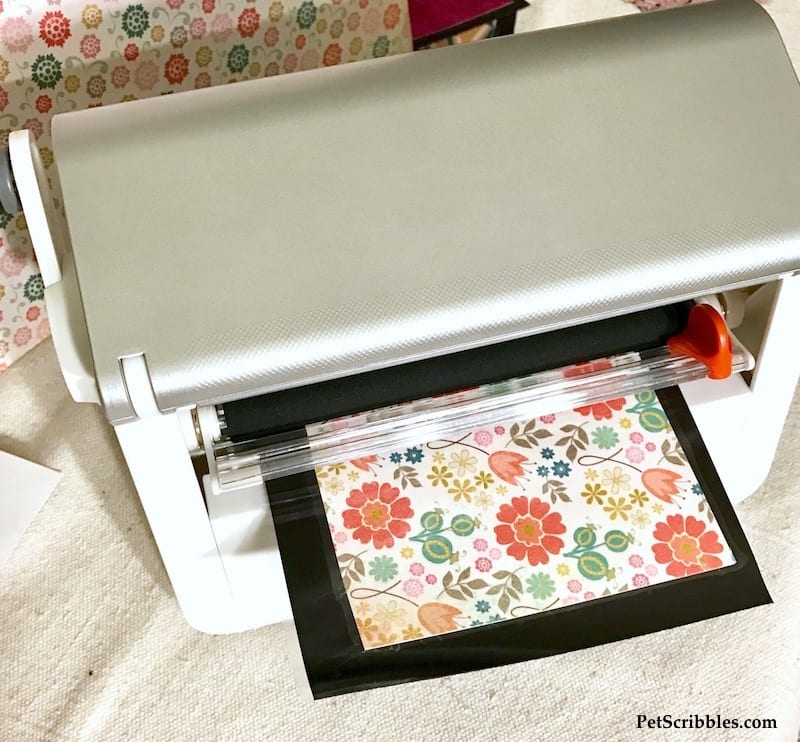
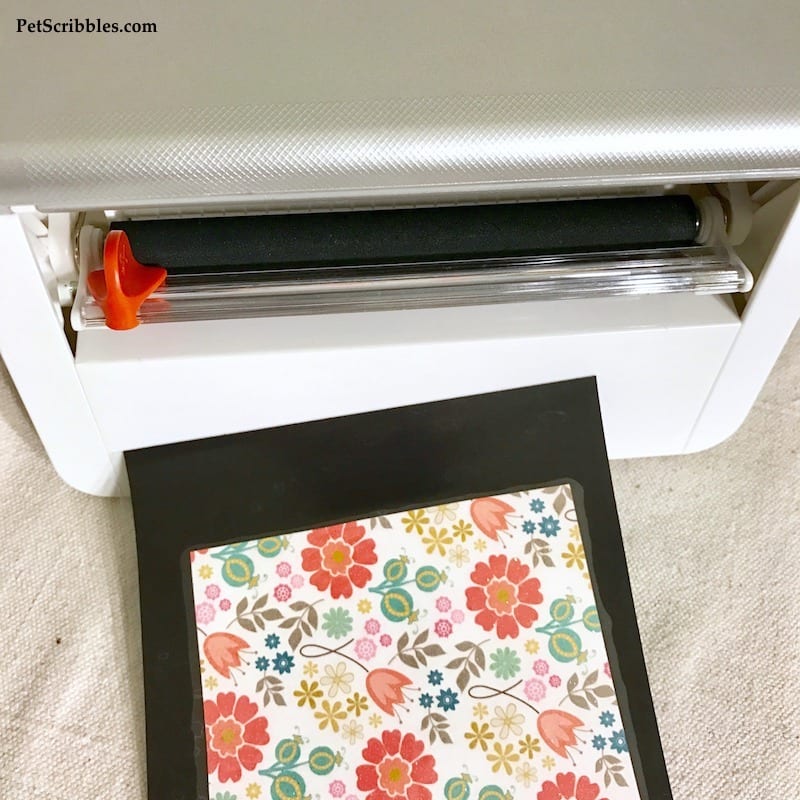
Step Two: Run your decorative cardstock through the Xyron Creative Station Lite, using the Xyron Laminate/Magnet Cartridge.
Helpful tip: It’s easy to switch out the cartridges in the Xyron machines. Click here to see my step-by-step on how this is done.
Place the cardstock into the machine and gently push until you feel it stop moving. (Do this gently!)
Turn the handle to move the cardstock through the machine. The cardstock comes through turned into a laminated magnet!
It’s magic!
Use the orange lever and slide to the opposite side, in order to easily cut off your magnet.
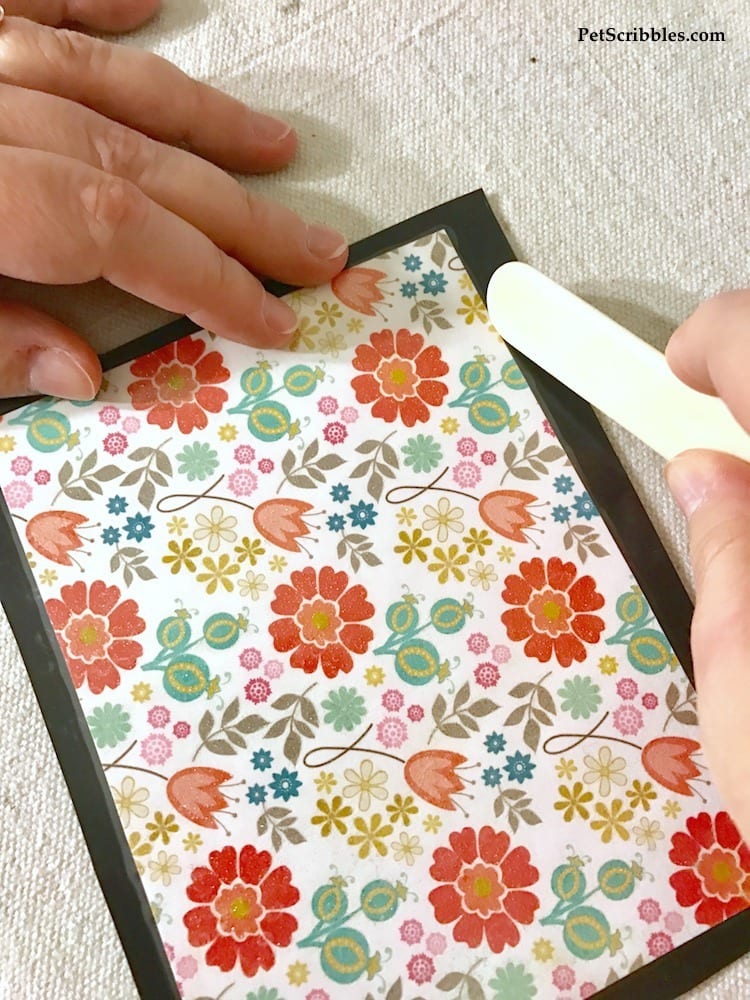
Use a bone folder or other sharp edge to press down around the edges of the cardstock. This is optional, but helps to make sure there’s a clean line around your magnet.
Step Three: Using your die cutting machine of choice, cut out some fun gear shapes in different sizes.
I used the Tim Holtz Gadget Gear Dies. There are three gears in different sizes, and you can use these for so many different projects!
And again — for guys — these gears also work perfectly. Just choose cardstocks they’ll love.
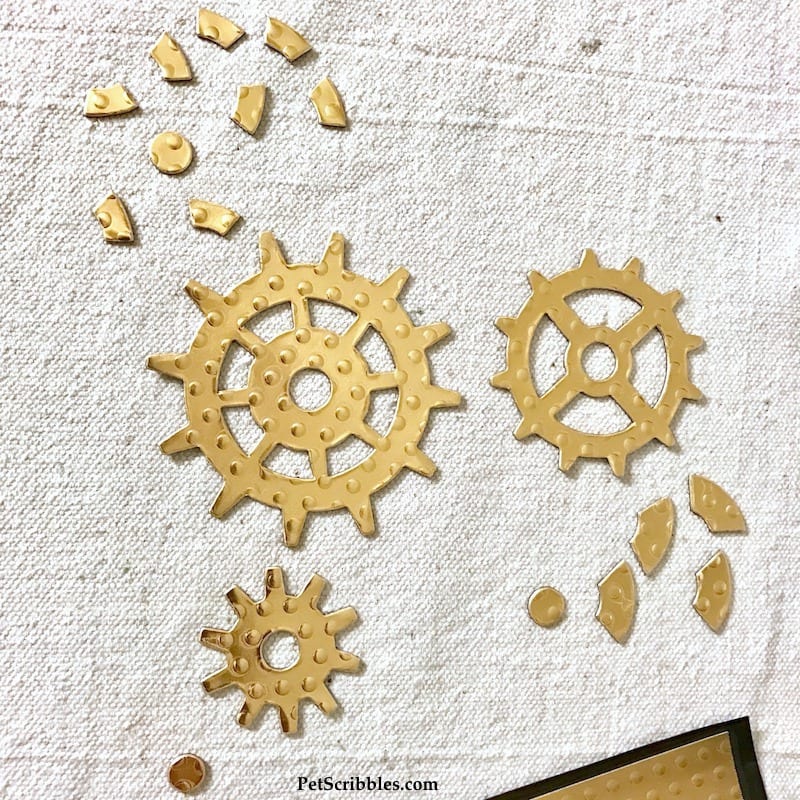
Once you have your cut-out shapes, all that’s left to do is punch out the excess parts with your fingers.
You can see below how many pieces I easily removed from each gear. Not many at all!
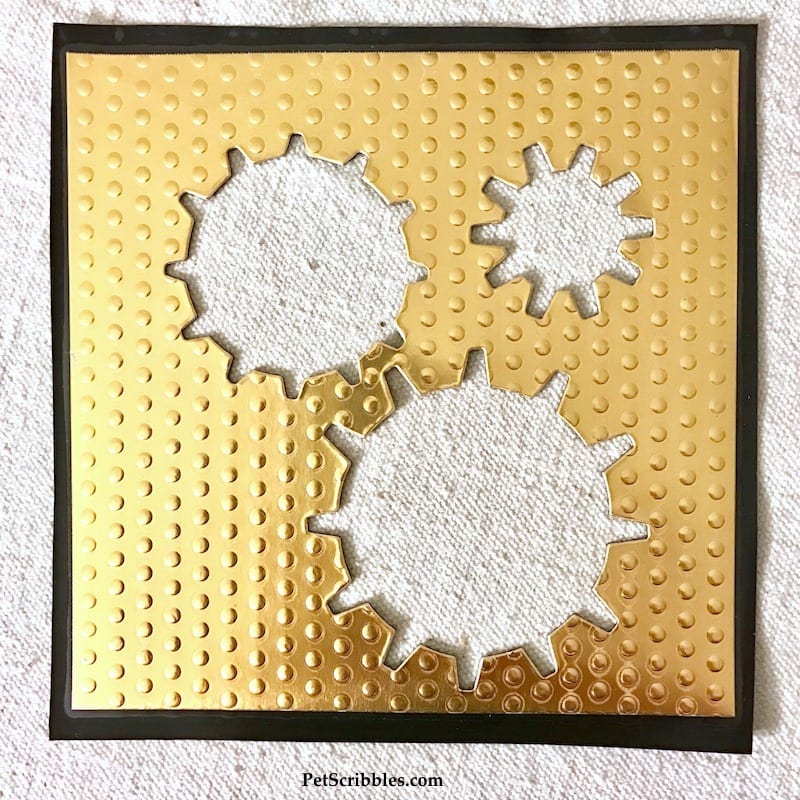
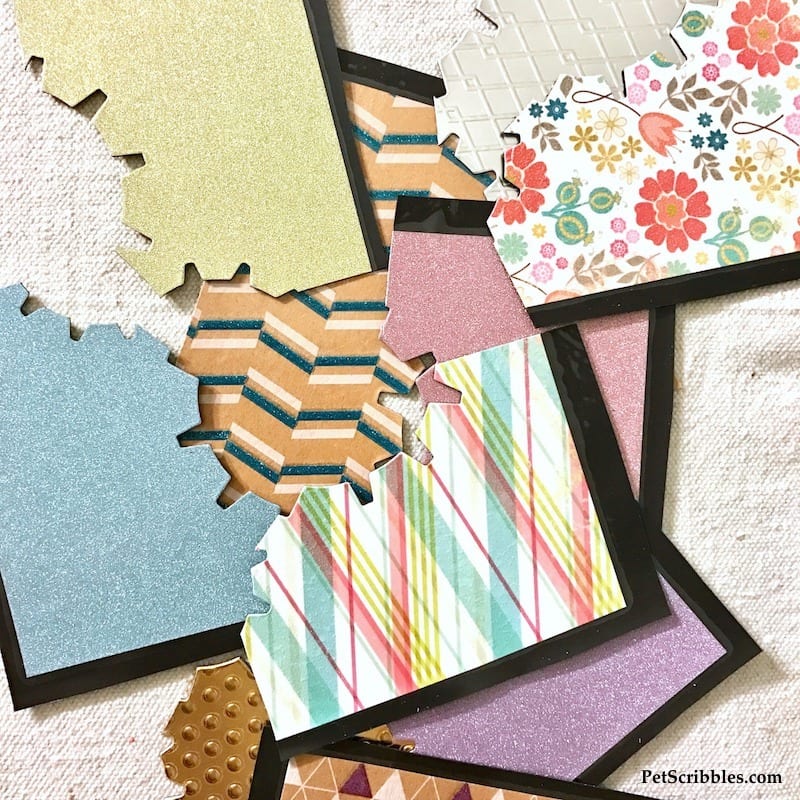
And here’s what the leftover laminated magnet cardstock looks like:
Helpful tip: Save all of your leftover laminated magnet pieces (above and below). These may come in handy for other projects used with other dies!
And now you have pretty magnets for dorm room decor — and to keep organized too!
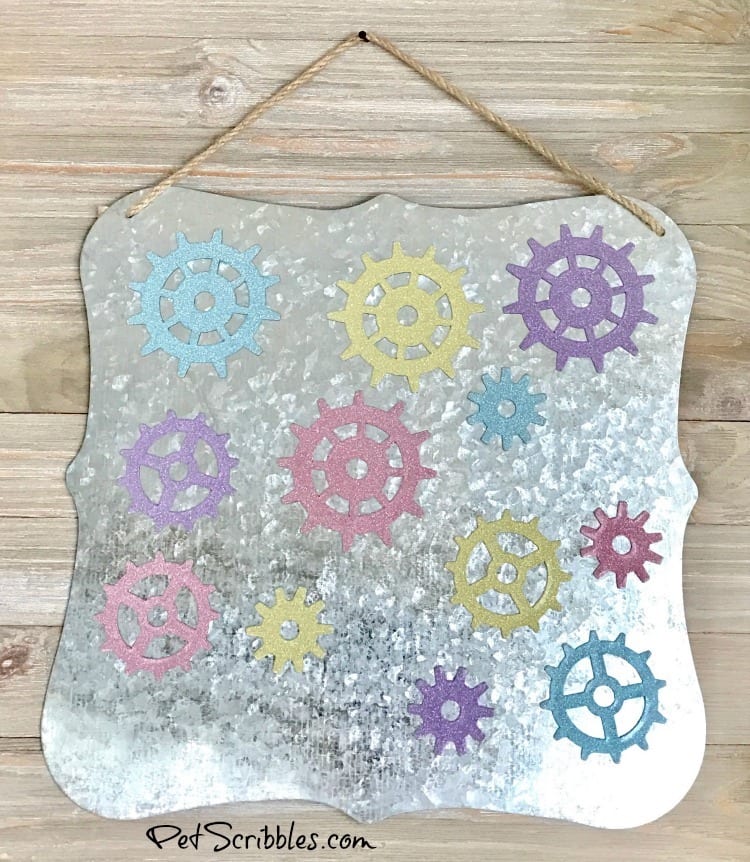
These magnets are made with glitter cardstock:
What’s nice about using glitter paper?
The laminate seals the glitter, so there’s no glittery mess on your hands, but you still get all of the sparkle!
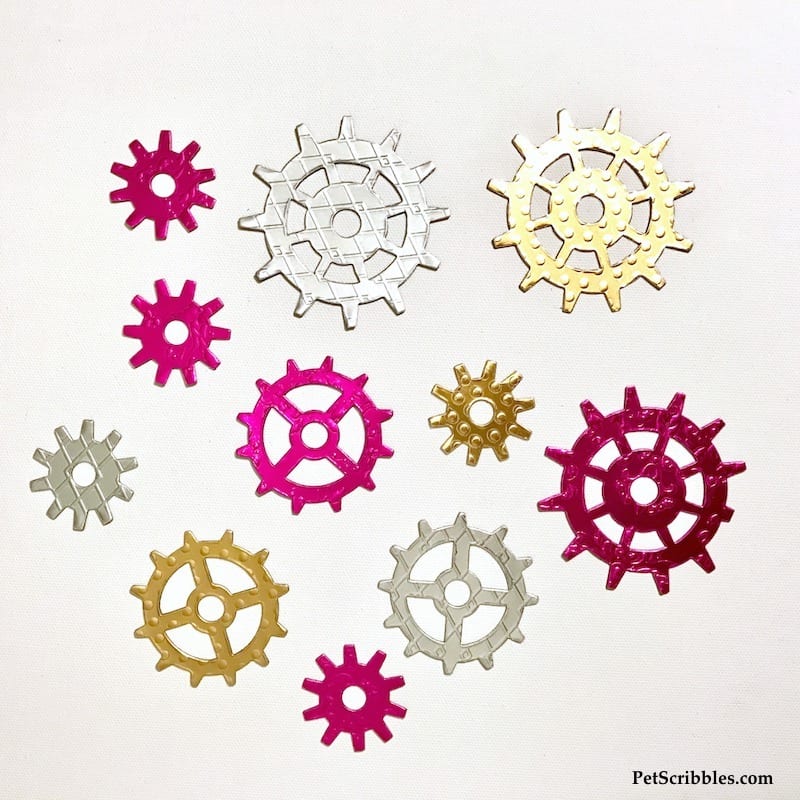
I also used foil cardstock that was already embossed:
I really love the embossing on these gears — makes them look like industrial metal — yet also very feminine and…pretty!
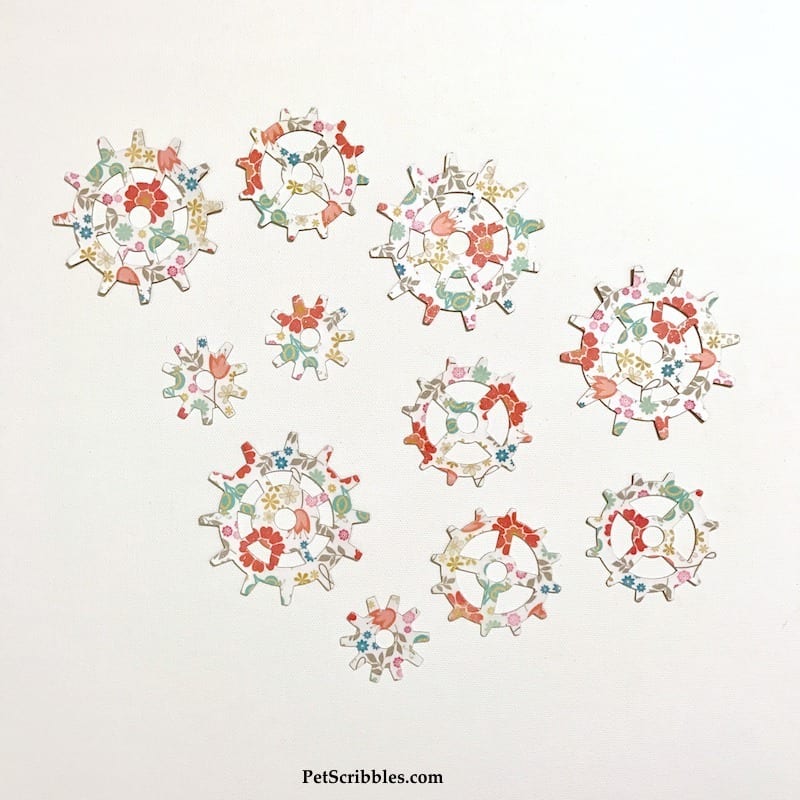
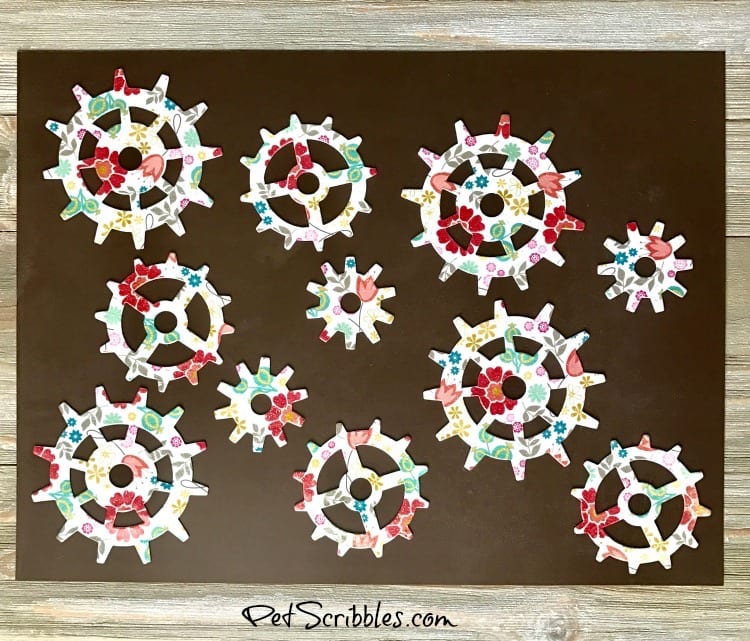
I made several magnets using a floral cardstock that also had glitter here and there in the design:
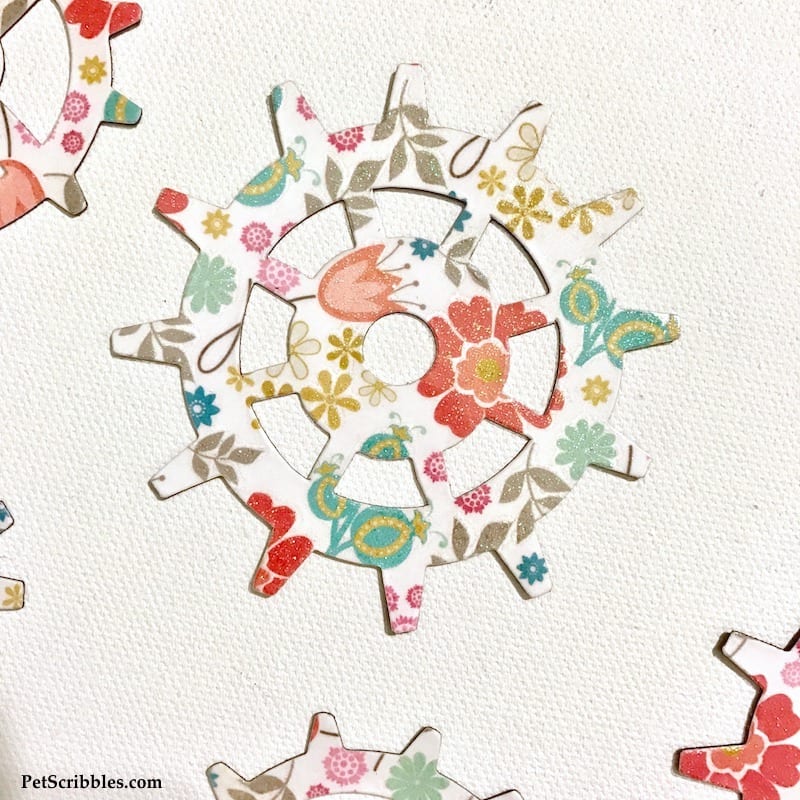
Here’s a close-up so you can see the glitter details:
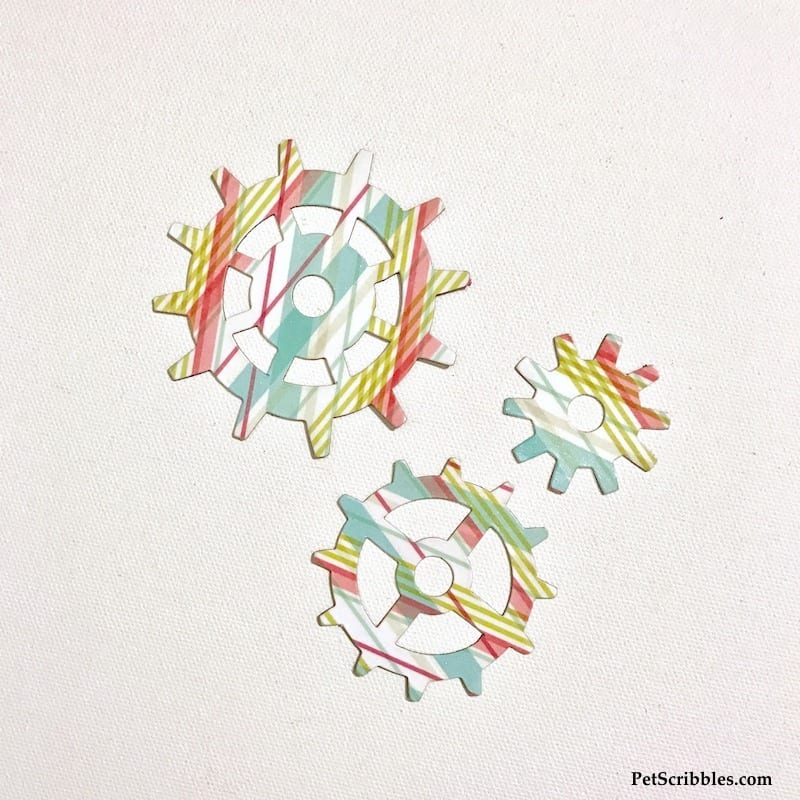
How about some gears in trendy plaid patterns?
There are so many different ways these gears can look, just depending upon the cardstock you choose to use!
Here are the glitter magnet gears on that magnet board I found at Walmart . . .
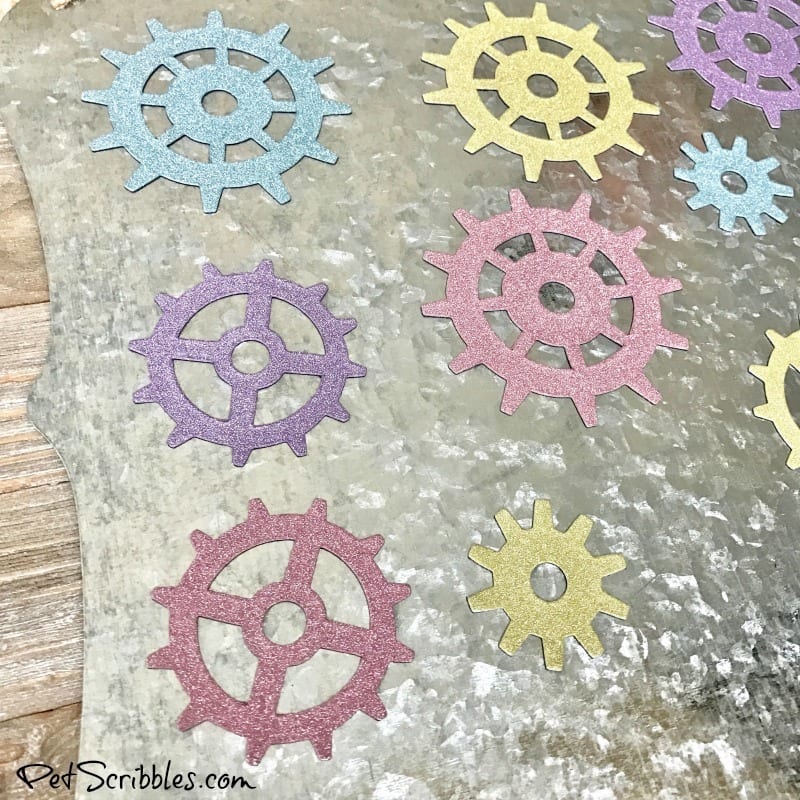
And close up for detail . . .
Here are the floral magnet gears on a rusty magnet board . . .
These magnets make great teacher gifts too!
Another back-to-school magnet idea . . .
For another creative back-to-school idea, check out my fun clipboard with a pencil-shaped magnet I made using the same Xyron products!
Even more back-to-school ideas with Xyron . . .
Check out our Xyron Facebook page all week long, as my fellow Xyron Design Team members share their own clever back-to-school projects!
Happy crafting!
~Laura



i have a huge problem i hope you can help me with hon! i paid 600 dollars for a huge collection of sizzix paper doll sets and had a blast today making magnets! well i did something wrong of course.. the dolls themselves are fine.. but all the work i put into making the clothes didnt work because the magnet/laminator xyron of course didnt work with the clothing..they just fall off! what shall i do to remedy this? shall i use the repositional one for the clothes? i feel so silly asking.. please help!! a sister scrapper, ginger
Hi Ginger,
The magnetic paper dolls sound like so much fun! Let’s figure out how to attach the clothing. I’m sending you a private email to see how we can remedy this.