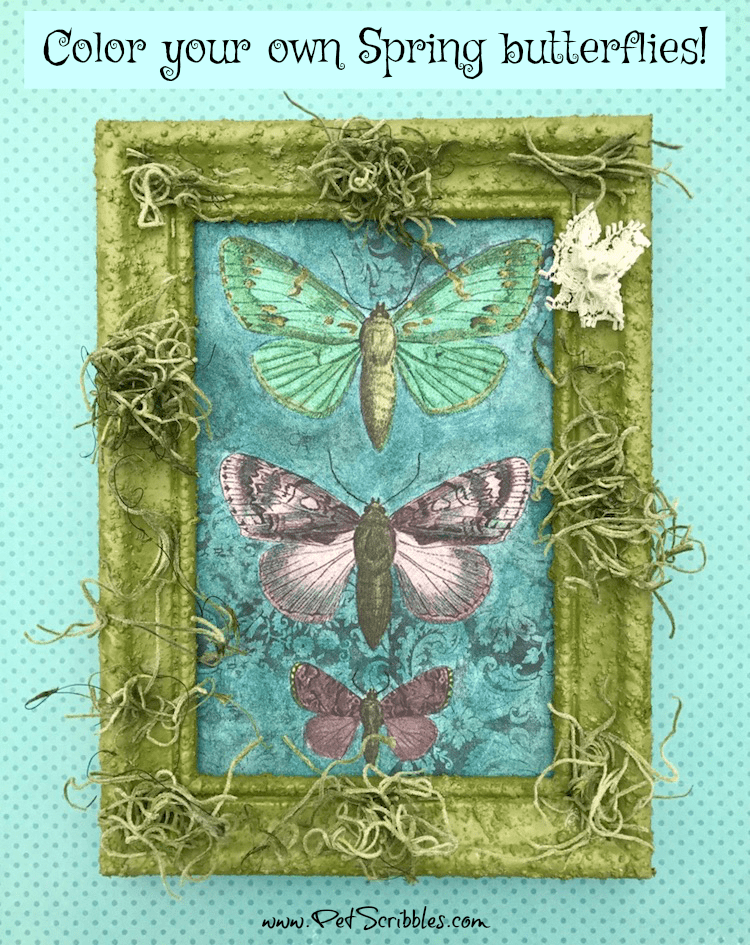
Why not welcome in Spring with pretty painted butterflies? If you love to color, you’ll love this tutorial! Plus, I’m using an amazing new paper that feels like fabric and can be colored in any way you like. Adult coloring fans rejoice!
Being on the Canvas Corp Brands Creative Crew this year means that you’ll get to see lots of their products used in my own fun style…with a vintage vibe of course!
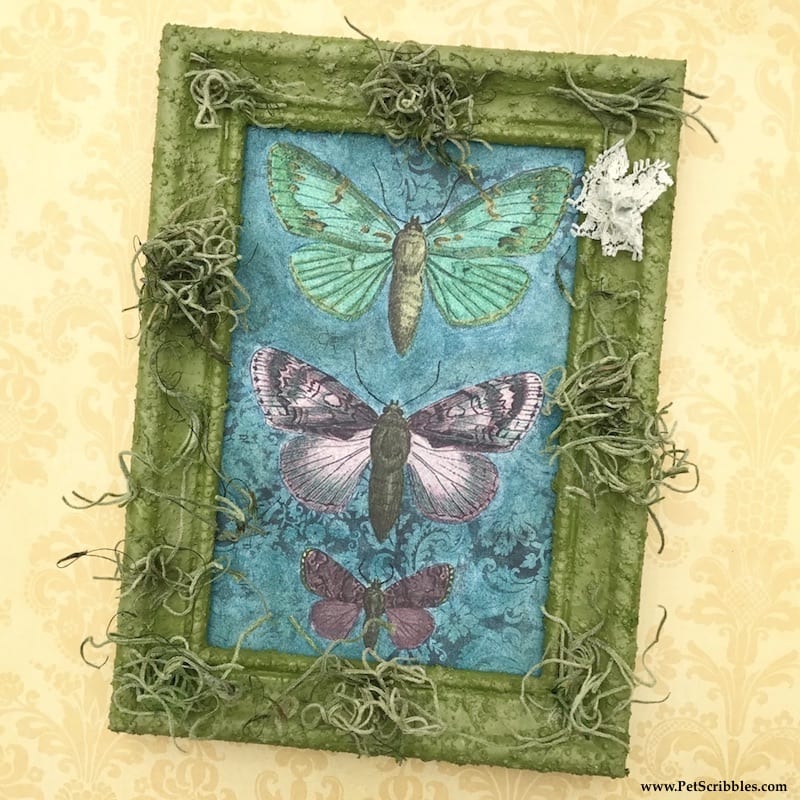
To help usher in the Springtime — hello snow coming down this morning here in southern New Jersey — I colored in some butterflies, then created a fun frame to add to the Spring vibe!
Supplies used:
- Tattered Angels Chalkboard Glimmer Mist – Jade
- Tattered Angels Glimmer Mists – Caper Green, Leap Frog, Vintage Pink
- Tattered Angels Simply Sheer – Classy Green
- Tattered Angels Glitter Paint – Sweet Pea Pod
- Tattered Angels High Impact Paint – Antique Gold
- Tattered Angels Mixed Media Origins Paper – Wings
- black Micron pen
- recycled plastic lid
- paper towels
- wax paper
- small paintbrush
- vintage lace scraps
- miniature Glue Dots
Why you will love the Tattered Angels Mixed Media Origins paper line
This paper is unlike anything you have colored or crafted with! First off, it’s a paper that feels like fabric. The vintage images appear on both sides of each 12 x 12 paper, and with all of the shading and details already present, your colored images will look amazing!
You can color these Origins papers with your favorite medium, whether that’s watercolors, markers, colored pencils, pastels, inks, mists, and of course paints too.
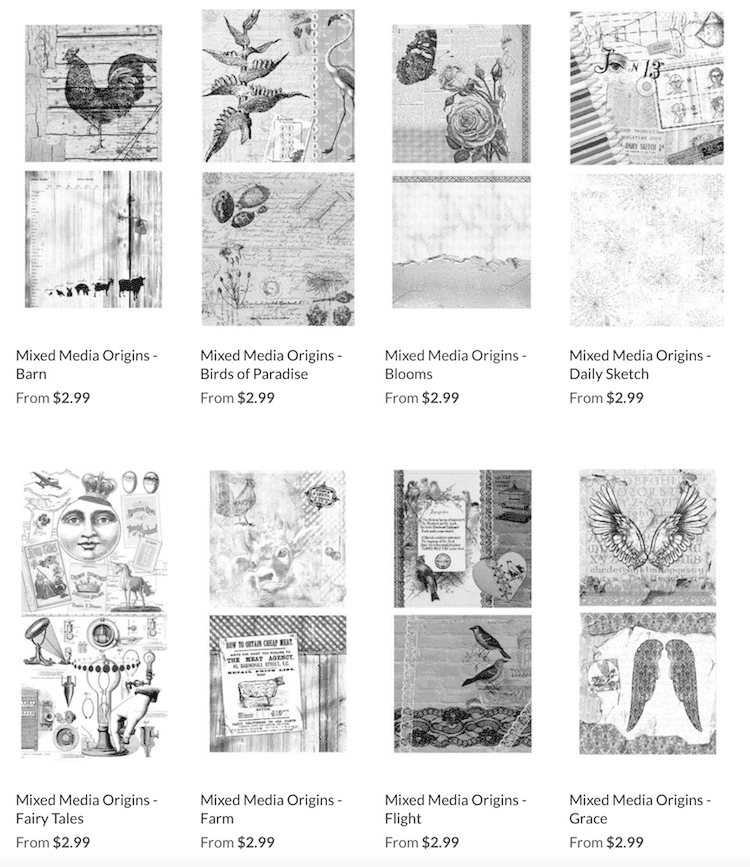
Here’s a screenshot from the Canvas Corp Brands Shop, showing you some of the many designs available:
You’ll be seeing this line of papers popping up in my crafts from time to time, because I’m just so in love with how versatile it is. (I previously used this paper when I created my small Don’t Forget To Dream mixed media piece.)
Plus — it’s a fun way to satisfy your adult coloring enjoyment!
You can see the complete Mixed Media Origins collection on the Canvas Corp Brands Shop website here!
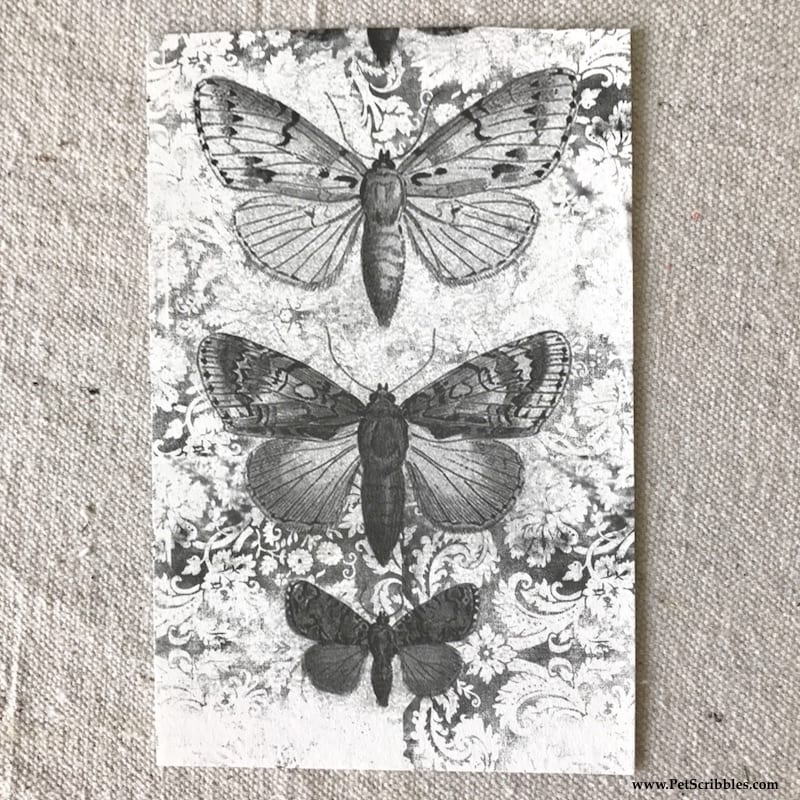
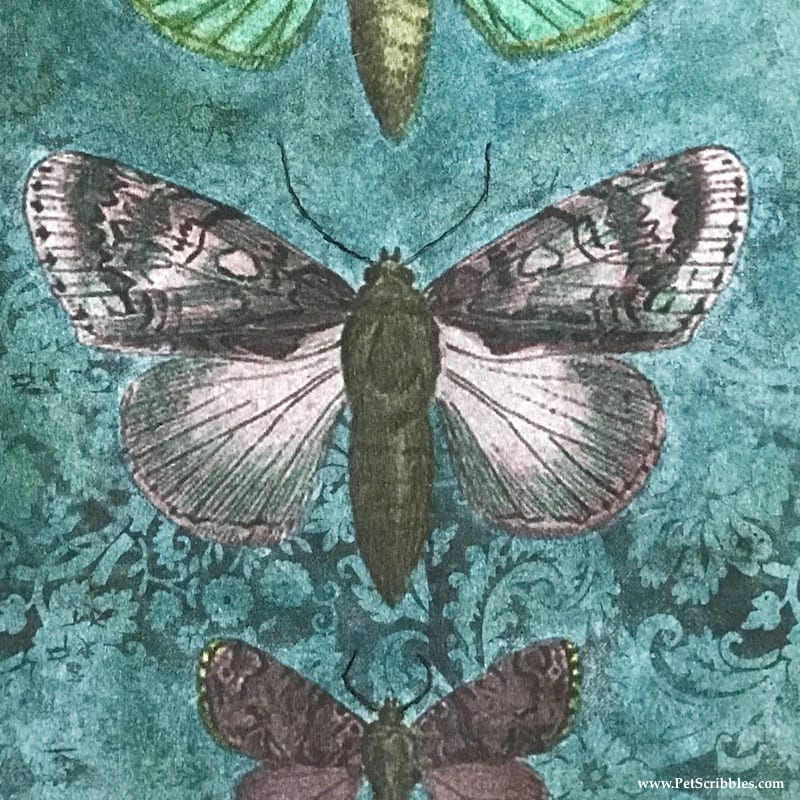
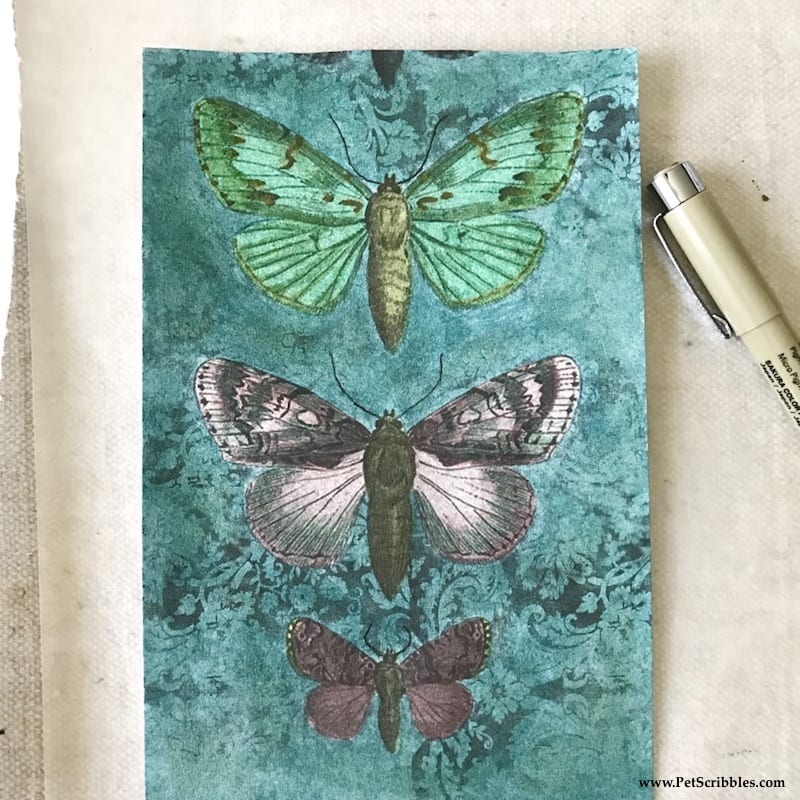
For today’s project, I’m using a small piece from the “Wings” design — above — featuring these three pretty butterflies with a wonderful background that almost looks like old wallpaper!
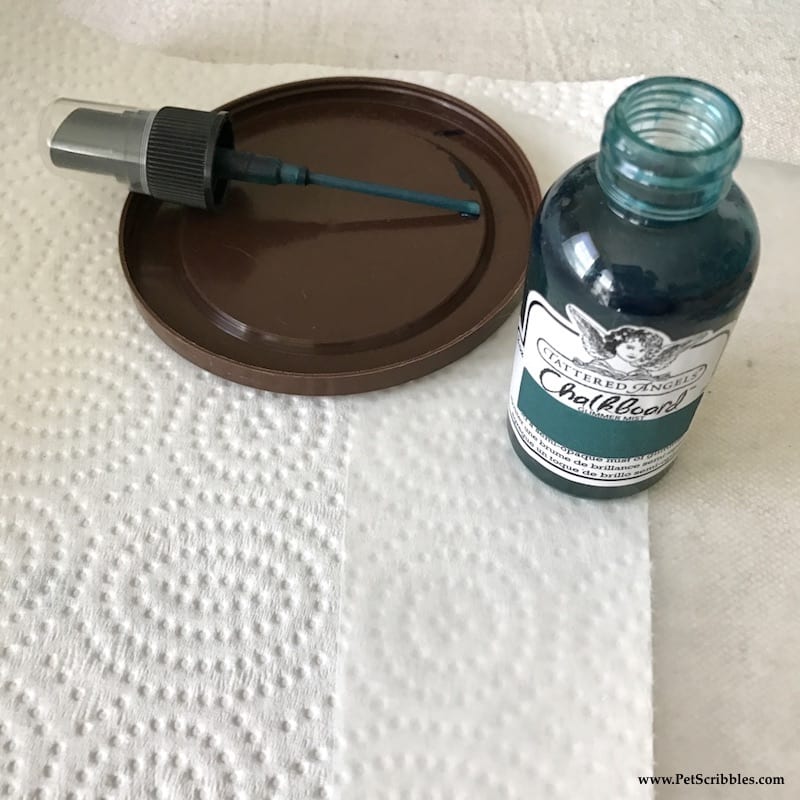
Why do I include a recycled lid in my list of supplies?
Because I’ve found these lids to be super helpful when I need to find somewhere to put the nozzle while I’m dipping a paintbrush into glimmer mists and sprays. This way, you don’t have to worry about the ink leaking out anywhere except in the lid.
Note: I’m using the abbreviation TA throughout this tutorial when referring to Tattered Angels and which colors are used. Much easier to read!
Welcome in Spring with Pretty Painted Butterflies!
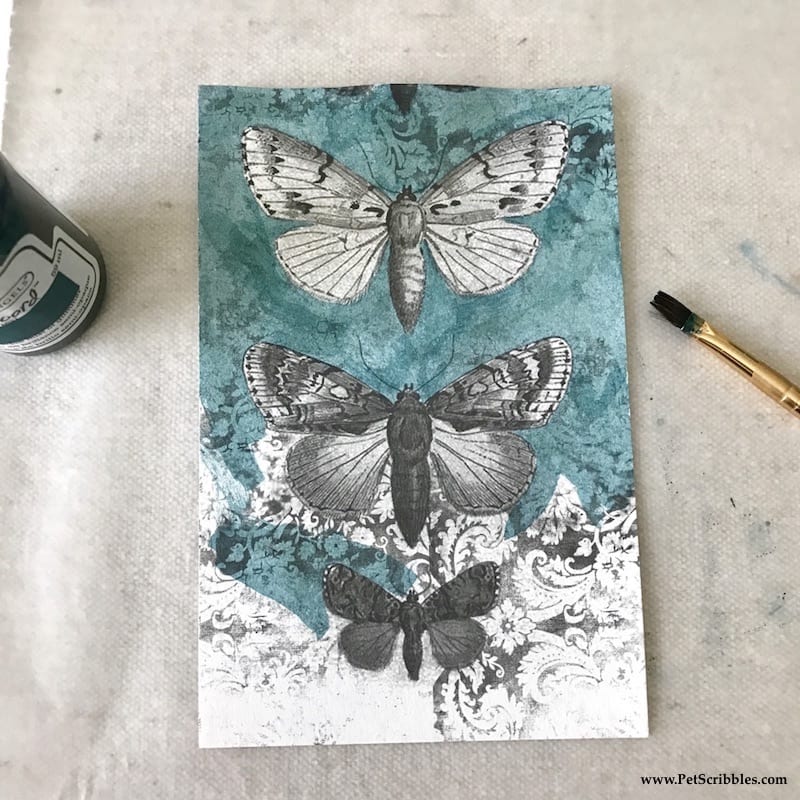
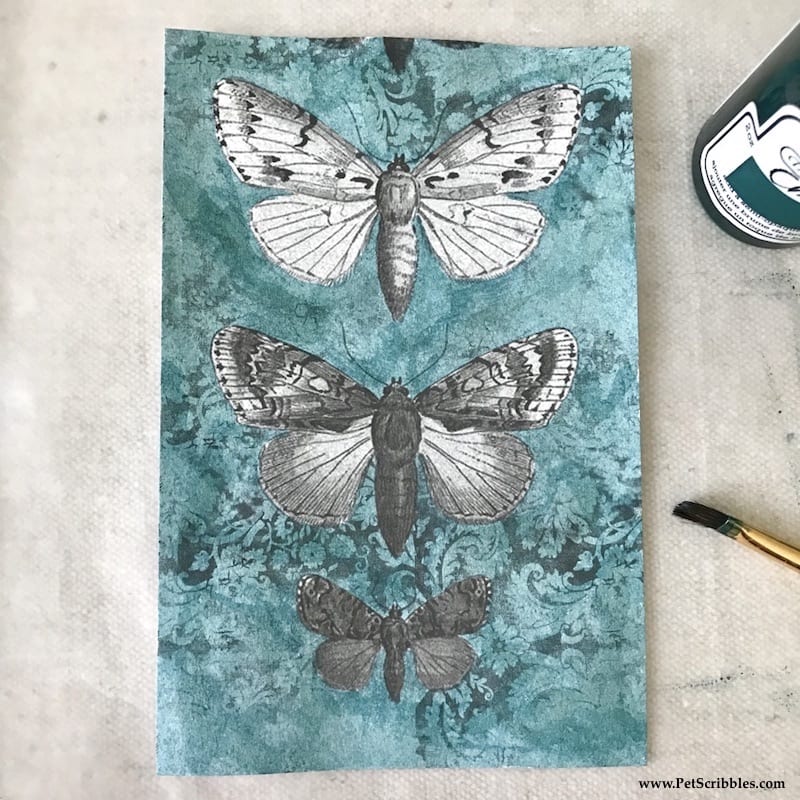
Step One: Paint the background with TA Chalkboard Glimmer Mist in Jade, using a small paintbrush.
I ended up painting another coat of Jade, just to see what the color would look like. The only difference was a slightly deeper, slightly darker color. Next time, I’ll probably just stick with one coat.
But then again, that’s the fun part of creating: do what you want to do as there are no rules to how you must use a craft supply or paint!
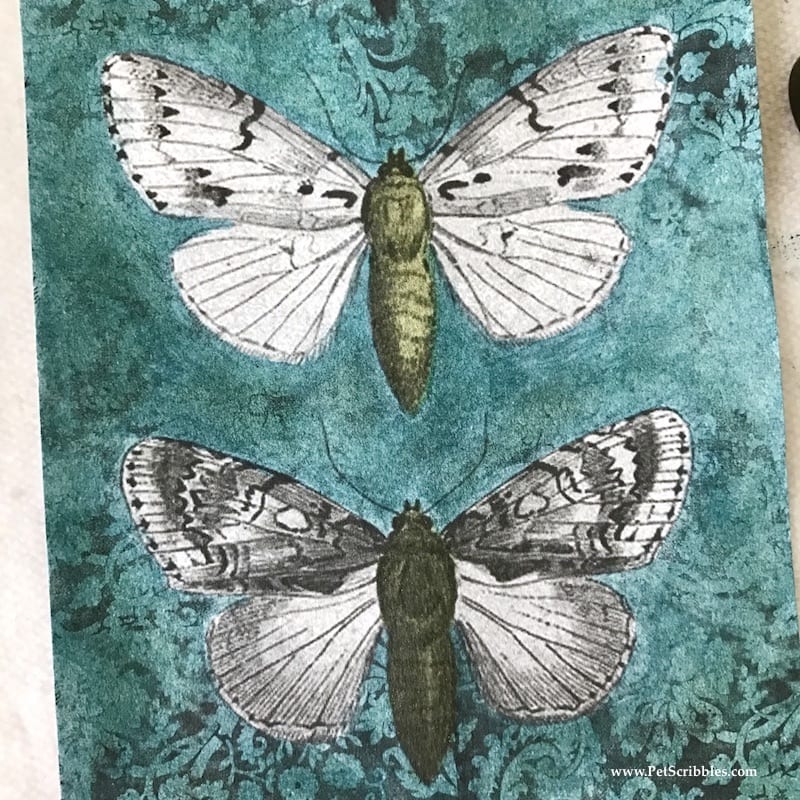
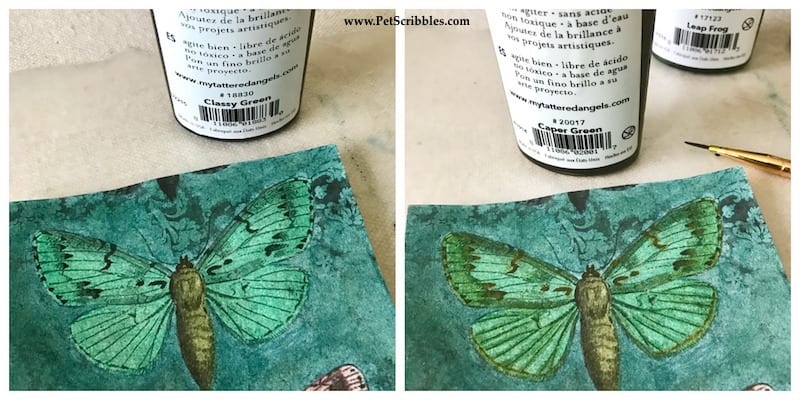
Step Two: Paint the body of each butterfly using TA Glimmer Mist in Caper Green.
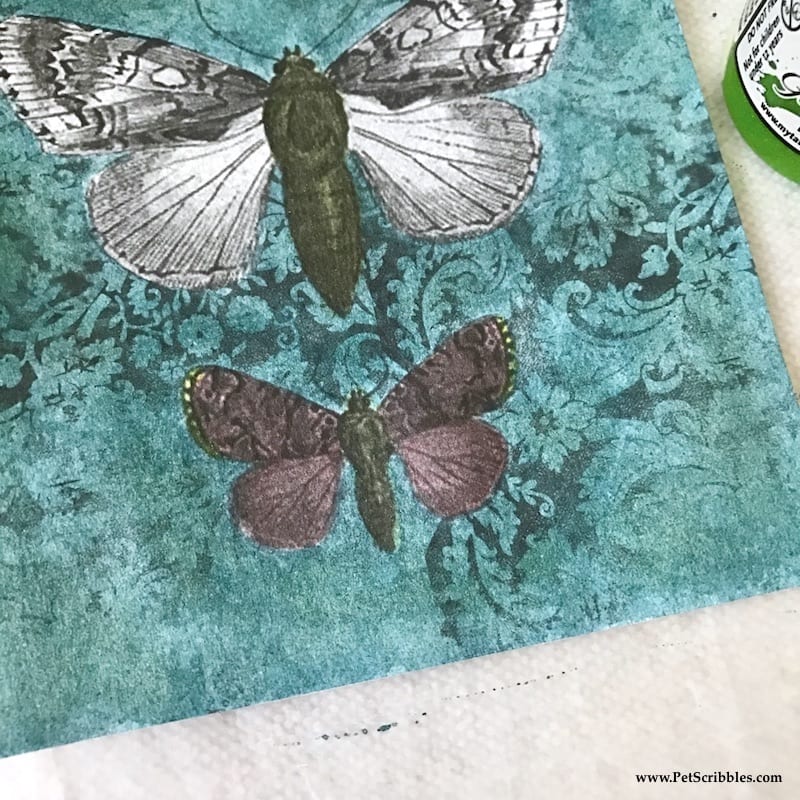
Step Three: On the smallest butterfly, paint the tip of the upper butterfly wings with GA Glitter Paint in Sweet Pea Pod. Color in the rest of the butterfly with TA Glimmer Mist in Vintage Pink.
Step Four: Paint the middle butterfly with TA Glimmer Mist in Vintage Pink. Add accents of Tattered Angels Chalkboard Glimmer Mist in Jade onto the wings here and there.
The middle butterfly looks much lighter than the one below it because — if you look back at the original unpainted paper — you’ll notice more “black” in the smallest butterfly. I love the contrast in colors!
Step Five: Paint the top (largest) butterfly with TA Simply Sheer in Classy Green, followed by accents of TA High Impact Paint in Antique Gold, and TA Glimmer Mists in Caper Green and Leap Frog.
Step Six: Let everything dry! (Might be obvious, but just making sure to include this before proceeding!)
Step Seven: If desired, carefully go over each of the butterfly’s antennas with a black waterproof pen. I love to use the extremely thin Micron pens for this purpose. (affiliate link)
Isn’t it pretty?
And of course there are a zillion ways to color this paper and truly make it your own creation!
Keep in mind that whenever I’m showing you the colors I used, you should feel free to substitute with colors that you love. Unless of course you love what I chose and then I’m super flattered!
A Mossy Frame!
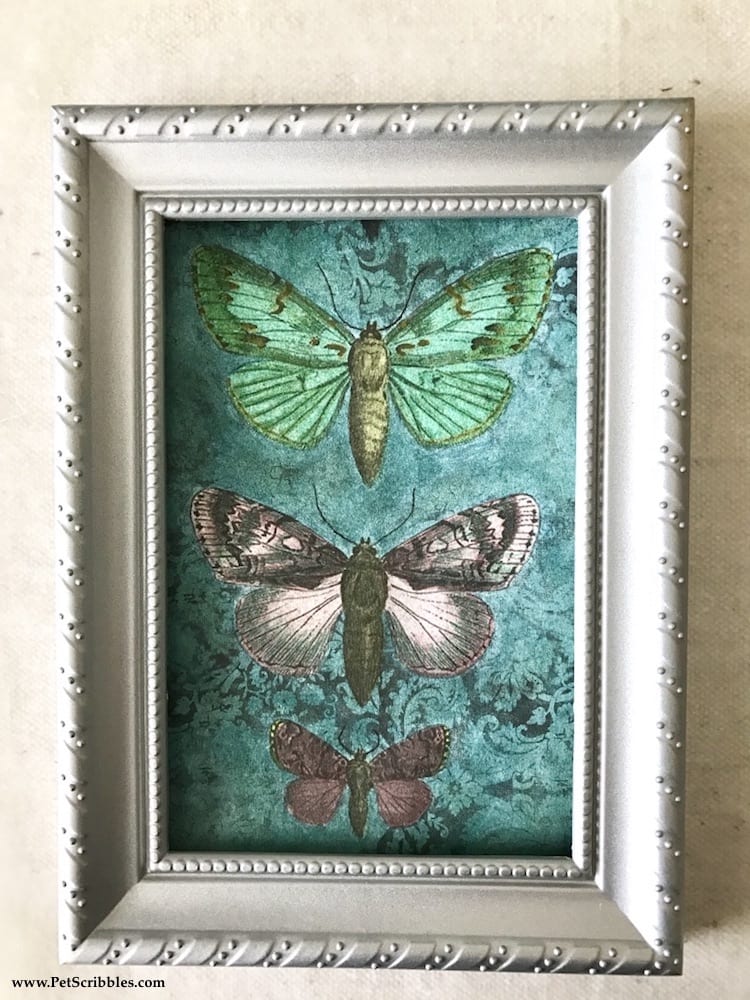
Now I needed a frame. I had a dollar store frame that was the perfect size . . .
. . . but I just didn’t like it.
The frame — although nice — was too easy of a solution, and I didn’t think it added anything to the butterflies.
In fact — I thought the frame actually took away from the butterflies.
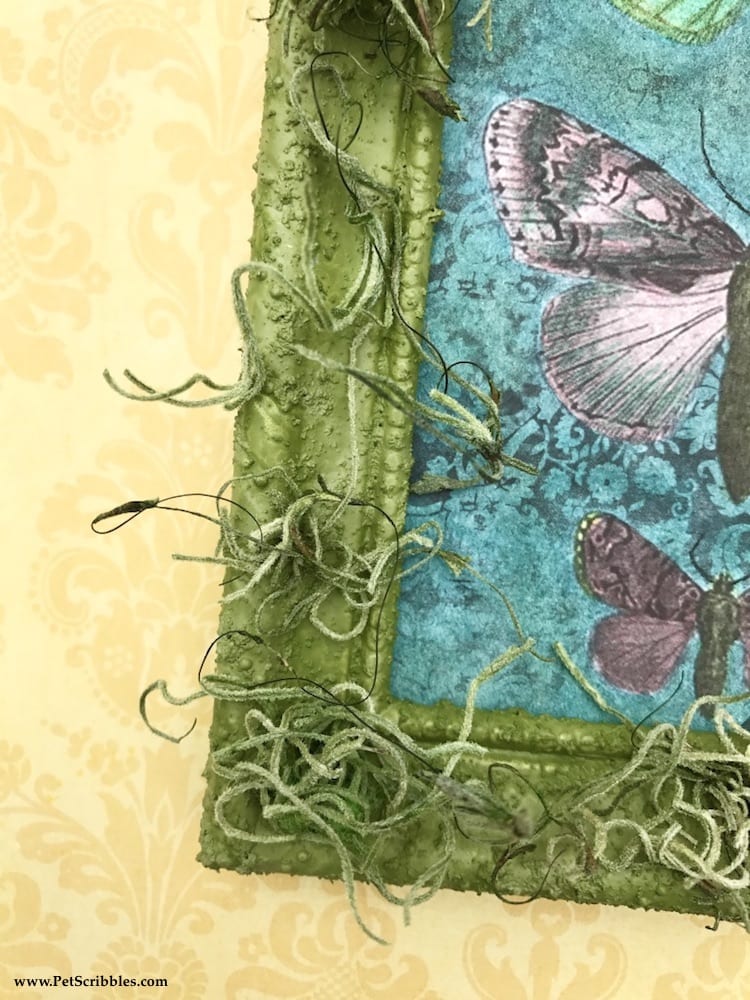
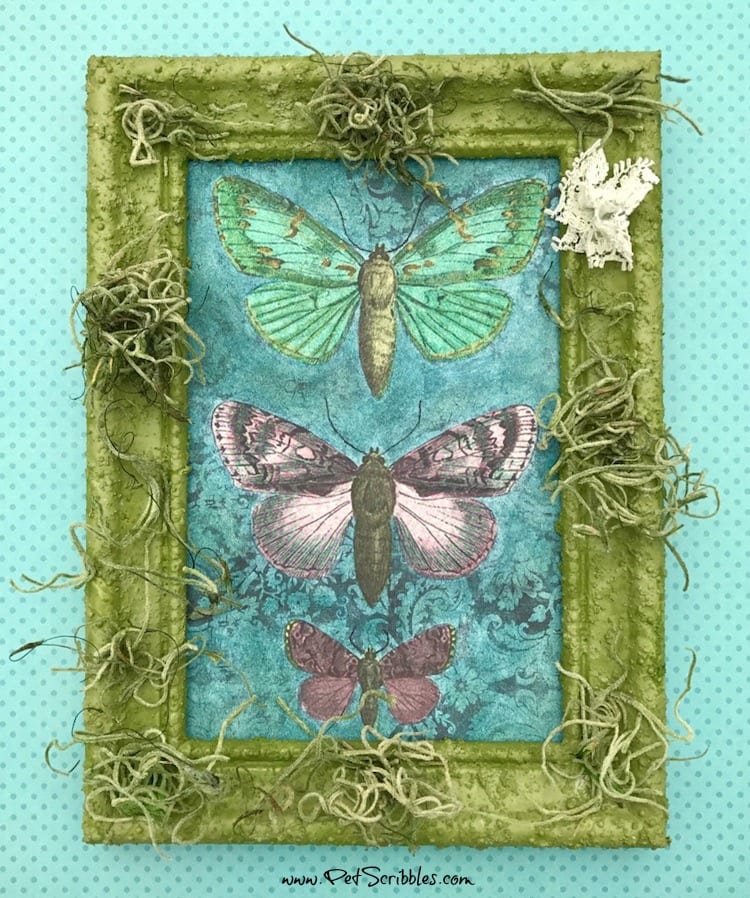
So, I gave the dollar store frame a makeover with a moss painting kit plus some dried moss that I attached.
Much better! So much better!
To learn how I created the moss frame, click here for the tutorial — it’s quicker to do than you might think!
I glued some actual dried moss (from the craft store floral aisle) to the frame here and there, just to add to the effect.
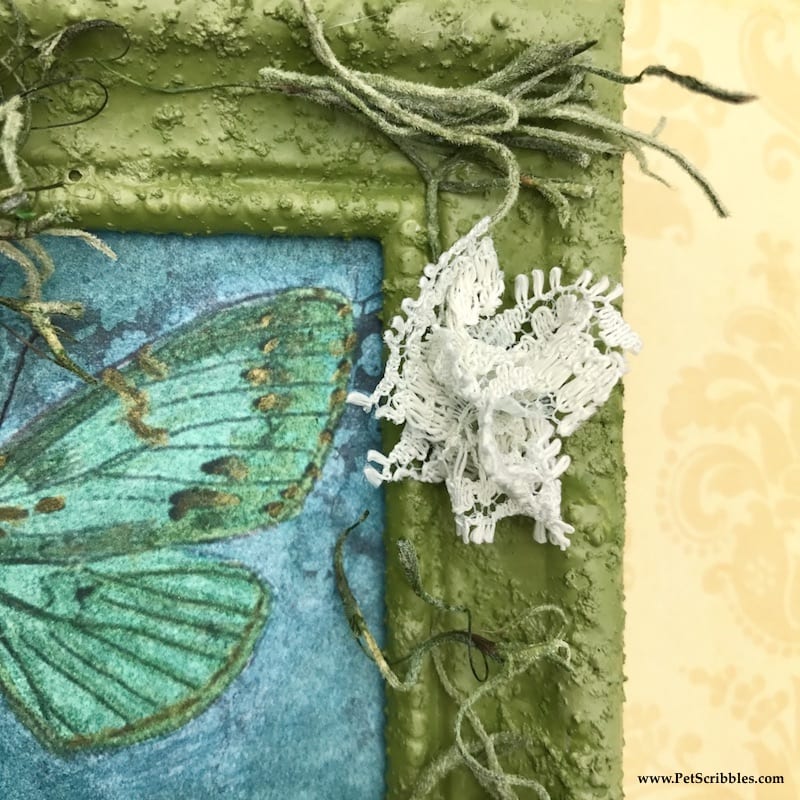
I also made a tiny vintage lace flower — just by bunching up two tiny square vintage lace scraps, and sticking them to the frame — and each other — with miniature Glue Dots. (affiliate link)
(I swear I don’t throw anything away…even tiny scraps!)
Here is the final piece!
I can’t wait to paint more of these Origins papers.
And I can’t wait for Spring to finally stick around…although watching the snow falling from my windows is so peaceful!
Happy crafting!
~Laura

This is fabulous! I love the butterflies and wonderful frame!
Hugs
Linda xxx