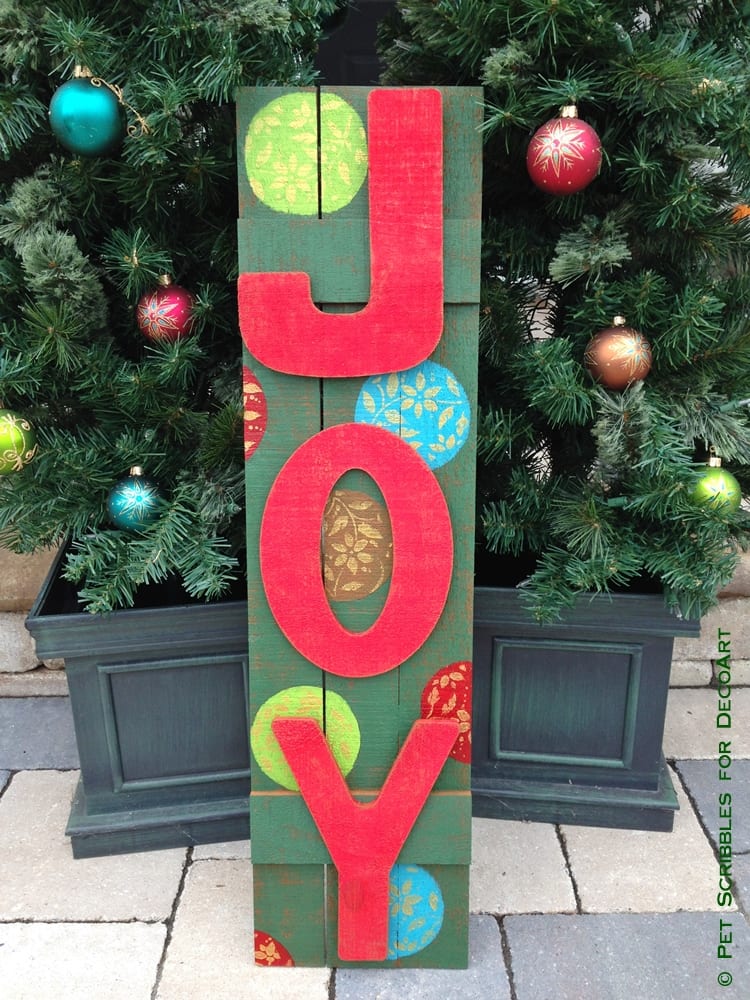
Make a wooden outdoor JOY sign in a vintage style that matches your existing Christmas decorations! This tutorial shows you how with step-by-step photos and instructions! (And there’s no wood cutting necessary!)
This is a sponsored holiday project for DecoArt. The project idea and tutorial are 100% my own. Special thanks to Walnut Hollow for providing me with the unfinished rustic pallet and wooden letters.
Wood for a wooden outdoor JOY sign
I’ve wanted to make a large outdoor JOY sign ever since I first started seeing them pop up all over Pinterest. Many a creative blogger has cut up a wood pallet as the basis for these signs.
However, when I saw these rustic wood pallets from Walnut Hollow, I knew instantly this was the way I would make my sign! No cutting and measuring for me, just give me an already-made rustic pallet!
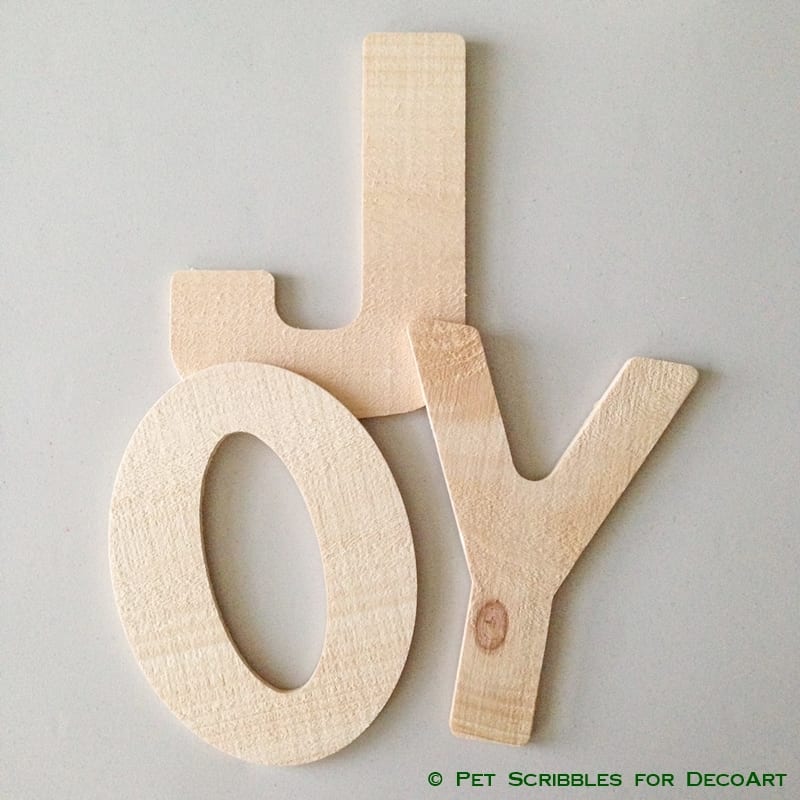
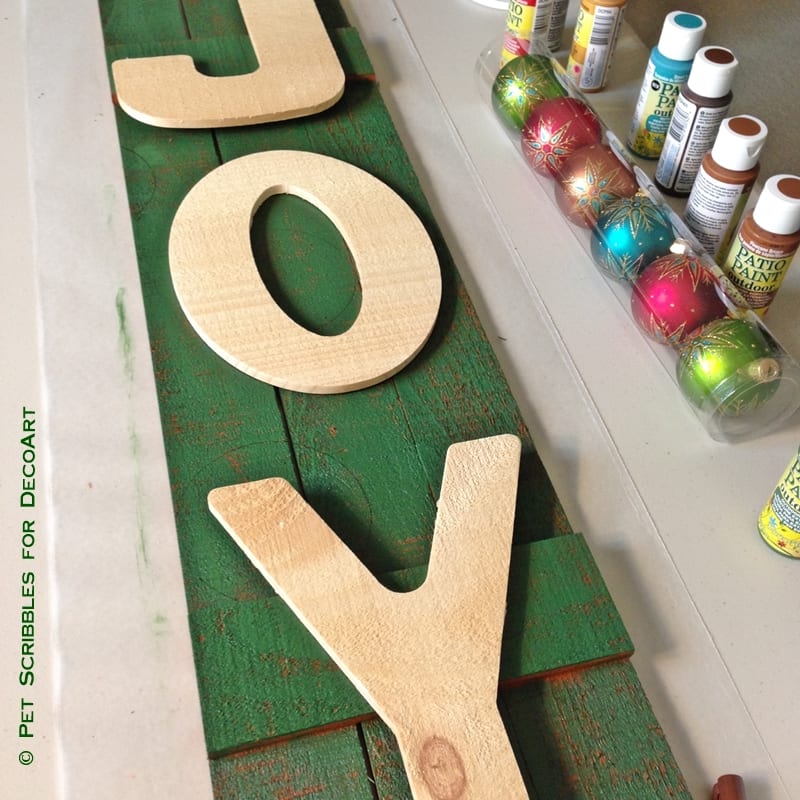
Stop by any major craft store and you will find unfinished wood letters in various shapes and sizes. Use these letters for your sign!
By painting then attaching the letters to your wood pallet background, you will A) make your sign more quickly; and B) have the letters pop more simply because they are raised above the pallet background.
Oh how I love to create stuff with unfinished wood!
Paint for a wooden outdoor Joy sign
Because I wanted this sign to survive the outdoor elements, I used DecoArt’s Patio Paint Outdoor craft paints, which — as of this writing — comes in 54 different colors!
My goal with this project?
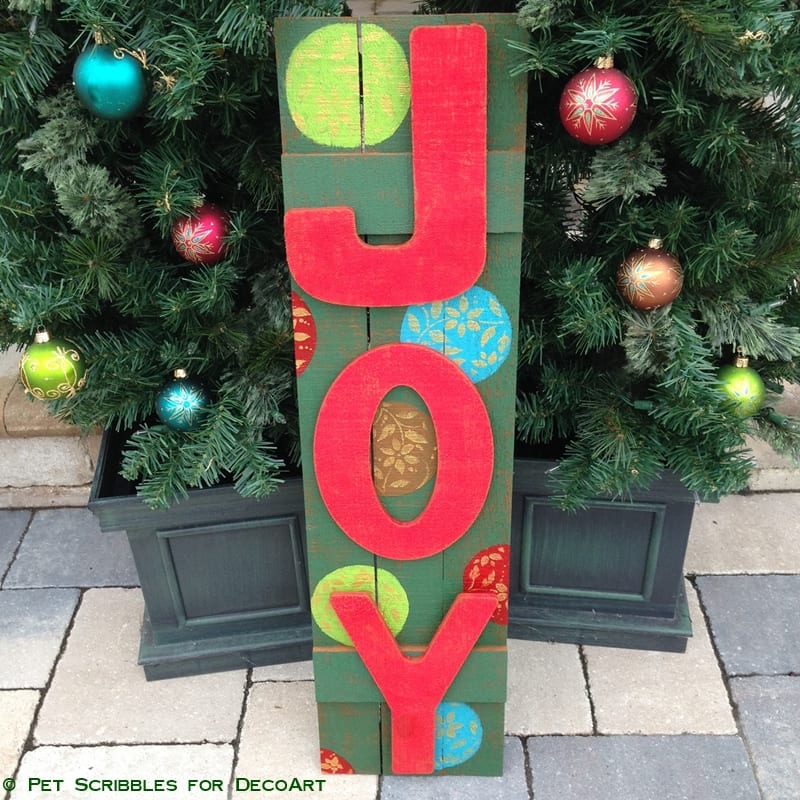
I wanted this sign to match the two outdoor Christmas trees that we already use by our front entrance.
The ornaments on each of the trees — which you can see in the image below — are in bright shades of red, green, aqua and copper with sparkly gold accents.
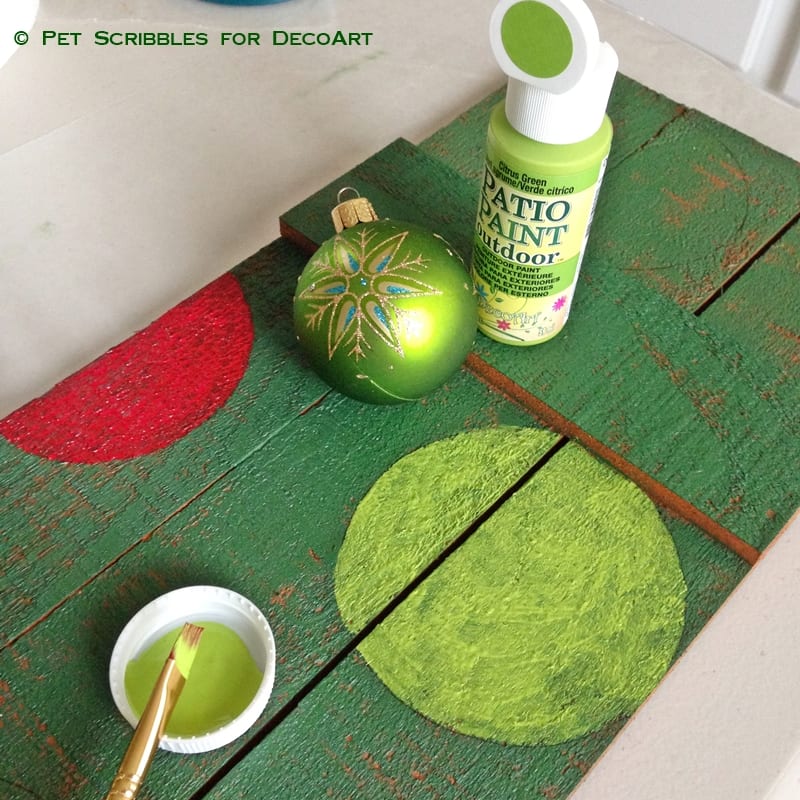
I imagined a vintage-looking pallet wood sign, with ornaments that mimic the tree ornaments plus some painted and distressed letters on top!
Although I wanted this sign to handle the outdoor weather, I also wanted it to look like it had been weathered over time. I used a dry-brush technique instead of sanding to achieve a weathered wood paint finish.
I started out with painting . . .
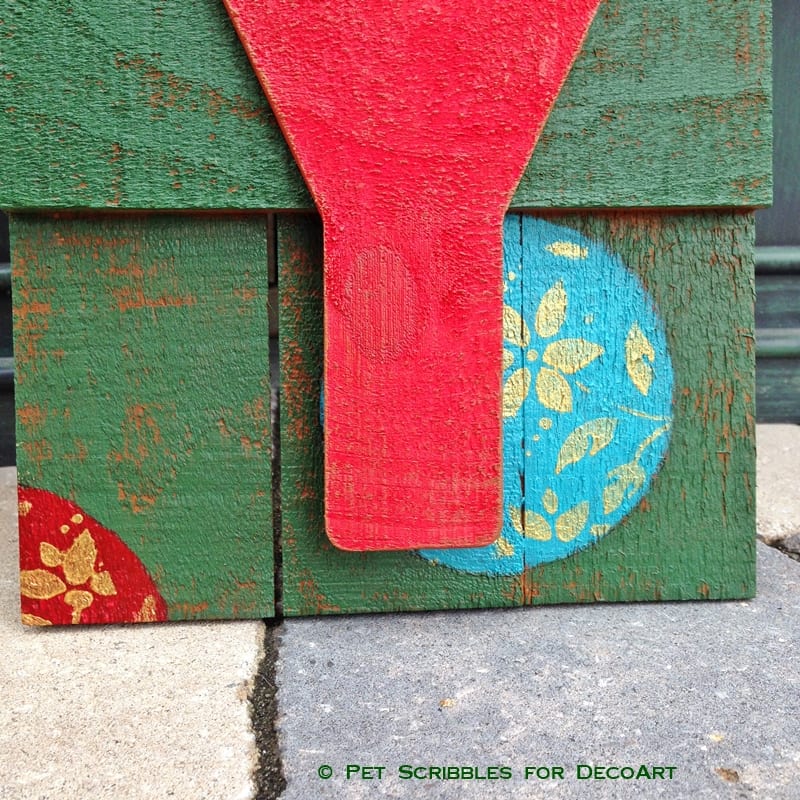
And then moved on to stenciling . . .
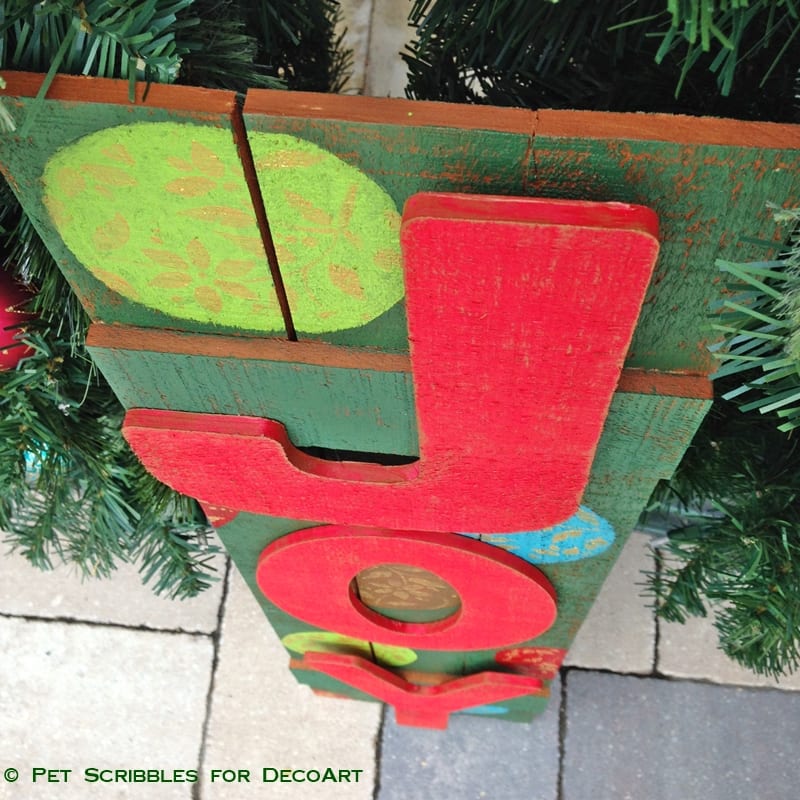
With some distressing thrown in . . .
You can see my complete tutorial — including a list of supplies and helpful step-by-step images — on the DecoArt website!
Click on the image above or click here:
Wooden JOY Outdoor Holiday Sign
I love how it turned out!
You can substitute paint colors that match with your own seasonal decor to achieve a similar result.
More outdoor Christmas decorations using outdoor paint!
DIY Painted Outdoor Ornaments
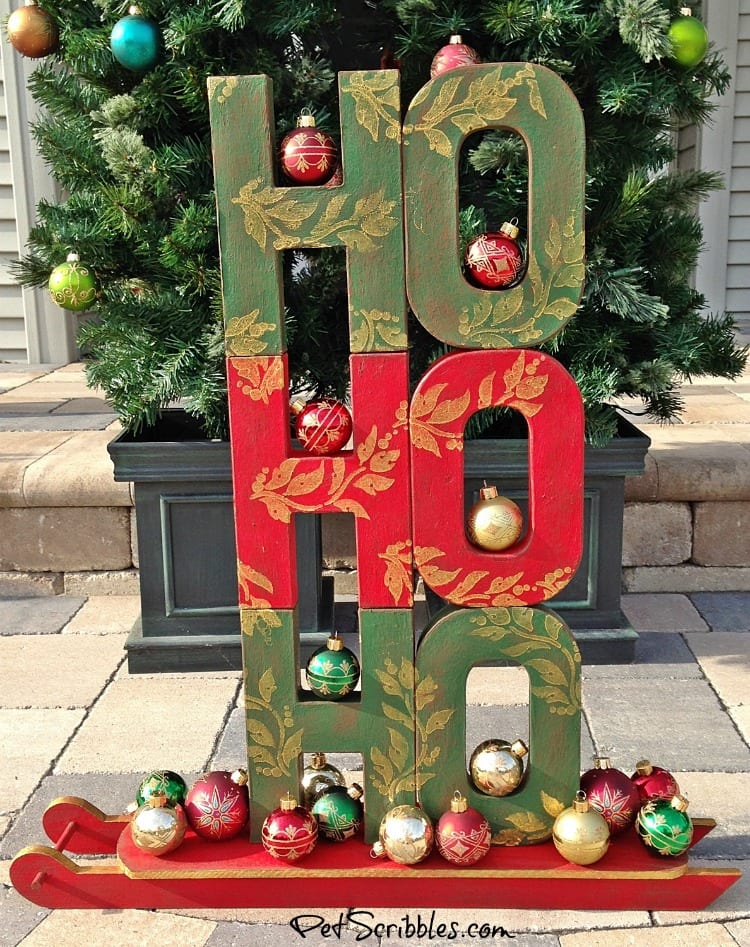
HO HO HO Sled Sign
Happy crafting!


This looks amazing! I wish I had a sign like this for my front porch.
Thanks Kelly! I bet you could create one even nicer!