I’ve got a fun craft for you today, one that has endless possibilities too:
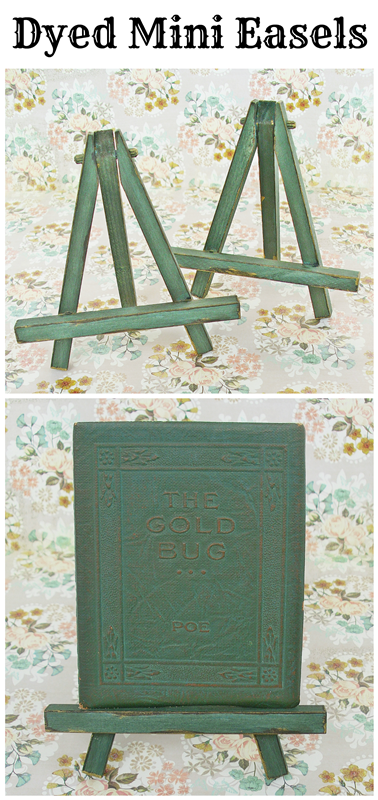
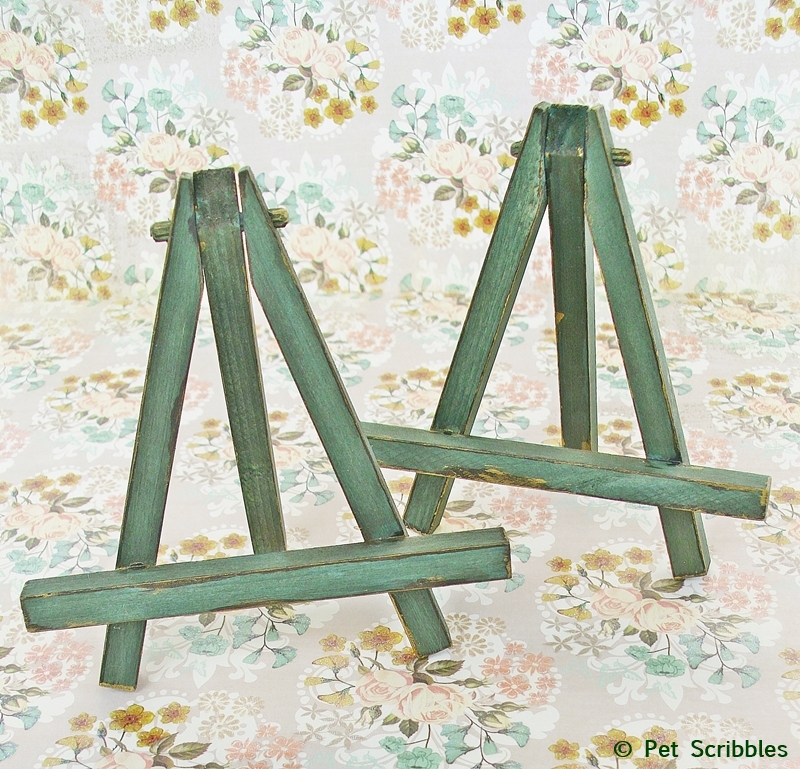
Dyed and Distressed Mini Easels!
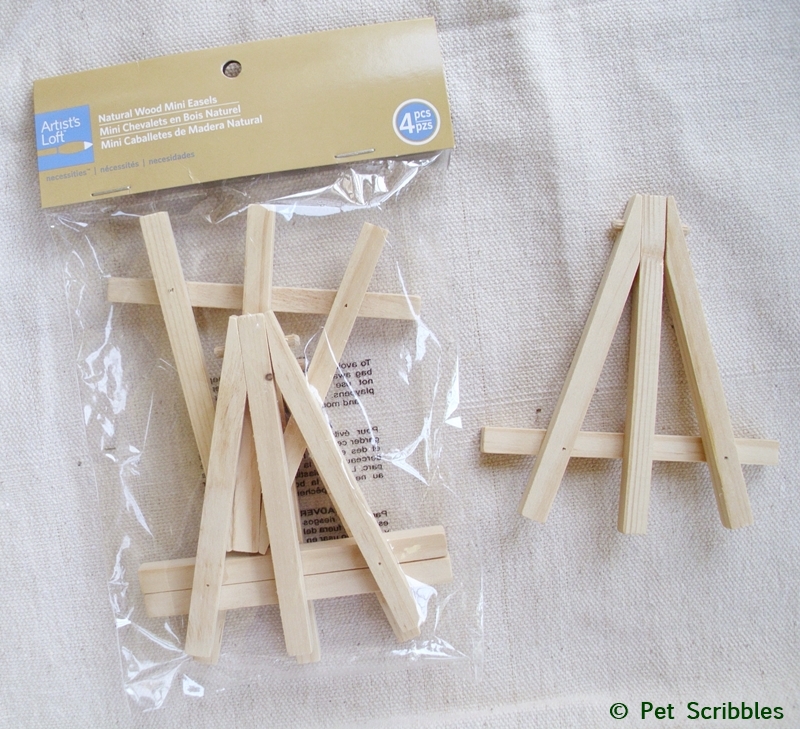
You’ve probably seen these packaged up at the craft store or online. I purchased mine at Michaels here.
Earlier this Spring, we went into Philadelphia (where we used to live) to check out the Franklin Flea, a flea market held in the old Strawbridge’s Building on Market Street. What a brilliant use of this now-vacant space. The flea market includes antiques and specialty foods from local venders in addition to unique flea market finds.
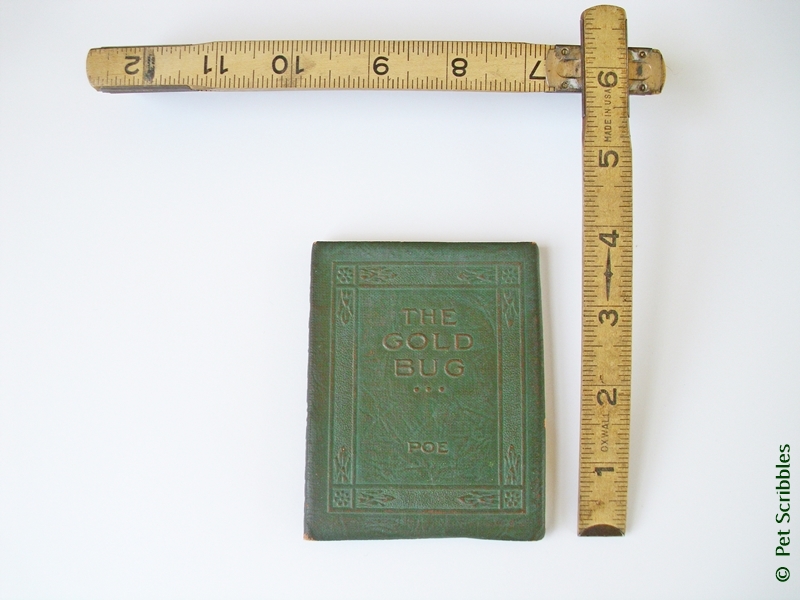
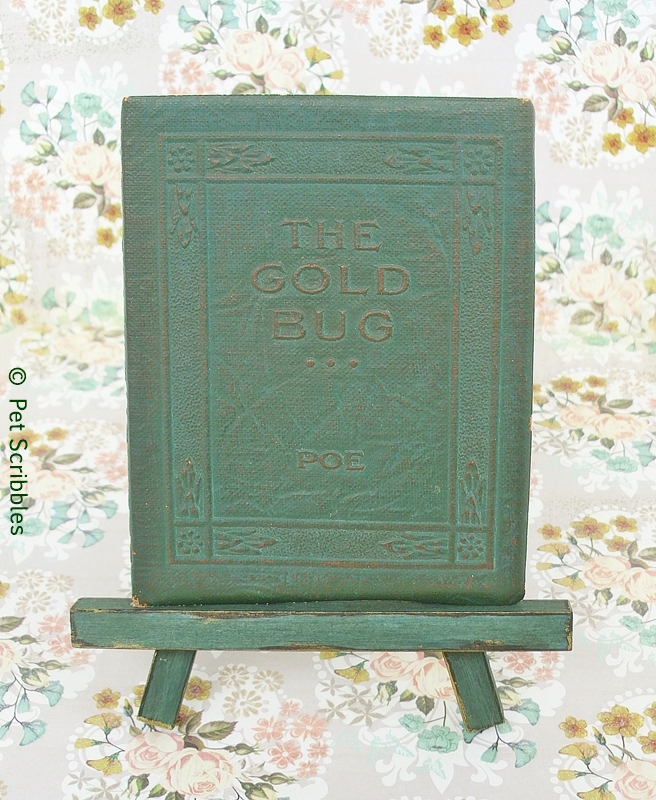
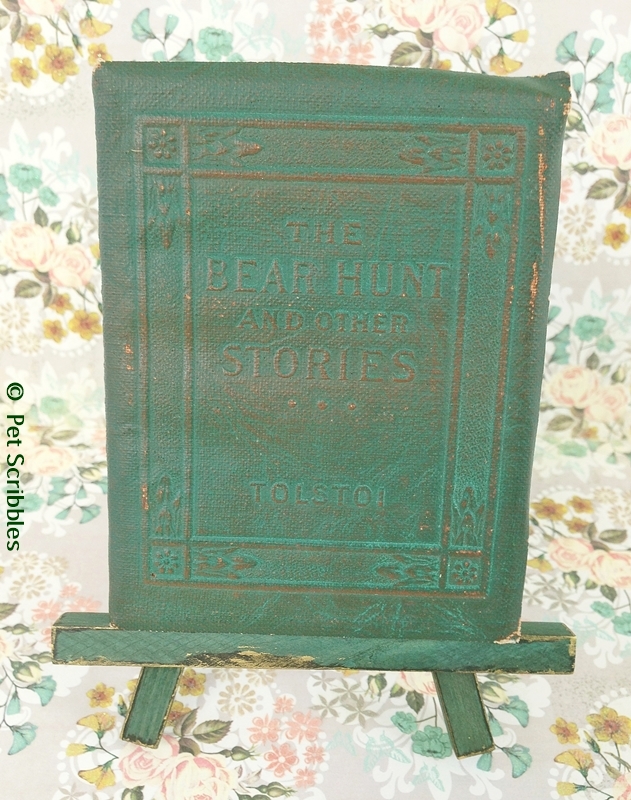
We purchased two miniature leather-bound books from an early 1900s series called the Little Leather Library. The miniature size of each book was meant to fit in a gentleman’s coat pocket or lady’s purse, featuring the classics of the day.
Isn’t the leather cover beautiful?
I knew right away that I wanted to find those unfinished wood easels I had passed by on so many Michaels shopping trips, to display each little book.
But first I had to make the mini easels look old, so they would match the look of these antique treasures!
Supplies:
Unfinished wood mini easels
Rit liquid dye in Dark Green
All-purpose bucket
Paper towels
Brown Sharpie marker
Metallic gold paint
Small plastic lid to hold paint
Small paintbrush with fine tip
White rag
Cotton swabs
Rubber gloves
Americana Decor Creme Wax in Brown
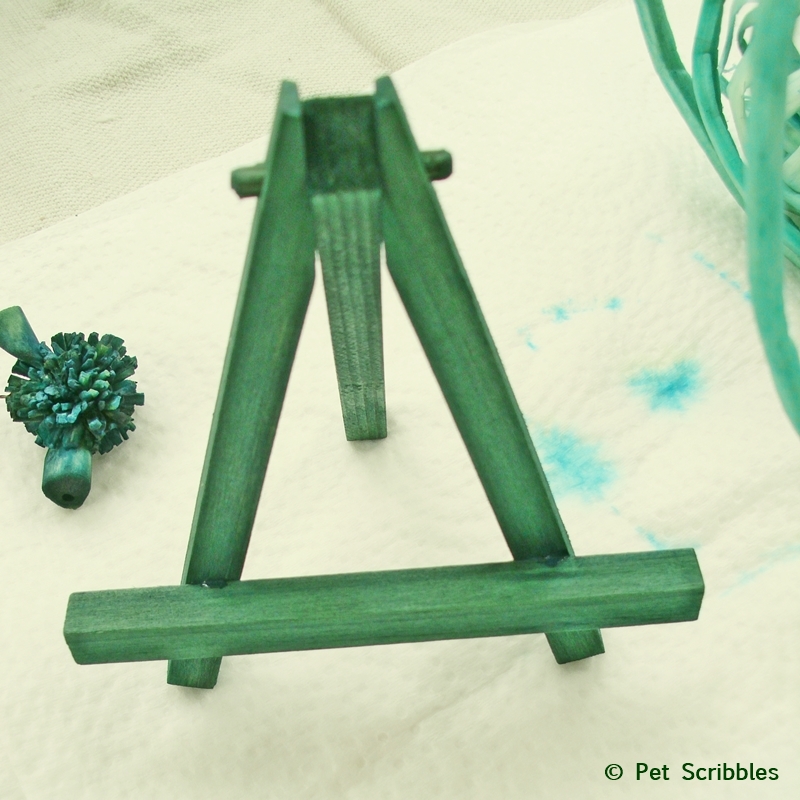
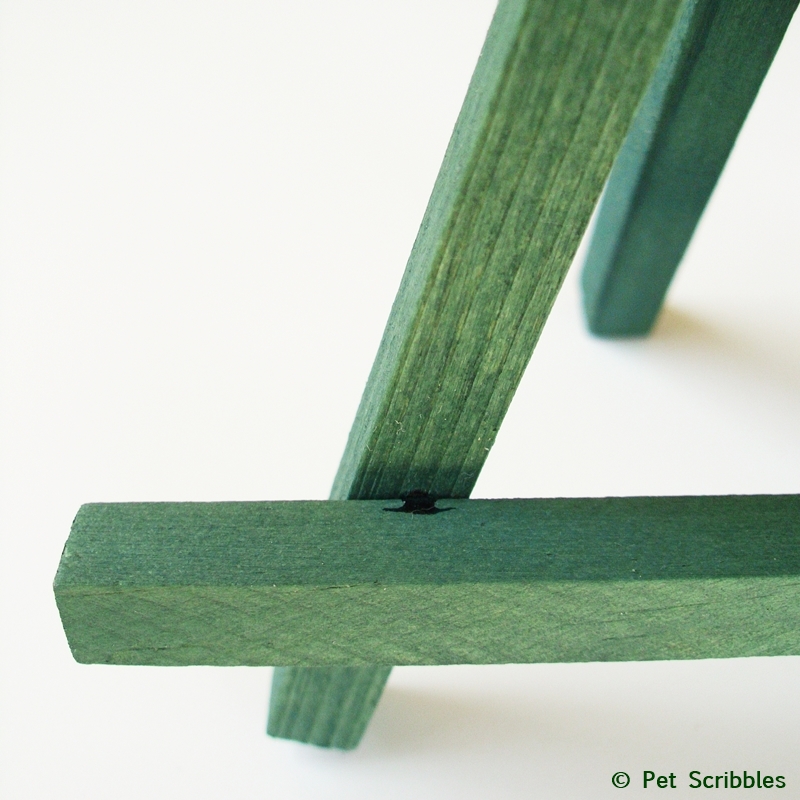
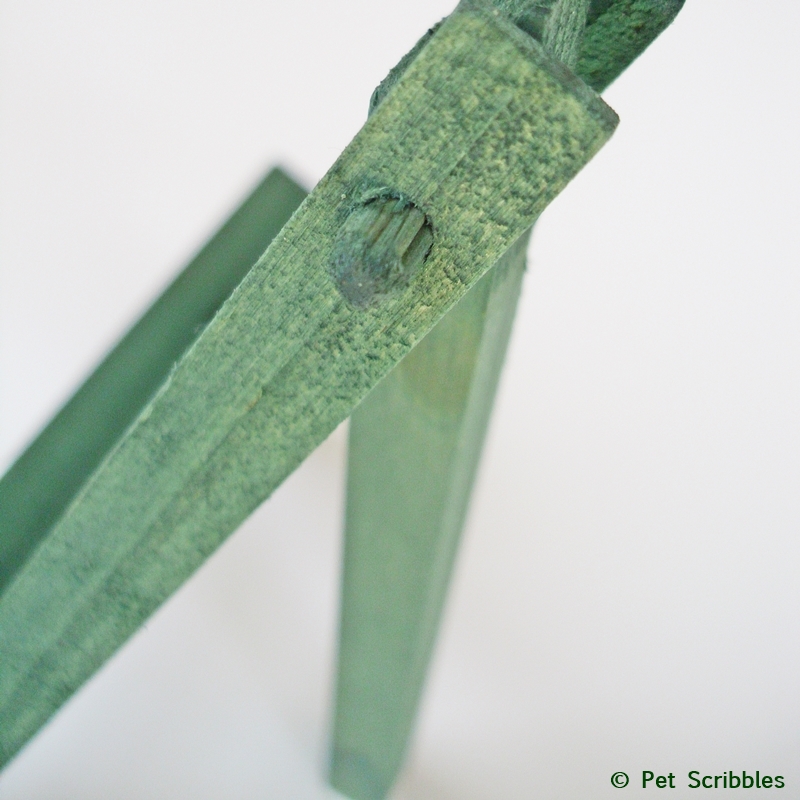
Step One: Dye your unfinished wood mini easels. I used a pretty dark green shade of Rit Liquid Dye. Please see my complete, step-by-step tutorial on how I dyed these easels in my post Dying Vase Fillers on the Deja Vue Designs blog. (I dyed my mini easels at the same time as the vase fillers!)
Let the easels dry on paper towels. The color looks very rich when wet, and will soften as it dries.
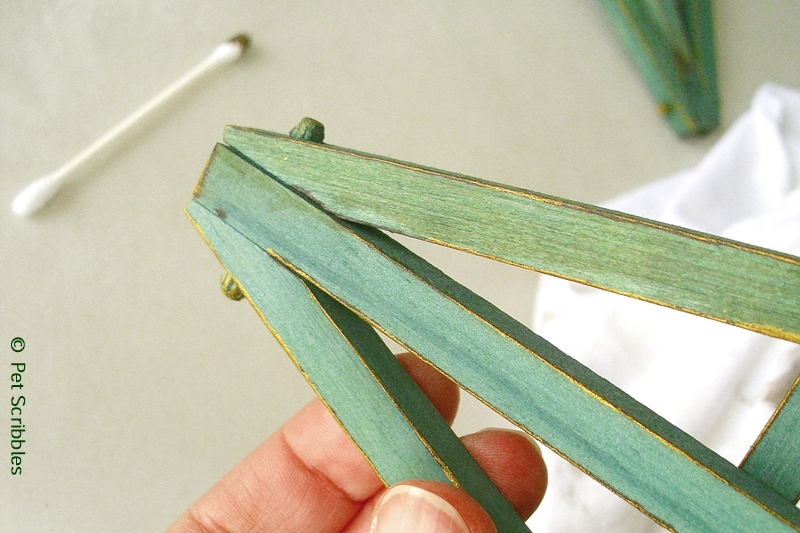
What I love about dying unfinished wood is how the grain of the wood still shows through the dye. It’s such a beautiful look for wood!
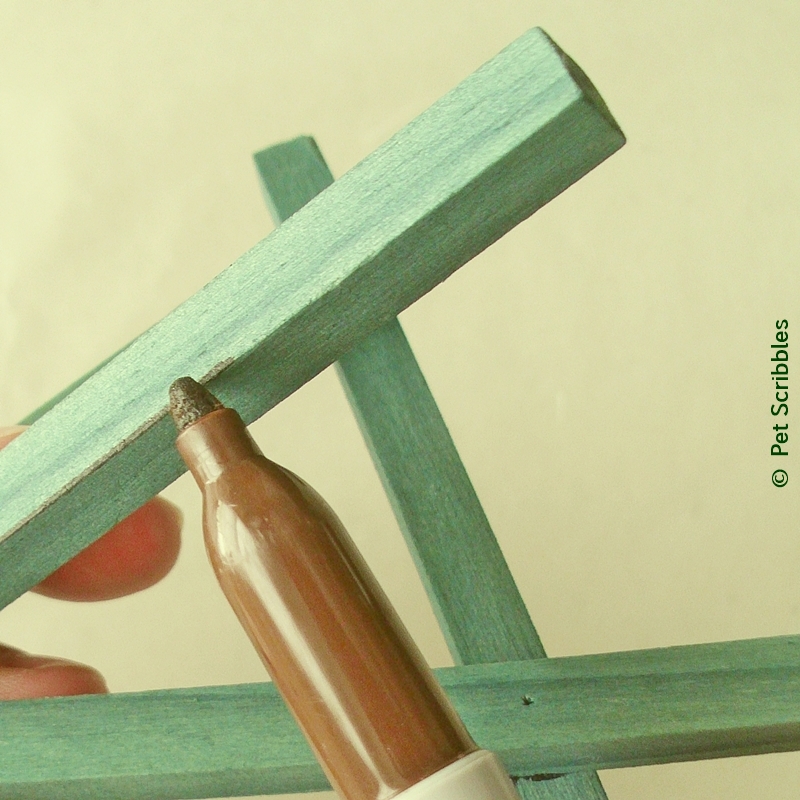
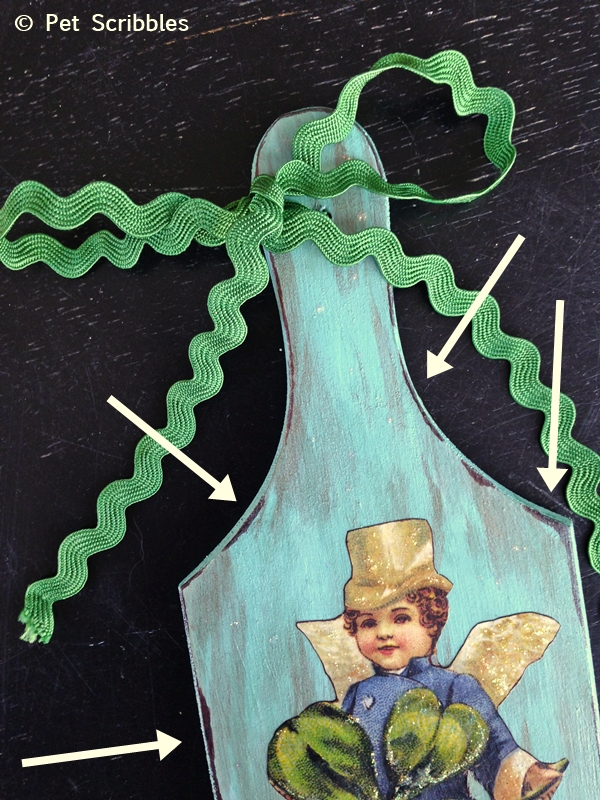
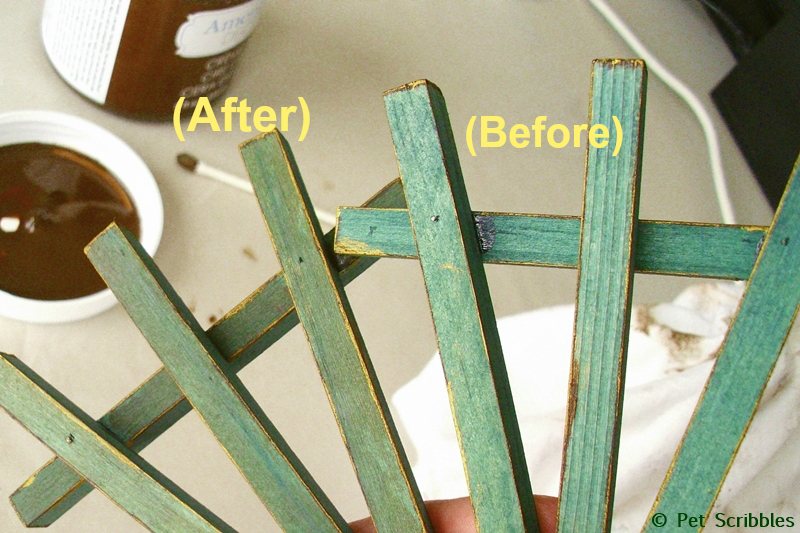
Step Two: Using a brown Sharpie marker tip, lightly go over the edges and corners of each mini easel, to create the look of distressed wood. This is a neat trick that I do sometimes when working with small wood items.
You can see another example of this trick, along with more pictures and explanation, on my St. Patrick’s Day Rustic Plaque post on Deja Vue Designs:
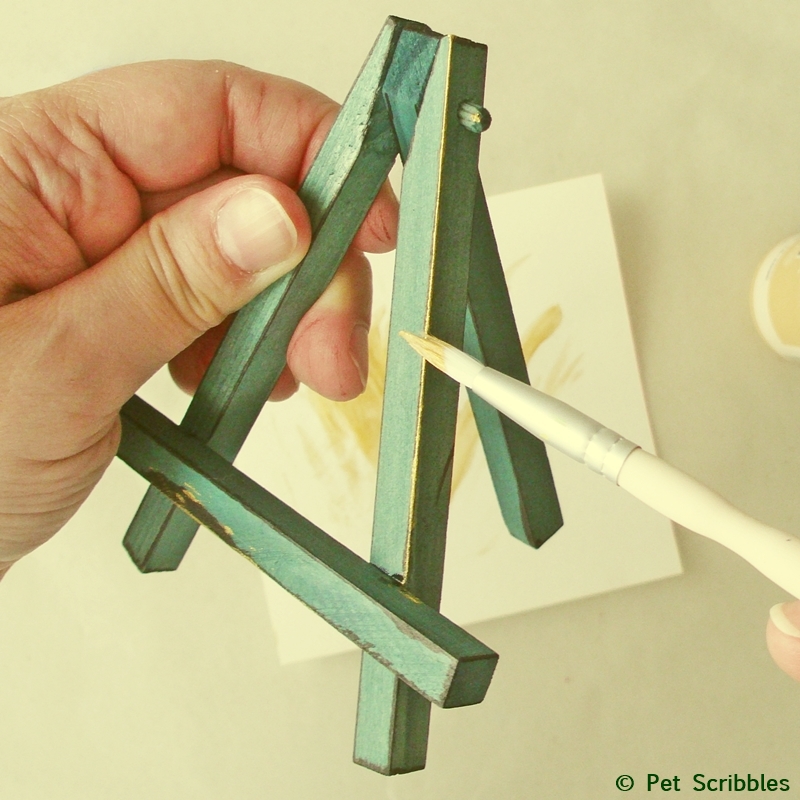
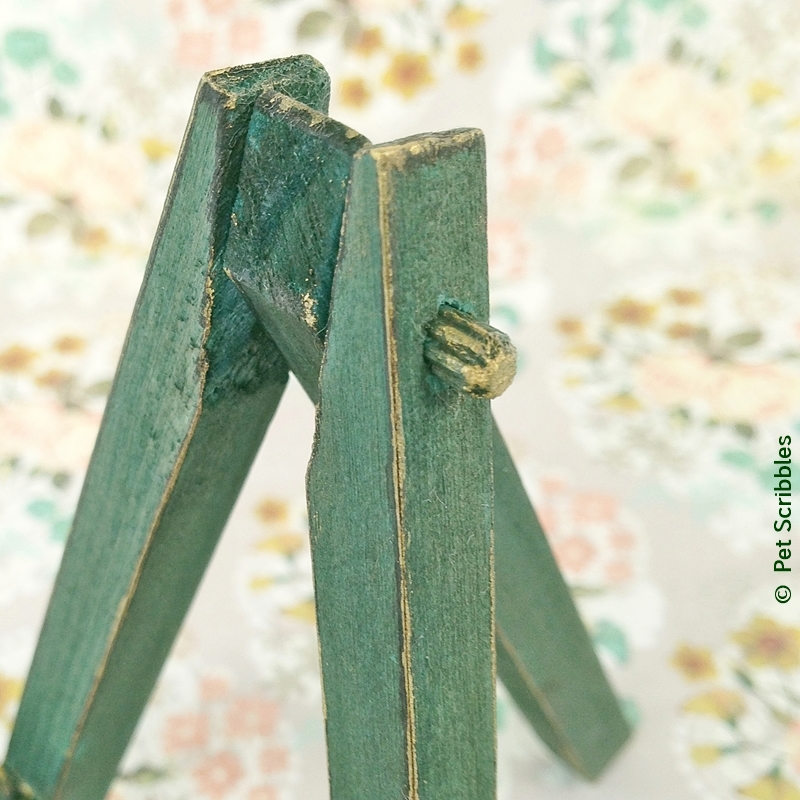
Step Three: Add gold metallic paint to the edges and corners of the mini easels using a small paintbrush with a fine tip. I wanted to play off the raised details on the antique book covers, which looked like they might have been gold at one point in their long lives.
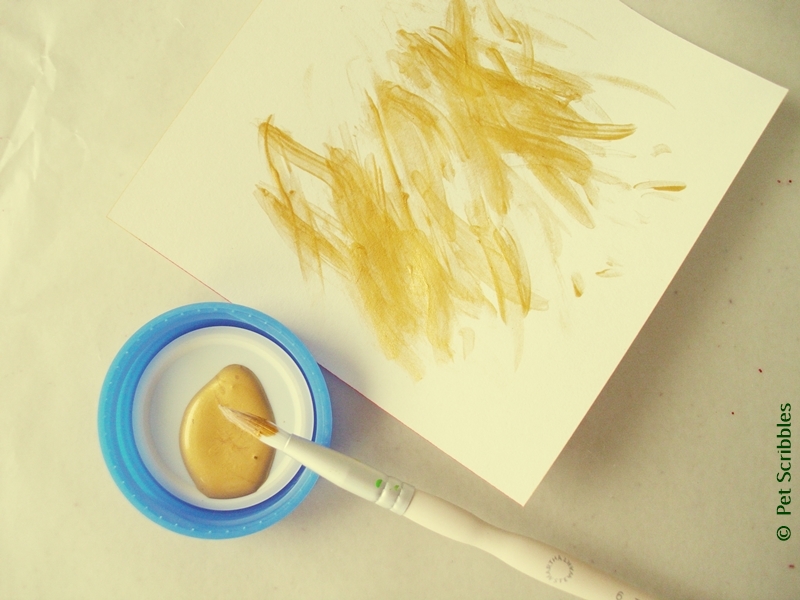
I dipped the brush into the paint, then wiped most of it off on scrap paper before applying to the mini easels.
It’s much easier to build up color than it is to take it off, so go slowly with this step and you’ll be rewarded with a really cool look to the wood!
Almost there!
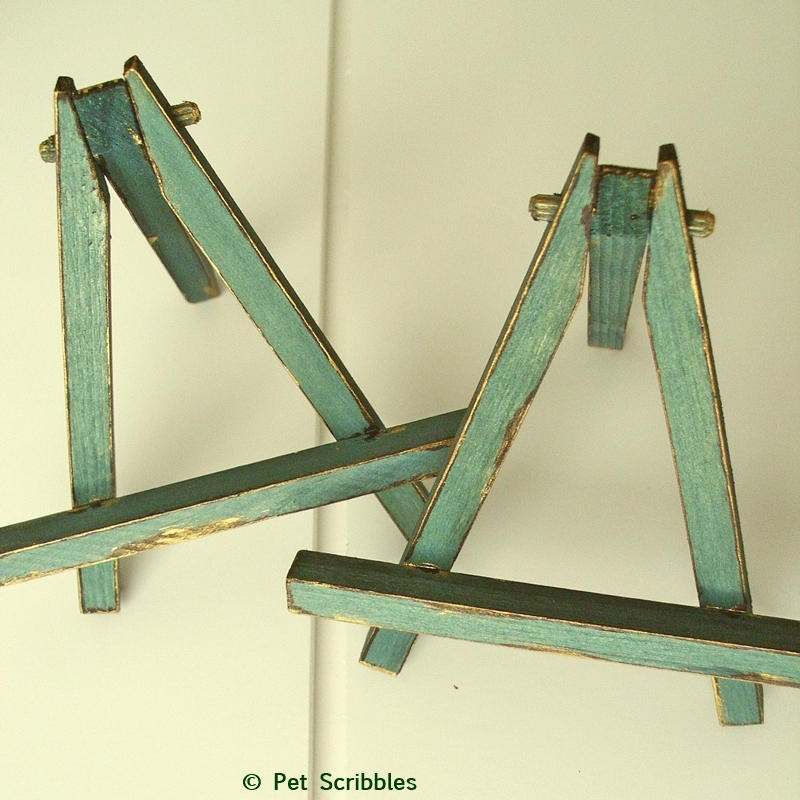
Step Four: Once the paint is dry, apply brown wax to the easels. Apply the wax with a cotton swab, to a small section at a time, then wipe most of the wax off with a white rag.
The brown wax deepened the dyed color of the wood and provided a better match to the color (and wear) of the antique miniature books. I let the wax dry overnight.
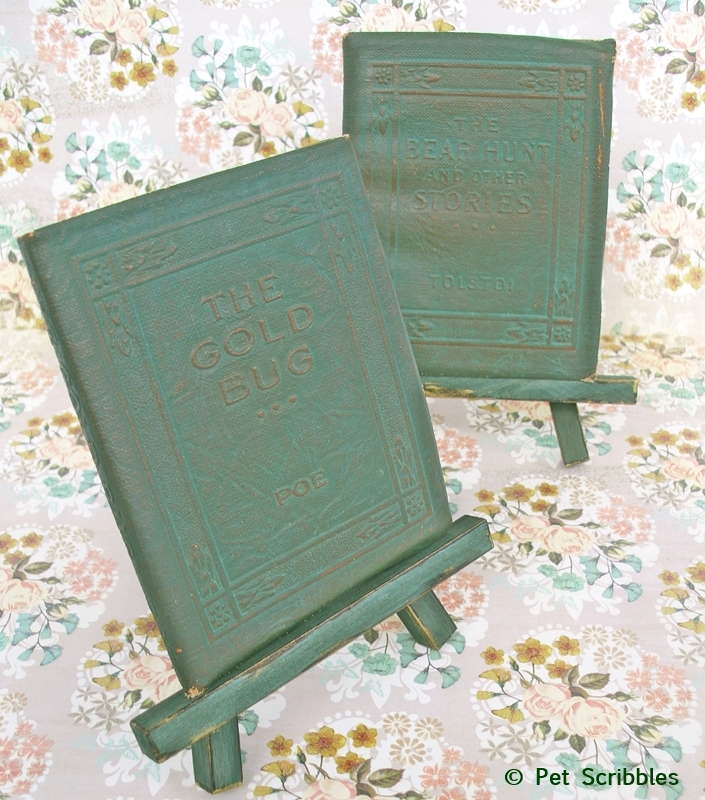
And now I have the perfect way to display our newest old books in our Library!
I’m so pleased with how they turned out! And using the brown wax, along with the marker and metallic paint, provided an excellent match to the little books!
Get some unfinished wood pieces from the craft store and try dying them. It’s much easier than it might look and doesn’t take much time at all for you to have something custom-colored to your home’s decor!
Happy crafting!
~Laura


Love these Laura! I featured you today. Have a wonderful weekend!
I was away and didn’t even realize you included my dyed and distressed easels as part of your Inspiration Pinboard! What a wonderful surprise to come home to! Thanks SO much! I love seeing your favorites each week and am thrilled you liked the easels! Thanks Carolyn!