Yesterday I showed you how I dyed several unfinished wood items that are commonly found at craft stores. It was easy to get a saturated color all over each wood piece, and I loved how quickly the wood absorbed the dye.
You can learn how simple it is to dye wood in my blog post: How to Dye Unfinished Wood. Simple title, for a simple technique!
I love the embellishing phase of crafting. I might start with an idea in my head, but how it changes and develops depending on what materials I use is always part of the fun, and part of the anticipation! And with that in mind, here are two styles of decorated wood boxes . . .
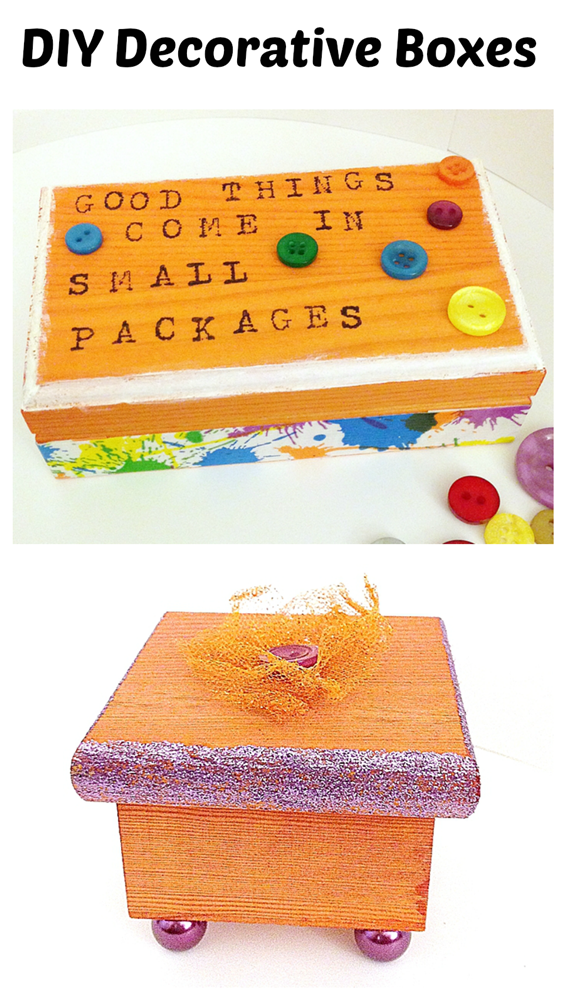
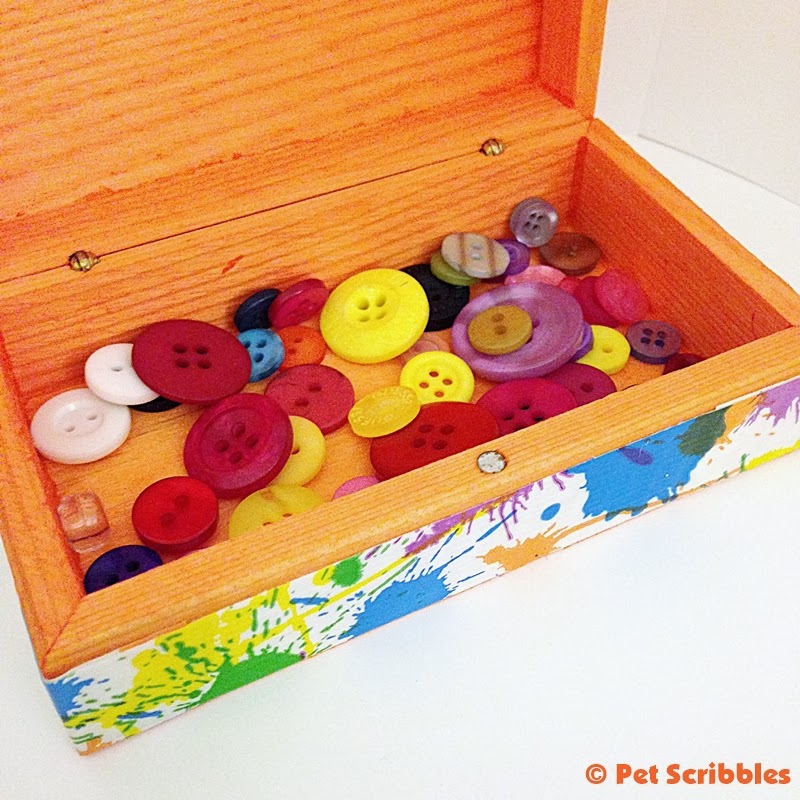
First idea: a playful button box!
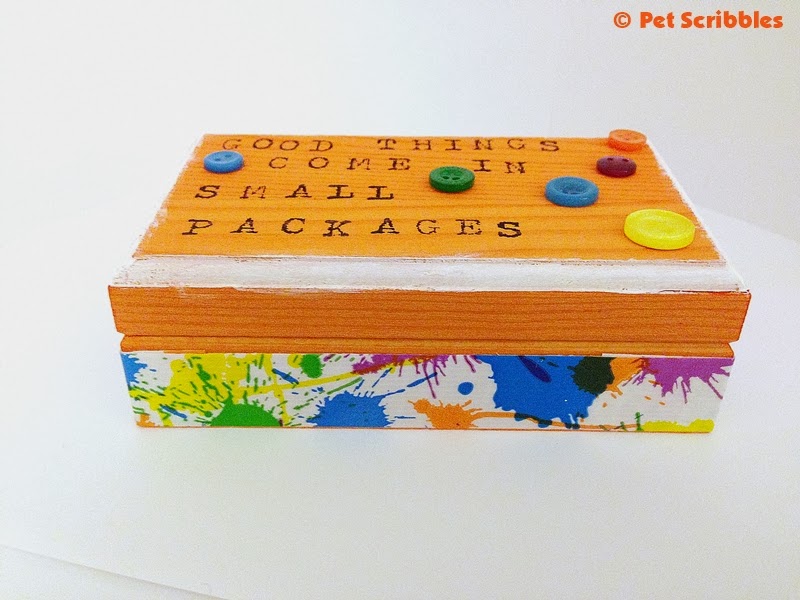
For this bright orange box, I decided to go with a modern, playful style.
Because of its small size – just 4.5″ x 2.5″ x 1.5″ – I thought it would be sweet as a pretty yet functional little box that holds buttons.
Decorative tape:
First I used a small Duckling size of Duck tape, which was the same size as the bottom half of the box, and wrapped it around the box.
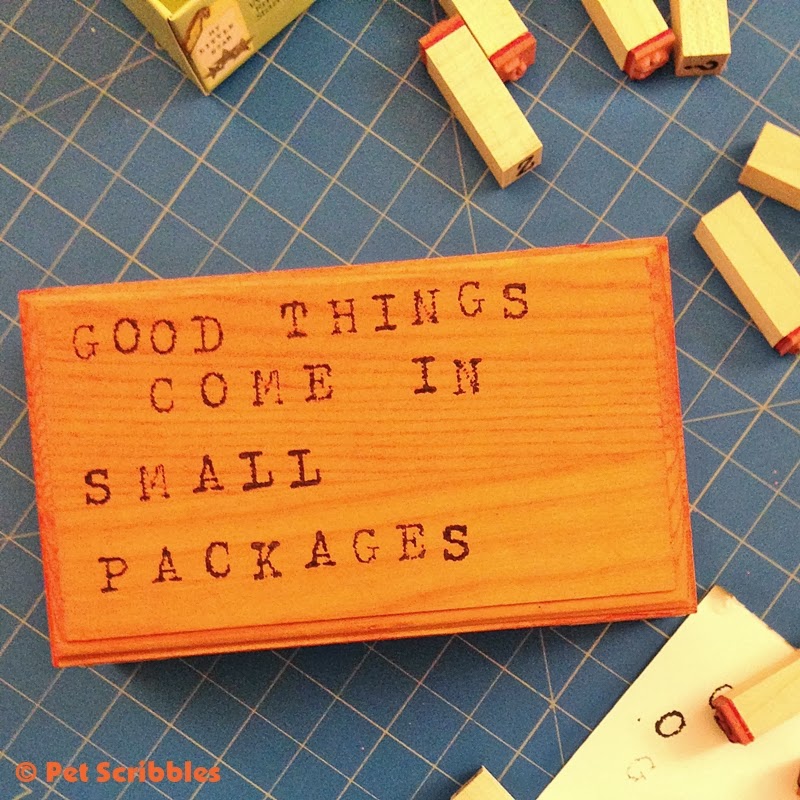
While applying the duck tape, I couldn’t get the phrase Good things come in small packages out of my head, so I stamped it on the top of the box using small alphabet stamps and Staz-On ink in black.
I love using these tiny stamps, because I always end up with words and phrases in a playful style. You often see words done in this way on cards and gift items in stores these days, as it’s a popular look.
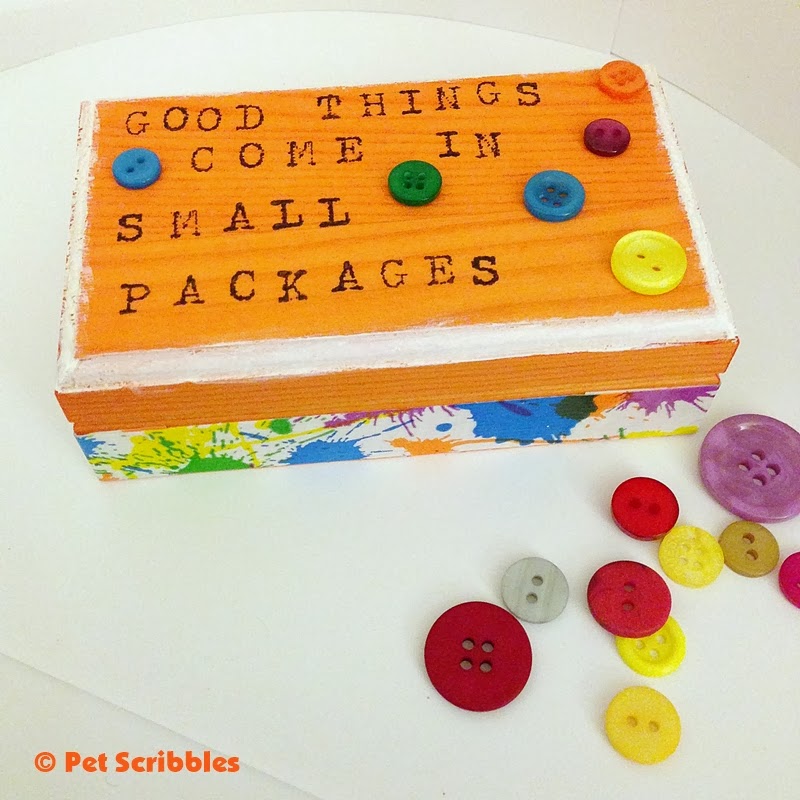
What’s a button box without buttons? Exactly! I chose some colorful buttons which matched the decorative tape and adhered them with mini glue dots onto the box lid around the words.
Border:
As a final touch, and to create more definition to the top of the box as if it was a framed piece of artwork, I painted the decorative edge of the lid in white craft paint, purposely letting some of the paint show up on the top as a border. Nothing precise here, as the less perfect the more playful it looks. (Just don’t get too sloppy!)
The last step? Add – or start – a button collection inside the box!
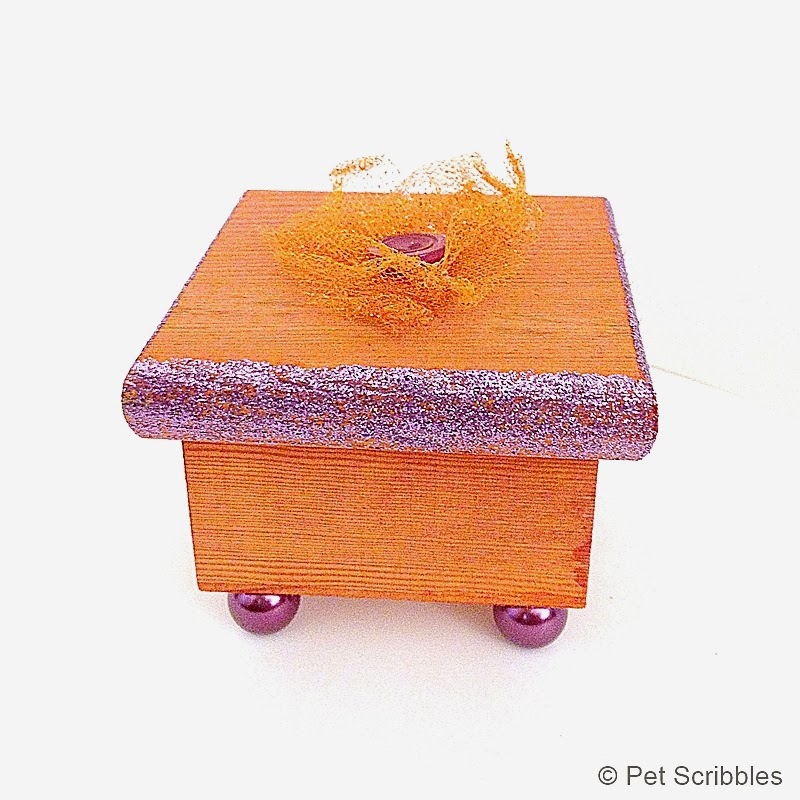
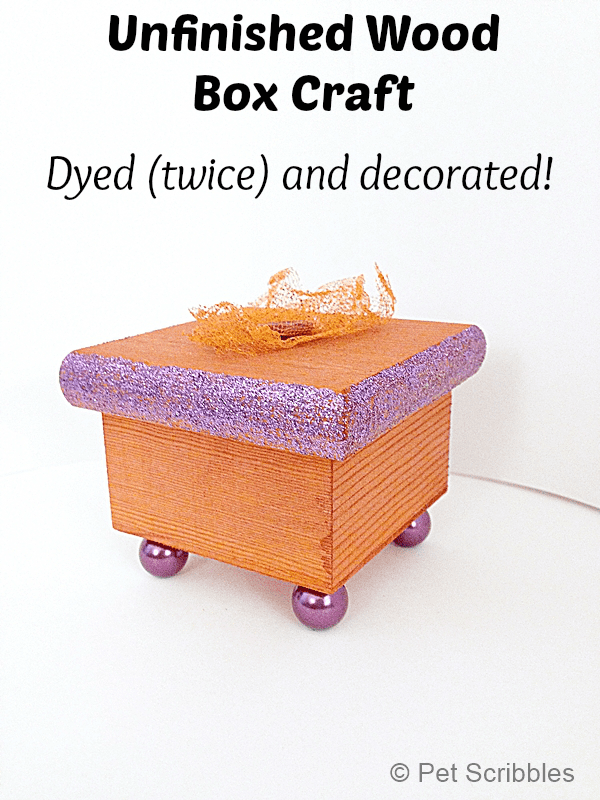
Second idea: a sweet and shabby weathered wood box!
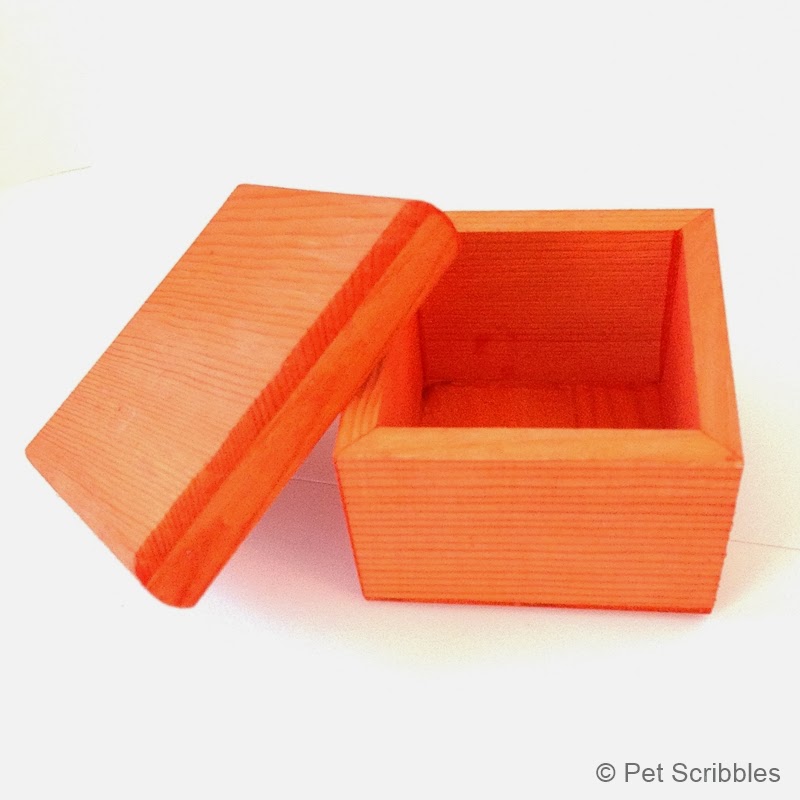
This box also started out unfinished, and also went through the same dye bath as the previous orange box.
I then dyed the box in a second color – a dark purple – before further embellishing it.
I’m sharing the full tutorial over at Live Creatively Inspired today, where I’m a guest contributor. Click over and learn how I put this box together!
Which style is your favorite?
I hope these two ideas inspire you to make your own decorative boxes. Because of the many styles and sizes of unfinished wood boxes available, as well as the myriad of dyes, paints, glitter, and embellishments, it’s easy to come up with something truly unique every time.
And with gift-giving season approaching, you can create something special for your best girlfriend, your daughter, or as a teacher’s gift.
So which style is your favorite?
Happy crafting!

Great ideas Laura, you are SO creative!
Awwww, thank you Malia! I’m so glad you like the boxes!
Wonderful ideas! My niece would love to make one of these for a jewelry or treasure box.
Thanks Paula! I think these boxes are perfect for a girl’s special treasures! 🙂
This is an idea that is right up my daughters’ alley! Thanks!
Sounds awesome Laurel! Definitely let me know if you or your daughter make some — I’d love to see what you create!