How to stencil a canvas tote bag! Join me on my visit to Cutting Edge Stencils where I learn the easiest way to stencil. Many stenciling tips to share!
As I shared in my post earlier this week, I had the big-time pleasure of visiting Cutting Edge Stencils in northern New Jersey with several of my fellow Hometalk blogging friends. And as promised in that post, today I’m sharing how to stencil canvas tote bags, with some very helpful tips from Janna and Greg, the owners of Cutting Edge Stencils. Here’s Janna and Greg. I loved their energy and warmth as they hosted us, fielded our questions and guided our stenciling efforts. Heck I just loved their energy and warmth in general. 🙂
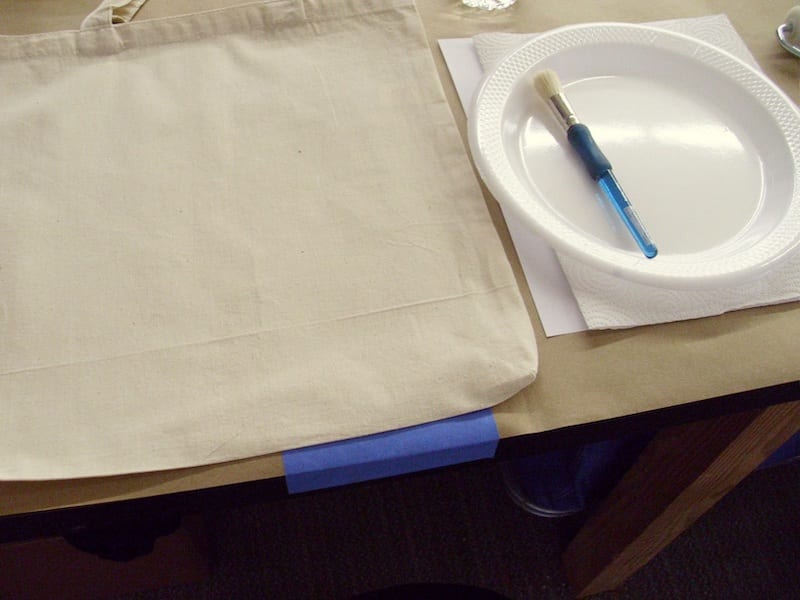
(Check out those fat stencil brushes in the photo above!) As you saw in my previous post, Cutting Edge Stencils set up a large worktable where each of us had a blank canvas tote bag, and to the right of it: a stencil brush, a paper plate, a few paper towels, and two sheets of copy paper.
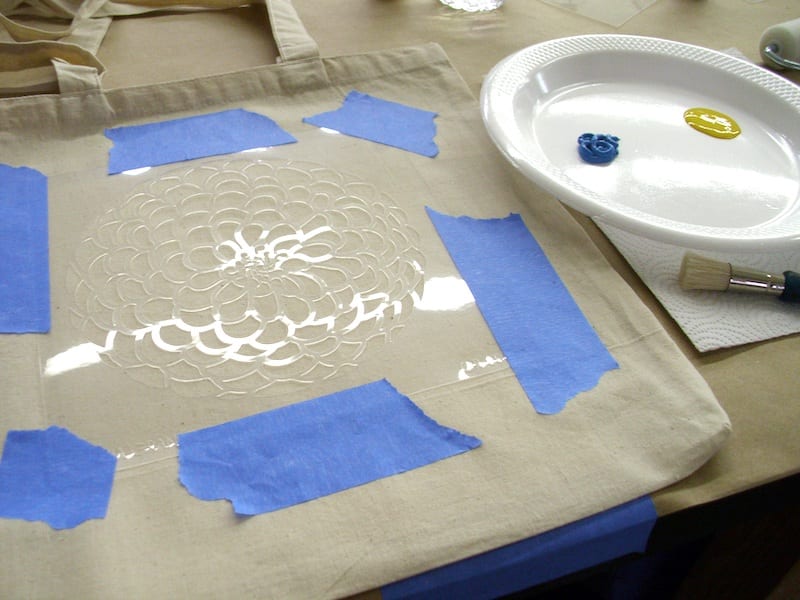
In the middle of the table was an incredible array of Cutting Edge Stencils for us to choose from, plus many different shades of acrylic paints to play with. I chose the Zinnia Stencil.
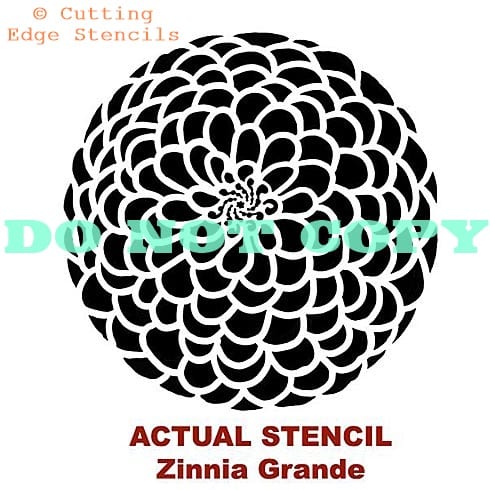
How to Stencil a Canvas Tote Bag
Step 1. Put something inside the tote so that your stenciling doesn’t transfer to the other side. We used the two sheets of copy paper.
Step 2. Position your stencil where you want it, and then use painters tape to attach it to the tote. You really don’t need as much tape as I used above. I kinda went overkill a bit. Ha!
Step 3. Choose your paint color(s) and squirt a bit onto your paper plate. I used basic acrylic craft paint that you can find at any craft supply store. Dip your stencil brush lightly into the paint so that just the tips of the bristles get some paint on them, and swirl your brush around on the paper plate a few times. Next, swirl your brush onto the paper towels to remove even more of the paint.
When it seems like you wiped off too much paint? That’s when you’re ready to begin! Although I’ve read that advice before, and had thought I’d done exactly that in prior stenciling projects, it wasn’t until I had Janna watching me that I learned I was still using too much paint. You truly don’t need your brush to be loaded with paint at all. A little bit goes a long way. Literally.
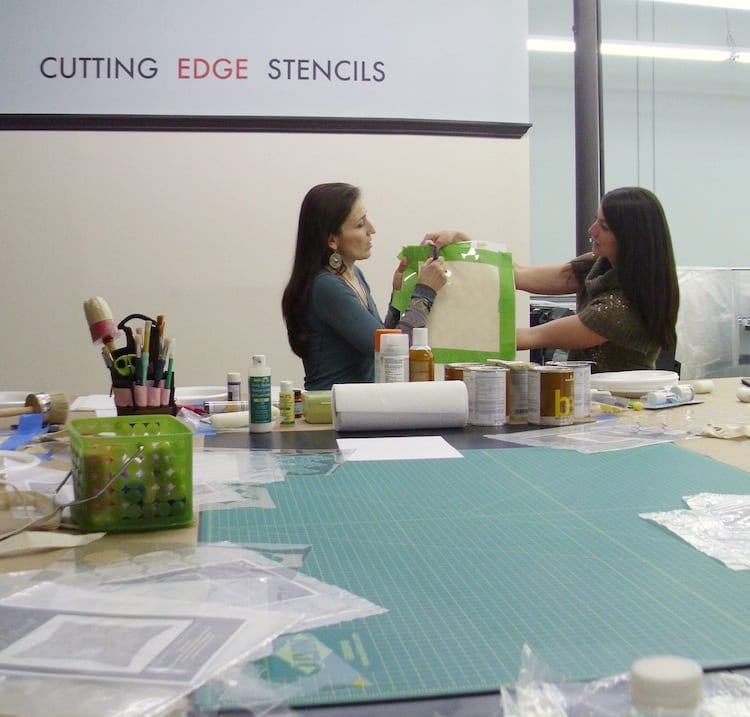
Here’s Janna (with Michelle who runs all things social media for Cutting Edge Stencils and is super nice!) demonstrating how to stencil.
Step 4. Begin stenciling with your first color. I chose a mustard shade for the center of the zinnia, and began happily pouncing away at that center area, like you see in the action shot I successfully took with my left hand. I pounced and I pounced and geez it was taking quite some time to get the color going onto the canvas…
Until Janna rescued my poor stencil brush from the accidental abuse I was giving it.
You see, you don’t need to just pounce and pounce and pounce. There’s a much easier and more effective way.
Janna showed me how to swirl the stencil brush around lightly on top of the stencil. Whether you swirl in a circular motion or back and forth (or some combination thereof), the key is to lightly dust the stencil.
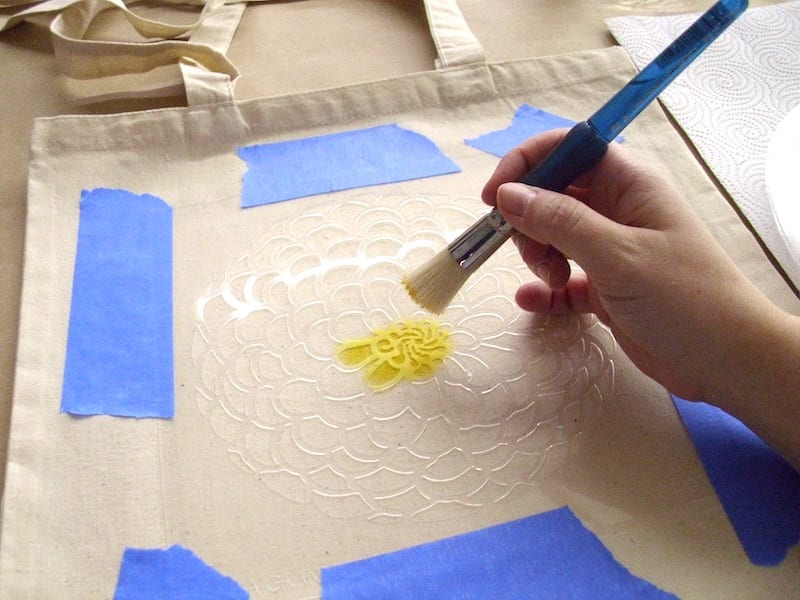
And you know what? The color went onto the canvas tote so much easier and much more quickly too.
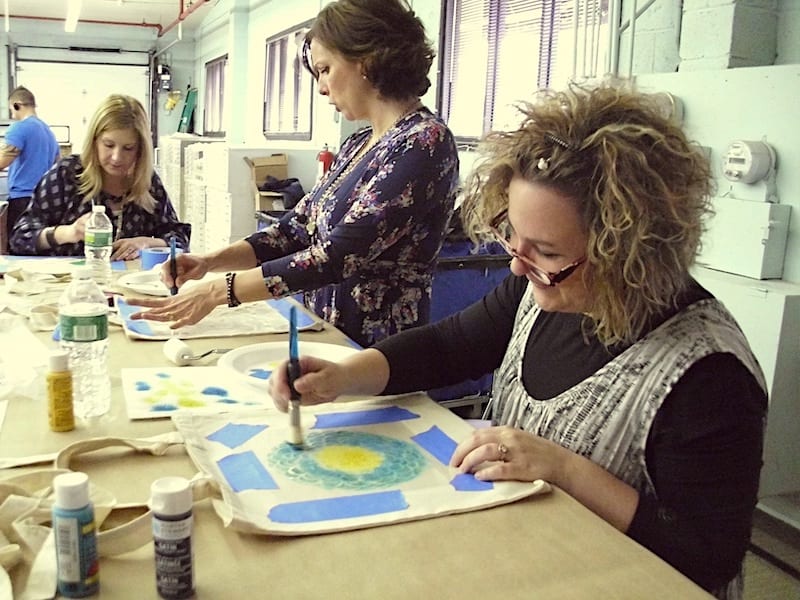
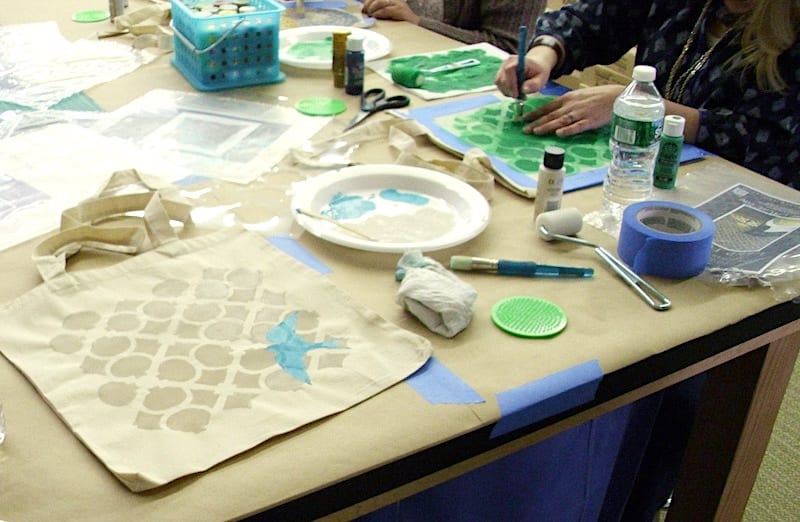
That’s Jen from City Farmhouse (far left) and Laura from Finding Home Farms working next to me. Below are their canvas totes and workspace. See those green circle “thingies” on the table? I’ll tell you what those are shortly!
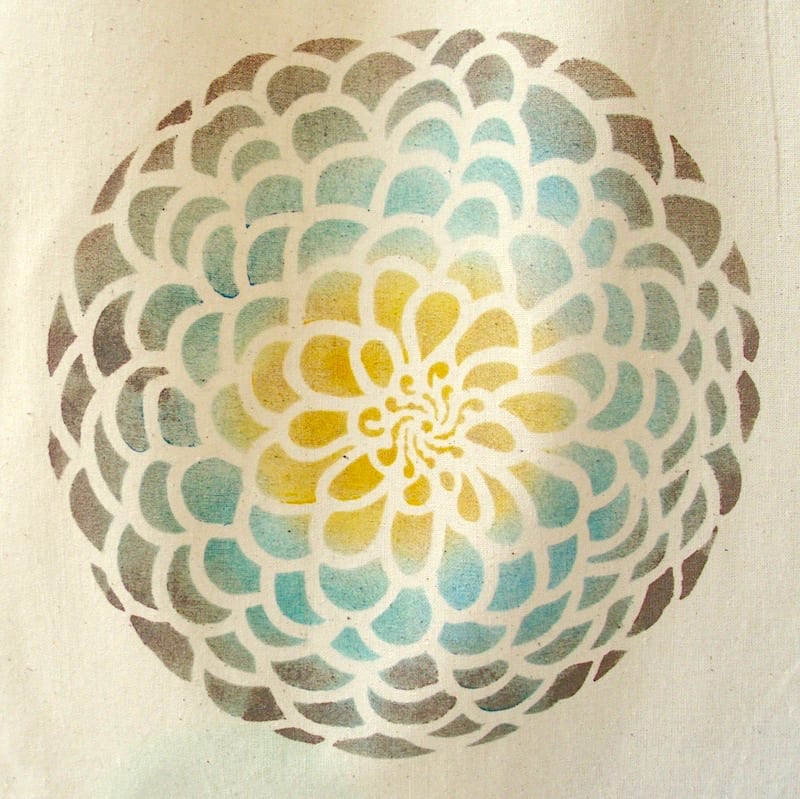
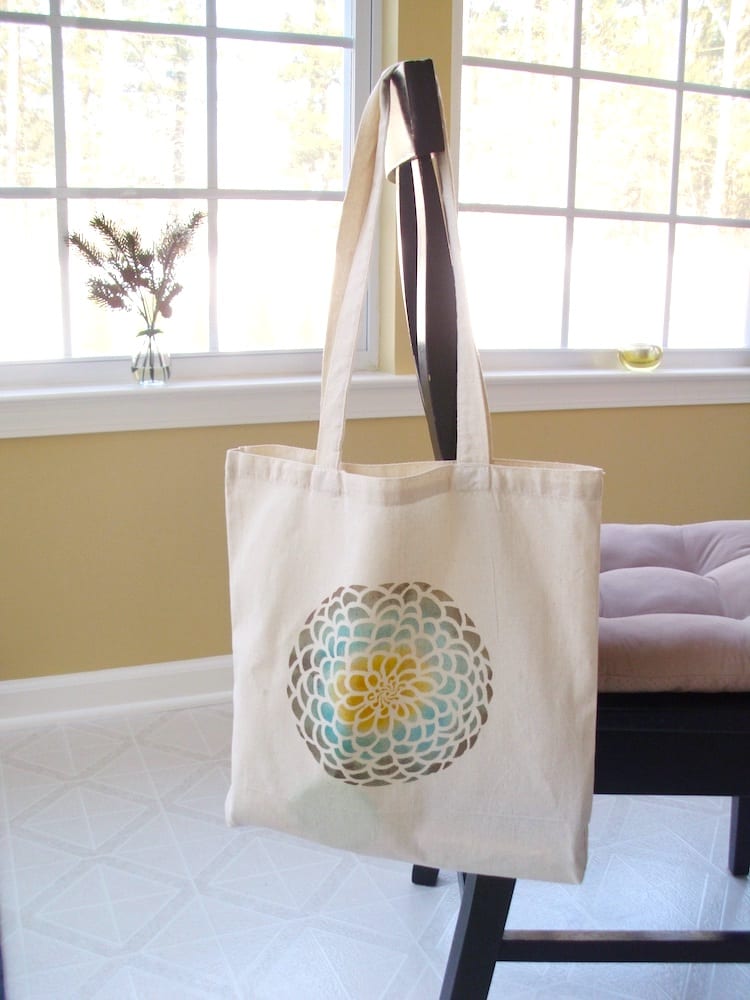
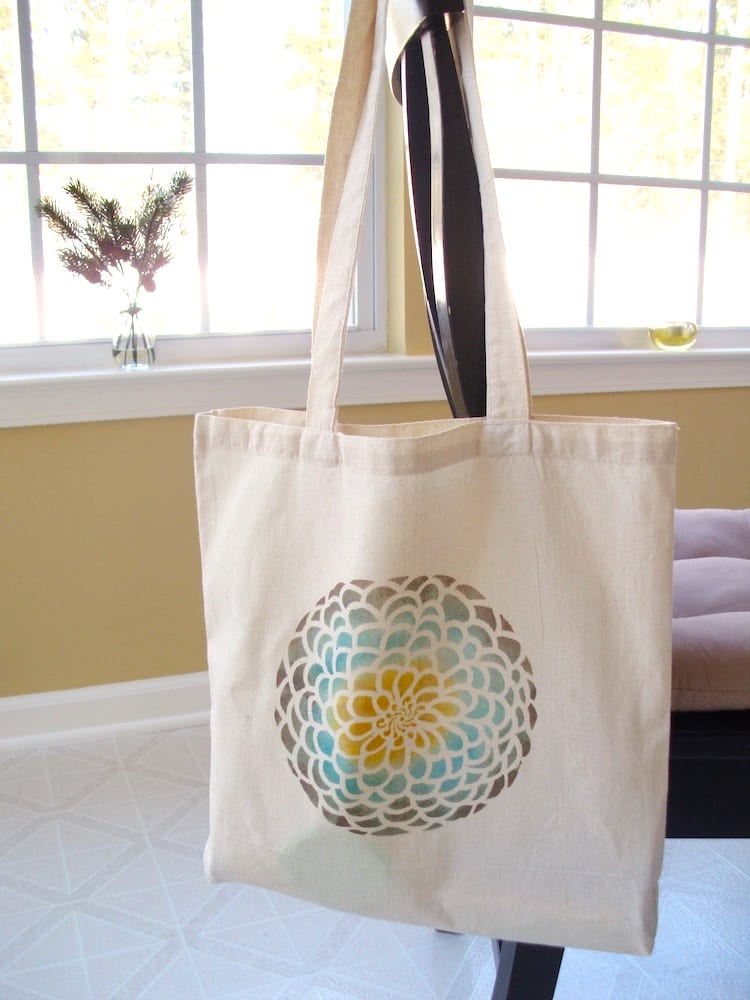
I really liked how the zinnia turned out!
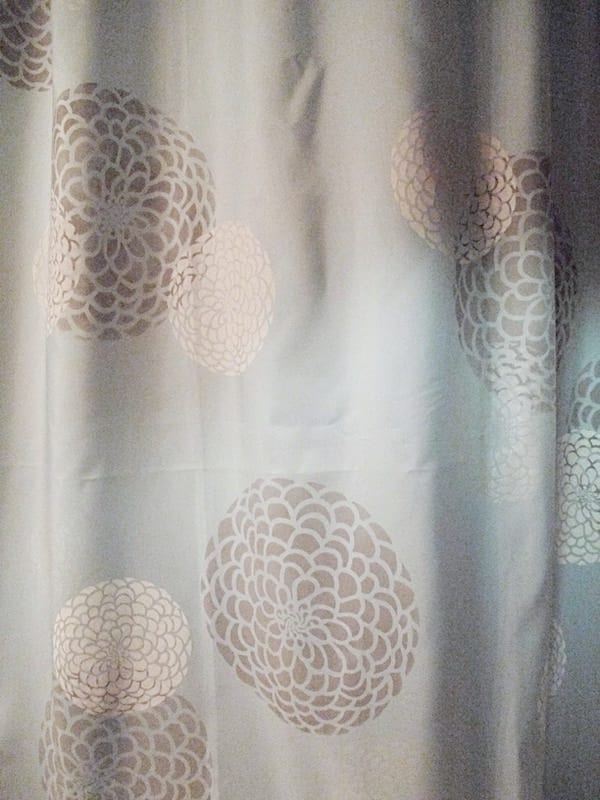
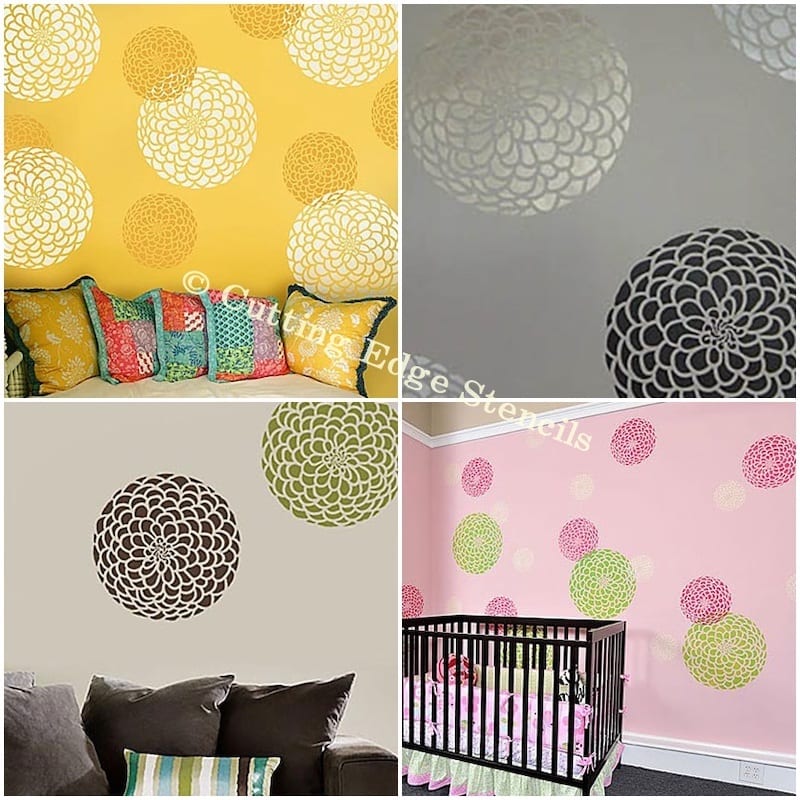
More Zinnia Stencil Inspiration
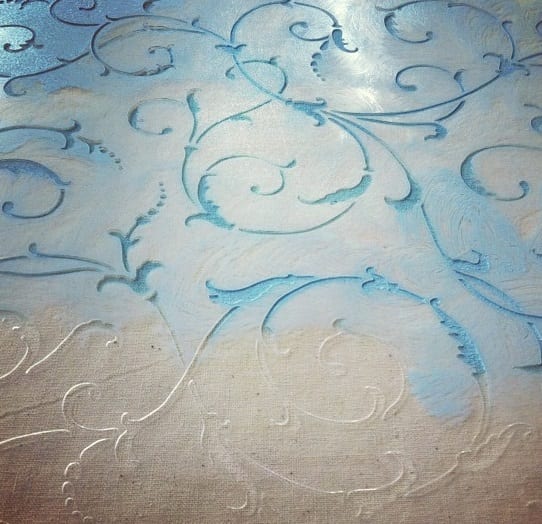
There was inspiration to be found everywhere at Cutting Edge Stencils, and the Ladies Room was no exception! Imagine my surprise when I saw these stenciled shower curtains with the same zinnia stencil! Nobody even questioned me when I exited the ladies room, grabbed my camera, and went right back into the ladies room and closed the door to snap these pics!
How are stencil brushes cleaned?
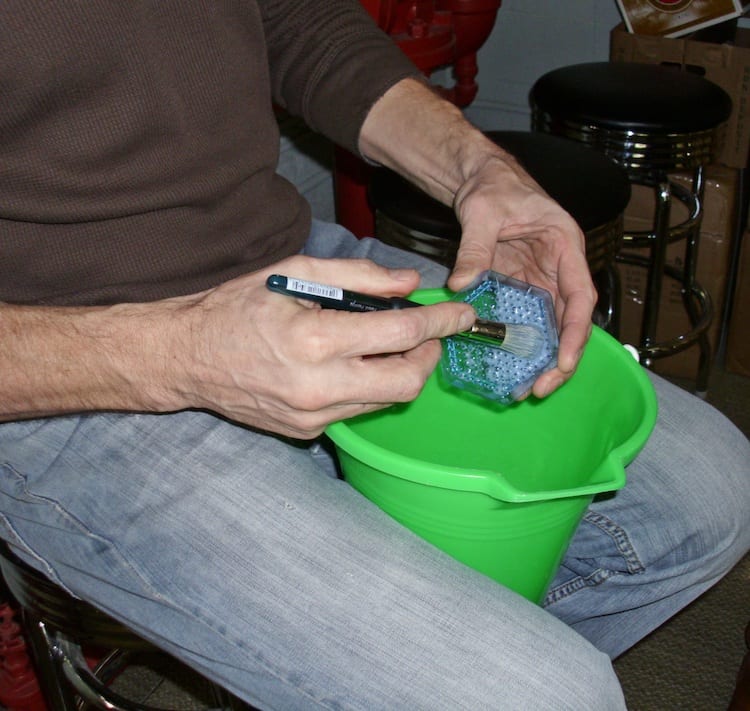
Remember the green circle “thingies” mentioned earlier? They are Stencil Brush Scrubbers – a super handy way to easily clean your brushes.
Below, Greg demonstrates with just some water and the brush scrubber how you can remove the paint from your brush without ruining the bristles. After you clean the paint off the brush, you just set it to dry. I like to either stick mine in a cup with the bristles facing up, or I’ll put the brush on the edge of a table with the bristles hanging over the side.
How are the stencils cleaned?
Stenciled bags by my fellow blogger friends!
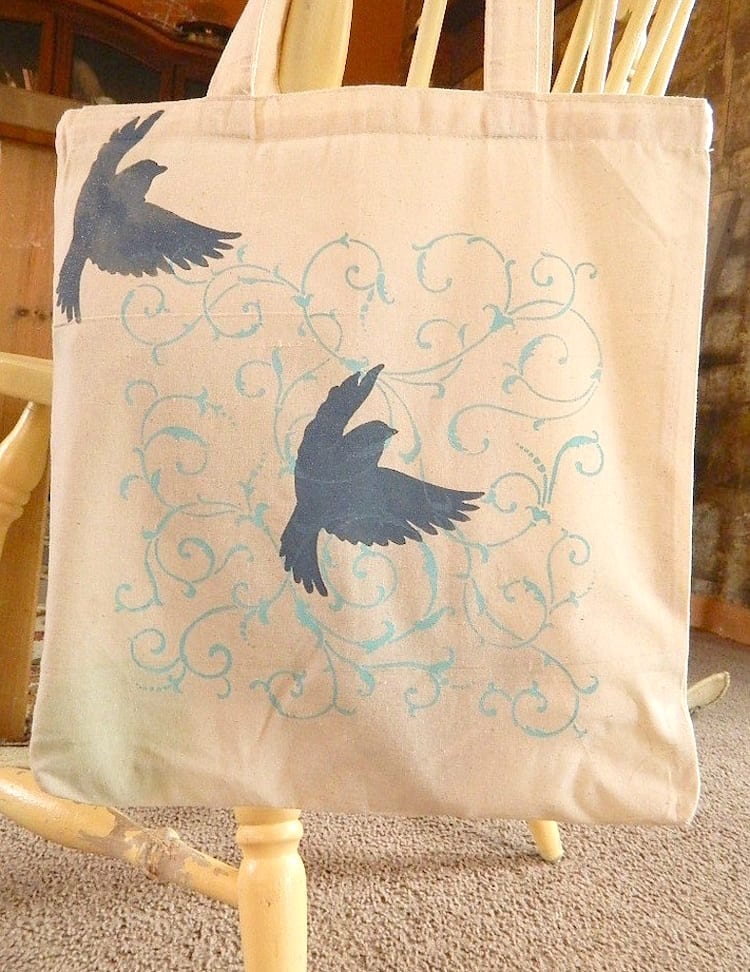
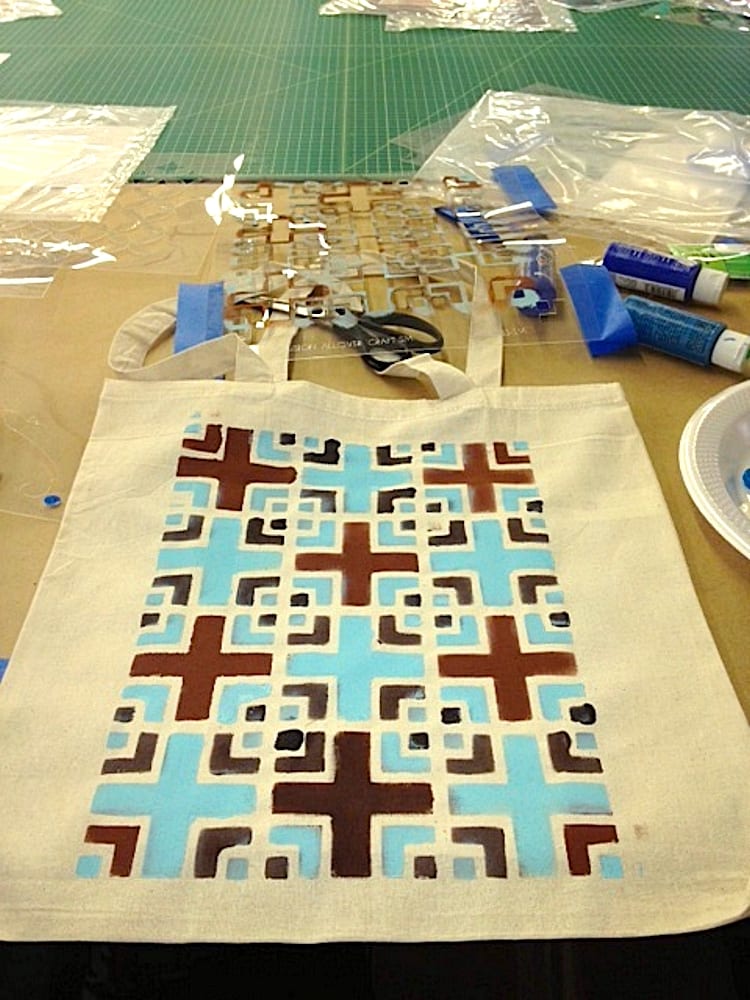
Here’s Kelly’s from KellyElko.com:
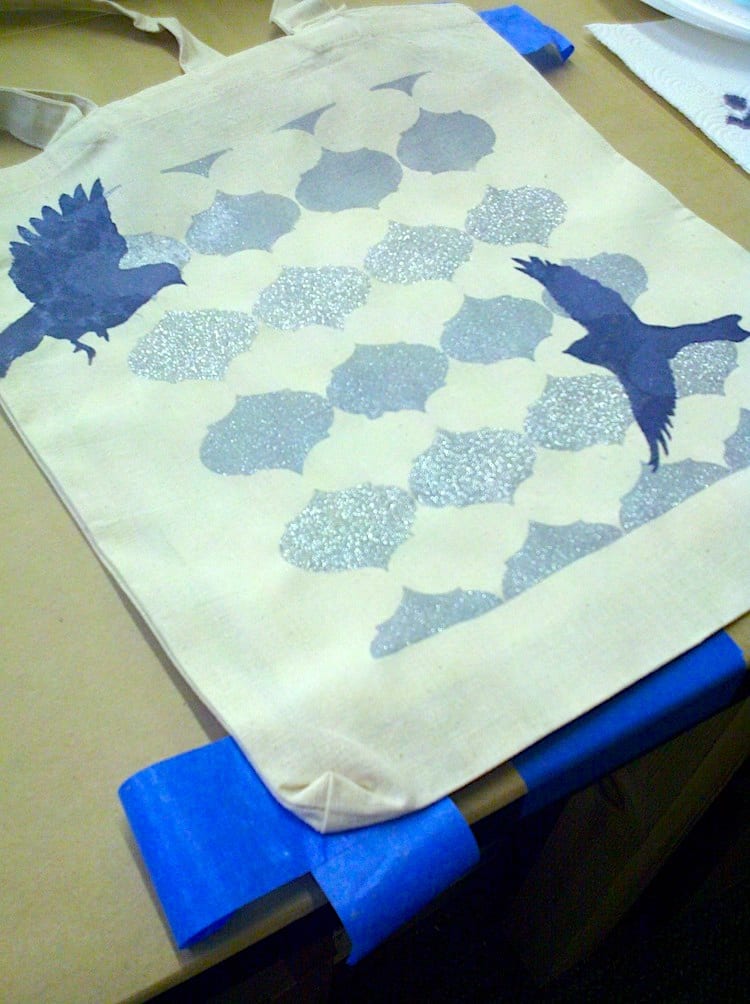
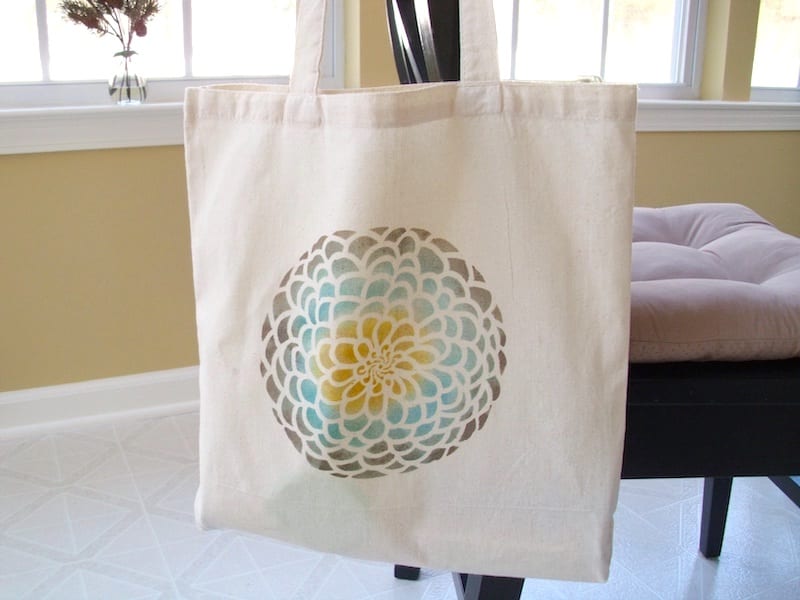
And here’s mine in our breakfast room, ready to take on all my errands!
So there you have it!
I hope you learned not only how to stencil a canvas tote bag, but also some handy tips and tricks too!
You can bet I will be stenciling more often, both big and small projects. I totally love how easy it is to get such professional-looking results!
How about you?
Have you stenciled anything big or small? Will you try it now that you see how easy it is?
I hope so!
Happy crafting!


Laura,
What a fun project! It looks like you all had a great time!
blessings,
karianne
Glad the fun factor came through in my post! Thanks Karianne!
Laura, do you just use regular acrylic paint or is there a washable variety that works better on something that may go in the wash? Looks great!
Hi Bernadette, yes I used regular acrylic craft paint on my tote bag. You can add fabric medium (optional) to your acrylic paint to help make the paint less stiff, which can happen depending on what design you use and how thick your paint is on the fabric. If you want the fabric to be washable, adding fabric medium to your acrylic paint and also heat setting the finished design will make it washable. There’s also fabric paints and fabric pens that you can find at most big-box craft stores which, following the manufacturer’s directions, will make your project washable. Hope this helps! (I can picture your wonderful cat paintings on tote bags!)
Laura, I’ve used professional-quality iron-ons and decorated with lots of washable fabric paints, but I’d love to use some of my acrylics, especially to make things to coordinate with my keepsake boxes. I’d added gel polymer years ago to make paints washable, and I’ve also used acrylic screen printing ink and heat set it with my iron. Guess I’ll see how it all turns out!
Wow Bernadette, you have tried all kinds of things! I hope you will be able to match up some totes with your keepsake boxes, as that would be lovely for your customers!
Yours is so cute – what a fabulous day we had! And that bag will be the perfect reminder of our meet up!
Kelly
And I love how your glitter painting turned out on your bag! Definitely a fun reminder, and I think I’m going to add some bows or ribbon to mine. 🙂
🙂 wonderful post girlfriend! xo <3 Thanks for the shoutout!
xo
Evey
You are most welcome Evey! Absolutely loved finally being in the same room together – way overdue! 🙂
So cute!! Thanks for showing me how…I just had a stencil project go wrong…wish I had seen this before I started it. 🙂
Thanks Niki, and listen up: one thing that both Janna and Greg told me was that you can usually cover up any mistakes with paint, or another stencil design, and nobody will know! (You might, but…) 🙂
Sounds like you guys had a really fun day! I love your bag!
Oh Ginger we did! I highly recommend get-togethers with fellow bloggers! I think even if we were crafting on our own, we would have learned some fun things from each other. Learning from the pros at Cutting Edge Stencils was the proverbial icing on our cake! 🙂
I found you from the blog hop. I’m so glad you shared this. The zinnia is great!
Thanks for stopping by Jeri! Glad you like the zinnia!
Such a nice job……….Thank you for sharing with the Clever Chicks Blog Hop this week; I hope you’ll join us again!
Cheers,
Kathy Shea Mormino
The Chicken Chick
http://www.The-Chicken-Chick.com
Thanks Kathy! Yes I’ll definitely join you again – love your blog hop! 🙂
I love that zinnia stencil … it looks entirely different depending on the color of paint you choose!
I agree Randi, that’s what so amazed me when looking at all of their Zinnia examples. And now I’m starting to notice the Zinnia motif in catalogs… Coincidence? 🙂
Those are great looking stencils–wonderful end results!
Glad you liked the post, Shannon! Thanks for stopping by!
Love this! Stencils are a favorite of mine and all the projects turned out fabulous!
suzy
I can see why you love stencils Suzy, as they are my new-found love too!
I love that pretty bag! It’s the perfect amount of simplicity but with interest through the colors you chose. Sounds like such a fun day hanging with all those awesome bloggers!
Kelly @ View Along the Way
http://www.viewalongtheway.com
Thanks Kelly! I wanted to use colors that you wouldn’t normally see on zinnia flowers. 🙂