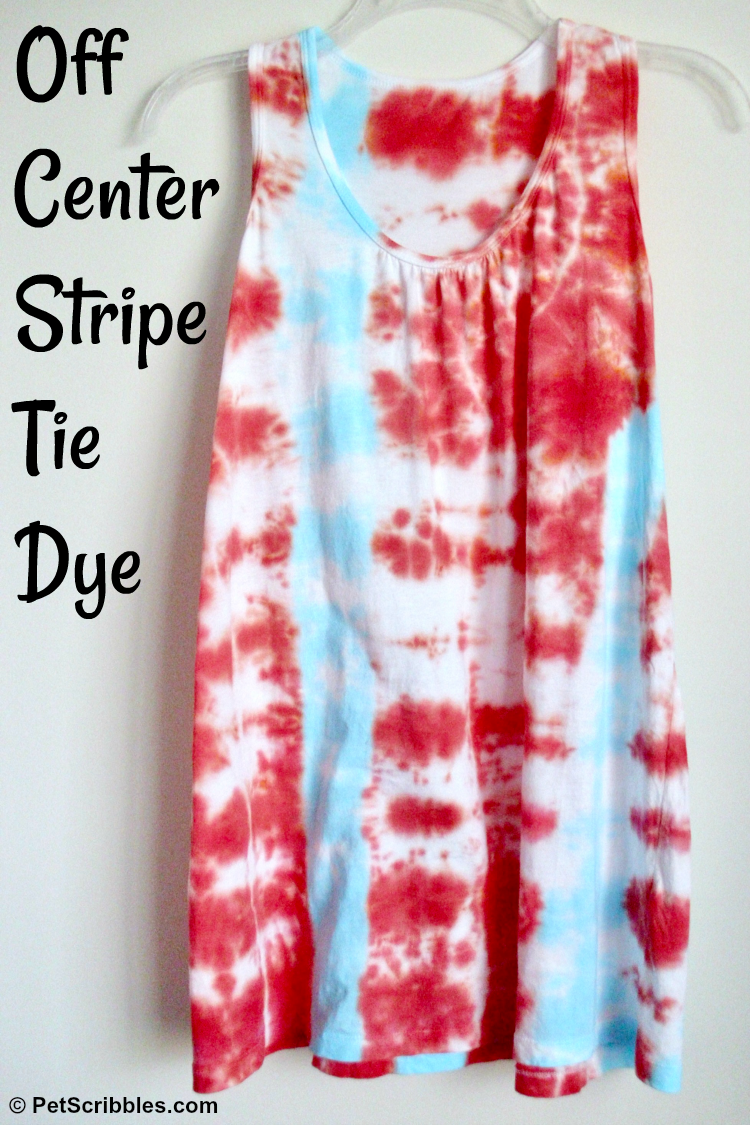
Easy off-center stripe tie dye tutorial — awesome step-by-step with photos showing exactly how to create your own t-shirt or tank top! Perfect for Summer!
Hi everyone! Last week, I showed you my fun tie dye project where I used a glue resist to make some fun designs using Tulip’s Tie Dye Kits.
You can see the entire tutorial of the cute pale pinkish-lavender top by clicking here.
Since I was asked to try out the Tulip tie dye products by ILoveToCreate — and was having so much fun with them — I ended up creating three different Summer tank tops for me. And just in time for the heat wave headed our way later this week!
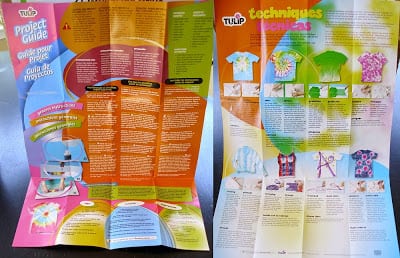
As I mentioned in my previous tie dye post, each Tulip kit includes a helpful two-sided poster filled with tips and techniques:
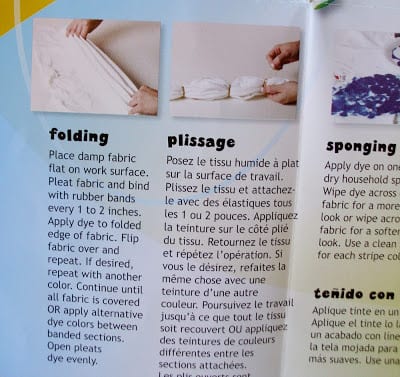
And “folding” is one of the techniques explained on the poster:
Once I read the instructions, I did some internet surfing and found a good folding technique video from Tulip (surprise!). After watching the video, I decided it would be fun to create an off-center stripe down the front and back of my top.
For materials and supplies needed for tie dying, definitely check out my previous tie dye post to see photos and a list of everything you will need.
As well, I used garment blanks that I purchased from Dharma Trading.
Helpful tip: Using Tulip tie dye kits make tie dying so easy. I’ve included some links to Tulip kits at the bottom of this post.
Easy Off-Center Stripe Tie Dye
For this technique, you want to start with a damp surface. And if your garment is new, make sure to wash it first before dying, with just a small amount of laundry detergent, to remove any sizing.
STEP ONE
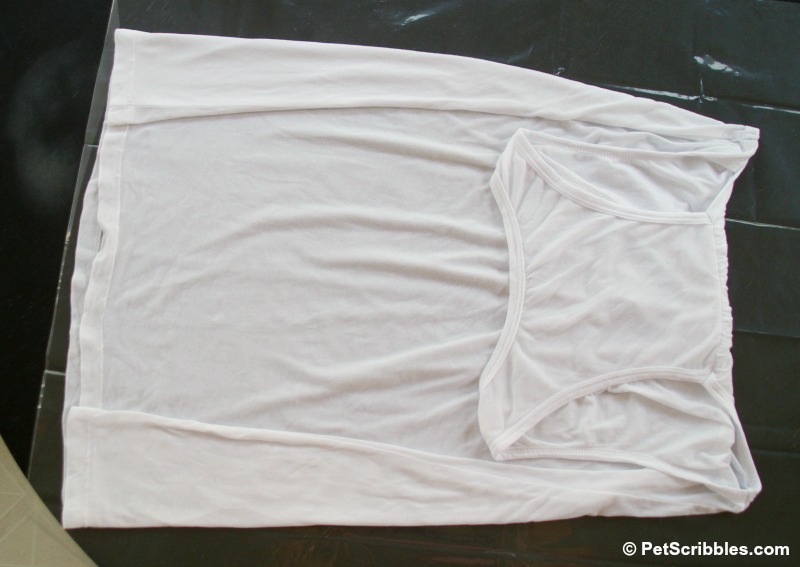
First, I turned in the sides, and turned down the top, to make more of a square-ish shape to begin folding.
STEP TWO
Next, I folded the top in an accordian style – think of those paper fans you made as a child. You did make those, right?
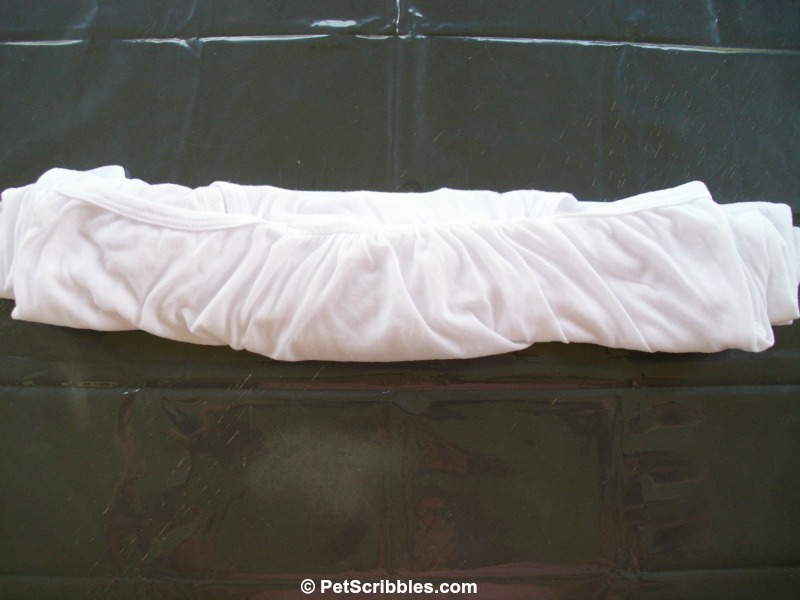
Extreme close-up view of the accordian-style folds, as shown with the green lines:
STEP THREE
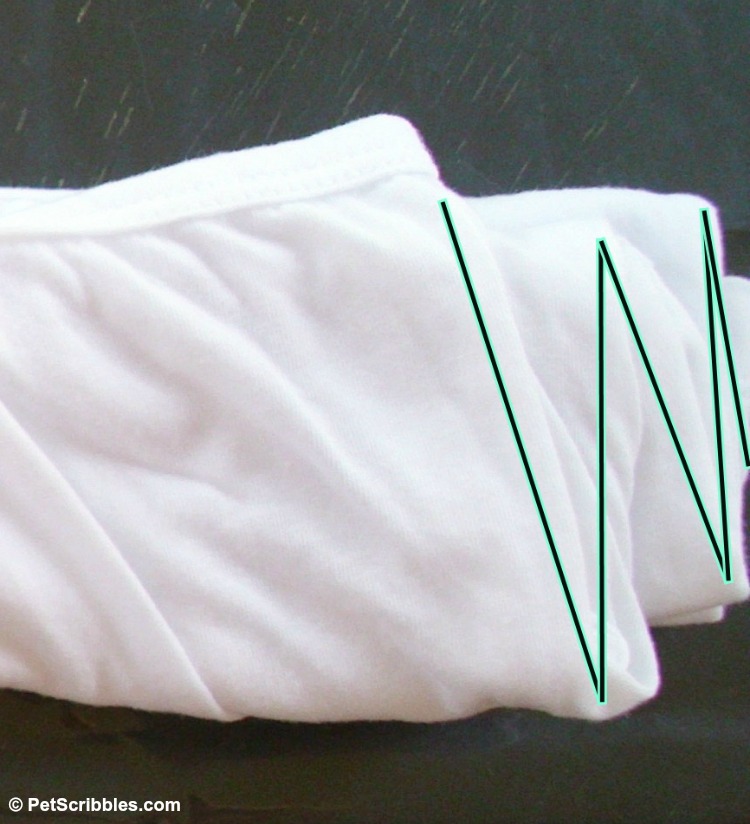
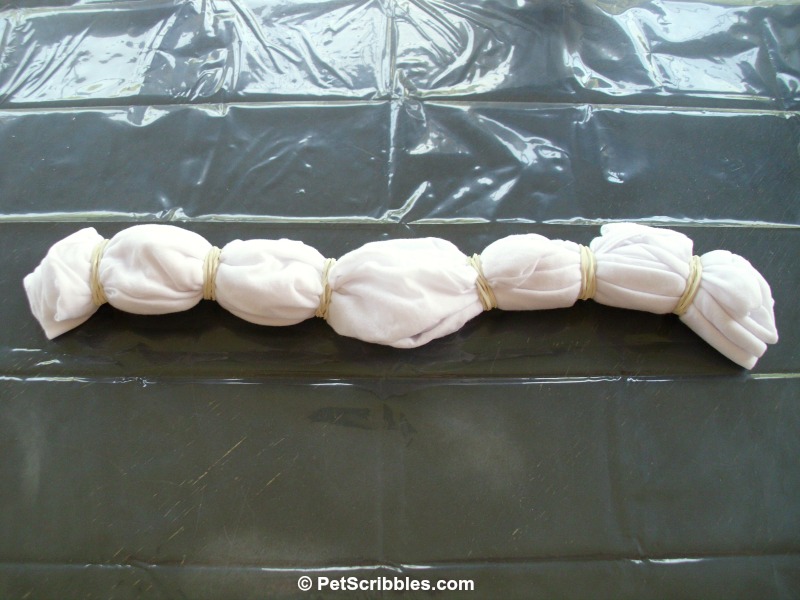
Decide how many sections you want – I chose 7 sections as I purposely wanted an odd number – and rubberband every few inches.
STEP FOUR
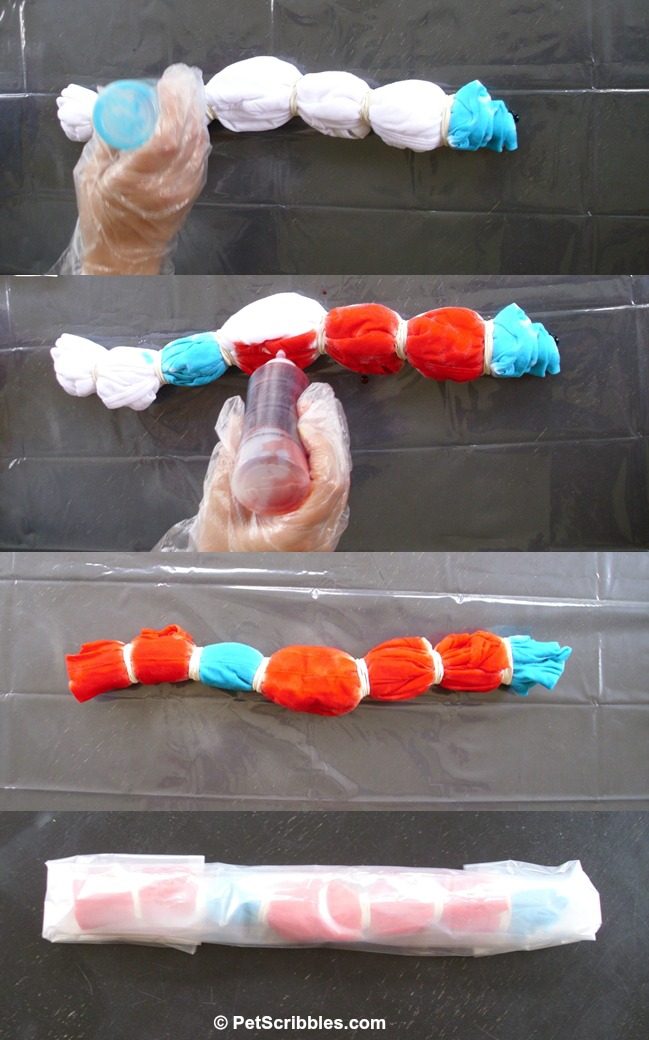
Choose which sections will be dyed with which color, and apply the dyes to the garment. I wanted my vertical “stripe” to be on the side seam, as well as off-center on the shirt. I applied teal first, then the orange. Next, I wrapped it in the plastic and set it aside for 6 hours.
STEP FIVE
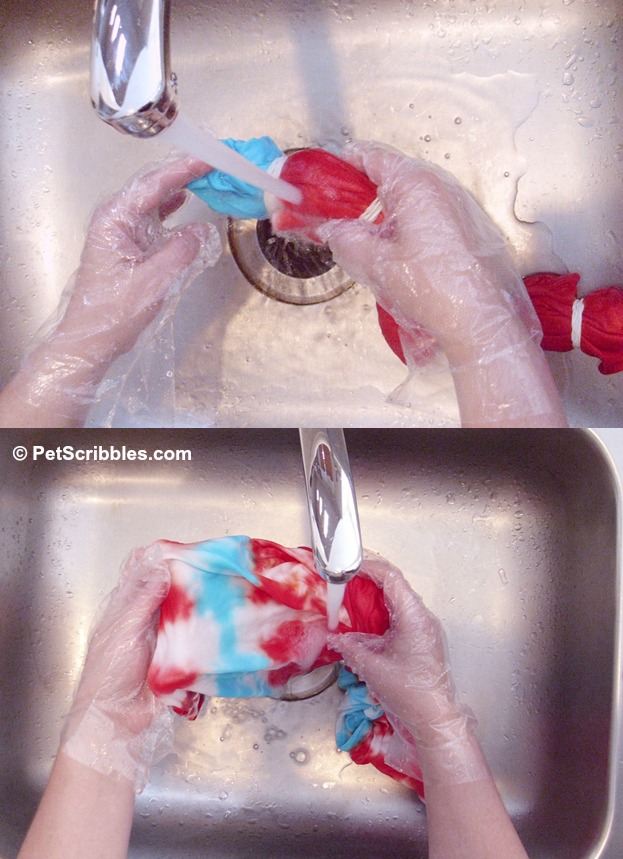
Time to rinse! I kept the rubberbands on during the initial phase of rinsing, and then removed them and continued rinsing until the water ran clear.
STEP SIX
Time to wash!
Set your machine to a large load setting, and use the hottest water appropriate for your garment with just a tiny bit of laundry detergent.
I actually used cold water, because that’s just what I usually do with my Summer tops, and the top came out just fine.
Pop the top into the dryer, again on whatever setting is appropriate, or just hang it up to air dry.
That’s it!
Here is the front:
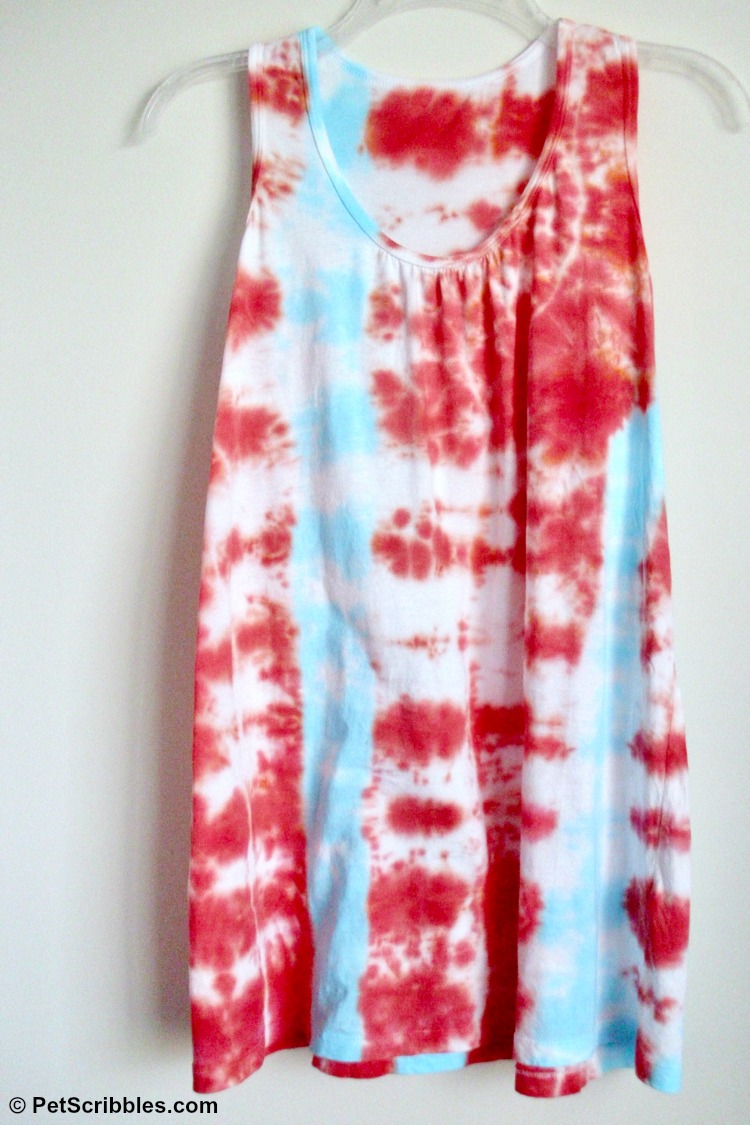
And here is the back:
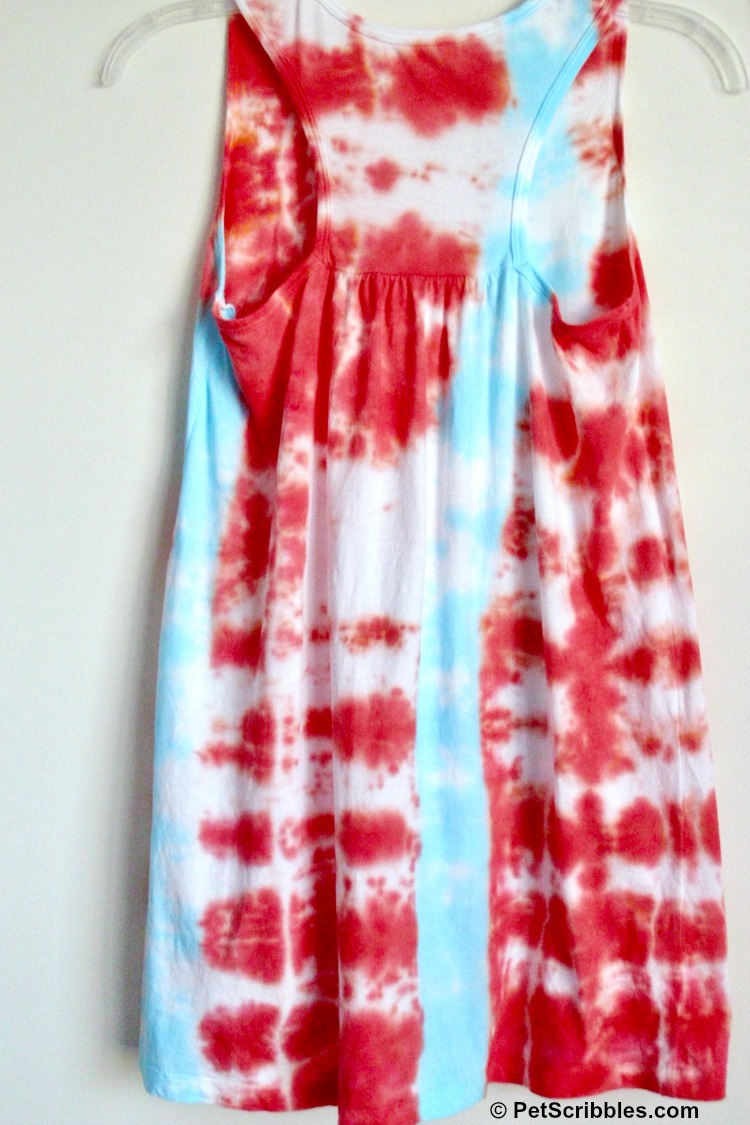
I’m really happy with how this top turned out, and again – I am amazed at how easy it is to create some fun Summer tops in the trendy tie dye styles so popular right now!
Disclosure: I wrote a previous tie dye post (you can see it here) as part of a paid campaign but this post is just me playing with the Tulip Tie Dye Kits a bit more as it was just that much fun!
Happy crafting!

I never thought of folding the shirt width wise and then length wise. It makes a cool design.
Thanks Lisa! I did the same technique on a t-shirt of my husband’s and I think it came out even better, in a teal and lime green combo. Hoping he doesn’t want it so I can wear it, although it will be a dress on me!
So cute Laura plus I love the shape / style of the shirt you used.
Thanks Carol! The shape/style is one of my favorites too: keeps me cool in the Summer and also a bit “forgiving” too…when I have a bit too much to eat at a BBQ!
Hi Laura! Just stopping by to let you know I’ve featured this in a fun 4th of July round up on FamilyCorner.com Thanks for the great idea! http://www.familycorner.com/family/10-fun-crafts-and-recipes-for-july-4th.shtml
Oh wow Amanda – thank you SO much! I just went to check it out, and I’m honored to have my tutorial included among such yummy patriotic treats and fun projects! Happy (early) 4th of July! 🙂
I love the tank. Where did you get it?
Thanks for asking! You can click on the link in the paragraph that begins “For materials and supplies needed…” to see where I purchased my tie dye blanks.
Where did you find your plain white racerback tank?
You’ll find the link in the 5th paragraph in the post above, that begins with, “For materials and suppplies…” 🙂
Love tie dye and thinks these are so creative. I’ve experimented with this design type before and it turned out great too.
Thanks Haylee! Tie dying is definitely fun!