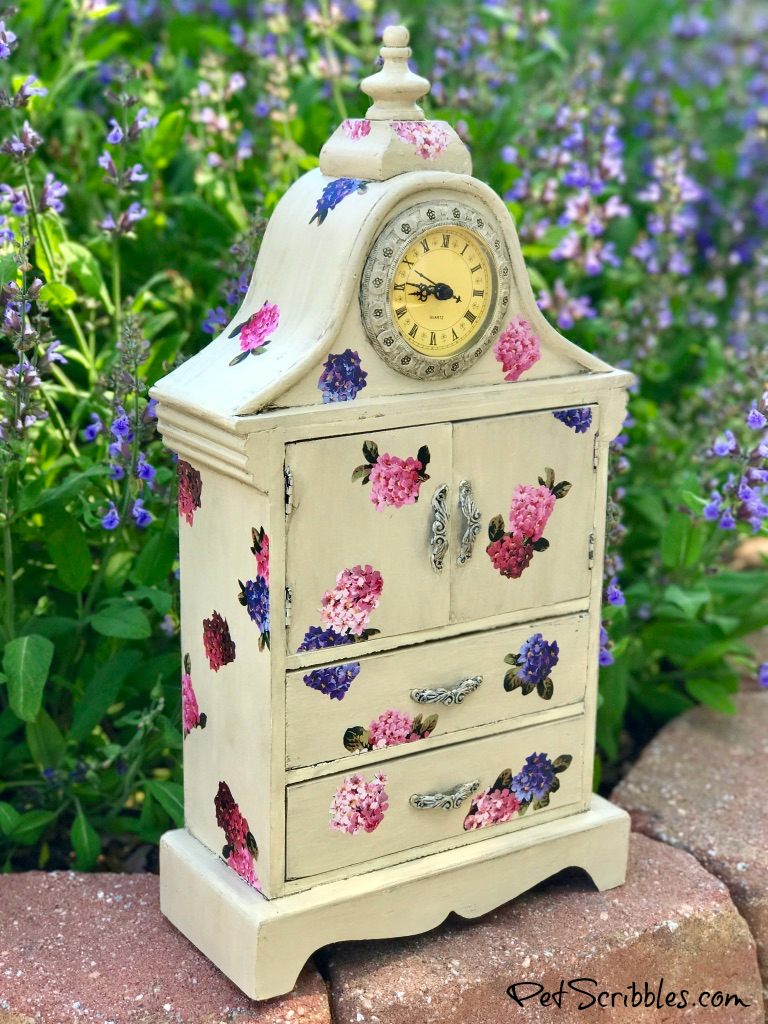
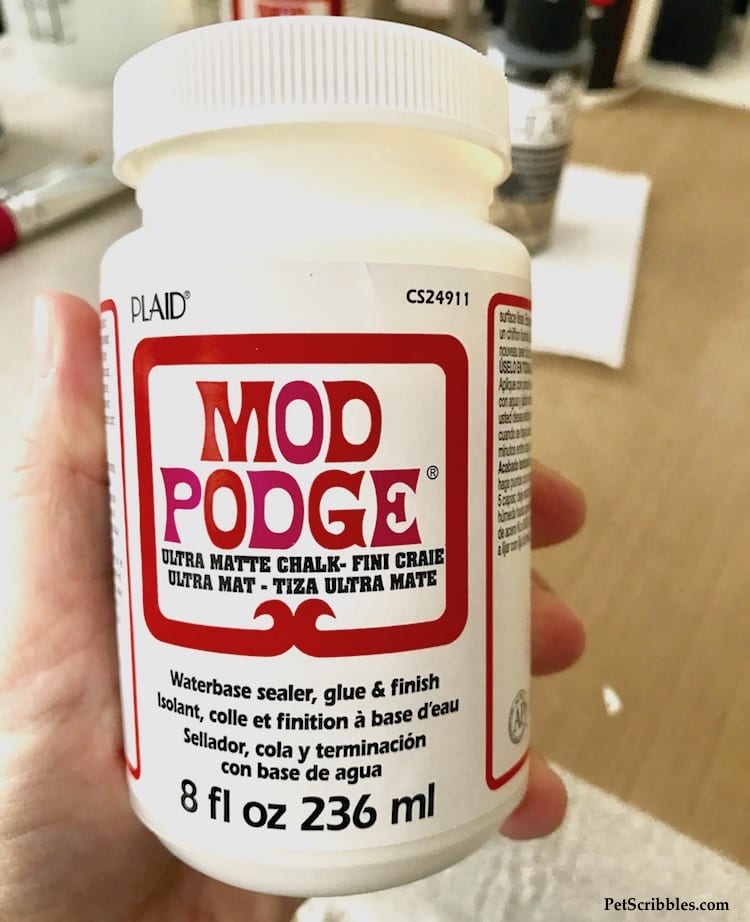
I’m back with a fun vintage jewelry cabinet redo with paint and Mod Podge! I’m using Mod Podge Ultra Matte Chalk, a match made in heaven when using chalk paint! Come and see why it’s my new favorite product! It rocks!
Today is a very special day, because it’s National Mod Podge Day!
Yes, Mod Podge is celebrating their 50th anniversary today — and you don’t want to miss any of the fun giveaways and demos going on. I’ll share the details at the bottom of this post!
Today is also a special day for me, because this is my first post as a Plaid Ambassador! I’m one of several craft bloggers chosen by Plaid Crafts to show what their products can do in our own DIY and craft projects!
I’m thrilled to be working with Plaid, and have already found my new favorite product: Mod Podge Ultra Matte Chalk!
FTC Disclaimer: I’ve received products/compensation as part of being a Plaid Ambassador. This Vintage Jewelry Cabinet Makeover, however, is 100% my own project! Some of the links in this post are affiliate links. I explain more here.
Vintage Jewelry Cabinet Redo with Paint and Mod Podge
Supplies:
- Mod Podge Ultra Matte Chalk (Plaid Crafts)
- Mod Podge Decoupage Brush Set (Plaid Crafts)
- FolkArt Home Decor Chalk Furniture & Craft Paint — Bavarian color (Plaid Crafts)
- FolkArt Glaze — Café Noir (Plaid Crafts)
(available at Michaels) - Wax paper or non-stick craft sheet
- Small paintbrush
- Lint-free white cloths or rags
- Floral wrapping paper for decoupage images
- Scissors
- Vintage jewelry cabinet
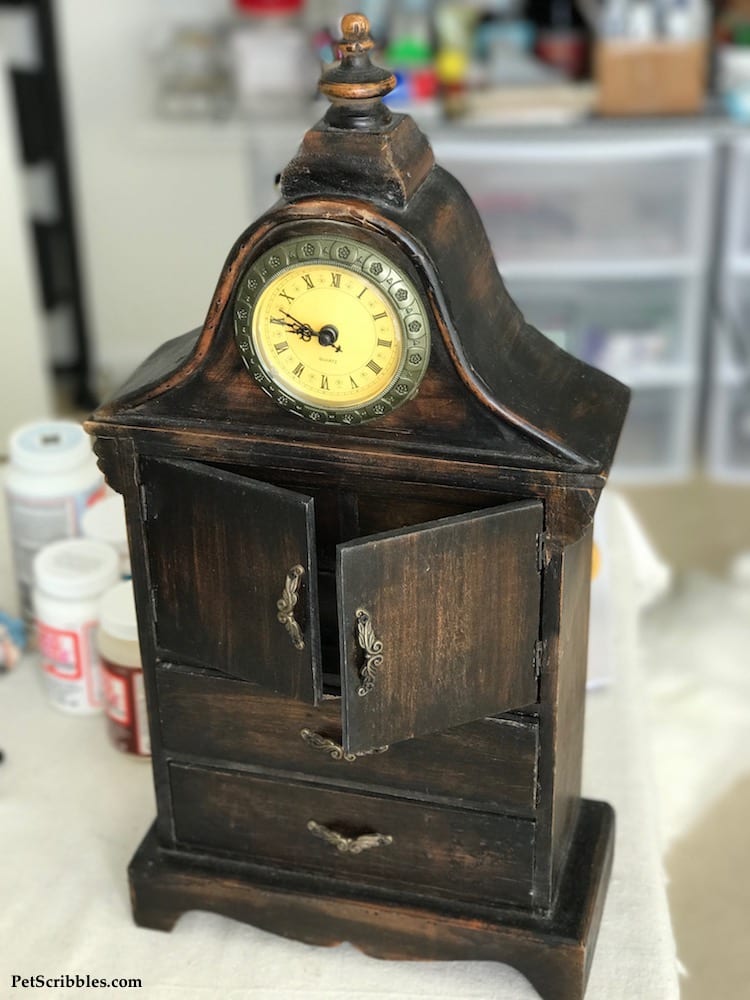
I purchased this vintage jewelry cabinet almost two years ago for next to nothing! When I learned about the Mod Podge Ultra Matte Chalk formula — which can be used in place of wax or sealer as you merrily go about decoupaging — I thought of this cabinet, sitting patiently waiting for its makeover!
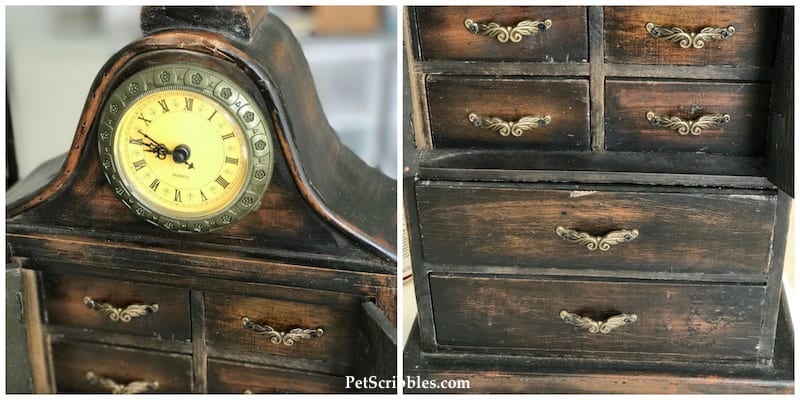
It has a clock — which I thought was different — as well as lots of drawers. The jewelry cabinet was in a very rustic state when I purchased it.
And the clock is slightly askew — and glued to the cabinet to the point where…well…the clock will remain slightly off!
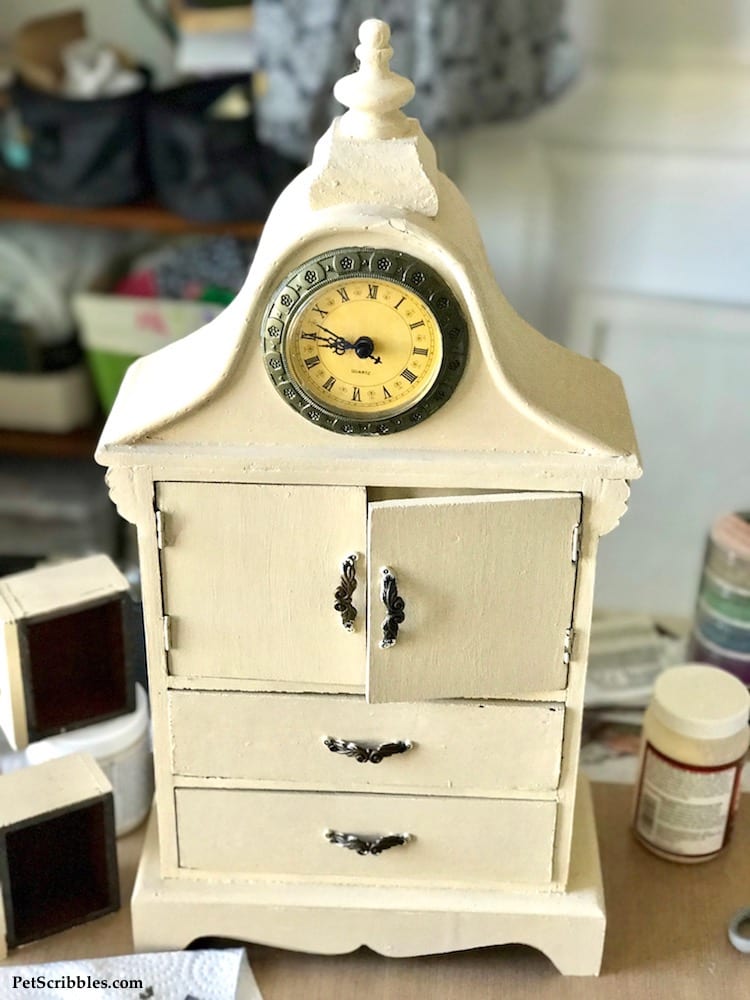
Step One: Paint the vintage jewelry cabinet with two coats of FolkArt Home Decor Chalk Paint in Bavarian. Let dry in between coats, and let cure overnight.
While the FolkArt Chalk Paint normally covers most surfaces in just one coat, I used two since the wood was very dark to begin with.
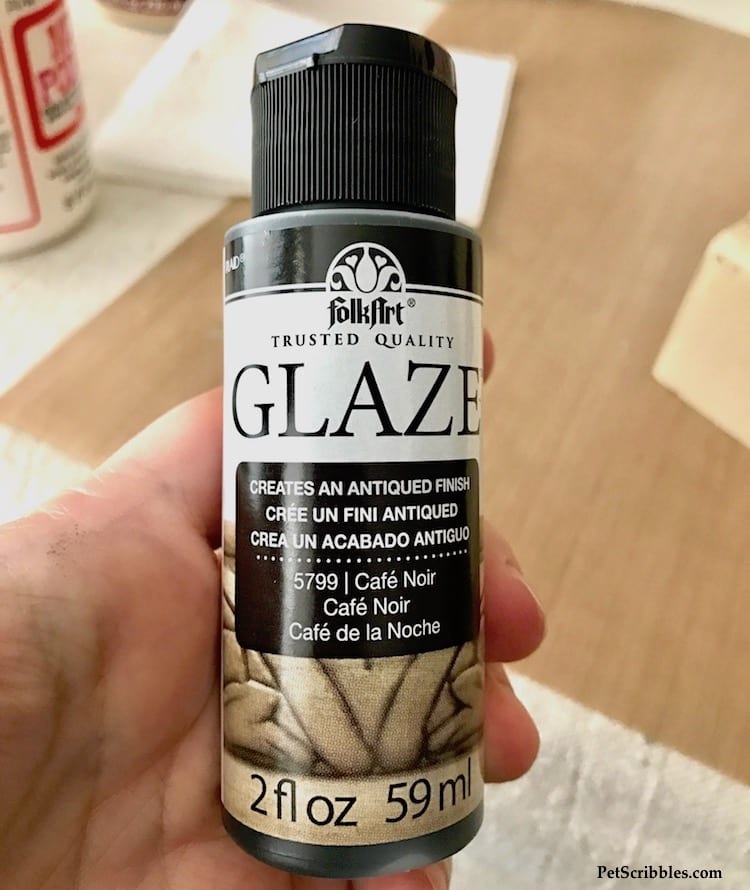
Step Two: Glaze the chalk-painted jewelry cabinet with FolkArt Glaze in Café Noir.
This FolkArt Glaze is a new product from Plaid Crafts. I love using glaze over chalk painted surfaces to provide a bit more depth visually, as the glaze really shows off all of the nooks and crannies in your vintage piece.
To walk you through how to use it, here’s one of the small drawers from the jewelry cabinet, in the Bavarian chalk paint color, below left.
Brush on the glaze, then simply wipe the glaze off while it’s still wet using a lint-free white cloth or rag.
You can see the result in the image, above right.
Although the FolkArt Glaze dries to the touch quickly, let it cure for about 24 hours.
Helpful tip: When applying glaze, especially on larger pieces of furniture, work in small sections instead of applying glaze to the entire piece. Apply some glaze, wipe it back, and once you like what you’re left with you can begin another section.
It’s easy to use, although it may look intimidating. Glaze is one of my favorite things to paint with!
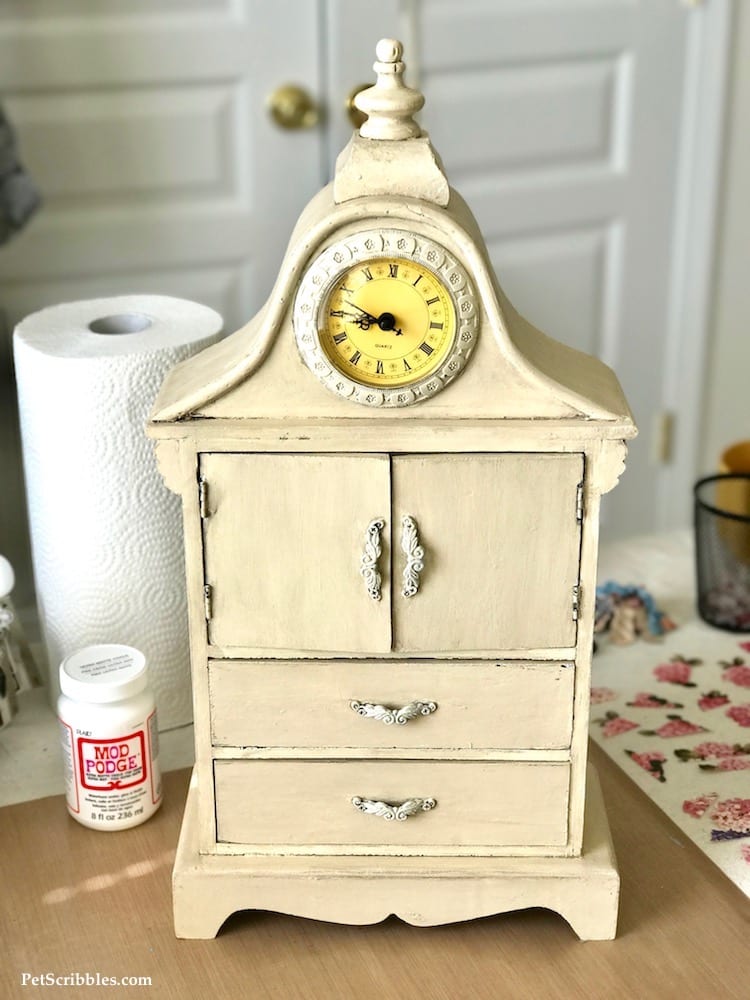
Glaze can also be used on hardware — which I did. After painting over the brass hardware, I did the same thing: brush on the glaze, wipe it back off, and what’s left are wonderful details! (I did this after decoupaging everything — so you will see the painted and glazed hardware in the final images, further down!)
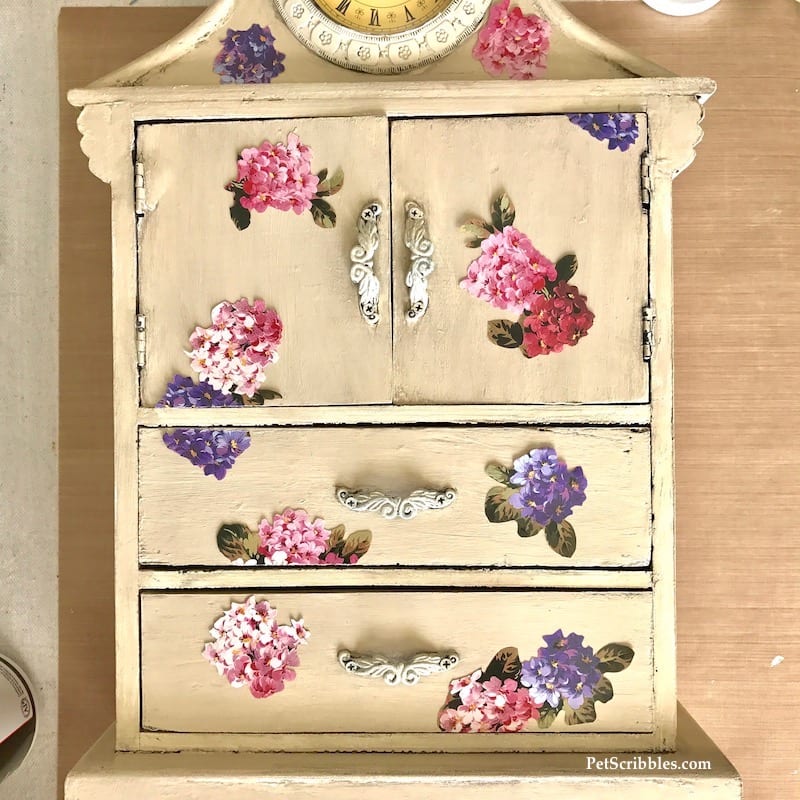
Step Three: Cut out your chosen images and play with their arrangement on the vintage jewelry cabinet.
I hoard — oops, I mean save all kinds of pretty wrapping paper, and thought these hydrangeas would look so pretty decoupaged onto the jewelry cabinet — a little Victorian, a bit shabby style!
Step Four: Decoupage your chosen images onto the jewelry cabinet using Mod Podge Ultra Matte Chalk.
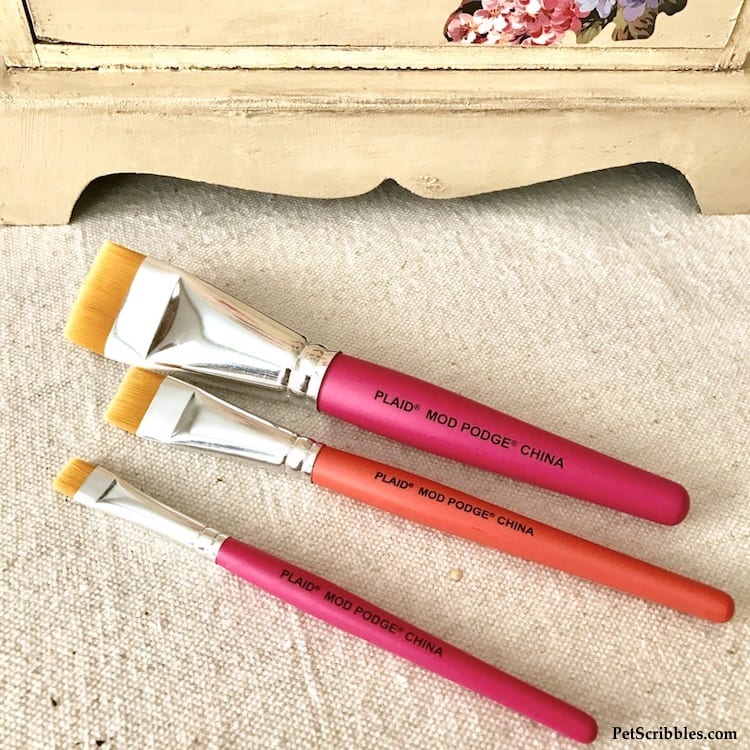
Helpful tip: The Mod Podge Decoupage Brushes make decoupaging very easy! Not only do these brushes spread the Mod Podge well, but the brush tips are perfect when you need to add a tiny bit of Mod Podge underneath any of your images that need a bit more glue.
This was my first time using these brushes, and I was honestly blown away by how helpful they are!
Oh – and these are the brushes after I used them and cleaned them. Like new, of course!
As I mentioned earlier, the Mod Podge Ultra Matte Chalk formula can be used in place of wax or sealer or chalk paint. And this makes so much sense when you’re decoupaging.
Using just one product to decoupage and to seal the entire jewelry cabinet made quick work indeed!
The finish is matte and silky smooth — just like you applied wax over the chalk paint.
I’m telling you: this Mod Podge Ultra Matte Chalk is a total game changer!
Now I want to decoupage All The Things with this Mod Podge formula!
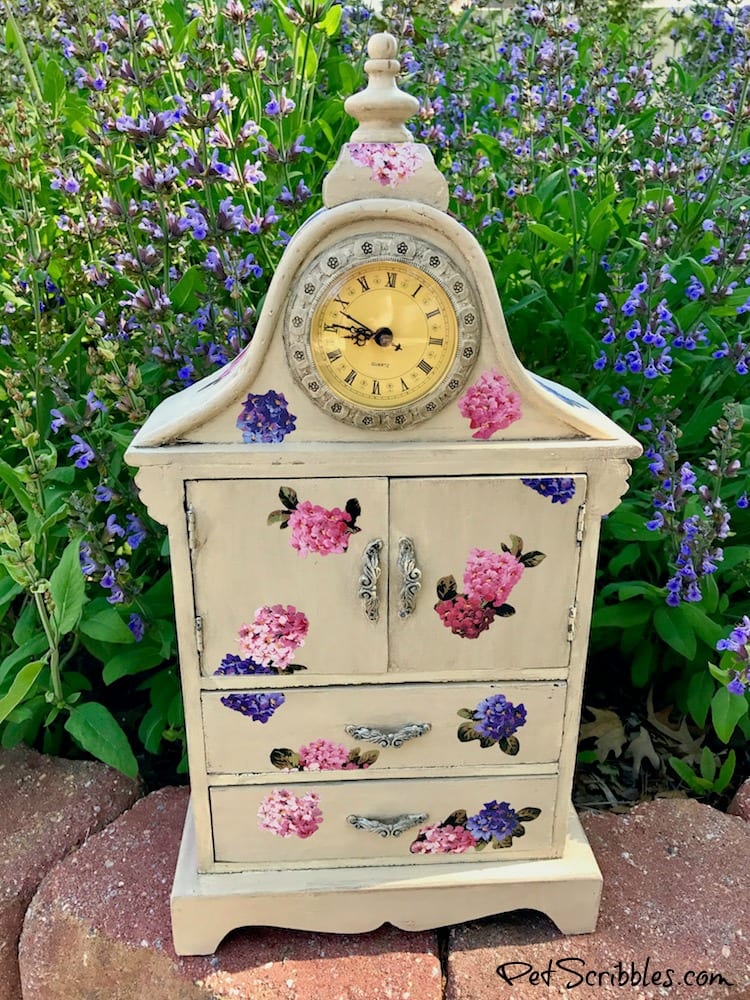
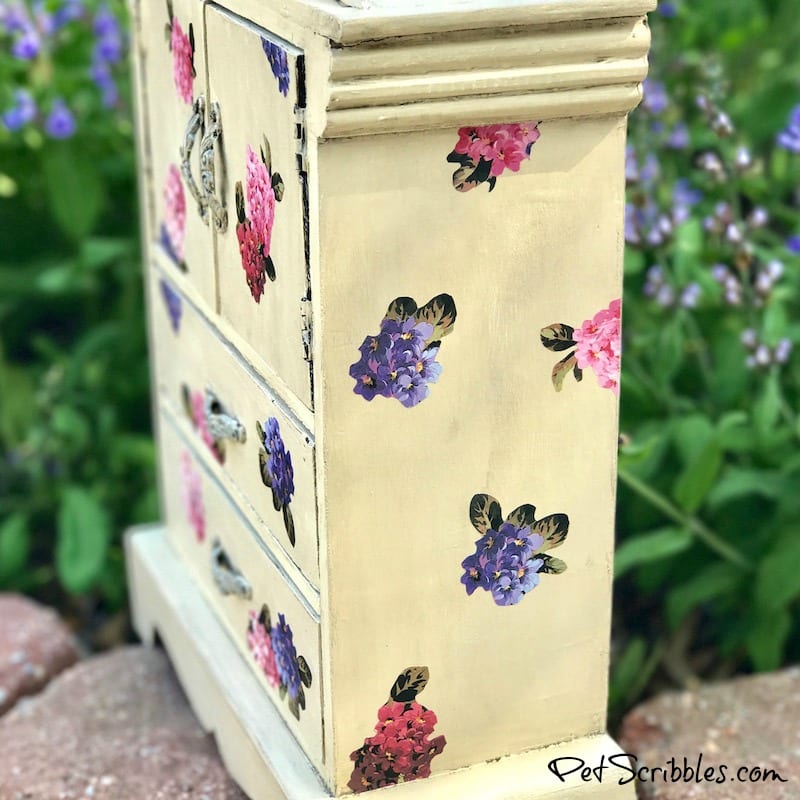
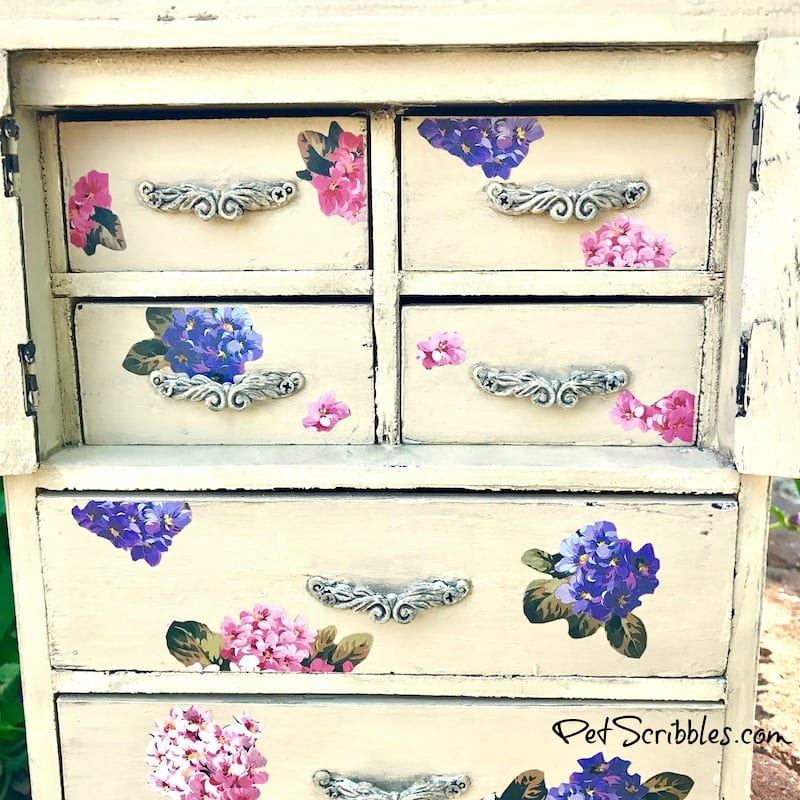
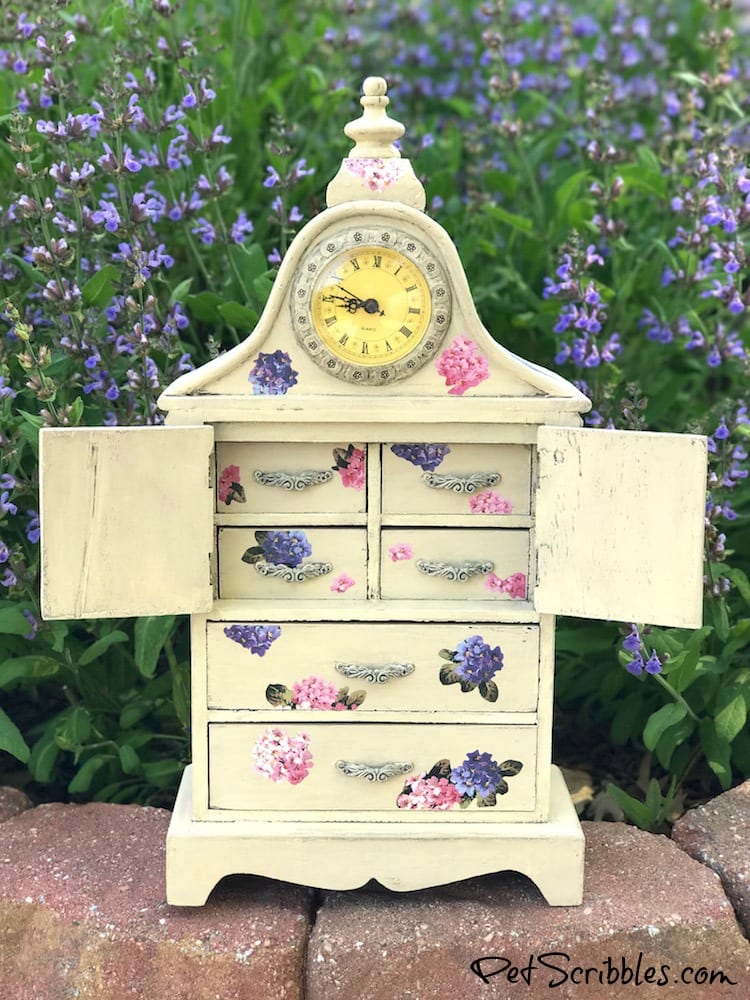
This cabinet looks very different from how it started out!
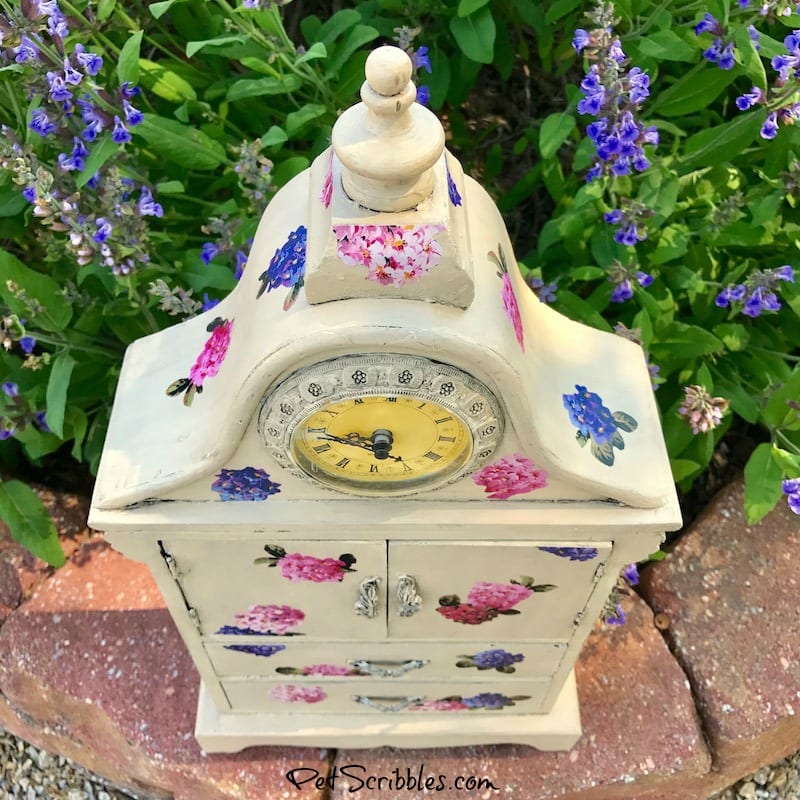
Here’s what the sides look like . . .
And here are the four inside drawers . . .
I absolutely love how this turned out, and hope you do too!
Ask me any questions in the comments!
Celebrate National Mod Podge Day!
Happy crafting!
And… Happy 50th Anniversary to Mod Podge!
More great Mod Podge projects!
PS — There are so many fun, amazing, pretty, and cool projects that the other Plaid Ambassadors created in honor of Mod Podge Day, that I have to share them here! Click on any of the links below, and you will definitely thank me! These projects rock…just like Mod Podge does!
Mod Podge Collage Tray — Cocktails Cupcakes Crafts
Mod Podge Image Transfer: DIY Cigar Box Purse — Morena’s Corner
DIY Sparkle Unicorn Horn — 30 Minute Crafts
Collaged Heart with Die Cut Mod Podge Window Clings — Craft Gossip
Customized Wedding Gift Topper with Mod Podge — Kingston Crafts
Garden Inspired Mixed Media Art — Vicki O’Dell: Make Midlife Magic
Mod Podge Serving Tray — 365 Days of Crafts
Wobble People Toys — Aim Happy
Terra Cotta Pot Wind Chimes — Slumbering Alligator
Decoupage Glass Jars with Mod Podge — Running with Sisters
Shell Treasure Box DIY — Craft Test Dummies
Mod Podge Travel Shadow Box — Craft Critique


I like looking for things to decoupage, paint and repurpose. Your project is really a neat piece, I like how you can use it in just about any where in your home
The Ultra Matte Chalk is SUCH an awesome formula and this turned out so pretty! Awesome!
I love how the jewelry cabinet looks. I’ve always wanted to purchase one for me, but thanks to your tutorial I’ll be able to make one myself. Thank you!