Welcome to an early holiday-themed edition of Crafty Hangouts!
This month our sponsor is Online Labels – also known as OnlineLabels.com – an awesome resource for all your label needs. Labels aren’t just for labeling things. I love how versatile labels can be for so many different DIY and craft projects.
You may remember my video tutorial for DIY giant-sized, polka-dot tissue paper flowers that I shared here back in July. The polka dots on those flowers were made using 1-inch circle labels from Online Labels.
Holiday Crafty Hangouts!
This month, the team members of Crafty Hangouts are sharing our DIY ideas for holiday gifts using labels.
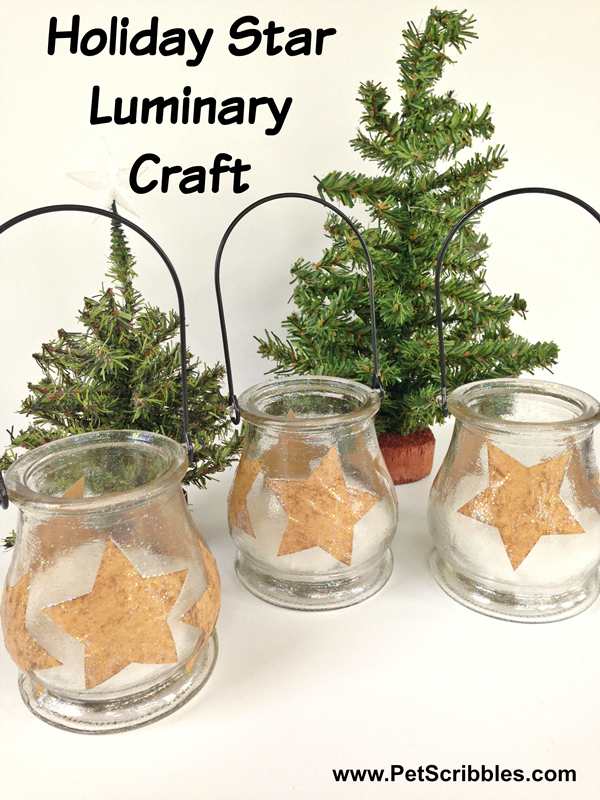
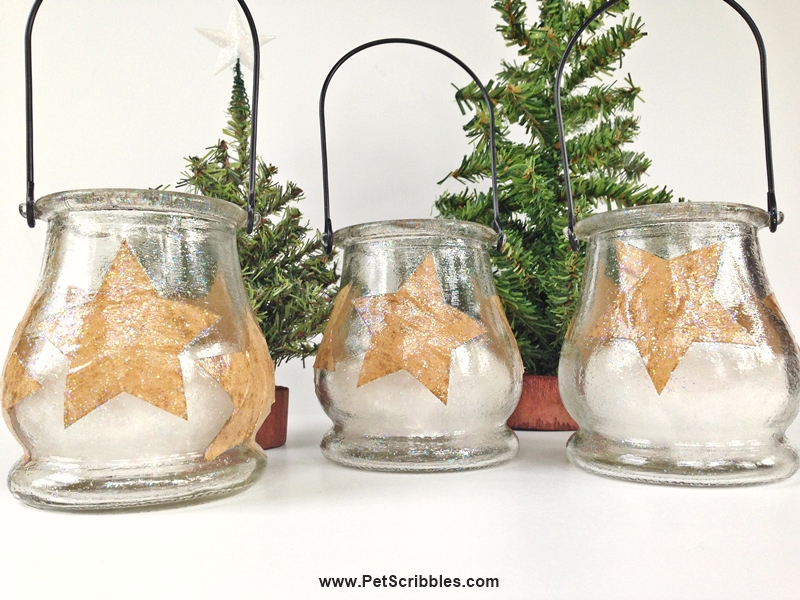
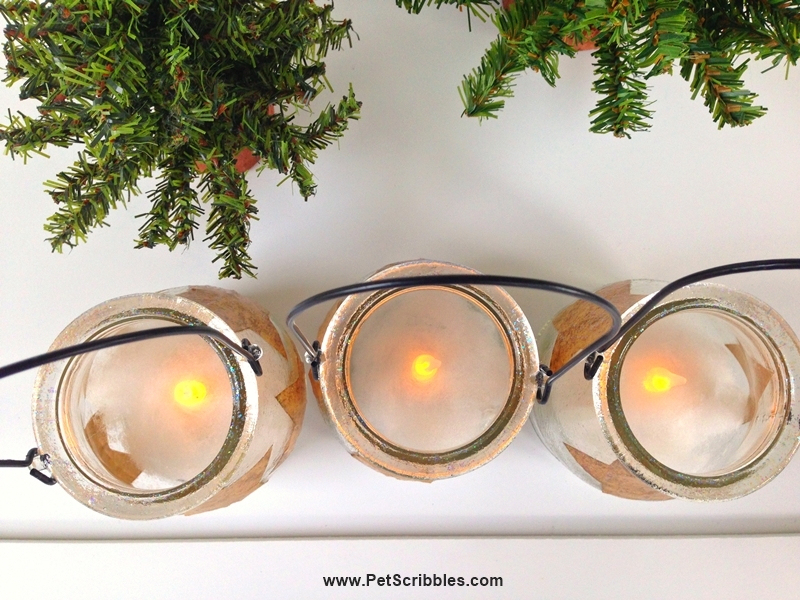
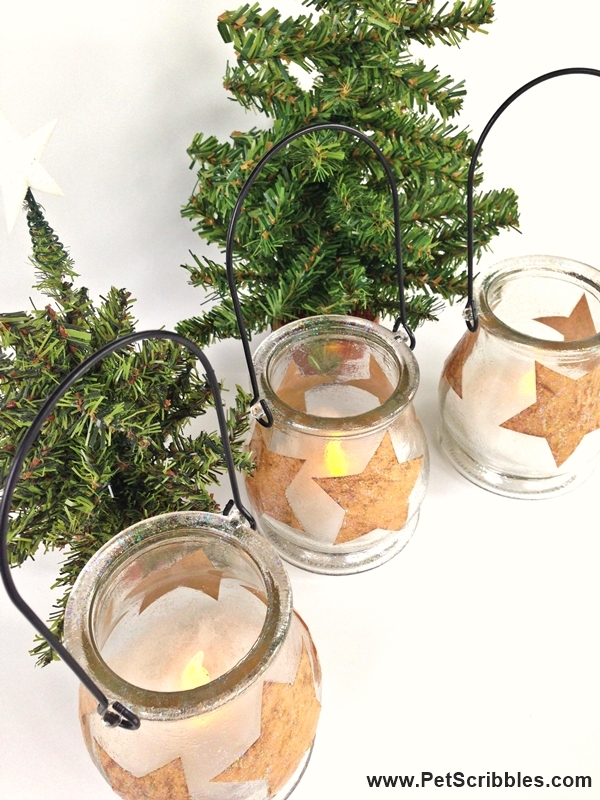
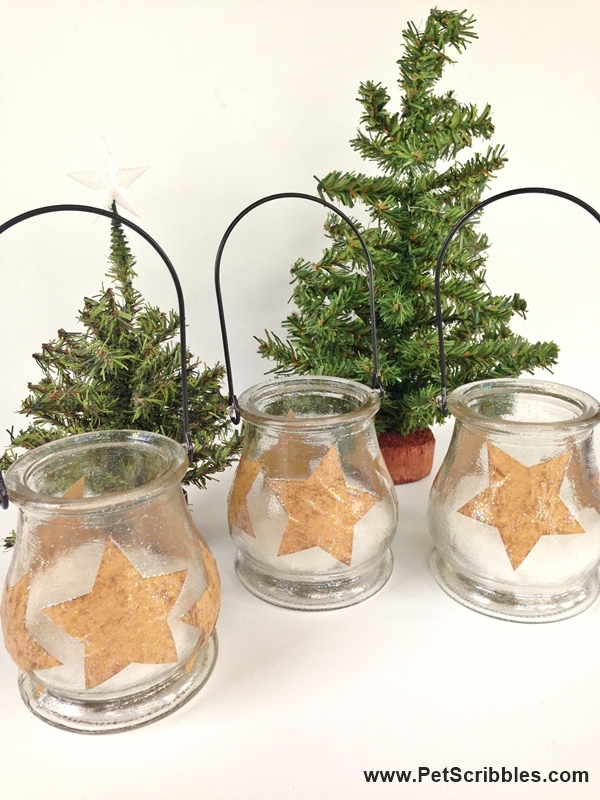
I’m showing you how to make holiday star luminaries.
The stars that I use are awesome star-shaped labels which come in many colors, including metallics. I chose to use kraft-colored stars, to give a country look and feel to these holiday candle luminaries.
Click the star template below to see all of the available styles and colors.
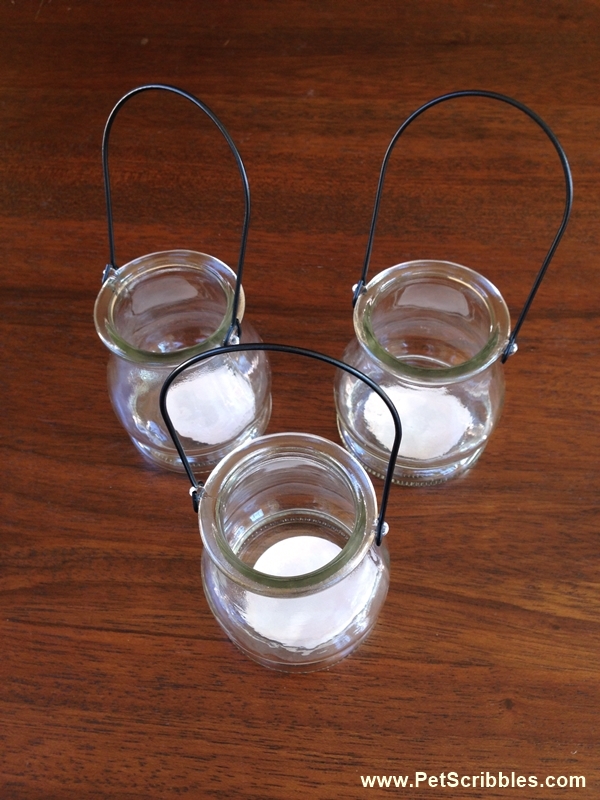
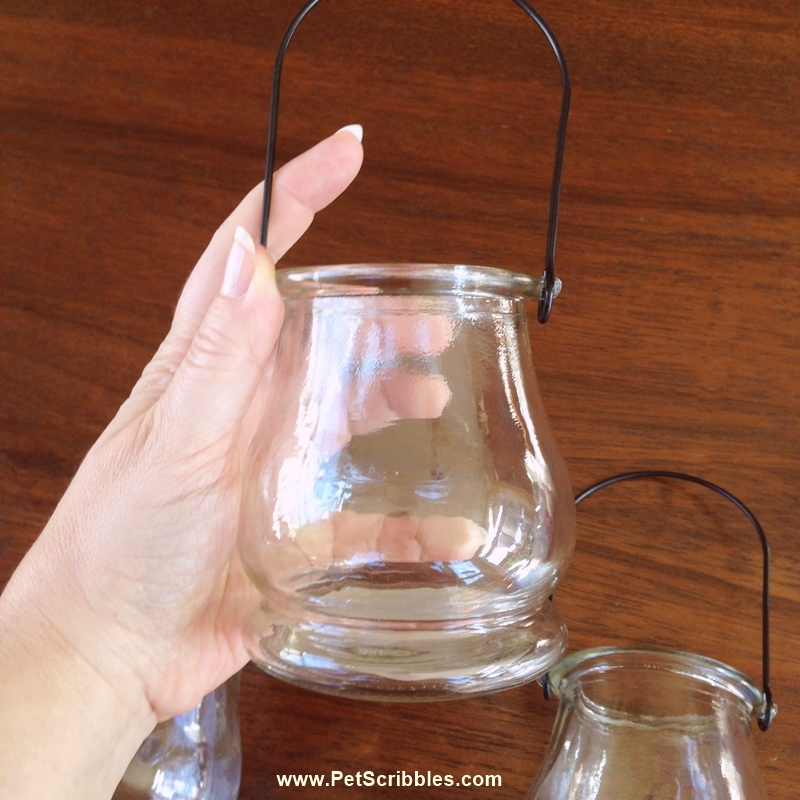
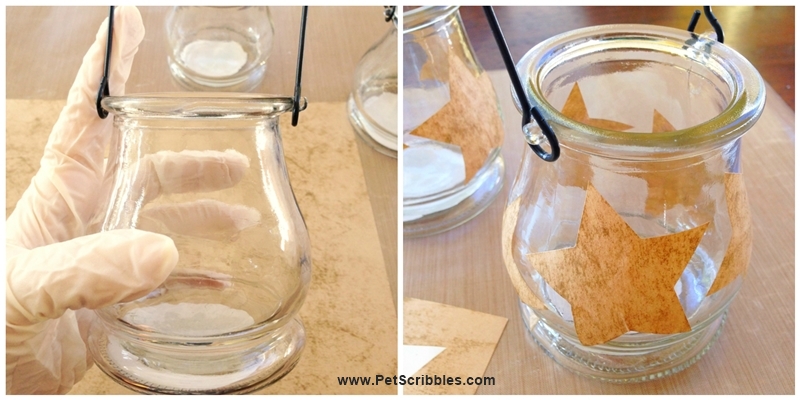
I found these glass jar lanterns at the dollar store, just 99 cents each: a very economical way to create a special gift!
Here’s a short video on how I made these luminaries, and below the video are more step-by-step pictures for you:
Distressing the star-shaped labels
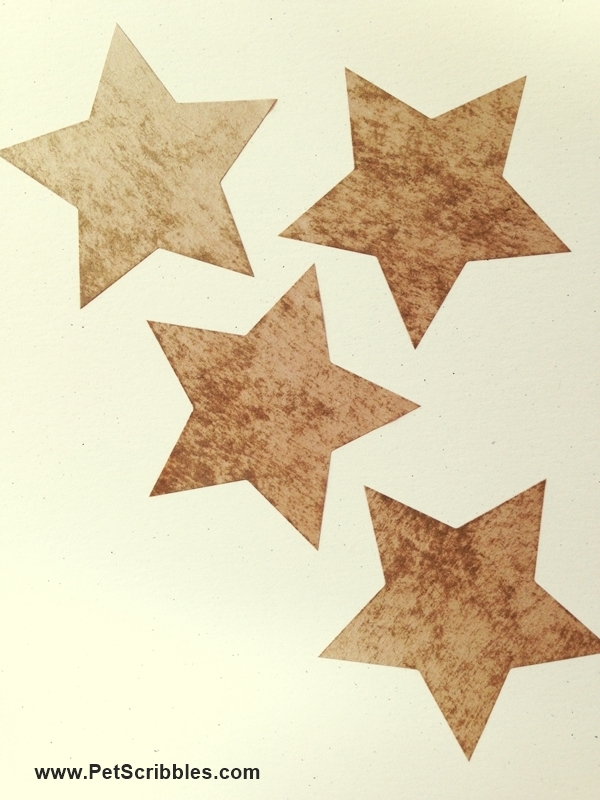
I distressed the stars to give them a vintage look. Here’s a few that I stuck onto a piece of cardstock so you could see the distressed effect up close:
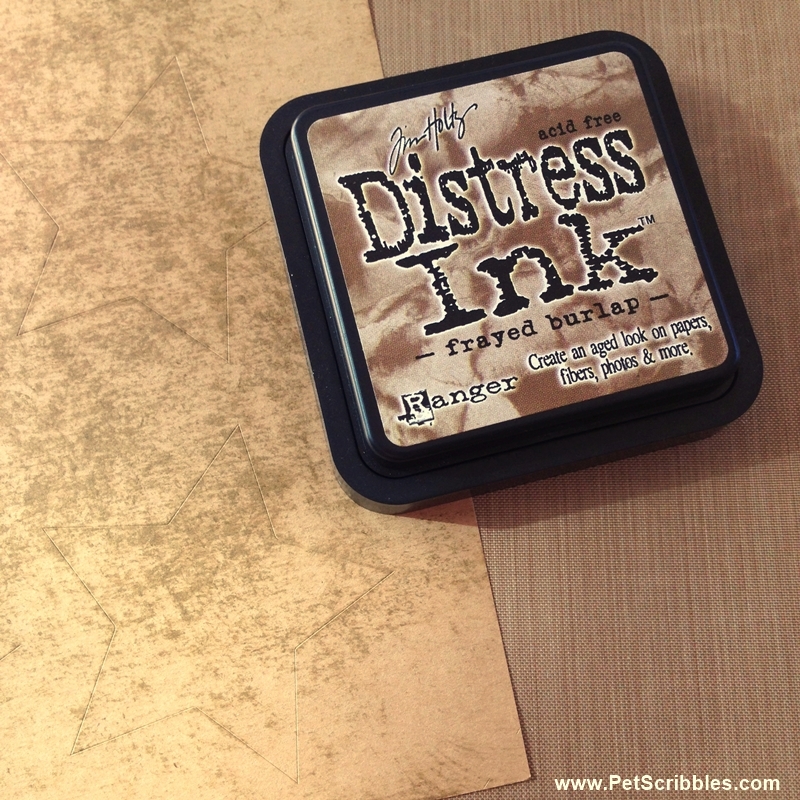
Distressing these labels – or any of the kraft-colored labels from OnlineLabels.com – can be done easily using an ink pad, such as the one I used below.
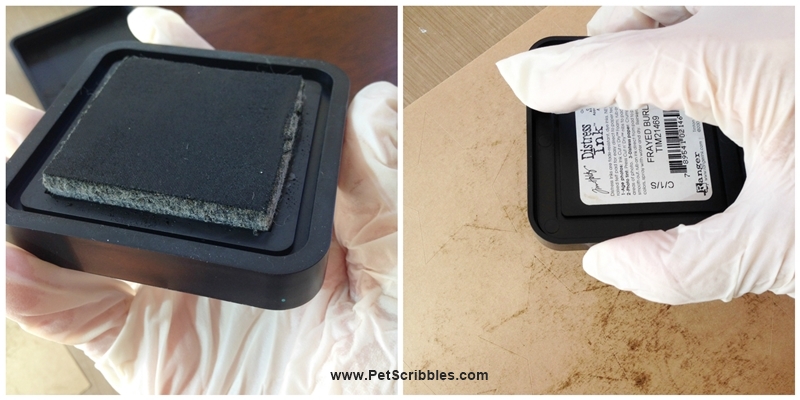
Simply take your ink pad, turn it over and rub the pad lightly on the label sheet. I use both a large circular motion as well as a random back-and-forth motion. Practice on scrap paper first.
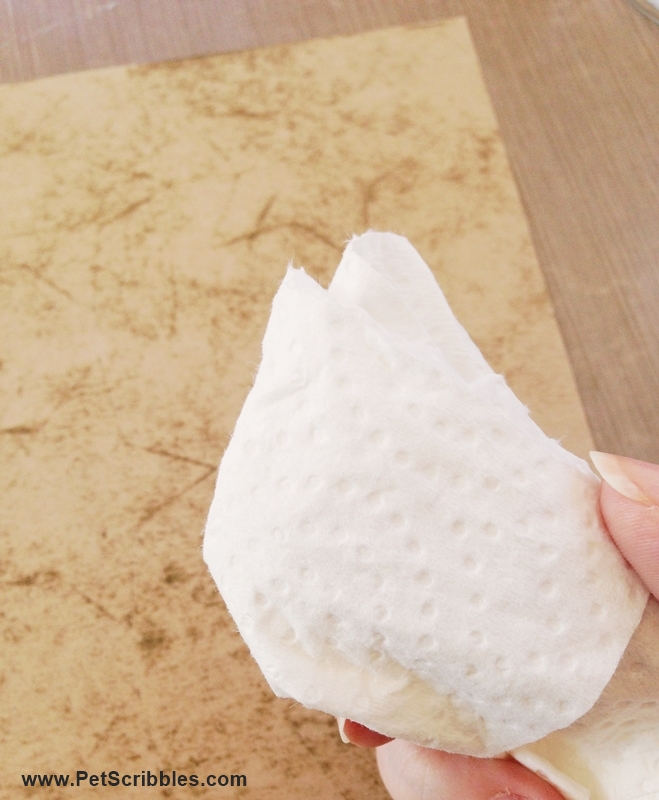
What’s nice about the distress ink is that it dries quickly. After a few minutes, I tested with a paper towel, and no ink came up:
Attaching the stars
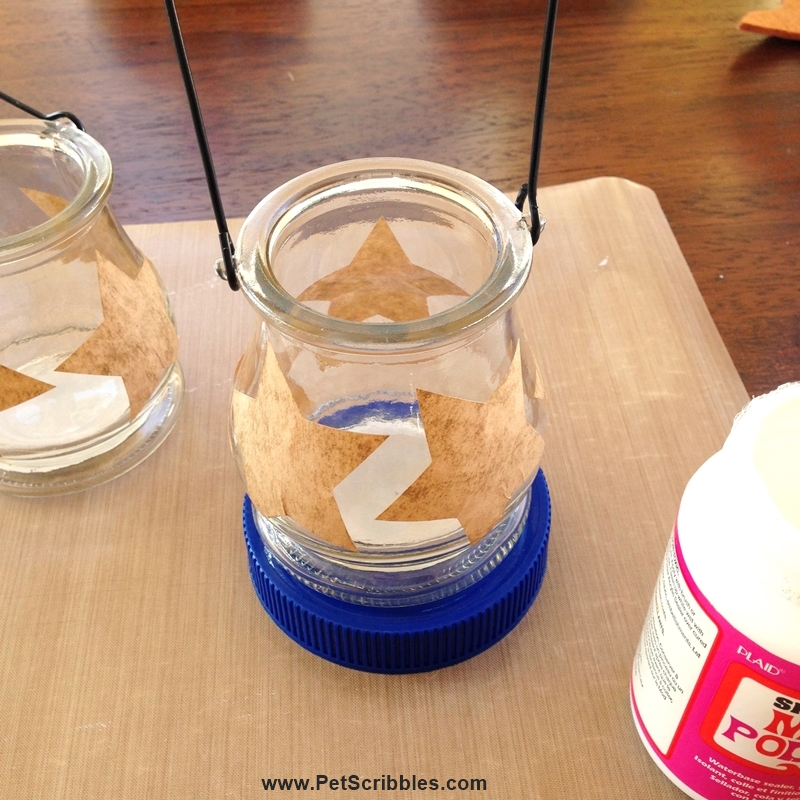
Apply the stars to the glass jar lanterns. Each star label peels off the sheet easily. I centered the first star on the front of each jar. For the rest of the stars, I spaced them evenly – some higher and some lower than the first star I applied.
Smooth out the labels with your fingers. Don’t worry if you get a wrinkle or two, as this just adds to the character! (In the video I explain why I have the rubber gloves on, and why it’s a good idea!)
Add some sparkle
Once you have your star labels on the jars, it’s time to add a layer of Sparkle Mod Podge. I like to use recycled plastic lids whenever I’m “mod-podging” a small object like these lanterns. The lid – used as a base – makes it easy to turn your project around without getting your fingers in the glue.
I applied two coats of the Sparkle Mod Podge, letting the first coat dry for about 20 minutes before applying the second coat. The glue goes on milky white, but will dry clear and sparkly!
Add some snow
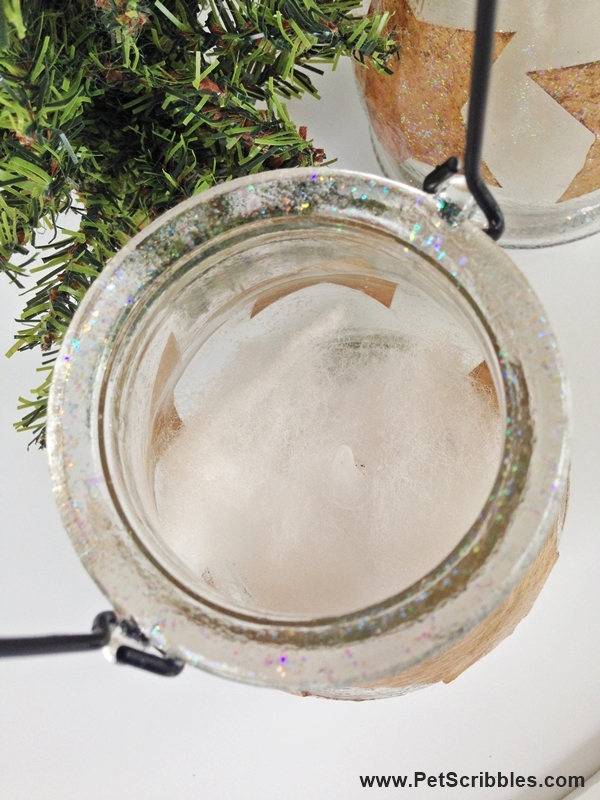
The “snow” at the bottom of each luminary is leftover Halloween webbing that’s used indoors or outside for decoration. You could also take wool roving or pull apart some cotton balls.
I took a battery-operated tealight and poked it through the center of the cotton webbing, gently wrapping the edges around the tealight before placing inside the lantern.
These make great hostess gifts or teacher gifts, in addition to a serene, country holiday decoration.
I’m grouping these three among miniature Christmas trees for a pretty display.
Hop over to Online Labels to see their extensive selection. You can also follow them on Facebook and get lots of crafty project ideas on their Pinterest boards as well as on their blog.
And don’t forget to visit Crafty Hangouts to see an entire week’s worth of holiday gift ideas using labels as part of each project! You’ll definitely be inspired!
~Laura
Special thanks to Online Labels for sponsoring this post and video tutorial. All craft ideas and opinions are my own!


Very cute project Laura! love those jars!! thanks for the tutorial xo
Thanks Anne! So glad you enjoyed it! (Those jars were an amazing find, being buried on a low shelf and only 99 cents each!)
So cute Laura! I love easy and inexpensive projects. These would make a great gift!
Thanks so much Laura! I’m actually making more, since I decided I wanted to keep these for myself!
These are SO pretty!! I love the jars with handles like that. Online Labels are awesome. I have used them and loved them.
Thank you Niki! So you know of what I speak! 🙂 I was looking for tall slender jars, but when I saw these with the handles, I knew these would be perfect for this project!
Super cute!
Thanks Kristi!
These are so pretty! I love the stars so much!
Thanks Amy!
So cute and festive, Laura!
Why thank you Amy!
This is so cute! I love those stars! What a fun neighbor gift.
Thanks Leanne! I’m so happy everyone loves these stars because the stars themselves (even without my distressing) are SO versatile to use!
These are very, cute, Laura! Love your creative stars!
Thanks so much Laura! I had fun putting these together!
So . . . . .do you have to take the tealights out of the jar and click them on every time you want to light them? That seems like a pain. . . .the ones I’ve found aren’t that easy to click.
Thanks for asking Pam! Yes, I do take the tealights out and click them on. I use battery-operated tealights that I purchased on Amazon, and actually purchased replacement batteries too, as they are so easy to operate. (I know what you mean, however, as sometimes those battery-operated tealights can indeed be a pain!)