Welcome to a craft supplies-themed edition of Crafty Hangouts, where this month we’re sharing crafts you can make for under $10!
This month’s sponsor is Consumer Crafts! Not familiar with them? You should be, especially if you love to craft!
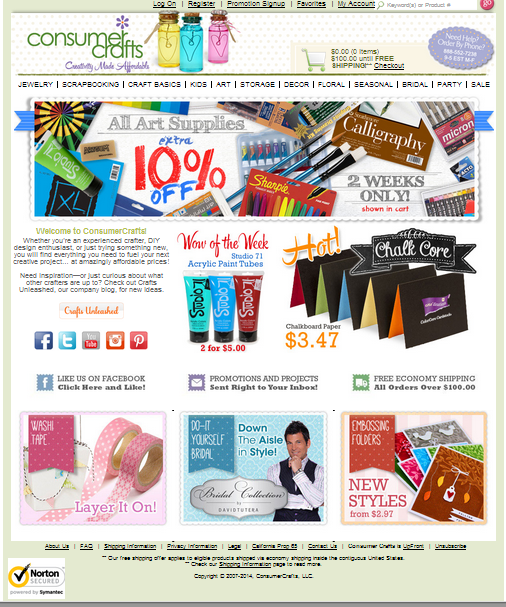
Here’s a screen shot of their awesome website:
Consumer Crafts sells craft supplies for just about any type of craft you can think of, separated into categories such as Jewelry, Scrapbooking, Bridal, Storage and so on. One of my favorite categories is Craft Basics, partly because this section of ConsumerCrafts.com is anything but basic! You’ll find everything from paints and stencils, to adhesives, ribbon, small mirrors, wood letters and paper maché items. There’s supplies for cake and candy making to yarn and needle crafts, and just about everything in between!
Prices are great, they often have special sales or discounts on shipping, and they’ve got a crafty blog filled with tons of tutorials!
Definitely go and check them out: Consumer Crafts
You will be so glad you did!
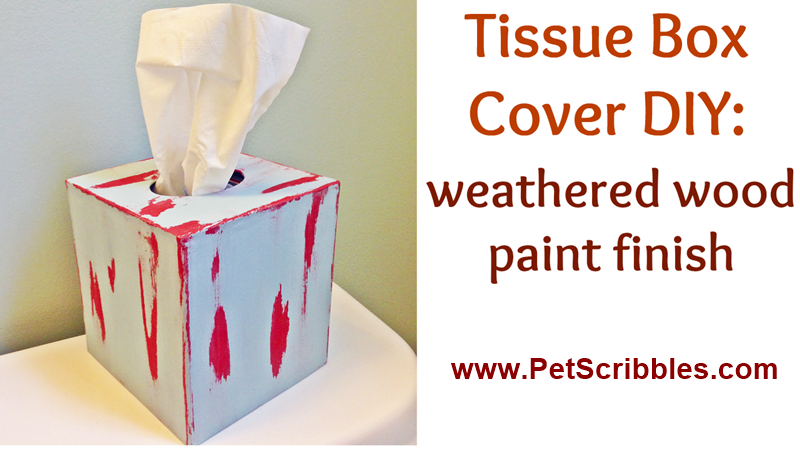
Tissue Box Cover DIY: weathered wood paint finish
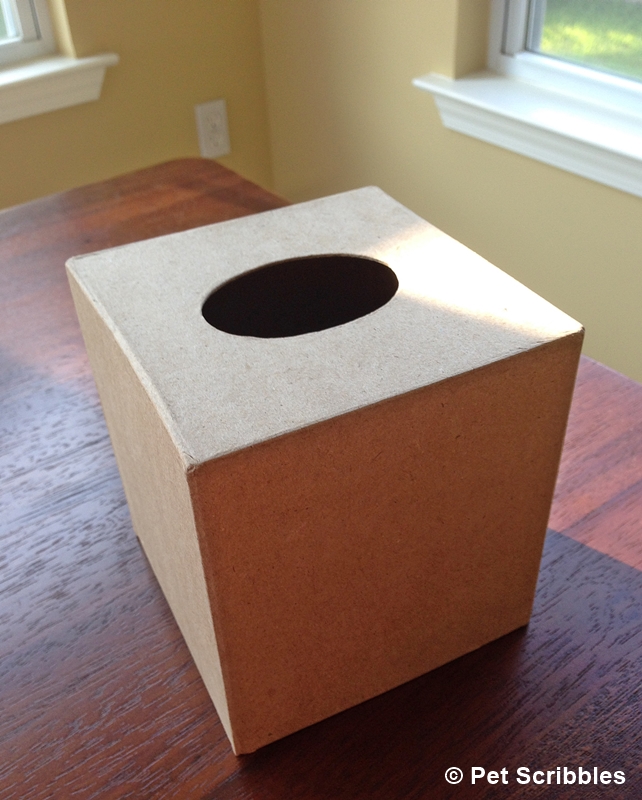
I love Consumer Crafts’ selection of paper maché items, and when I saw this tissue box cover I knew I had my project! This tissue box cover was under $2!! Uh-huh. Amazing, right?
The other supplies needed for this project – as well as all of the directions – are in my short video tutorial below.
Ready to learn how easy this technique is?
Watch this!
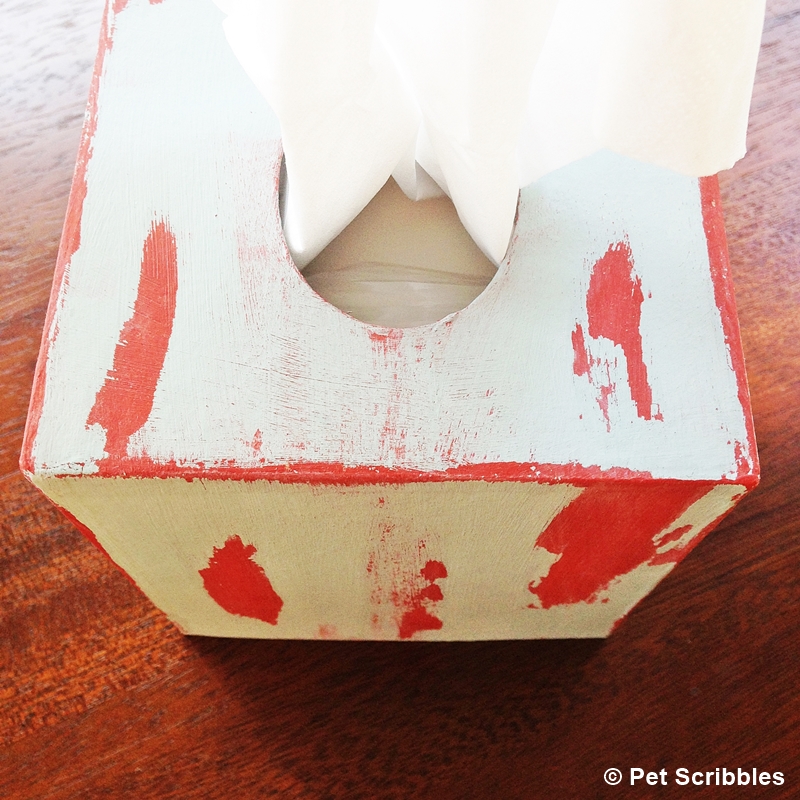
Doesn’t the finished tissue box look great?
I think it really does look like painted, weathered wood, and it matches our guest bathroom perfectly!
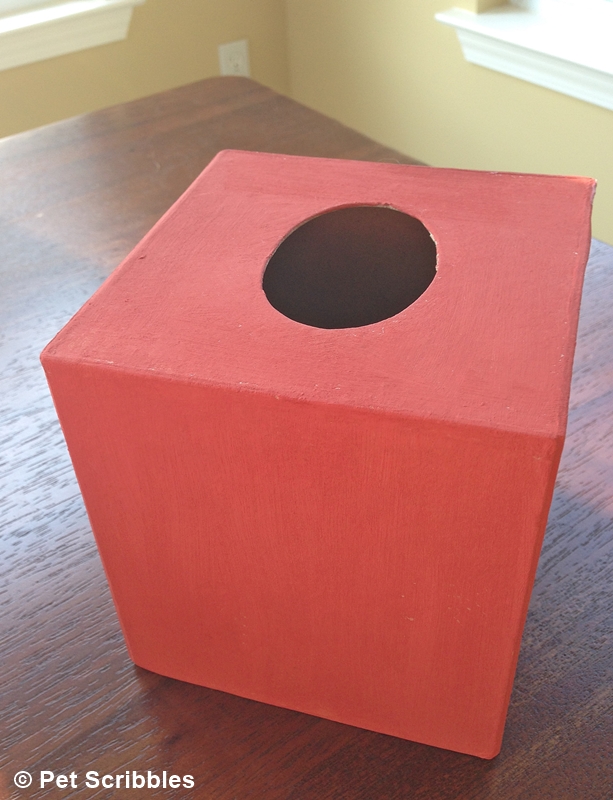
Below are a few pictures to better show you what the tissue box looks like at each stage of painting.
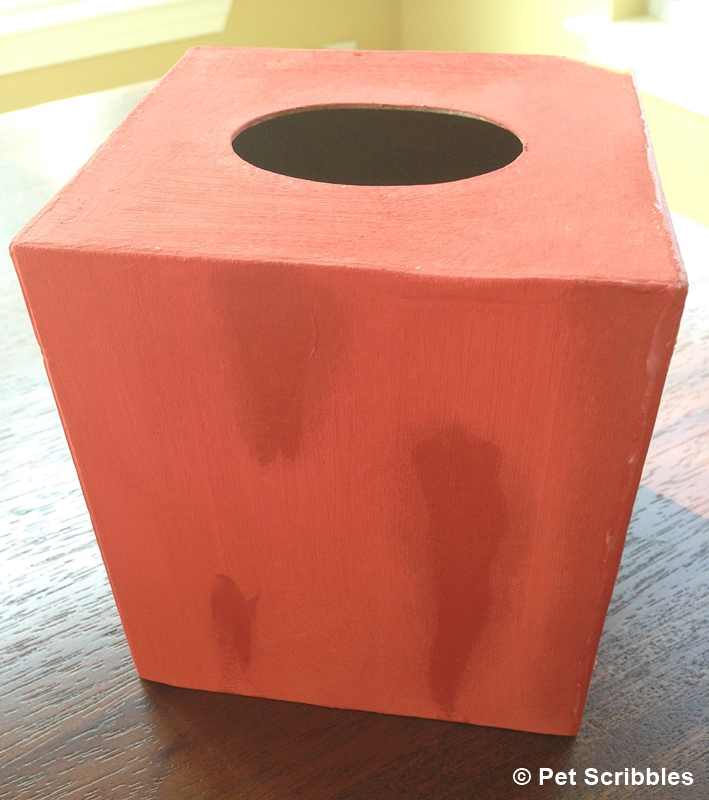
Tissue box painted with base color:
Tissue box after petroleum jelly has been applied:
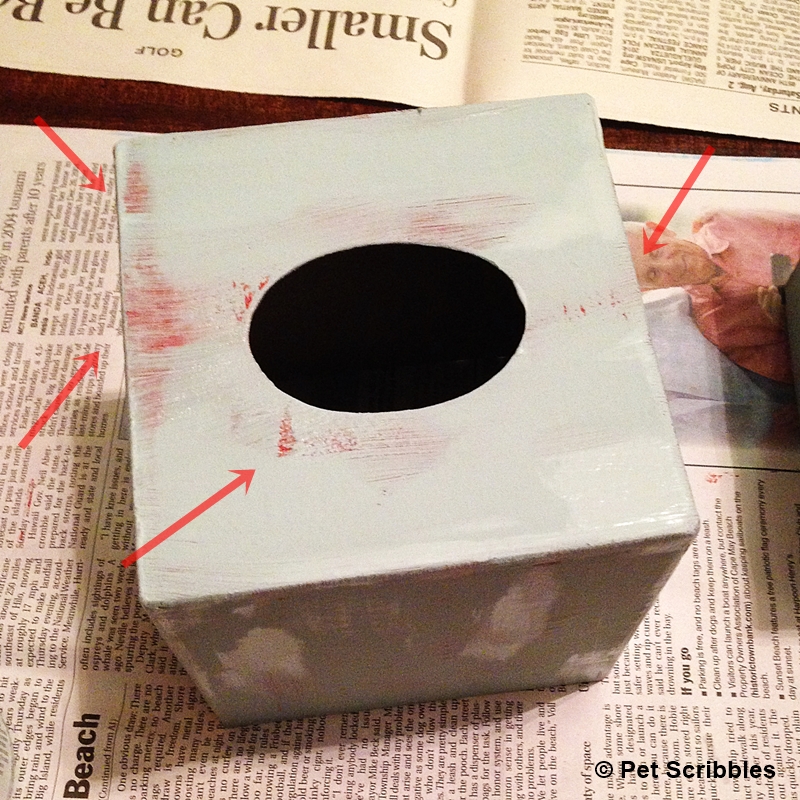
Here’s the tissue box after the second color was applied over the entire box (including areas with petroleum jelly):
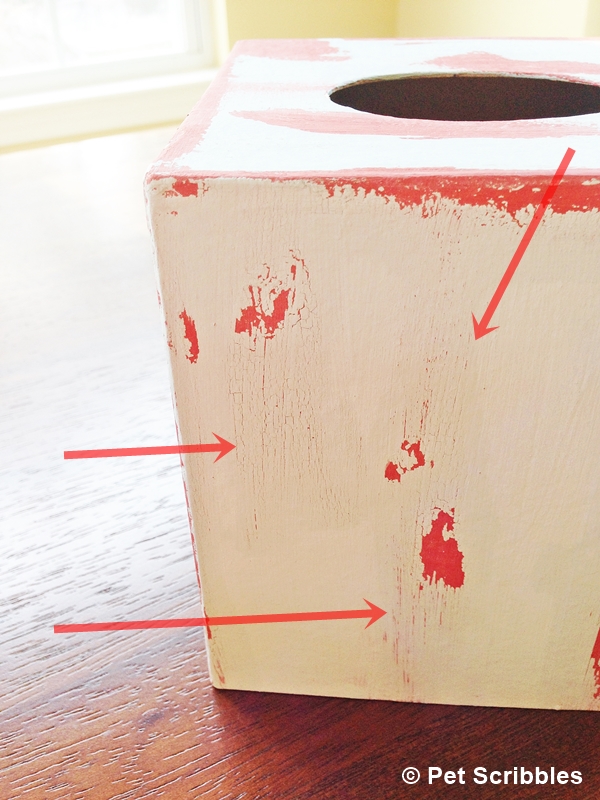
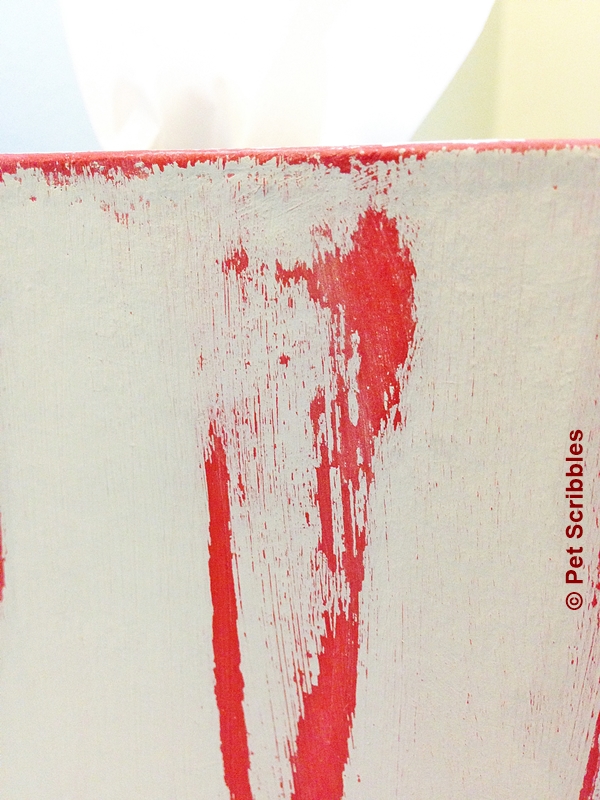
See where the arrows are pointing? That’s the paint already reacting to the petroleum jelly. Since the paint is water-based, it’s not going to adhere to the oils in the petroleum jelly, so it begins to crack and separate just a little bit.
I began removing the paint from the petroleum jelly areas, but stopped to snap this picture so you could see that the areas where the petroleum jelly are appear darker and are crackled and separated just a bit:
Click over to Consumer Crafts to see their huge selection of craft supplies!
And then – after you’re finished oohing and aahing, and adding things to your shopping cart – head over to Crafty Hangouts to see what my fellow crafty bloggers have created! Each of us made something using craft supplies from Consumer Crafts!
And remember: Each craft can be made for under $10!
Sweet!
Giveaway time!!!
Want something even sweeter?
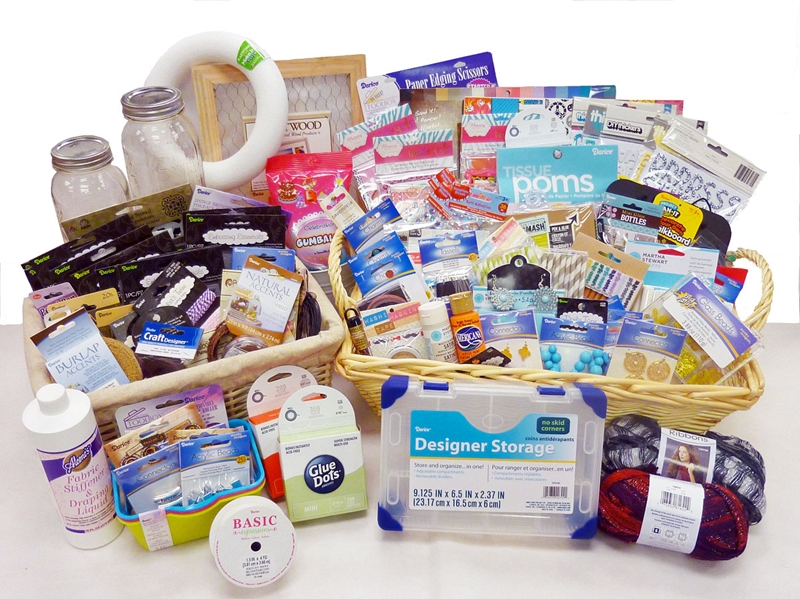
One lucky reader will win over $150 of awesome craft supplies from Consumer Crafts!
(And just in time for your Fall and holiday crafting needs too!)
Enter to win via the Rafflecopter widget below.
Details: Must be 18 to enter. Void where prohibited. Winner must have a US shipping address.
Good luck!
And happy crafting!
~Laura
Special thanks to Consumer Crafts for sponsoring this post and my video tutorial! All craft ideas and opinions are 100% my own!




[…] Weathered Wood Tissue Box Cover […]