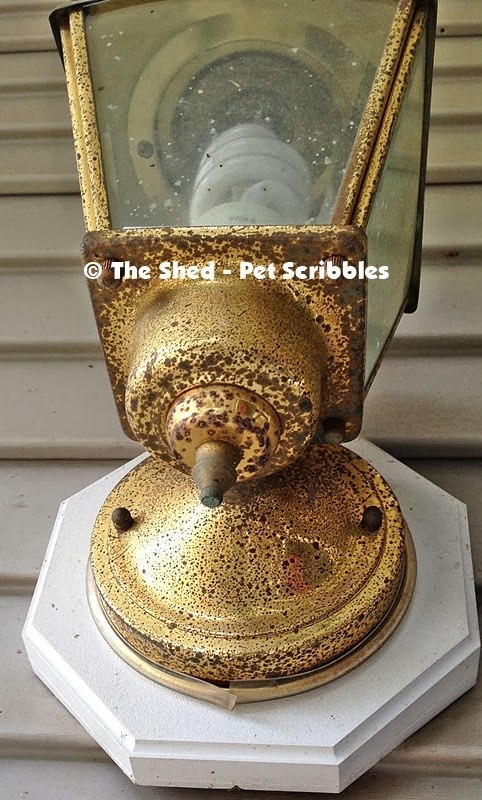
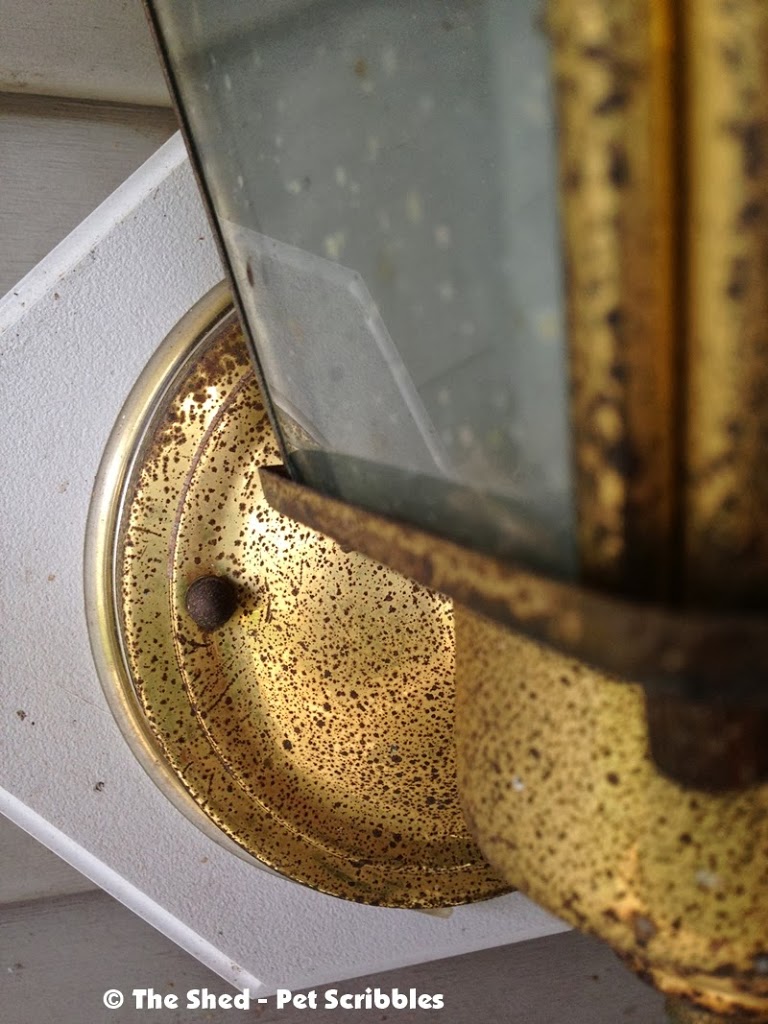
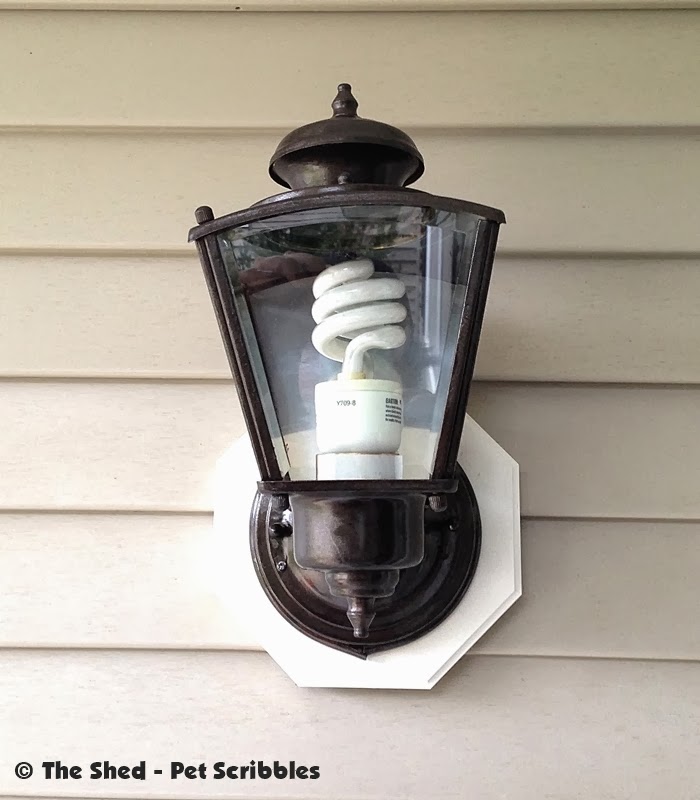
I could use several excuses as to why it took me so long to fix this eyesore that greets all visitors to our home:
I could tell you that we just moved in, but we actually moved in six years ago. I could tell you that my husband and I couldn’t agree on a new light fixture, but we only really went shopping for light fixtures once, and we ended up purchasing items for a completely different project and forgot. I could say that I’m short – only 4’11” – therefore never really looked up at the eyesore, and just not tell you that my husband is 6’4″ and can’t help but see the eyesore. And I could mention that my husband offered to paint it several times, but I kept saying no, I want to do it. (I said that several times too.)
Or I could just admit that we began to sort of “look past” the eyesore and just proceed with other DIY projects. Until I saw this blog post from Diane at In My Own Style.
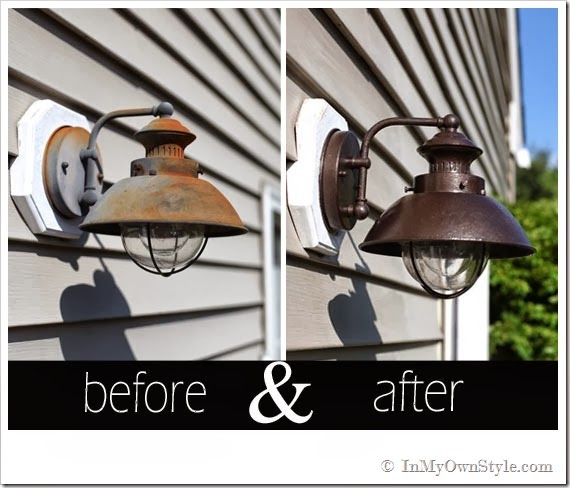
Diane had a sad outdoor light fixture just like mine (actually mine is worse) and shared how she easily transformed it into a respectable new light fixture. Diane inspired me. (She always inspires me – go check out her blog!) There was hope for me and for the eyesore!
I liked the idea of painting on a new finish rather than taking everything apart, spray painting, and then putting everything back together. I love painting with brushes so I knew this would be easy. My goal for this project was to extend the life of this eyesore until we decide what we’d like to actually do with our entire front entrance area.
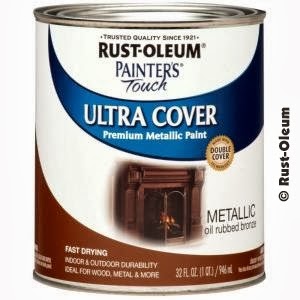
I used Rust-Oleum Painters Touch Metallic Paint in Oil Rubbed Bronze. (You can find it at hardware stores and the big-box home improvement stores.) And a few small paint brushes. And blue painters tape. That’s it.
It was easy, as if I was painting a craft project. Except that I was outside. On a ladder. And there were lots of dead bugs that had to be cleaned off.
And when I removed the glass panels to clean them, a heavy gust of wind caused those dead bugs to enjoy one last flight all around my face. But I digress.
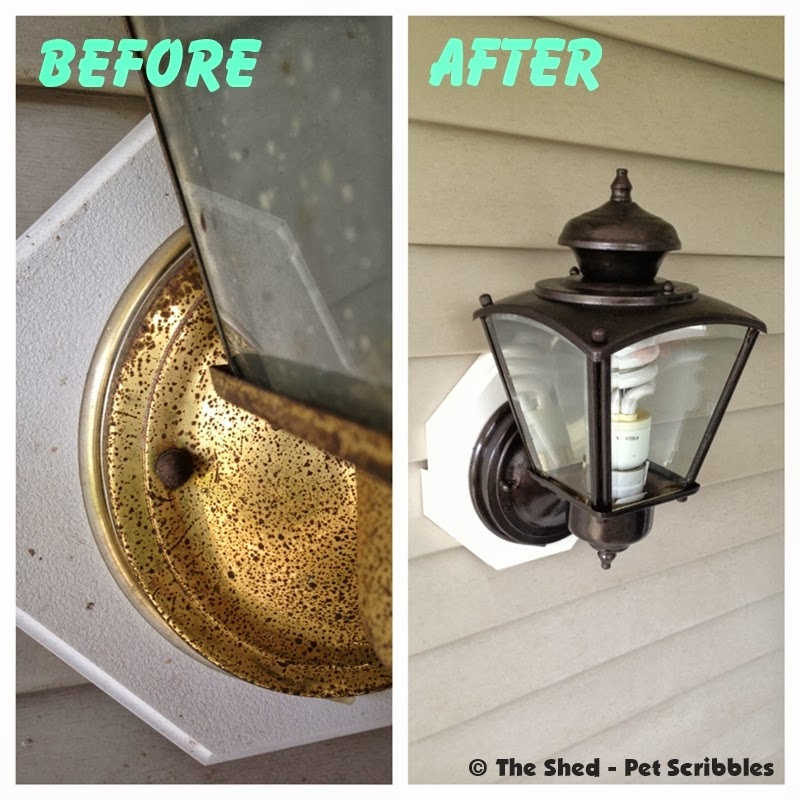
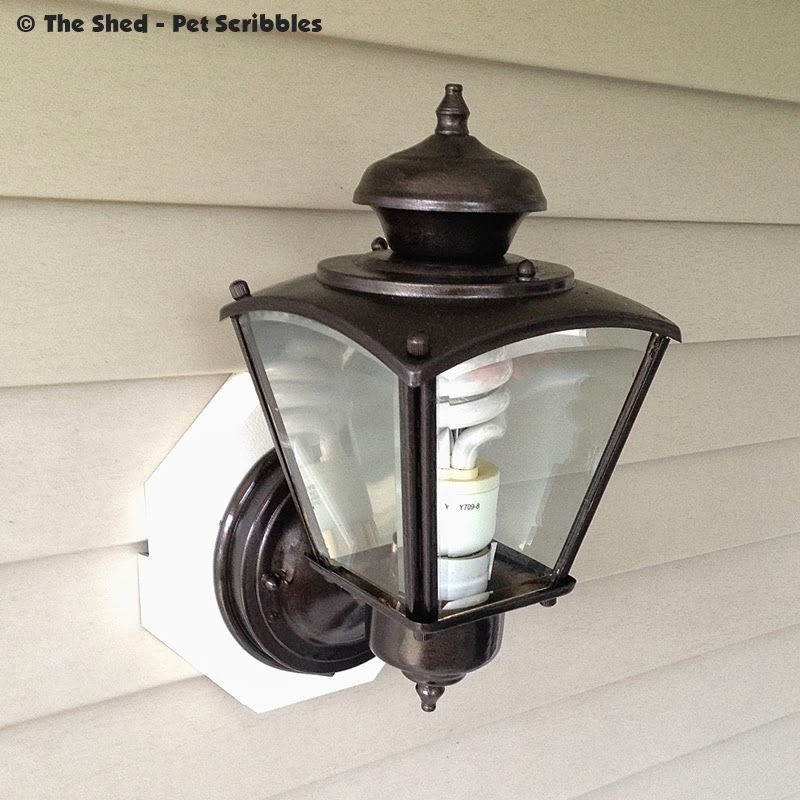
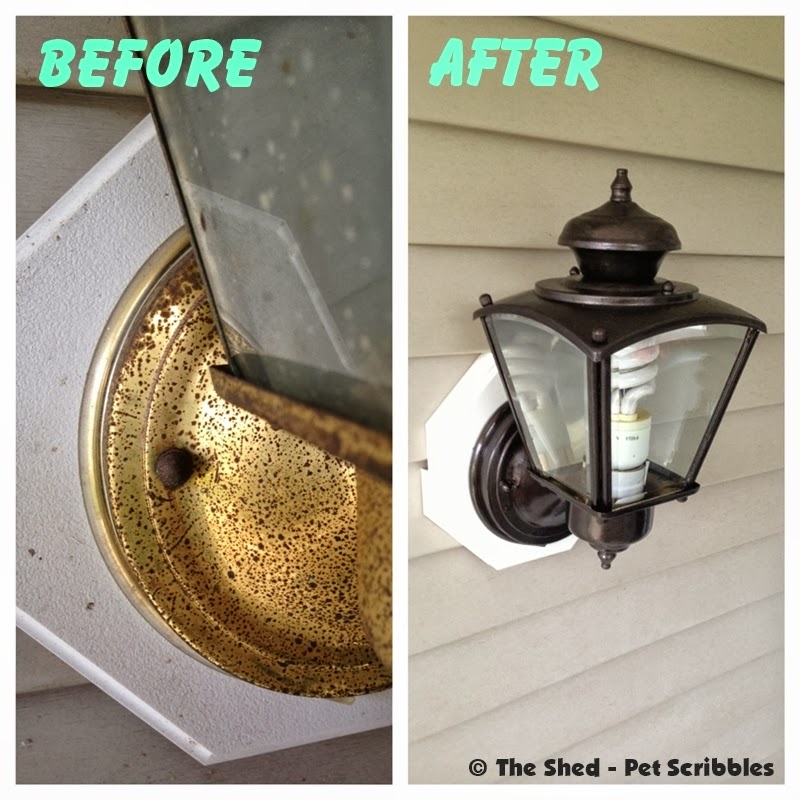
Look at the difference!
Oh – did I mention how I hate our front door? I do. And that’s a whole ‘nother blog post.
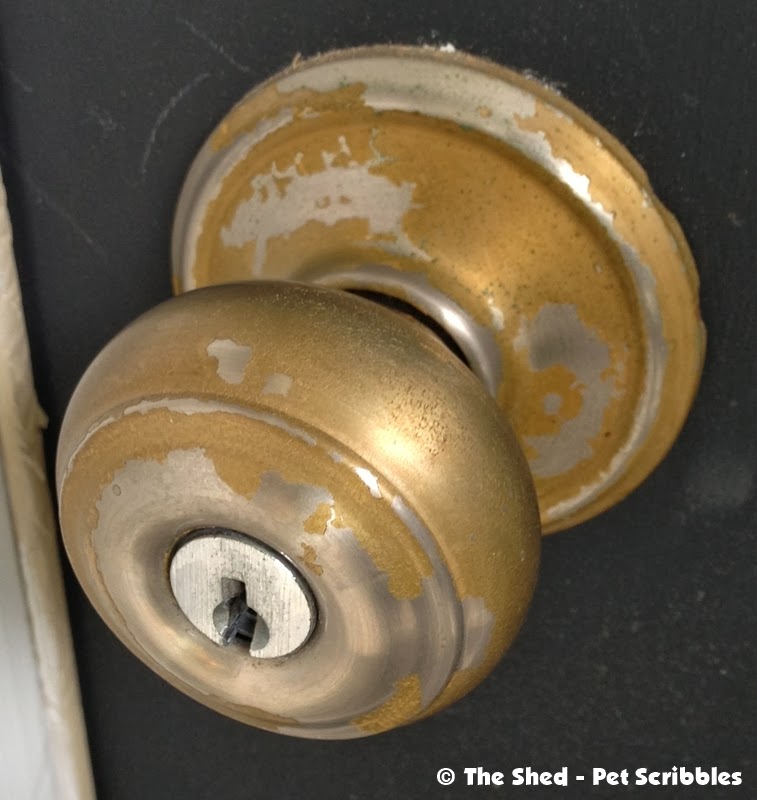
However, the door knob and lock were in need of immediate help. I know. It’s awful. Don’t judge.
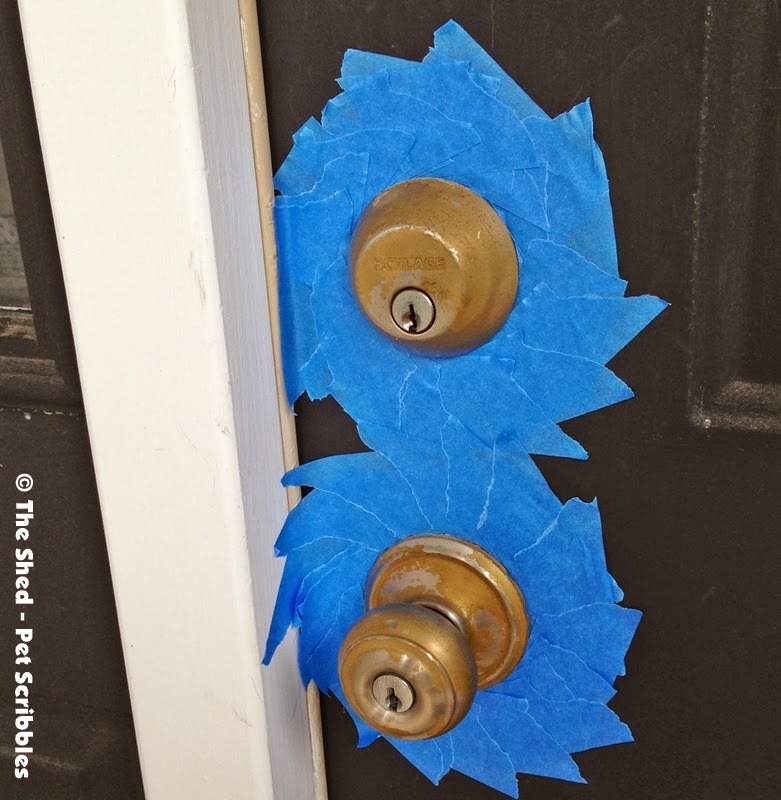
I painted them too. First I had to go overkill with the painters tape . . .
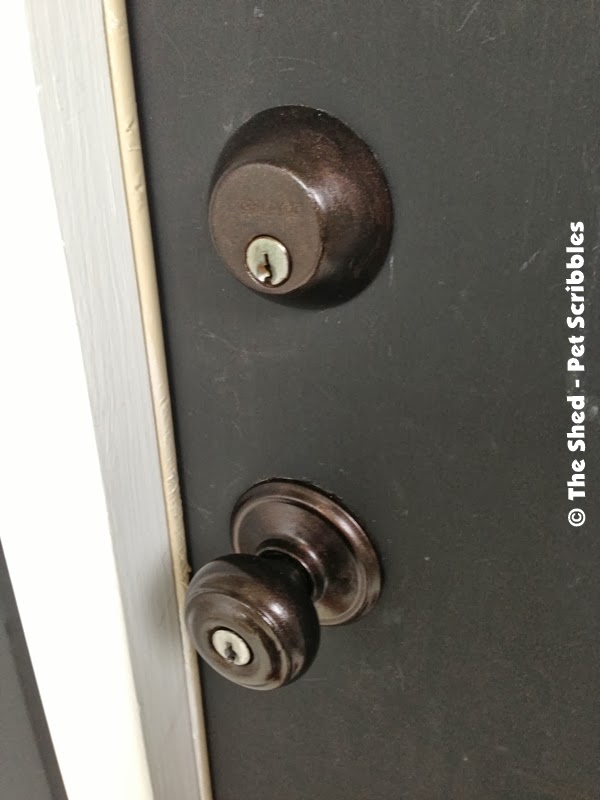
And then . . .
Quick tip for painting doorknobs and locks: Keep some cotton swabs handy in case you get paint on the lock area. Just wet the end of the swab with your mouth, and swab the paint off. Easy!
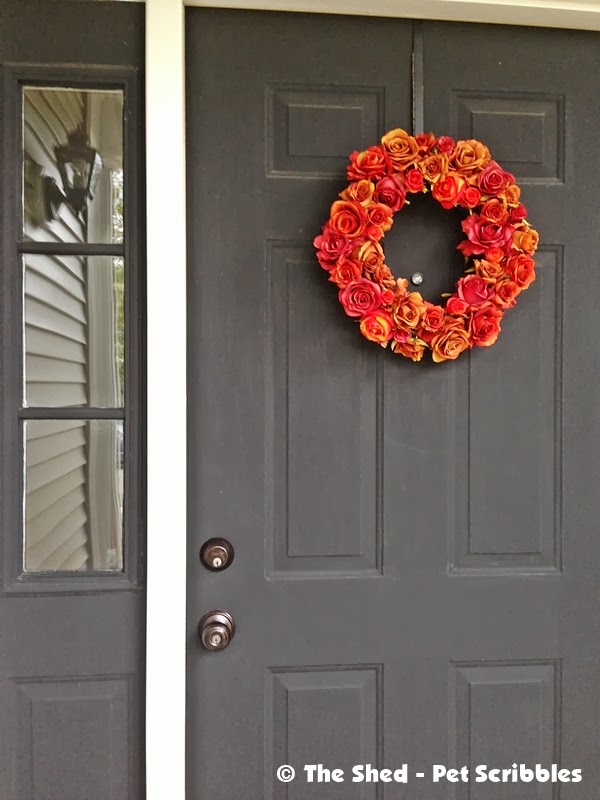
What a difference! (I type this as I’m shaking my head in the “what-took-me-so-long” way.)
Next up? Agreeing on a paint color for our front door. But like I said: that’s another blog post!
Now we’re a bit more respectable on our block!

OMG you just saved me $100s of dollars and the angst of nagging a busy hubby to get it done LOL. THIS I can do…mine may be a bit sadder than yours if we were to put it to contest though 😉 THANK YOU SO MUCH. I’m gonna buy some tomorrow when I’m out and get the job done and I agree…much easier than spray paint for these guys!
hugz,
Suzanne
LOL You are VERY welcome, Suzanne! What you exclaimed above is exactly what went through my head when I first had read my friend Diane’s blog post! (And yes, soooo much easier than removing everything to spray paint!) Let me know how it goes!
I desperately need to get some of this. My light fixtures look EXACTLY like Diane’s and I thought there was no hope! I’m featuring this when my link party opens up tonight 🙂
I was SO excited when I first saw Diane’s post because I thought there was not hope for our yucky lights too! Thanks, my friend, for featuring this project on your blog – it was a really nice surprise! 🙂
Wow! Thank you! I too, have projects that are in need of “that paint” I did not know that Rustoleum made it in brush on. Yay! I can get a few of these eye sores done before Thanksgiving. Beautifully done. Thanks for the inspiration and easy instructions. First up, is a hideous gold light fixture above dining room table!
You’re very welcome Marce! You will LOVE the results! (And yes: it was the brush-on idea that sold me on doing this project!)
How about this? We have the exact same light fixture and mine looks just like yours did. I’m so glad I saw this on Pinterest because mine needs some serious help. Thank you so much for posting this! I think I need to paint my back door while I’m at it. It’s still that grey steel door look. SMH *10 yrs and counting…
LOL Don’t feel too badly about your 10-years-and-counting back door Libby: we’ve lived here over 7 years now, and there’s still LOTS to be done. And by lots I mean should-have-already-done-these-projects LOTS!
Thank you so much for inspiring me and then SHOWING me how to do this! I will start right away. I have a question though; did you prime the door handle with fine grit sand paper? And, did you apply some kind of sealer? I have not read the instructions on the Rustoleum paint, yet. My door knob is covered and not exposed to the elements with the exception of afternoon/setting sun. Thank you!
You’re welcome! I didn’t prime the door handle with sand paper, although that sounds like it is a good idea. And I also didn’t use any type of sealer. Our light and doorknob fixtures are under a front entrance roof and have held up well. I hope this helps!